

Page 1
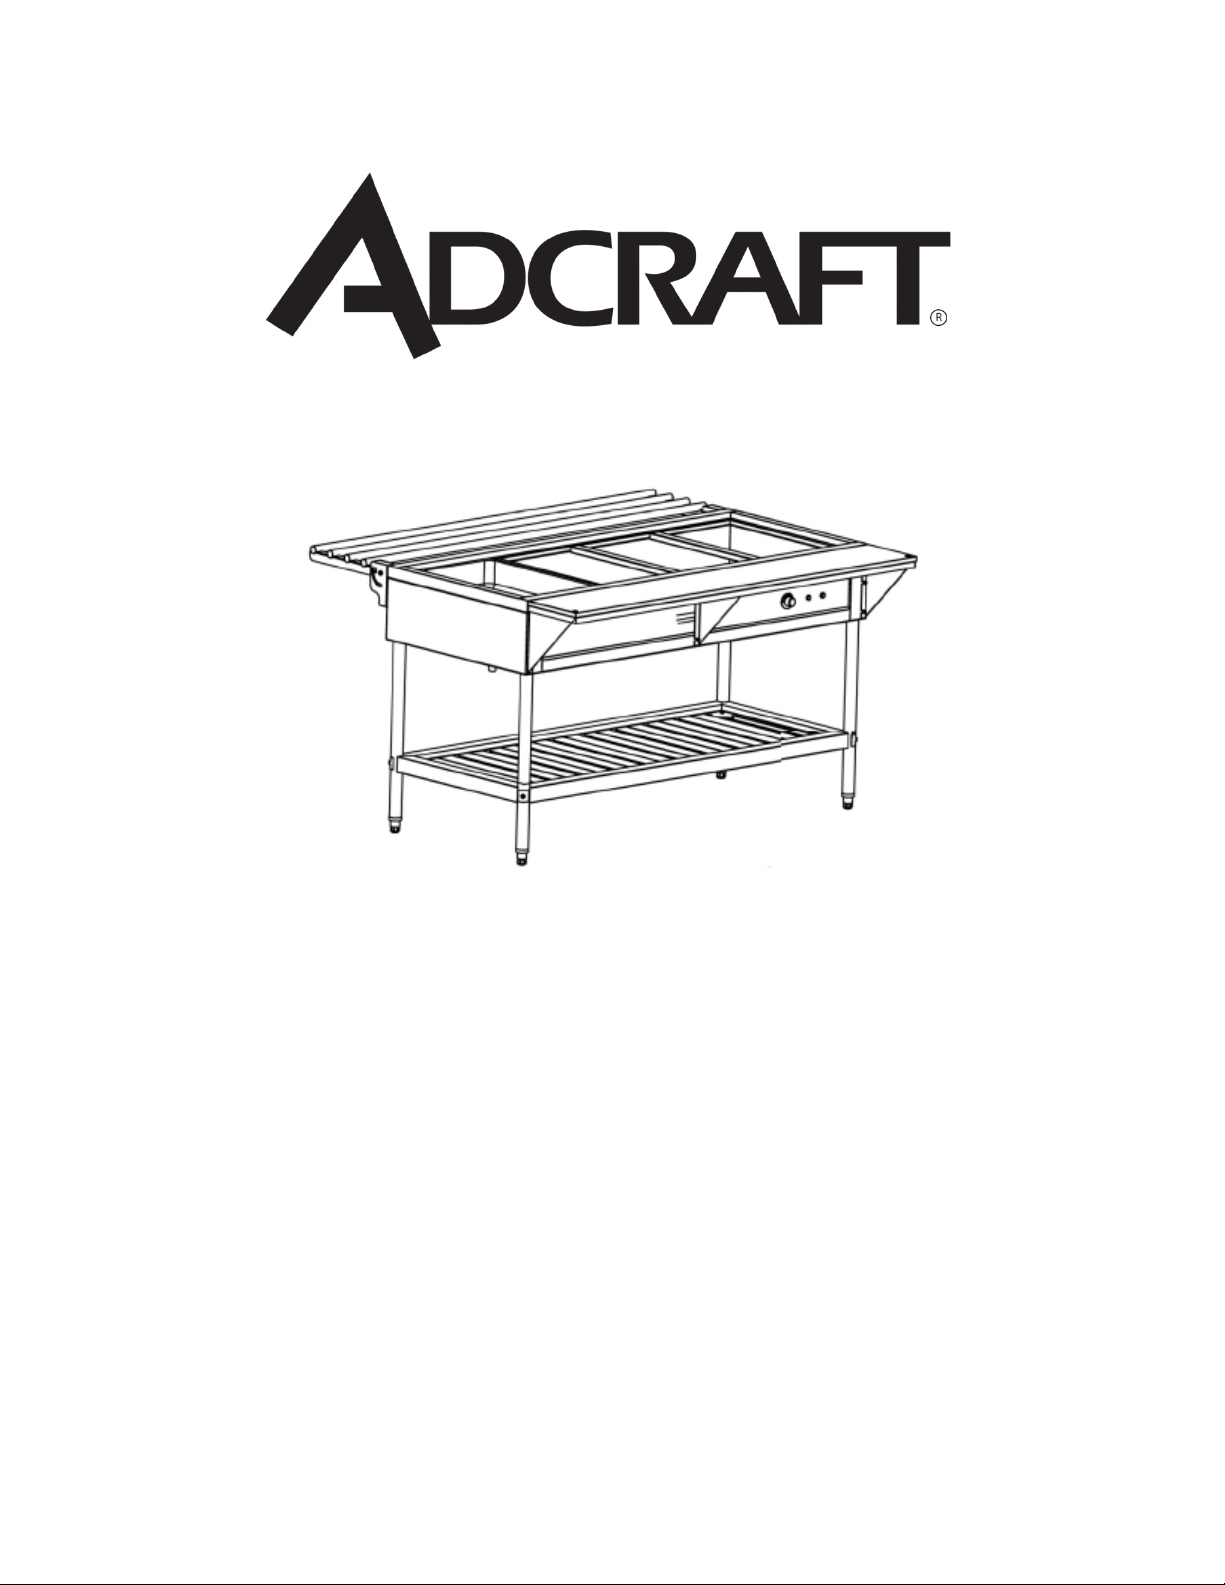
EST-240
4 Bay Steam Table
This manual contains important information regarding your Admiral Craft unit.
Please read this manual thoroughly prior to equipment set-up, operation and
maintenance. Failure to comply with regular maintenance
guidelines outlined in this manual may void the warranty.
MUST READ!!!
Page 2
WARNINGS
• Do not touch any hot surfaces
• Do not plug or unplug unit with wet hands
• Do not immerse unit, cord or plug in liquid at any time
• Unplug cord from outlet when not in use and before cleaning
• Do not operate unattended
• Do not use this unit for anything other than intended use
• Do not use outdoors
• Operate the unit with legs provided to prevent overheating of surfaces below
• Do not use if unit has a damaged cord or plug, in the event the appliance
malfunctions, or has been damaged in any manner
• Keep children and animals away from unit
• Any incorrect installation, alterations, adjustments and/or improper maintenance
can lead to property loss and injury. All repairs should be done by authorized
professionals only
• Ensure that the designated power supply is adequate for continual usage and the
voltage is correct
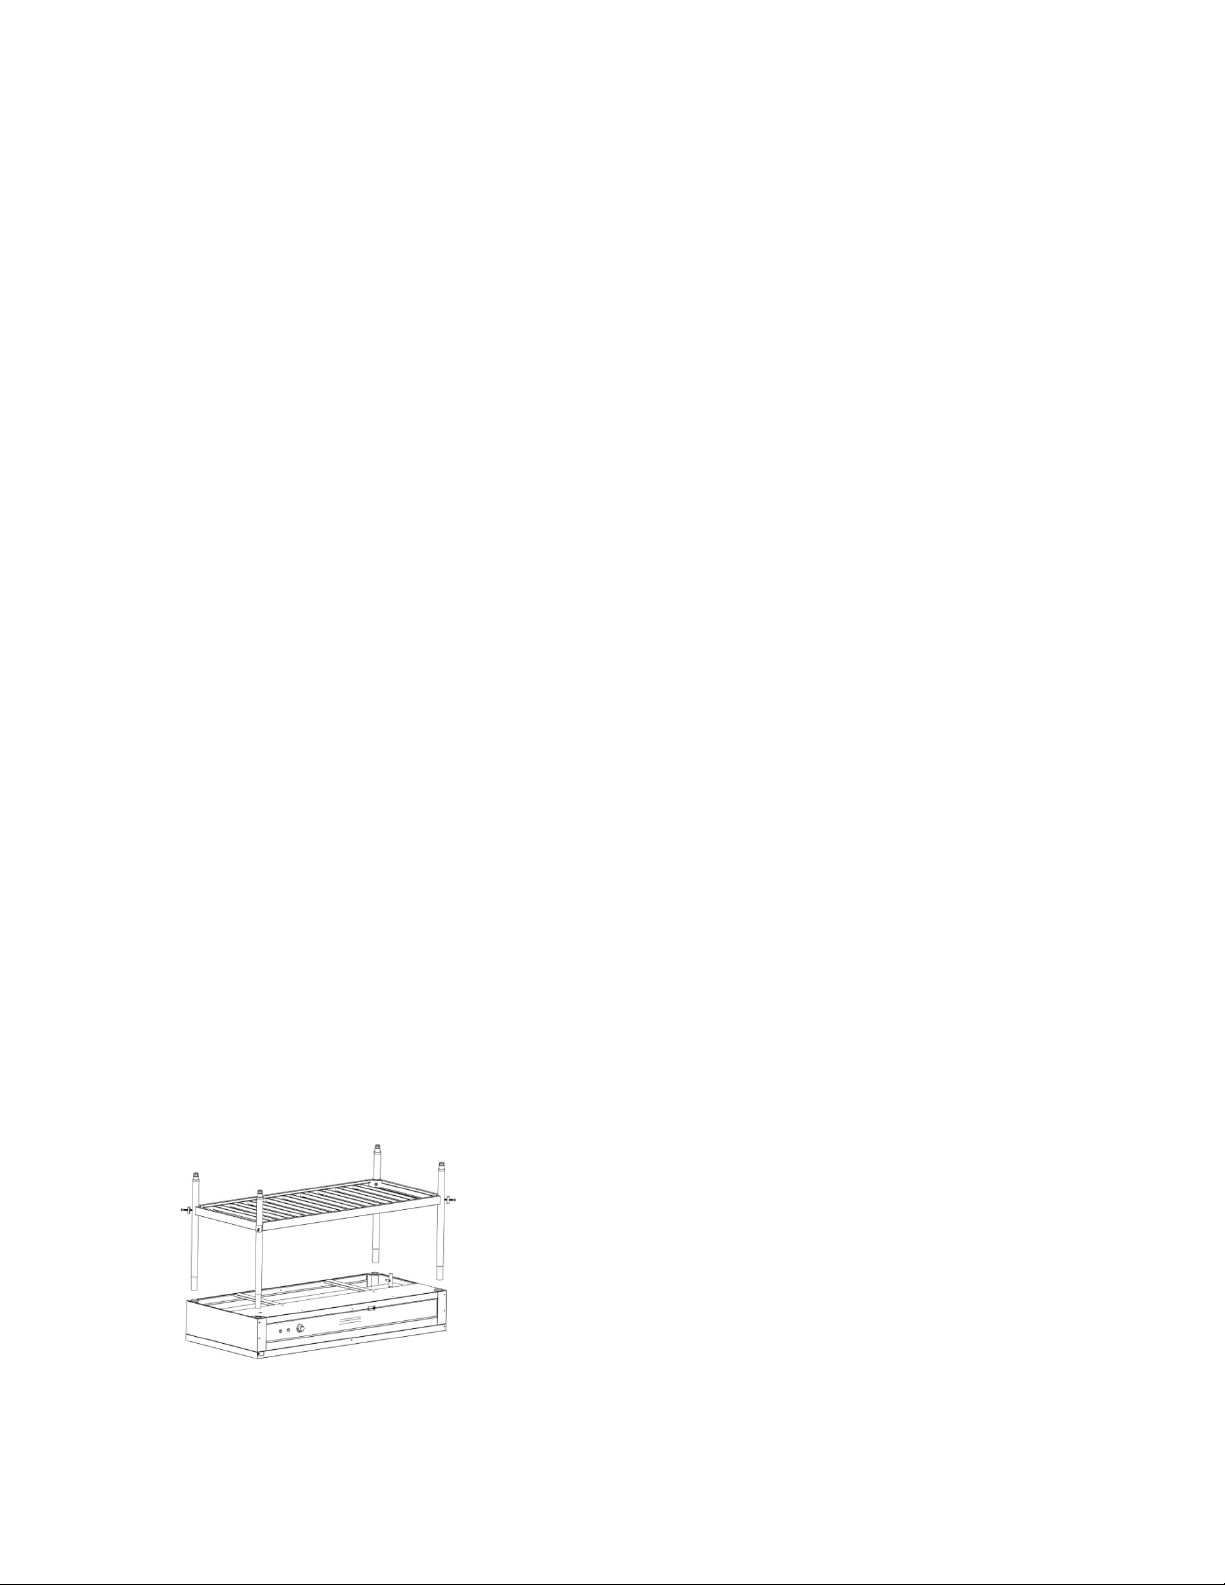
ASSEMBLY - NOTE – Legs and under‐shelf must be assembled before securing legs to the table.
Standard Adjustable Under-shelf
1.
Remove the unit from the shipping carton and packaging.
2. Inspect the contents to ensure there is no damage to the unit.
3.
Rest table on its top with gussets facing up. (Use cardboard or other material to prevent scratching top)
4. Install legs into gussets.
5. Align under‐shelf gussets with legs and slide under‐shelf down legs to desired position. (DO NOT
force or beat corners as damage could occur)
6. Tighten set screws in under‐shelf gussets to secure under‐shelf and install feet into legs using a rubber
mallet.
7. Tighten set screws in gussets to secure legs to table.
8. Place table on back with control knobs up.
9. See cutting board mounting instructions below.
Page 3

Cutting Board Installation
1. Attach shelf support brackets to support shelf using acorn nuts, washers, bolts and predrilled holes.
Note: acorn nuts must be at
the
top
2. Install machine screws into threaded fasteners on hot food table. DO NOT tighten.
3. Align keyholes in mounting brackets with screws and mount support shelf/bracket assembly to table.
Tighten screws.
4. Align holes in cutting board with acorn nuts and place cutting board onto support shelf.
Tray Holder Installation
Attach shelf support brackets to support shelf using acorn nuts, washers, bolts and pre
1.
2. Install machine screws into threaded fasteners on hot food table. DO NOT tighten.
3. Align keyholes in mounting brackets with screws and mount support shelf/bracket assembly to table.
Tighten screws.
4. Slide tray holder into brackets and into desired position.
‐dril
led holes.
Page 4

OPERATION - NOTE –The unit is intended for holding hot food for short periods of time. Cover must be kept on the
Model
Description
Volts
Watts
Amps
Dimensions
EST-240
4 Bay Steam Table
208V/240V
57.5” x 26” x 34”
food to maintain temperature when not serving.
W
et Operation with Cover
1. Plug unit into appropriate electrical power supply receptacle.
2. Fill with water to about half way up the well
3. With openings covered, set dial on highest position for 45 minutes to preheat unit.
4. During initial start‐up, smoke or odor may be detected (a small amount). This will occur when the coating
on the heating element burns off and should stop approximately a half hour after start up.
5. Place precooked food (minimum 160°F) in food pans, place in openings and cover with lids.
6. Adjus
7.
8. Food pans should be covered to maintain temperature when food is not being served and to prevent food
CLEANING – NOTE: To maintain cleanliness and increase service life, the steam table should be cleaned daily. Do not
immerse the unit in water or any other liquid. If liquid enters the electrical compartment, it may cause a short circuit
or electrical shock.
t to desired setting for proper food temperature. This will vary with the type of food, size of
pans and individual serving temperatures.
To increase temperature, turn knob toward highest setting. To decrease, turn toward lowest setting.
from drying out.
1. Allo
2.
3. Wipe the inside and outside surfaces of the unit with a damp cloth, then wipe dry.
4. To avoid damage, do not use abrasive cleaners or scouring pads.
5. Avoid using cleaners as the chemical residue could damage or corrode the surfaces of the unit. Clean the
w unit to completely cool before cleaning.
Disconnect
unit with warm soapy water and soft cloth only.
the cord from the outlet.
Number
3K-4K 2.5
Admiral Craft Equipment Corp
940 South Oyster Bay Rd.
Hicksville, NY 11801
1-800-223-7750
www.admiralcraft.com
Page 5

EST-240 Wiring Diagram
VER1113
Page 6

Page 7

4 Bay Steam Table - EST-240
Reference Number Description Quantity
1 Body 1
2 Shelf 1
3 Feet 4
4 Bolt Fix Patch 4
5 Screws 4
6 Stainless Steel Tray Shel 1
7 Tray Holder 2
8 Screws 4
9 Nuts 4
10 Acorn Screw 4
11 Label 1
12 Front Panel 1
13 Cutting Board Bracket 2
14 Middle Support Bracket 1
15 Screws 2
16 Screws 2
17 Screws 8
VER0113
Page 8

ACE
Equipment
One Year Limited
Warranty
Admiral Craft Equipment Corp. (ACE) warrants its equipment against defects in materials and workmanship, subject
to the following conditions:
ACE Equipment is warranted for one year, effective from the date of purchase by the original owner. A copy of the
original receipt or other proof of purchase is required to obtain warranty coverage. This warranty applies to the original
owner only, and is not assignable.
Should any product fail to function in its intended manner under normal use within the limits defined in this
warranty, at ACE’s discretion, such product will be repaired, replaced with a refurbis hed unit, or replaced with a new
unit by ACE, after defective unit has been inspected and defect has been confirmed. ACE does not assume any liability
for extended delays in replacing any item beyond its control. This warranty does not apply to rubber and non-metallic
synthetic parts that may need to be replaced due to normal usage, wear or lack of preventative maintenance.
This warranty covers products shipped into the 48 contiguous United States, Hawaii, and metropolitan areas of Alaska
and Canada. Warranty coverage on products used outside the 48 contiguous United States, Hawaii and metropolitan
areas of Alask
a and Canada may vary. Contact ACE for details at 1-800-223-7750
The following conditions are not covered by warranty:
•
Equipment failure relating to improper installation, improper utility connection or supply and problems due to
improper ventilation.
•
Equipment that has not properly been maintained, damage from improper cleaning, and water damage
to controls.
•
Equipment that has not been used in an appropriate manner, or has been subject to misuse, neglect, abuse,
accident, alteration, negligence, damage during transit, delivery or installation, fire, flood, riot, or act of God.
•
Equipment that has the model number or serial number removed or altered.
•
Equipment on which the security seal has been broken.
If the equipment has been changed, altered, modified, or repaired without express written permission from ACE, then the
manufacturer shall not be liable for any damages to any person or to any property, which may result from the use of this
equipment thereafter.
This equipment is intended for commercial use only and thi s warranty is void if equipment is used in other than a
commercial application.
For warranty and non-warranty related issues, technical support, purchase replacement parts and warranty registration
visit
www.admiralcraft.com. Please have your model number, serial number and proof of purchase ready. It is not
necessary to contact the place where you originally purchased your product from.
“THE FOREGOING WARRANTY IS IN LIEU OF ANY AND ALL WARRANTIES EXPRESSED OR IMPLIED
INCLUDING ANY IMPLIED WARRANTY OF MERCHANTABILTY OR FITNESS FOR PARTICULAR
PURPOSES AND CONSTITUES THE ENTIRE LIABILITY OF ACE. IN NO EVENT DOES THE LIMITED
WARRANTY EXTEND BEYOND THE TERMS STATED HEREIN.”
VER1212
 Loading...