

Page 1
INSTRUCTION MANUAL
CHEST FREEZERS
This manual contains important information regarding your unit. Please read this manual
thoroughly prior to equipment set-up, operation and maintenance. Failure to comply with regular
maintenance guidelines outlined in this manual may void the warranty.
Page 2

WARNINGS
• Plug into a grounded 3-prong outlet, do not remove grounding prong, do not use an adapter, and do not use an
extension cord
• It is recommended that a separate circuit, serving only your refrigerator be provided. Use receptacles that cannot
be turned off by a switch or pull chain
• Never clean refrigerator parts with fl ammable fl uids. These fumes can create a fi re hazard or explosion. And do not
store or use gasoline or other fl ammable vapors and liquids in the vicinity of this or any other appliance. The fumes
can create a fi re hazard or explosion.
• Before proceeding with cleaning and maintenance operations, make sure the power line of the unit is disconnected
• Do not connect or disconnect the electric plug when your hands are wet
• Unplug the refrigerator or disconnect power before cleaning or servicing. Failure to do so can result in electrical
shock or death.
• Do not attempt to repair or replace any part of your refrigerator unless it is specifi cally recommended in this
manual. All other servicing should be referred to a qualifi ed technician.
• Use two or more people to move and install refrigerator. Failure to do so can result in back or other injury.
• To ensure proper ventilation for your refrigerator, the front of the unit must be completely unobstructed. Choose a
well-ventilated area with temperatures above 60°F (16°C) and below 90°F (32°C). This unit must be installed in
an area protected from the element, such as wind, rain, water spray or drips.
• The refrigerator should not be located next to ovens, grills or other sources of high heat
• The refrigerator must be installed with all electrical connections in accordance with state and local codes. A
standard electrical supply (115 V AC only, 60 Hz), properly grounded in accordance with the National Electrical
Code and local codes and ordinances is required.
• Do not kink or pinch the power supply cord of refrigerator
• The fuse (or circuit breaker) size should be 15 amperes
• It is important for the refrigerator to be leveled in order to work properly. You may need to make several
adjustments to level it.
• Never allow children to operate, play with or crawl inside the refrigerator
• Although the unit has been tested at the factory, due to long-term transit and storage, the fi rst batch of cubes must
be discarded
• Do not use solvent-based cleaning agents of abrasives on the interior. These cleaners may damage or discolor
the interior
• Do not use this apparatus for other than its intended purpose
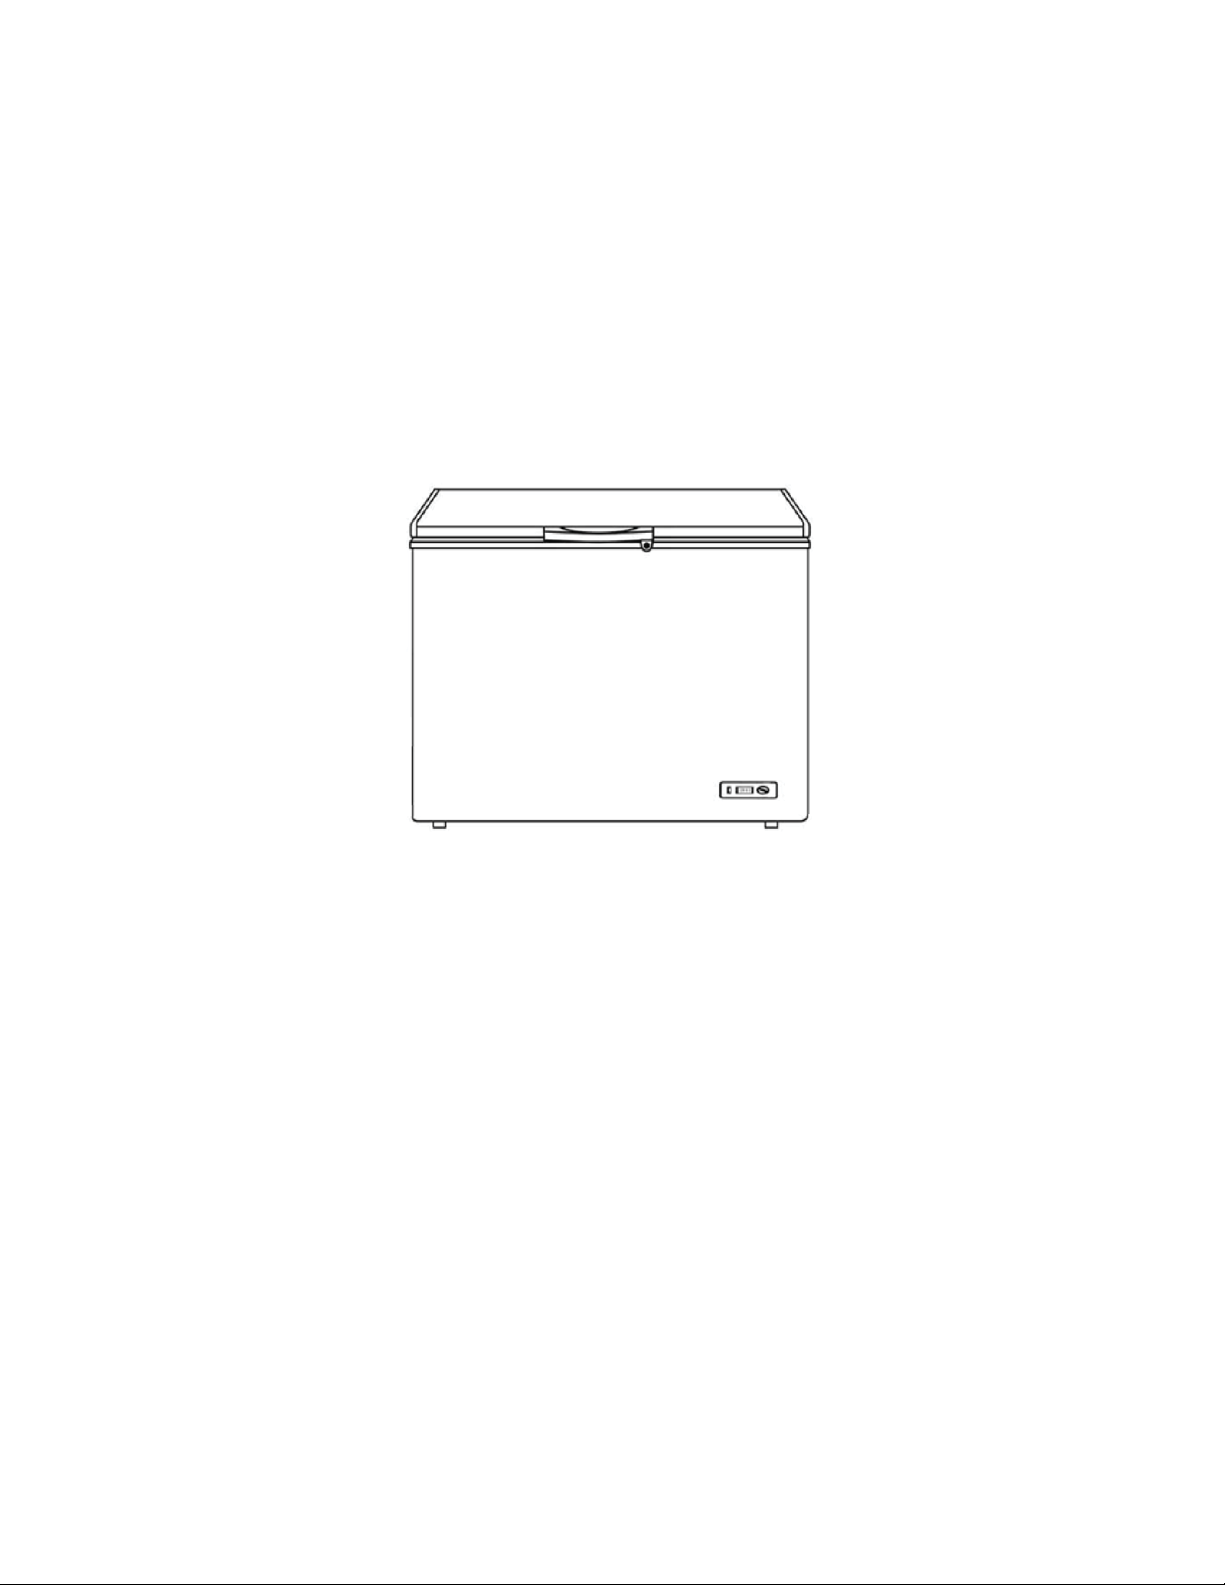
FEATURES:
1. Lid
2. Handle
3. Thermostat Control
4. Power Light
5. Compressor Light
June 2015
Page 3
TO INSTALL:
1. Remove unit from box and make sure all plastic, tape and packing materials are removed.
2. Place the unit on a fl at, secure surface with at least 6” of open space around all sides.
3. Place the unit in an area that is not in direct sunlight or any other sources of heat.
4. Before plugging into your unit, let it sit for 2 hours.
5. Check to make sure the outlet of the correct voltage for this item (120V) is near. Do not use an extension cord, this
item must be plugged directly into an outlet.
TO USE:
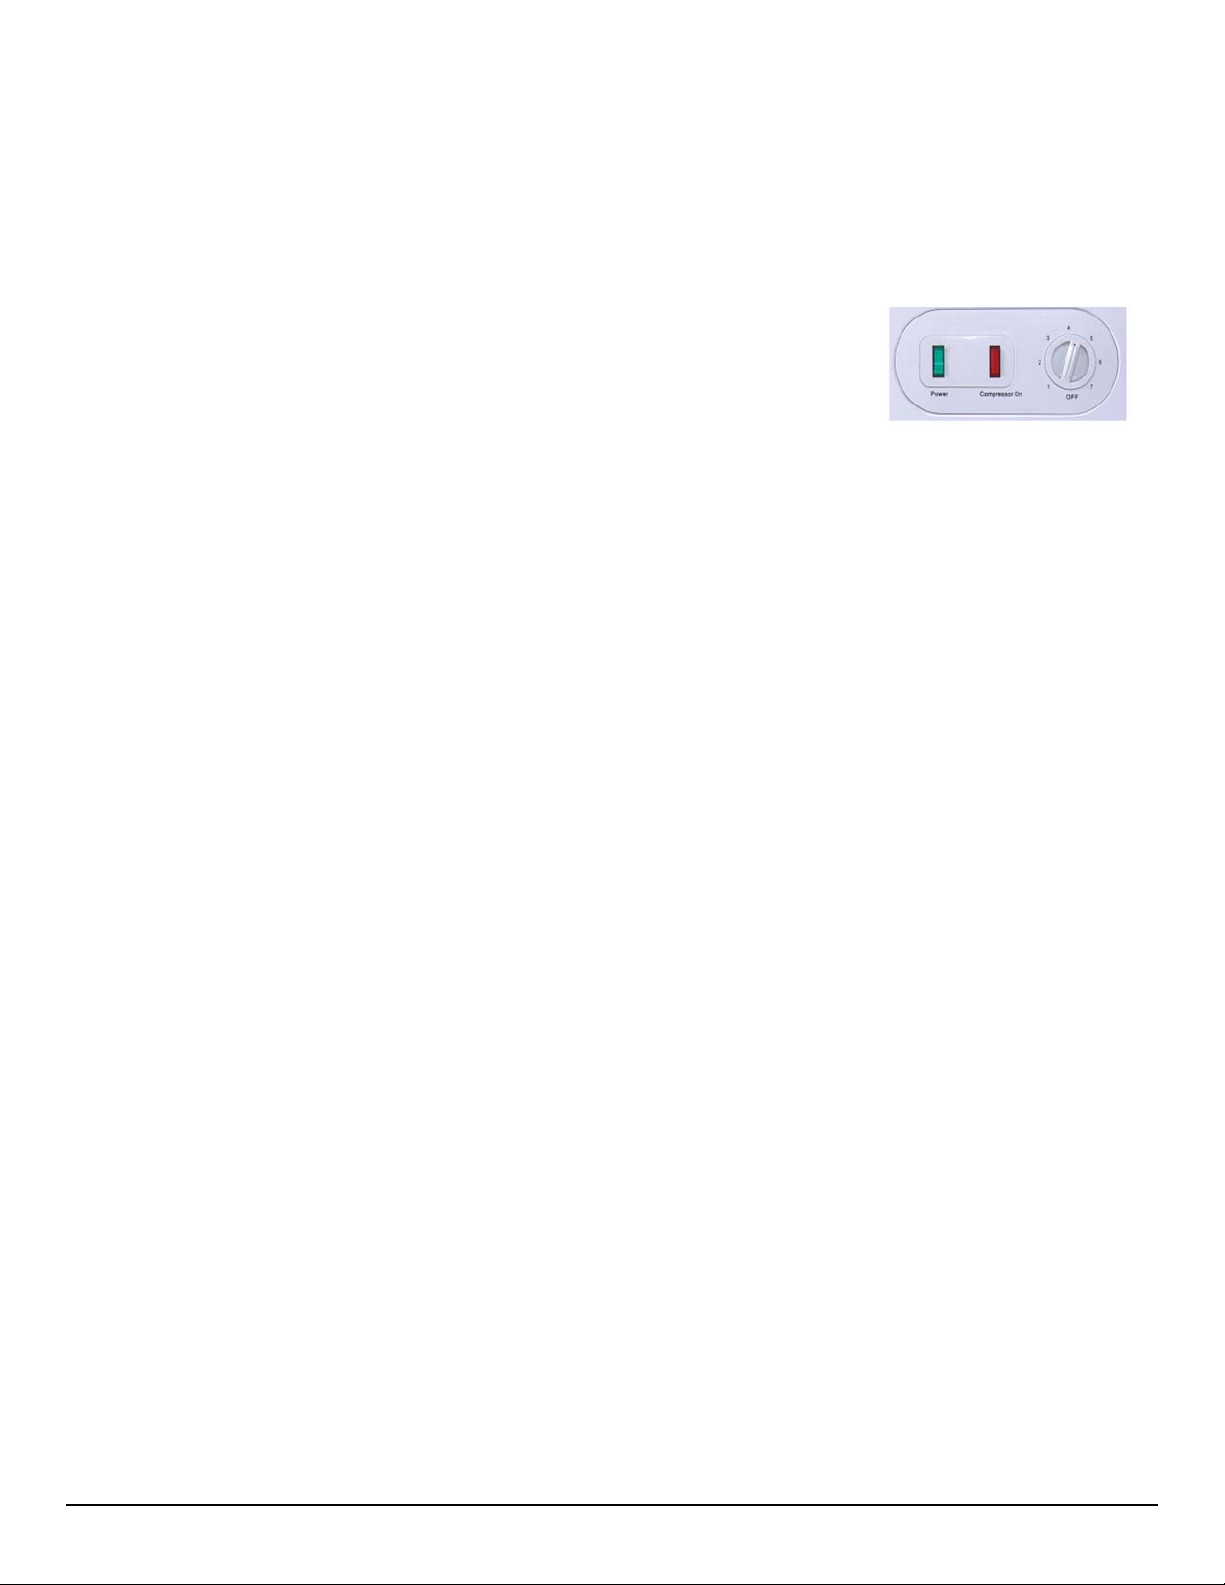
Setting the temperature control
1. To control the internal temperature, adjust the control dials according to the ambient
temperature or purpose of use.
2. The fi rst time you turn the unit on, set the temperature control to “7”.
3. The range of the temperature control is from position “1” the warmest to “7” the coldest in the freezer section.
After 24 to 48 hours, adjust the temperature control to the setting that best suits your needs. The setting of “4”
should be correct for home or offi ce refrigerator use.
NOTE: If the unit is unplugged, lost power or turned off, you must wait 3-5 minutes before restarting. If you try to restart
the unit too early, it will not start. Turning the temperature control to “OFF “ position stops the cooling cycle but does
not shut off the power to the freezer. If you choose to change the thermostat setting, adjust thermostat control by one
numerical increment at a time. Allow several hours for temperature to stabilize between adjustments. Large amounts
of food will lower the cooling effi ciency of the appliance.
Defrosting the freezer
For the most effi cient operation and minimum energy consumption, defrost the freezer when the frost on the freezer
walls is excessive or ¼ to ½ inch thick. Choose a time when the stock of frozen food is low.
Do not use boiling water because it may damage the plastic parts. In addition, never use a
sharp or metallic instrument to remove frost as it may damage the cooling coils and will void the warranty. We
recommend using the plastic scraper provided with your unit.
1. Remove the frozen food from the freezer and place it in a cooler to protect the food.
2. Turn the thermostat knob to “OFF”.
3. Unplug the freezer. The “POWER ON INDICATOR” light should be OFF.
4. During defrosting, the ice melts into the cabinet.
5. Remove the drain plug on the inside fl oor of the freezer by pulling straight out.
6. Place a shallow pan outside drain outlet. The defrost water will drain out.
7. Check the pan occasionally so the water does not overfl ow.
8. Clean the interior of the freezer.
9. Replace the plug on the inside fl oor.
10. Reconnect electrical connection. The “POWER ON INDICATOR” light should be ON
11. Reset the thermostat to desired setting.
12. Allow the cabinet to cool for one hour.
13. Return food to the freezer.
Defrosting usually takes a few hours. Leaving the door open will help speed the process. Also, pouring warm water
(not boiling) on the ice/frost will help speed melting. If you must use a scraper- please use caution - it is very easy to
damage the freezer compartment and void your warranty.
Freezer Compartment
• This compartment is designed for the long-term storage of frozen food. Storage time is up to three months.
• The storage life of frozen foods varies and the recommended storage time should not be exceeded. The
instructions regarding the care of frozen foods should be followed when defrosting the freezer.
• Pre-packed commercially frozen food should be stored in accordance with the frozen foods manufacturer’s
instructions for a three star frozen food storage compartment or home freezer
• Place frozen food into the freezer as quickly as possible after purchase. If there are instructions on the packet,
carefully follow these instructions regarding storage times
• The freezer door is susceptible to breaking due to excessive ice build up. Be sure to defrost when the ice reaches
¼ to ½ inch thick.
June 2015
Page 4

A storage basket is provided for the organization of odd-shaped items. To reach other packages in the freezer, just slide
the basket to one side, or lift it out
Freezing Fresh Foods
• Proper use of the appliance, adequately packed food, correct temperature and taking into account hygienic
precautions will substantially infl uence the quality of freezing the food or storing of the frozen foods
• This compartment is designed for the long-term storage of frozen food
• The storage life of frozen foods varies and the recommended storage time should not be exceeded
• Pre-packed commercially frozen food should be stored in accordance with the frozen foods manufacturer’s instructions
for a three star frozen food storage compartment or home freezer
• Place frozen food into the freezer as quickly as possible after purchase. If there are instructions on the packet,
carefully follow these instructions regarding storage times.
• Carefully select food you intend to freeze, it should be of adequate quality and suitable for freezing
• Use correct packaging and wrap it tight
• The packaging should be airtight and shouldn’t leak since this could cause substantial vitamin loss and
dehydration of foods
• Foils and bags should be soft enough to tightly wrap around the foods
• When preparing foods to be frozen, consider sanitary precautions
• Mark packages with following data: kind and amount of foods and the date of loading
• It is most Important that the food is frozen as quickly as possible
• If the loading amount is too large, the quality of freezing is reduced which affects the quality of frozen foods
Cleaning Your Freezer
• Upon installation of your new appliance, it is recommended that it be cleaned thoroughly
• Turn the temperature control to “OFF”, unplug the freezer, remove the food and storage basket
• Wash the inside with a damp warm cloth containing a water and baking soda solution. The solution should be
about 2 tablespoons of baking soda to a quart of water.
• Wash the storage basket with a mild detergent solution
• Be sure to keep the door gasket (seal) clean to keep the unit running effi ciently
• The outside of the freezer should be cleaned with mild detergent and warm water
• Dry the interior and exterior with a soft cloth
• It is recommended that the unit be cleaned each time it is defrosted to help keep the unit odor free and
running effi ciently
Vacation Time
• Remove all the food
• Unplug the freezer
• Clean the freezer
• Leave the door open slightly to avoid possible formation of condensation, mold, or odors
• Use extreme caution in the case of children. The unit should not be accessible to child’s’ play
• Short vacations: Leave the freezer operating during vacations of less than three weeks
• Long vacations: If the appliance will not be used for several months, remove all food and unplug the power cord.
Clean and dry the interior thoroughly. To prevent odor and mold growth, leave the door open slightly: blocking it open
if necessary or have the door removed.
Moving the Freezer
• Remove all the food
• Securely tape down all loose items inside your freezer
• Remove the rollers to prevent damage
• Tape the doors shut
• Be sure the freezer stays in the upright position during transportation
Energy Saving Tips
• The freezer should be located in the coolest area of the room, away from heat producing appliances or heating ducts,
and out of the direct sunlight
• Let hot foods cool to room temperature before placing in the freezer. Overloading the freezer forces the compressor to
run longer. Foods that freeze too slowly may lose quality, or spoil.
• Be sure to wrap foods properly, and wipe containers dry before placing them in the freezer. This cuts down on frost
build-up inside the freezer.
June 2015
Page 5

• Freezer storage bin should not be lined with aluminum foil, wax paper, or paper toweling. Liners interfere with cold air
circulation, making the freezer less effi cient.
• Organize and label food to reduce door openings and extended searches. Remove as many items as needed at one time,
and close the door as soon as possible
TROUBLESHOOTING
Problem Possible Causes
Freezer does not operate
Compressor turns on and off frequently
Temperature inside the freezer is too warm
Temperature inside the freezer is too cold
Temperature of external freezer surface is warm
Popping or cracking sound when compressor
comes on
Bubbling or gurgling sound, like water boiling
Freezer is vibrating
Moisture forms on inside freezer walls
Moisture forms on outside of freezer
The door will not close properly
-Not plugged in
-The circuit breaker tripped or a blown fuse
-The freezer temperature control is set at “0/OFF”
-The room temperature is hotter than normal
-A large amount of food has been added to the freezer
-The door is open too often
-The door is not closed completely
-The temperature control is not set correctly
-The door gasket does not seal properly
-The freezer does not have the correct clearances
-The freezer has recently been disconnected for a period of time. Four hours are
required for the freezer to cool down completely.
-Temperature control is set too warm. Turn the control to a cooler setting and allow
several hours for the temperature to stabilize.
-Door is kept open too long or is opened too frequently. Warm air enters the freezer
every time the door is opened. Open the door less often.
-The door is not closed completely
-The door gasket does not seal properly
-A large amount of warm or hot food might have been stored recently. Wait until the
freezer has had a chance to reach its selected temperature.
-The freezer has recently been disconnected for a period of time. Four hours are
required for the freezer to cool down completely.
-Temperature control is set too cold. Turn the control to a warmer setting and allow
several hours for the temperature to stabilize.
-Fast Freeze switch is turned on. This causes continuous running of the compressor
and bypasses the temperature control.
-The exterior freezer walls can be as much as 30°F warmer than room temperature.
-This is normal while the compressor works to transfer heat from inside the freezer
cabinet.
-Metal parts undergo expansion and contraction, as in hot water pipes. This is
normal. Sound will level off or disappear as freezer continues to run.
-Refrigerant (used to cool freezer) is circulating throughout the system. This is
normal.
-Check to assure that the freezer is on a level surface
-Floor is uneven or weak. Freezer rocks on the fl oor when it is moved slightly. Be
sure fl oor can adequately support freezer. Level the freezer by putting wood or metal
shims under part of the freezer.
-The freezer is touching the wall. Re-level the freezer and move it from the wall.
-Weather is hot and humid, which increases internal rate of frost build-up. This is
normal.
-Door is slightly open
-Door is kept open too long, or is opened too frequently. Open the door less often.
-The door is not sealed properly
-Door is slightly open, causing cold air from inside the freezer to meet warm moist air
from outside
-The freezer is not on a level surface
-The gasket is dirty
-The storage basket is out of position
June 2015
Page 6

Wiring Diagram for the Chest Freezers
June 2015
Page 7

Parts Diagram for the Chest Freezers
Drawing
Number
Part Description
1 Door w/gasket
2 Door gasket
3 Control panel
4 Compressor
5 Thermostat
6 Filter
7 Compressor Cover
8 Outer drain plug
9 Inner drain plug
10 Basket
11 Hinge cover
12 Door hinge
June 2015
Page 8

WARRANTY
ONE YEAR WARRANTY
Warrants to the original purchaser of this unit, the cabinet and all parts thereof, to be free from defects in material or workmanship, under normal use and service, for a
period of one (1) year from the date of original installation or 15 months after shipment date, whichever occurs fi rst.
Any parts covered by this warranty that are examined and determined to have been defective within one (1) year of original installation or fi fteen (15) months after shipment
date from manufacturer, whichever occurs fi rst, shall be repaired or replaced as stated below. Shall be deemed to have fully complied with its obligation under the foregoing
warranties by electing either one of the following procedures
1.Furnishing a replacement part, freight collect, in even exchange for the returned part, freight collect.
2.Receiving the defective part, freight collect; repairing it; and returning it, freight collect.
ADDITIONAL FOUR YEAR COMPRESSOR PART WARRANTY
In addition to the (1) one year warranty stated above, warrants its hermetically and semi-hermetically sealed compressor to be free from defects in both material and workmanship under normal use and service for a period of four (4) additional years from the date of original installation but not to exceed fi ve (5) years and three (3) months
after shipment from manufacturer.
Compressors determined to have been defective within this extended time period will be either repaired or replaced with a compressor or compressor parts of similar design
and capacity.
The four (4) year extended compressor warranty applies only to hermetically and semi-hermetically sealed parts of the compressor and does not apply to any other parts or
components, including, but not limited to, cabinet, paint fi nish, temperature control, refrigerant, metering device, driers, motor starting equipment, fan assembly any other
electrical component, etc.
134A (404A) COMPRESSOR WARRANTY
The four year compressor warranty detailed above will be voided if the following procedure is not carefully adhered to:
1.This system contains R134A (R404A) refrigerant and polyol ester lubricant. The Polyester lubricant has rapid moisture absorbing qualities. If long exposure to the ambient conditions occur, the lubricant must be removed and replaced with new. Failure to comply with recommended lubricant specifi cation will void the compressor warranty.
2.Dryer replacement is very important and must be changed when a system is opened for servicing. Dryer must be used with XH-9 desiccant.
3.Micron level vacuums must be achieved to insure low moisture levels in the system. 500 microns or lower must be obtained.
WHAT IS NOT COVERED BY THIS WARRANTY
Obligation under warranty is limited to either repair or replacement of parts, subject to the additional limitations below. This warranty neither assumes nor authorizes any
person to assume obligations other than expressly covered by this warranty.
1.WARRANTY IS NOT TRANSFERABLE. This warranty is not assignable and applies in favor of the original purchaser/user to whom delivered. Any such assignment or
transfer shall void the warranties herein made and shall void all warranties, express or implied, including any warranty of merchantability or fi tness for a particular purpose.
2.NO CONSEQUENTIAL DAMAGES. Not responsible for economic loss: profi t loss or special, indirect, or consequential damages, including without limitation, losses or
damages arising from food or product spoilage claims whether or not on account of refrigeration failure.
3.ALTERATION, NEGLECT, ABUSE, MISUSE, ACCIDENT, DAMAGE DURING TRANSIT OR INSTALLATION, FIRE, FLOOD, ACTS OF GOD. Not responsible
for the repair or replacement of any parts that have been subjected after the date of manufacture to alteration, neglect, abuse, misuse, accident, damage during transit or
installation, fi re, fl ood, or an Act of God.
4.NO IMPLIED WARRANTY OF MERCHANTABILITY OR FITNESS FOR A PARTICULAR PURPOSE. There are no other warranties, express, implied or statutory,
except the one(1) year warranty and the additional four(4) year compressor warranty as described above. These warranties are exclusive and in lieu of all other warranties,
including implied warranty and merchantability or fi tness for a particular purpose. There are no warranties which extend beyond the description on the face hereof.
5.TRANSPORTATION COSTS. Will accept parts covered under this warranty freight collect, provided that shipment has received prior approval. Not responsible for any
other transportation costs, but will ship freight collect parts either repaired or replaced under these warranties.
6.WARRANTY CLAIMS. All claims should include: model number of the cooler, the serial number of the cabinet, proof of purchase, date of installation, and all pertinent
information supporting the existence of the alleged defect. Any action or breach of these warranty provisions must be commenced within one (1) year after that cause of
action has occurred.
WARRANTY
National Service America • 230 Park Ave, Suite 1000 • New York, NY • 10169
REGISTRATION
CARD
(Name of Business)
(Dealer Purchased From)
MAIL CARD
IMMEDIATELY
(Address) (City) (State) (Zip Code)
(Model Number) (Serial Number)
This card must be
mailed immediately
after installation date
for warranty to be in
effect.
This is to inform that I, __________________________________________________________
(Please print name of individual who owns business)
have had the above installed in my place of business _____________________
(Date of Purchase)
(Contact Phone Number) (Contact E-mail) (Signature of Individual Who Owns Business)
The above warranties are in effect from this installation date, or 90 days, which ever comes fi rst.
June 2015
 Loading...