

Page 1

Pocket Diagnostic Instruments
Use, Care, & Maintenance
Page 2

Thank you for choosing an ADC®Diagnostic set. We’re proud of the care and quality that
goes into the manufacture of each and every diagnostic instrument that bears our name.
Every component has been carefully designed to maximize performance. This booklet
refers to both Otoscope and Ophthalmoscope sets (Models 5110N Series, 5110E, 5111N
Series, 5112N Series).
Device Description and Intended Use
Ophthalmoscope attachment (5110N Series, 5110E, 5112N Series)
The ophthalmoscope is a handheld, battery-powered device containing illumination and
viewing optics intended to examine the media (cornea, aqueous, lens, and vitreous), the
retina, blood vessels, optic nerve, and other structures of the eye. It is intended to be used
by a trained healthcare professional.
Otoscope Attachment (5110N Series, 5110E, 5111N Series)
A handheld battery powered device with magnifying system that provides illumination of
the ear canal and tympanic membrane.
Latex Statement - This device and all accessories are not made with natural rubber latex.
This device should be used by a trained healthcare professional.
Contraindications
The use of this device is contraindicated in patients who have already received prolonged
or intense light exposure, especially if the patients are infants, aphakes, or persons with
diseased eyes. Excessive exposure to light may result in patient injury. See warnings for
additional information.
2
Page 3
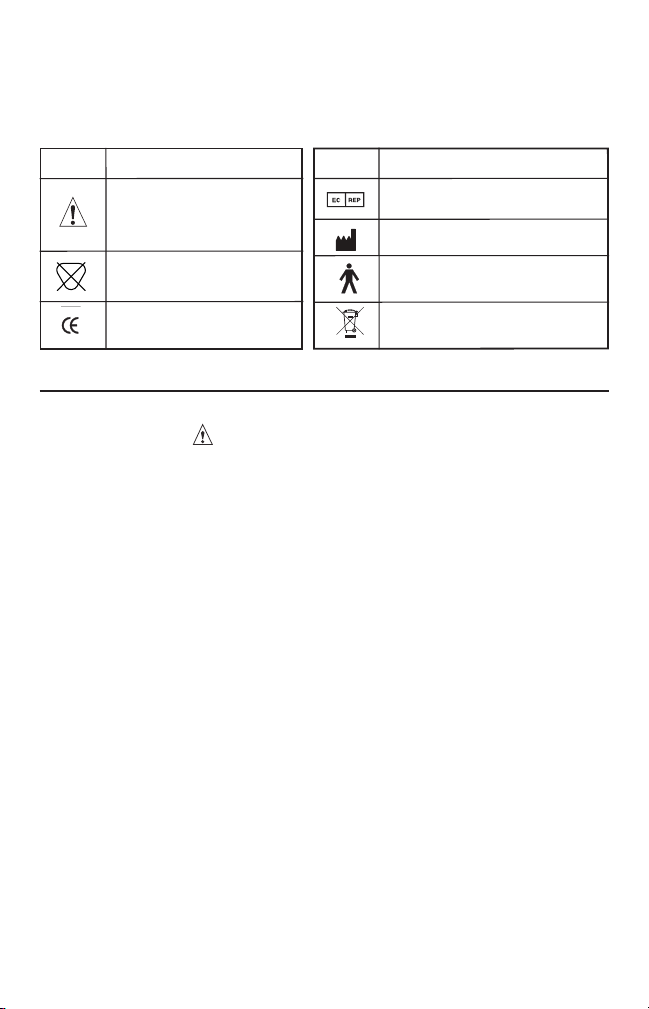
Symbol Definitions
LATEX
The following symbols are associated with your diagnostic instrument.
Symbol Definition
for Cautions and Instructions
for Use.
Conforms to EU Standards
Attention. Read Operating Manual
Not made with natural rubber latex
Symbol Definition
Represenative’s Information
Manufacturer’s Information
TYPE B. Indicates this is a product
with Type B applied parts
Do not dispose of this product
as unsorted municipal waste
Authorized European
General Warnings
A warning statement in this manual identifies a condition or practice which, if
not corrected or discontinued immediately, could lead to patient injury, illness, or
death.
CAUTION: Because prolonged intense light exposure can damage the retina, the use of
the device for ocular examination should not be unnecessarily prolonged, and the brightness setting should not exceed what is needed to provide clear visualization of the target
structures.
The retinal exposure dose for a photochemical hazard is a product of the radiance and
the exposure time. If the value of radiance were reduced in half, twice the time would be
needed to reach the maximum exposure limit.
While no acute optical radiation hazards have been identified for direct or indirect ophthalmoscopes, it is recommended that the intensity of light directed into the patient's eye
be limited to the minimum level which is necessary for diagnosis. Infants, aphakes and
persons with diseased eyes will be at greater risk. The risk may also be increased if the
person being examined has had any exposure with the same instrument or any other ophthalmic instrument using a visible light source during the previous 24 hours. This will
apply particularly if the eye has been exposed to retinal photography.
3
Page 4

CAUTION: Do NOT immerse the battery handle in liquid. Consult the cleaning and disinfection instructions for each part for further information about cleaning and disinfecting
this product. Never clean or disinfect any device with batteries in it.
CAUTION: Federal law restricts this device to sale by or on the order of a physician or licensed healthcare practitioner.
CAUTION: Turn off instrument when not in use. Avoid powering on without an instrument head
attached. When storing this device for extended periods of time, remove the batteries.
WARNING: The carrying cases provided with these devices are intended for long term
storage or transport between facilities or when shipping devices to and from ADC’s facility
for repair or servicing. Carry cases (including internal liners) can NOT be cleaned or disinfected and should be safely discarded if contaminated. Do not carry the case into a contaminated environment.
WARNING: When replacing lamp, allow lamp to cool for five minutes before handling.
WARNING: Only the approved sterilization method included in this IFU has been vali-
dated for this device or its corresponding components. Any other sterilization method
may compromise the safety and effectiveness of this device. (This includes steam sterilization.)
WARNING: Do NOT place devices or accessories back into carrying case after use on a
patient without first cleaning/disinfecting the device/accessories as described in the cleaning and disinfection section of this manual. Carry case liners can NOT be cleaned or disinfected and should be discarded if contaminated.
WARNING: Use of any accessories or materials not indicated in the user's manual can
degrade the minimum safety of the equipment.
WARNING: Only replace listed accessories (attachments), lamps, or batteries for the device.
WARNING: During use metal components near instrument head can become warm. This
is especially true if device is on for extended periods of time. Do not leave device on when
not in use.
WARNING:The light emitted from this instrument is potentially hazardous. The longer the
duration of exposure, the greater the risk of ocular damage. Exposure to light from this
instrument, when operated at maximum intensity, will exceed the safety guideline after
3 minutes and 47 seconds. Exposure times are cumulative for a 24 hour period.
4
Page 5

Otoscope Parts and Assembly
The Pocket Otoscope consists of a “AA” battery handle (#5160N), fiberoptic Otoscope
Instrument Head (5120N Series), with attached movable viewing lens, and disposable
specula (2.75mm and 4.25mm).
Removing and Attaching the Instrument Head
Pocket otoscope heads are threaded and can be removed by rotating the threaded connection counterclockwise, or attached by
rotating the threaded connection clockwise.
Viewing Lens
To move during an examination, turn the lens bezel clockwise to
lift up. To reposition, reverse procedure.
Attaching the Disposable Specula
Push the flanged end of the desired speculum onto the chrome
socket and twist counterclockwise to engage. Reverse
procedure to remove and discard after each use.
NOTE: Otoscope must be used with specula.
Pneumatic Otoscope
To perform, insert tapered end of insufflator fitting (5121N) sold
separately, into hole on side of Otoscope head. Attach optional bulb
assembly (5122N) sold separately.
5
Page 6

Ophthalmoscope Parts and Assembly
The Pocket Ophthalmoscope consists of a “AA” battery handle (5160N) and Ophthalmoscope
instrument head (5140N Series).
Aperture Selection
This unit is equipped with 5 internal apertures - small, large, semicircle, red-free, and fixation. To select, rotate the aperture selection
wheel at the front of the instrument head.
Corrective Lens Selection
This unit is equipped with 19 corrective lenses from +20 to -20
diopters (negative lenses in red). To select, rotate the
corrective lens selection wheel at either side of the instrument
head. Selected lenses can be viewed in the lighted panel on practitioner side of instrument.
Turning Instrument On
To illuminate, slide the on/off switch located on the battery handle
pocket clip away from the instrument head. Slide the switch in the op-
OFF
posite direction to turn off.
ON
Replacing Lamp
Remove the Instrument head by turning counterclockwise. Grab
end of lamp from inside base of instrument head and remove. Replace with new lamp, taking care not to touch glass, and align
lamp metal guides on side of lamp with grooves in lamp socket.
(Ophthalmoscope heads only).
NOTE: Allow lamp to cool for five minutes before handling if device has been recently used.
*NOTE: Otoscope LED lamp cannot be replaced, must order new
head with lamp.
6
Page 7

Lamp Replacement Part Numbers
Lamp Type Otoscope Ophthalmoscope
Hal/Xenon 5111N-4 5112N-4
LED 5120NL* 5112NL-4
Battery Replacement
This unit requires 2 “AA” batteries. For best performance, we
suggest alkaline batteries. To replace, remove the battery cap at
the base of the handle by turning counterclockwise and replace
batteries, taking care to observe correct polarity.
NOTE: This instrument should be turned OFF when not in use.
If storing for extended lengths of time, remove batteries
completely.
Handle Care and Maintenance
Periodically check the condition of both the batteries, making sure there is no sign
of corrosion or oxidation. Always replace BOTH batteries. Alkaline batteries are
recommended. Remove batteries from handle if instrument will not be used for
an extended period of time.
Cleaning and Disinfection
Basic Cleaning Procedure for Battery Handles,
Otoscope and Ophthalmoscope Heads
To clean the exterior of the device, prepare a 70% isopropyl alchohol solution and soak
a lint-free cloth. Wipe down the exterior of the ophthalmoscope head and handle, cleaning all external surface areas. Care should be taken to prevent excess liquid from seeping into the components.
7
Page 8

Isopropyl alchohol may be substituted with commonly used, EPA-registered hospital
disinfectant wipes for cleaning purposes if desired. Please refer to the directions
provided by the manufacturer of the wipes for appropriate instructions for use to ensure
effective contact time between the wipe and the device.
It is important to note that solution residue on the magnifying lenses may decrease device performance. All excess cleaning fluids must be carefully wiped clean if these surfaces are cleaned. The lenses of the instrument head may be cleaned with a lint-free
cloth or lens paper.
Steris Sterilization Processes
This product has been validated with the V-PRO 1 Standard Cycle; V-PRO 1 Plus
Lumen and Non Lumen Cycles; V-PRO maX Lumen, Non Lumen, and Flexible
Cycles; V-PRO 60 Lumen and Non Lumen Cycles using the V-PRO 60 Low
Temperature Sterilization System with VAPPROX® HC Sterilant and V-PRO maX Low
Temperature Sterilization System.
Disposable Specula Cleaning/Disinfection Instructions
Disposable specula should not be cleaned or disinfected in any way. Disposable specula are single patient use only and must be discarded after use. Disposable specula
should not be used if they appear to be visibly contaminated or have accidentally come
into contact with contaminated materials prior to use.
Troubleshooting
The following guidelines should be used to determine if your device has reached its
end of life or requires servicing. If the corrective actions described in this section do
not resolve your issues, please see the warranty section of this manual to have your device serviced.
8
Page 9

Otoscope and accessories Troubleshooting Guide
Trouble Area
No light output
Instrument head will not
connect
Trouble Area
Specula will not attach
properly
Loose or misaligned
magnifying lens
Poor or obstructed view
through lens
Dim light output
Possible Cause
Lamp burned out
Wrong Lamp Installed
Batteries are depleted
Lamp not fully inserted
Thread/connection is
damaged
Wrong specula used
Possible Cause
Specula mount is
damaged
Lens mount is
damaged
Lens is dirty
Lens is damaged
Lamp near end of
useful life
Batteries are depleted
Corrective Action
Replace the lamp
Replace the lamp
Replace with fresh “AA”
batteries
Re-insert lamp
Service required
Use only Welch Allyn rand
or compatible
Corrective Action
Service required
Service required
Clean with lint free cloth
Service required
Replace the lamp
Replace with fresh “AA”
batteries
Visible corrosion on
instrument or accessories
Damage from
excessive moisture
9
Service required
Page 10

Ophthalmoscope Troubleshooting Guide
Trouble Area
No light output
Instrument head will not
connect
Spot is not centered
Dim light output
Aperture or lens wheel will
not turn or does so with
difficulty
Possible Cause
Aperture dial is between
positions
Lamp burned out
Wrong lamp installed
Batteries are depleted
Lamp not fully inserted
Thread/connection is
damaged
The aperture dial is not
centered
Lamp near end of useful
life
Batteries are depleted
Dirt in or damage to
mechanism
Corrective Action
Rotate Aperture dial
Replace the lamp
Replace the lamp
Replace with fresh “AA” bat-
teries
Re-insert lamp
Service required
Move aperture dial to the full
detent position
Replace the lamp
Replace with fresh “AA” bat-
teries
Service required
Visible corrosion on
instrument
Damage from excessive
moisture
10
Service required
Page 11

Environment
Transportation / Storage: -20°C to +49°C (-4°F to 120.2°F)
Relative Humidity: 95 %
500 hpa – 1060 hpa, Altitude
Environmental Operating Range: 10°C to 49°C (50°F to 120.2°F)
RH 95 % (Max)
500 hpa – 1060 hpa, Altitude
Max. Operating: 35°C (95°F)
LIMITED WARRANTY
American Diagnostic Corporation (ADC
fects in materials and workmanship under normal use and service as
follows:
1. Warranty service extends to the original retail purchaser only and commences
with the date of delivery.
2. The instruments are warranted for one year. The LED lamps are warranted for life.
What is Covered:
Repair, or replacement of parts, and labor.
®
) warrants its products against de-
What is Not Covered:
Transportation charges to ADC®. Damages caused by abuse, misuse, accident,
or negligence. Incidental, special, or consequential damages. Some states do
not allow the exclusion or limitation of incidental, special, or consequential
damages, so this limitation may not apply to you.
11
Page 12

To Obtain Warranty Service:
Devices should be contained in their transport/storage cases when being
returned to ADC®to ensure that they are not damaged during transport and
handling. Do not ship contaminated devices or storage cases to ADC
cility.
®
’s fa-
Send item(s) postage paid to ADC
Hauppauge, NY 11788. Please include your name and address, phone no.,
proof of purchase, and a brief note explaining the problem.
Implied Warranty:
Any implied warranty shall be limited in duration to the terms of this warranty
and in no case beyond the original selling price (except where prohibited by
law).
This warranty gives you specific legal rights and you may have other
rights which vary from state to state.
®
, Attn: Repair Dept., 55 Commerce Dr.,
To Register Your Product,
visit us at
www.adctoday.com
and follow the links
12
Page 13

ADC
55 Commerce Drive
Hauppauge, NY 11788
ADC (UK) Ltd.
Unit 6, PO14 1TH
United Kingdom
Inspected, assembled and
packaged in the U.S.A.
Components made in Dubai
tel: 631-273-9600
toll free: 1-800-232-2670
fax: 631-273-9659
www.adctoday.com
info@adctoday.com
IB p/n 9362-00 rev 7
Printed in the U.S.A.
 Loading...