

AccuBANKER D585 User Manual
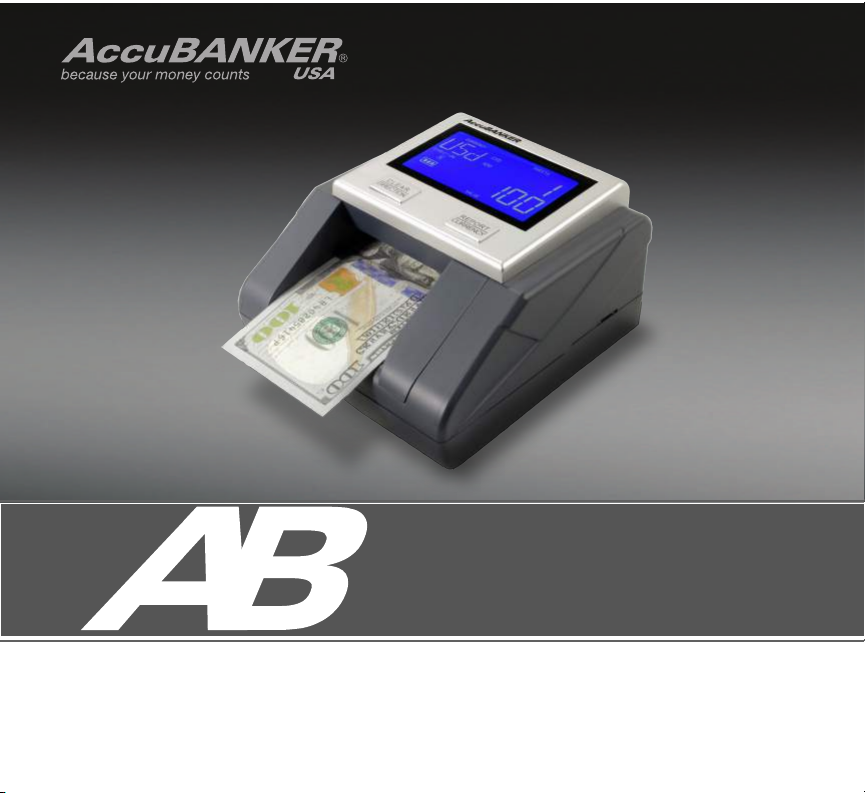
User Guide
Multi-Scanix D585
Thank you for trusting AccuBANKER with your cash handling needs. In
order to optimize the performance of your equipment, we encourage you to
thoroughly read this user guide prior to use.
AccuBANKER and its logo are registered trademarks of Hilton Trading Corp. All Rights Reserved.

Table of Contents
INTRODUCTION ...................................................................................................... 4
BOX CONTENTS....................................................................................................... 4
1. SAFETY INSTRUCTIONS .................................................................................. 5
2 .
EQUIPMENT OVERVIEW .................................................................................. 7
2.1 Part Description ............................................................... 7
2.2 Control Panel Description ............................................... 9
3.
OPERATION ....................................................................................................... 10
3.1 Basic Operation ............................................................. 10
3.2 Suspicious Bill Warning ............................................... 11
3.3 Report Function ............................................................. 11
3.4 Bill Exit Direction ......
3.5 Bill Positioning .............................................................. 13
4.
SOLUTIONS TO OPERATIONAL PROBLEMS ............................................... 14
4.1 Preventive Measures ........................................................ 14
4.2 Maintenance ................................................................... 15
4.3 Jamming .......................................................................... 16
SOFTWARE UPDATES ..................................................................................... 17
5.
ERROR MESSAGES .......................................................................................... 18
6.
SPECIFICATION
7.
....................................................................................... 19
.......
...................
................................
12
3

Introduction
The D585 incorporates the most modern techniques for the evaluation and
detection of counterfeit bills. This detector assesses in detail the security features
that are present in each bill and determines if these are genuine or suspicious. The
equipment automatically alerts the user both visually and audibly when a
suspicious bill is identified.
Box Contents
1. D585
2. Power Adapter
3. User Guide
4. Warranty Booklet
2.
3.
1.
4.
4
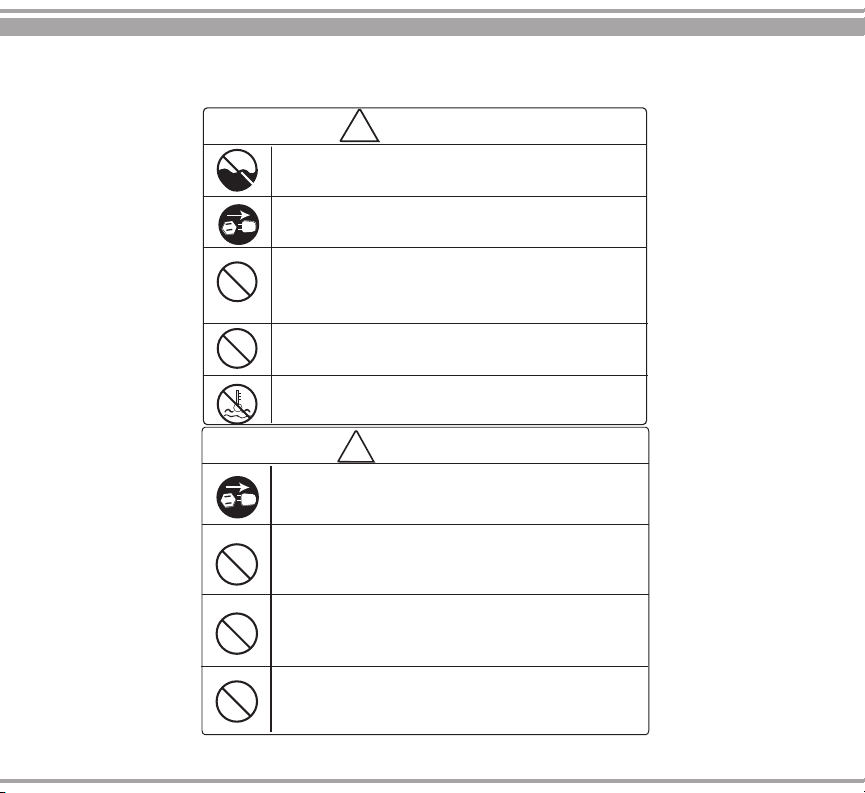
1. Safety Instructions
! Warning
Do not use this product in areas where it may be exposed to water or
other liquids.
Unplug this equipment from the wall outlet before cleaning. Do not use
liquid or aerosol cleaners. Use a damp cloth for cleaning.
To reduce the risk of electric shock, do not disassemble this equipment.
Take it to qualified service personnel when service or repair work is
required. Opening or removing covers may expose you to dangerous
voltages or other risks. Incorrect reassembly can cause electric shock when
the equipment is subsequently used.
Only use the cable provided with the unit. The use of other cables may
result in electric shock, fire or cause serious damage to the equipment.
Do not operate the equipment in areas with high temperature or high
humidity since it may prevent it from working correctly.
!
Caution
When unplugging the power cord, do not pull by the cord, but rather grip
the plug to pull it out. Not following these instructions may result in
electric shock, fire or damage to the equipment.
Do not use the equipment if the power cord is damaged or if the plug
socket contact is loose. Not following these instructions may result in
electric shock, fire or other hazards.
Do not place heavy objects over the cord and do not bend it excessively
since
it could get damaged. Not following these
electric shock, fire or other hazards.
instructions may result in
Remove the power plug from the wall outlet if the unit will not be used for
a long period of time.
5
Safety Instructions
cont.
•Follow all warnings and instructions marked on the unit.
•This equipment is meant to be operated in an indoor environment with proper ventilation.
•Do not place near direct sunlight, heat sources or air conditioners.
•This equipment should only be operated with the power cord supplied and the type of power source
indicated in this user guide. If you are not sure of the type of power supply in your location, consult
your vendor or local power company.
•To avoid risk of fire or electric shock, never push objects into the equipment through the case slots or
openings since they may touch dangerous voltage points or shortcut parts. Do not disassemble unit.
•Never spill liquids of any kind on the equipment.
•Unplug this equipment from the wall outlet and refer servicing to qualified service personnel under the
following conditions:
- When the power supply cord or plug is damaged or frayed
- If liquid has been spilled into the unit or it has been exposed to rain or water
- If the unit has been dropped or the case has been damaged
- If the equipment shows a noticeable change in performance *Not covered under warranty
If the unit does not operate normally while following the
instructions. Improper adjustment of other controls may result in damage and will often require extensive work by a
!
qualified technician to restore the product to normal operation.
*
*
*
instructions, adjust only those controls covered by the operating
6
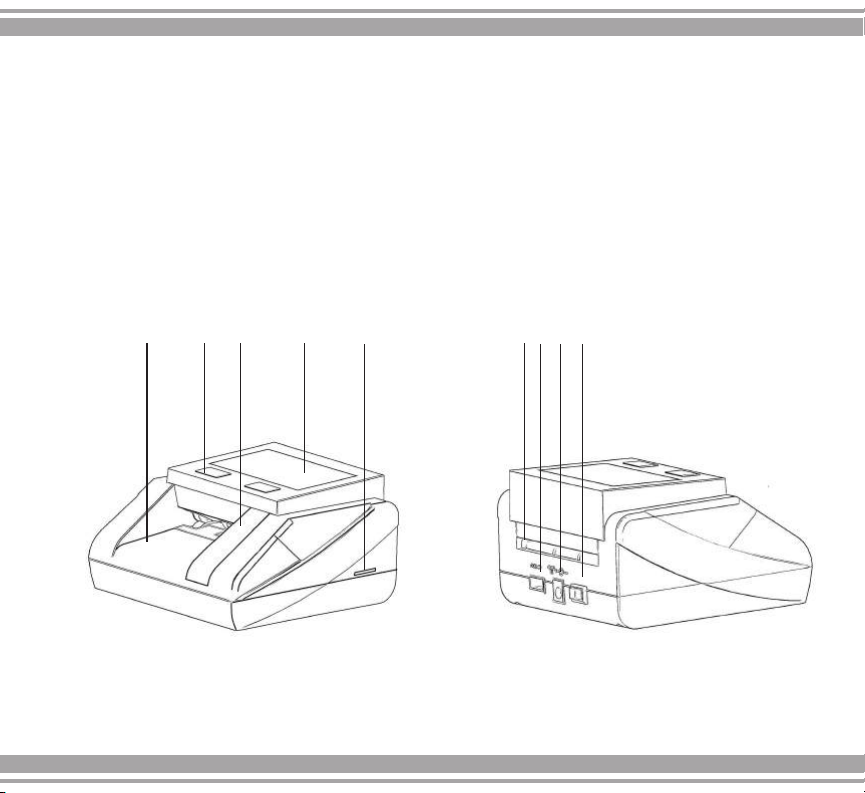
2.1 Part Description
2. Equipment Overview
1. LCD Screen
2. Control Buttons
3. Feeding Channel
4. SD Card Port
3
2
5. Bill Guider
6. Bill Exit Slot
7. USB Port
8. Adapter Port
9. On/Off Power Switch
5
4
1
7
6
7
8 9
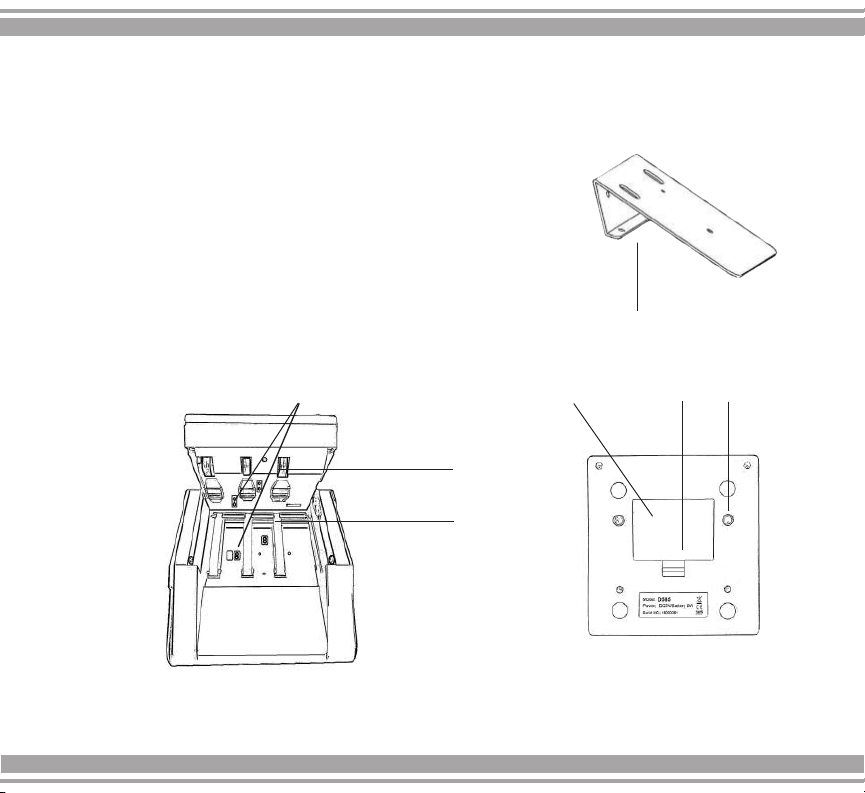
Equipment Overview
cont.
10. Infrared Sensors
11. Magnetic Sensors
12. Feeding Belts
13. Battery Compartment
14. Openings for AccuSTAND Metal Base
15. Battery
16. AccuStand Metal Base (sold separately/
optional accessory)
16
10
13
11
12
8
15
14
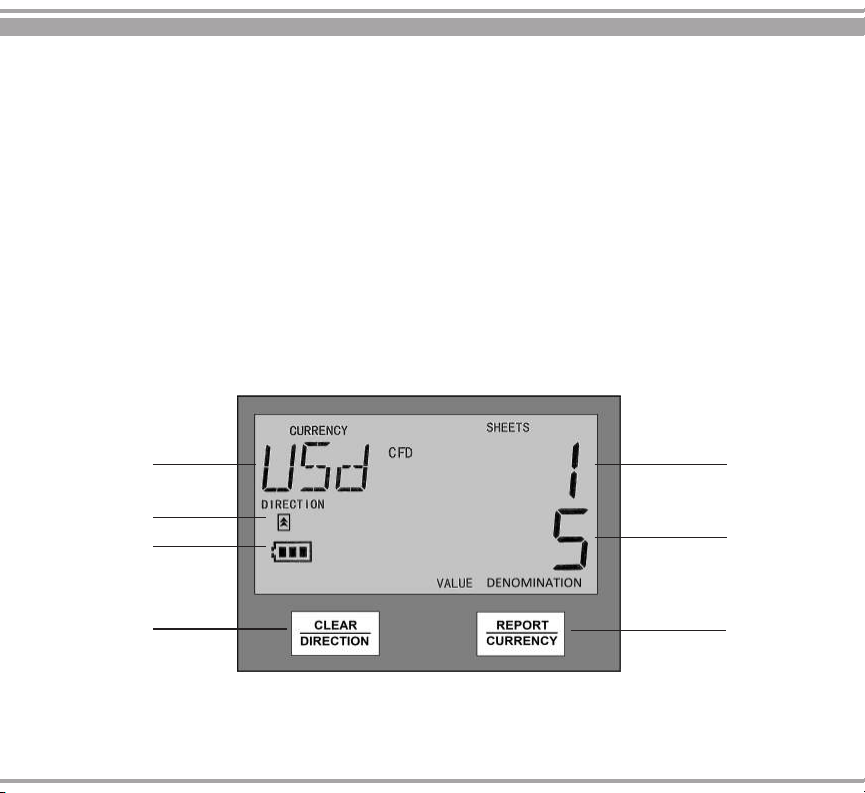
Equipment Overview
2.2 Control Panel Description
1. Currency Type Indicator
2. Battery Level Indicator
3. Bill Exit Direction
4. Amount of Verified Bills
5. Individual and Total Value of the Verified Bills
6. Shows the Report of Accepted Bills by Denomination / Select
the Currency Type to Verify
7. Change the Bill Exit Direction / Clear the Display Data
cont.
1
3
2
7
9
4
5
6

3. Operation
3.1 Basic Operation
1. Connect the power cable to the detector and then connect the adapter to the power
outlet. After turning on the detector, the equipment will begin a self-check process
that lasts about 5 seconds. The display will read 0, which means that the equipment is
ready to check the bills. If there is any error code, refer to the Error Messages section
of this user guide on page 18.
2. Select the type of currency to be verified (USD-EUR-GBP) by pressing the
CURRENCY button.
3. Insert the bill to be checked into the feeding channel (insert in any direction). When a
bill is presented at the feeding channel, an optical sensor located in the this compartment
allows the detector to automatically begin the verification process. The bill will pass
through the equipment and be analyzed immediately.
4. The detector will verify the bill and show the denomination as confirmation that it is
genuine. Its value will be added to the verified total.
5. If a bill is suspicious, it will be rejected and there will be two audible warnings. Its
value will not be added to the current verified total. The error code corresponding to the
suspect security parameter will appear on the screen as well as the word "FAILED". The
suspicious bill will then be rejected forward (even if the bill exit direction has been set
to exit through the back of the equipment).
10

Operation
cont.
3.2 Suspicious Bill Warning
This equipment checks the Magnetic (MG), Infrared (IR), Watermark (WM)
and Ultraviolet (UV) characteristics of the bills analyzed. If any of these security
features do not pass the authentication of the bill, an error code will be
displayed on the detector screen to show which security parameter failed. If
a bill is detected as suspicious, we recommended passing the bill at least three
more times in different positions. Bills can be rejected by the team due to
different reasons:
-Bills are too crumpled
-Bills are very stained or dirty
-Ripped bills
-Wet bills
-Bills stuck with adhesive tape or stapled
3. Report Function
By pressing the
show the number of bills counted for each denomination as well as the
corresponding total.
REPORT/CURRENCY button repeatedly, the detector will
11

Operation
cont.
3.4 Bill Exit Direction
The verified bill can be expelled though the back of the unit or be returned
through the feeding channel where it was inserted. The user can select the
desired bill exit direction by pressing the CLEAR / DIRECTION button.
Press the CLEAR/DIRECTION button and a corresponding symbol will be
displayed on the screen to indicate to the user that the bill will come out
through the front of the detector. Pressing this button again will change the
selection and the symbol on the screen will change, indicating to the user that the
bill will come out through the back
of the unit.
12
 Loading...