

Page 1
abcoffice
www.abcoffice.com
1-800-658-8788
Ketec, Inc
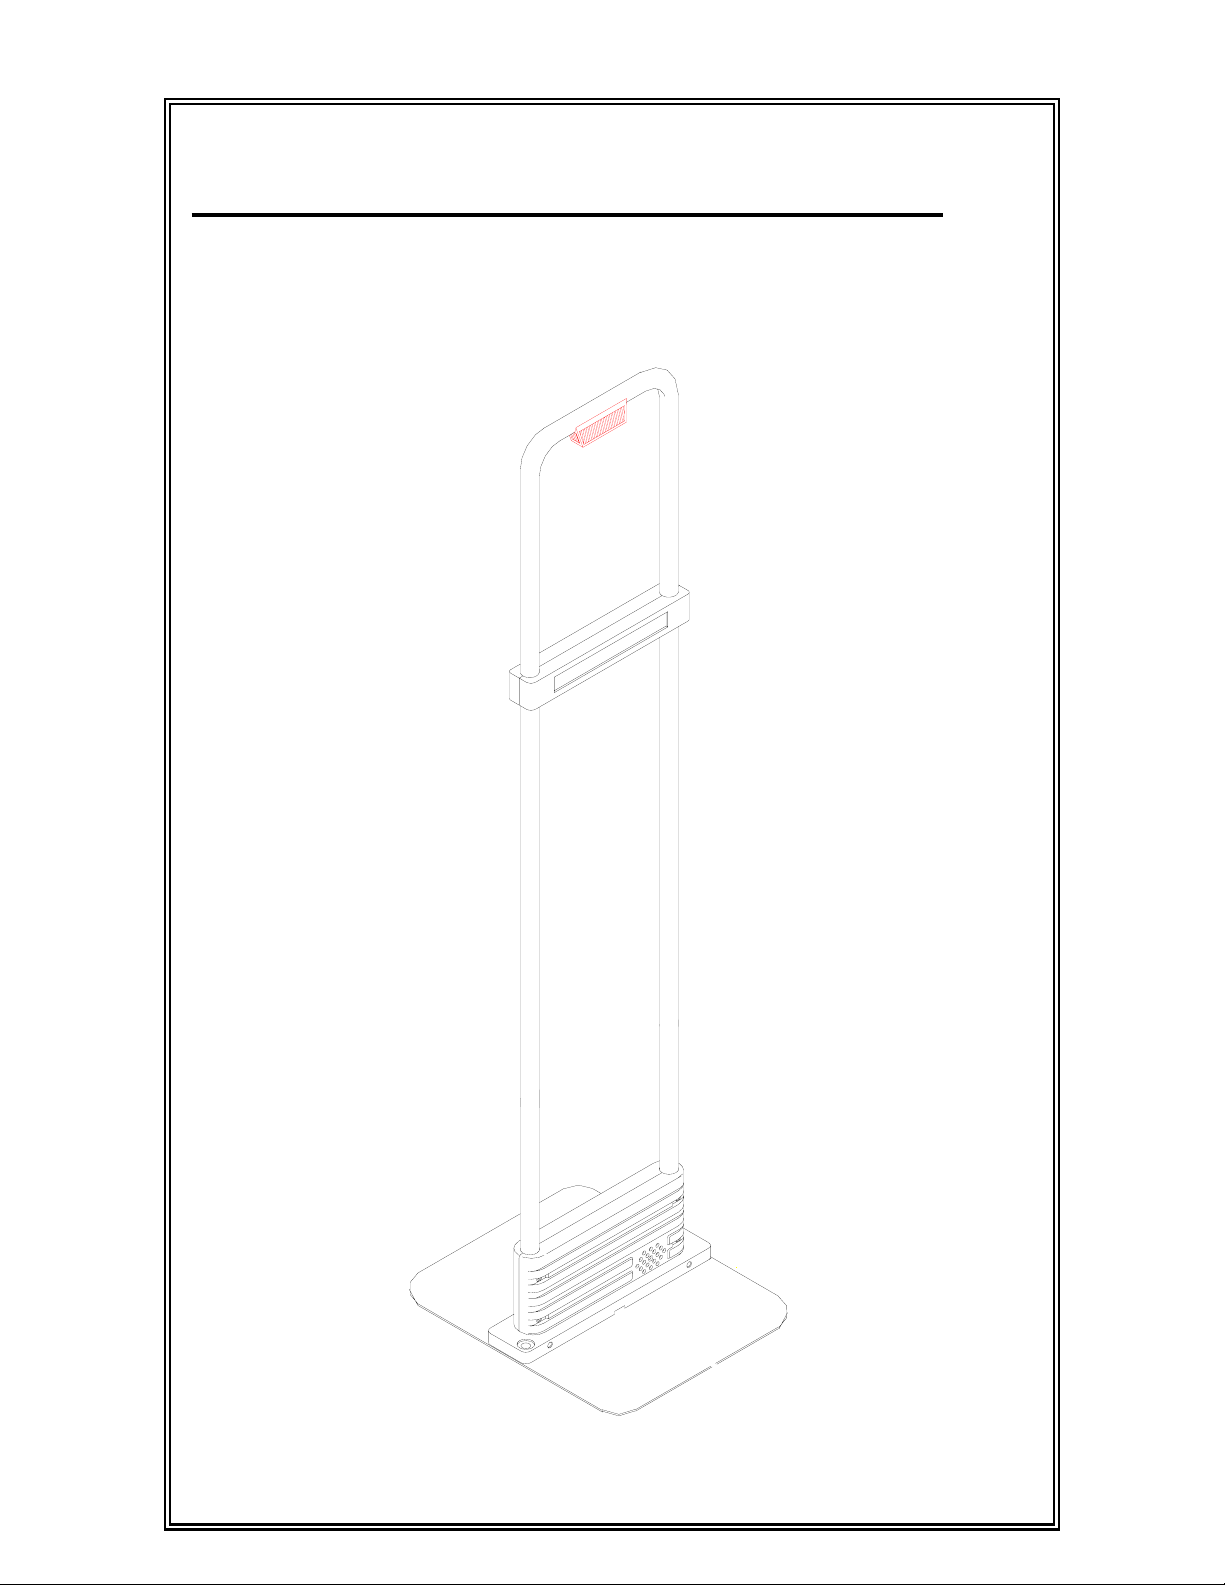
Shoplifting Protection
SP-1
KT7060
USERS GUIDE
24501
Page 2

abcoffice
www.abcoffice.com
1-800-658-8788
Parts List …………………………….1
Assembly Instructions……………… 2
Positioning the System ……………. 3
Tagging Guidelines …………………4
Removing Hard Tag……………….. 7
Detection Area ……………………... 9
Alarm Handling …………………….. 10
Troubleshooting ……………………. 11
Warranty…………………………….. Back Cover
SP-1 USERS GUIDE INDEX
Page 3
1-800-658-8788
www.abcoffice.com
abcoffice
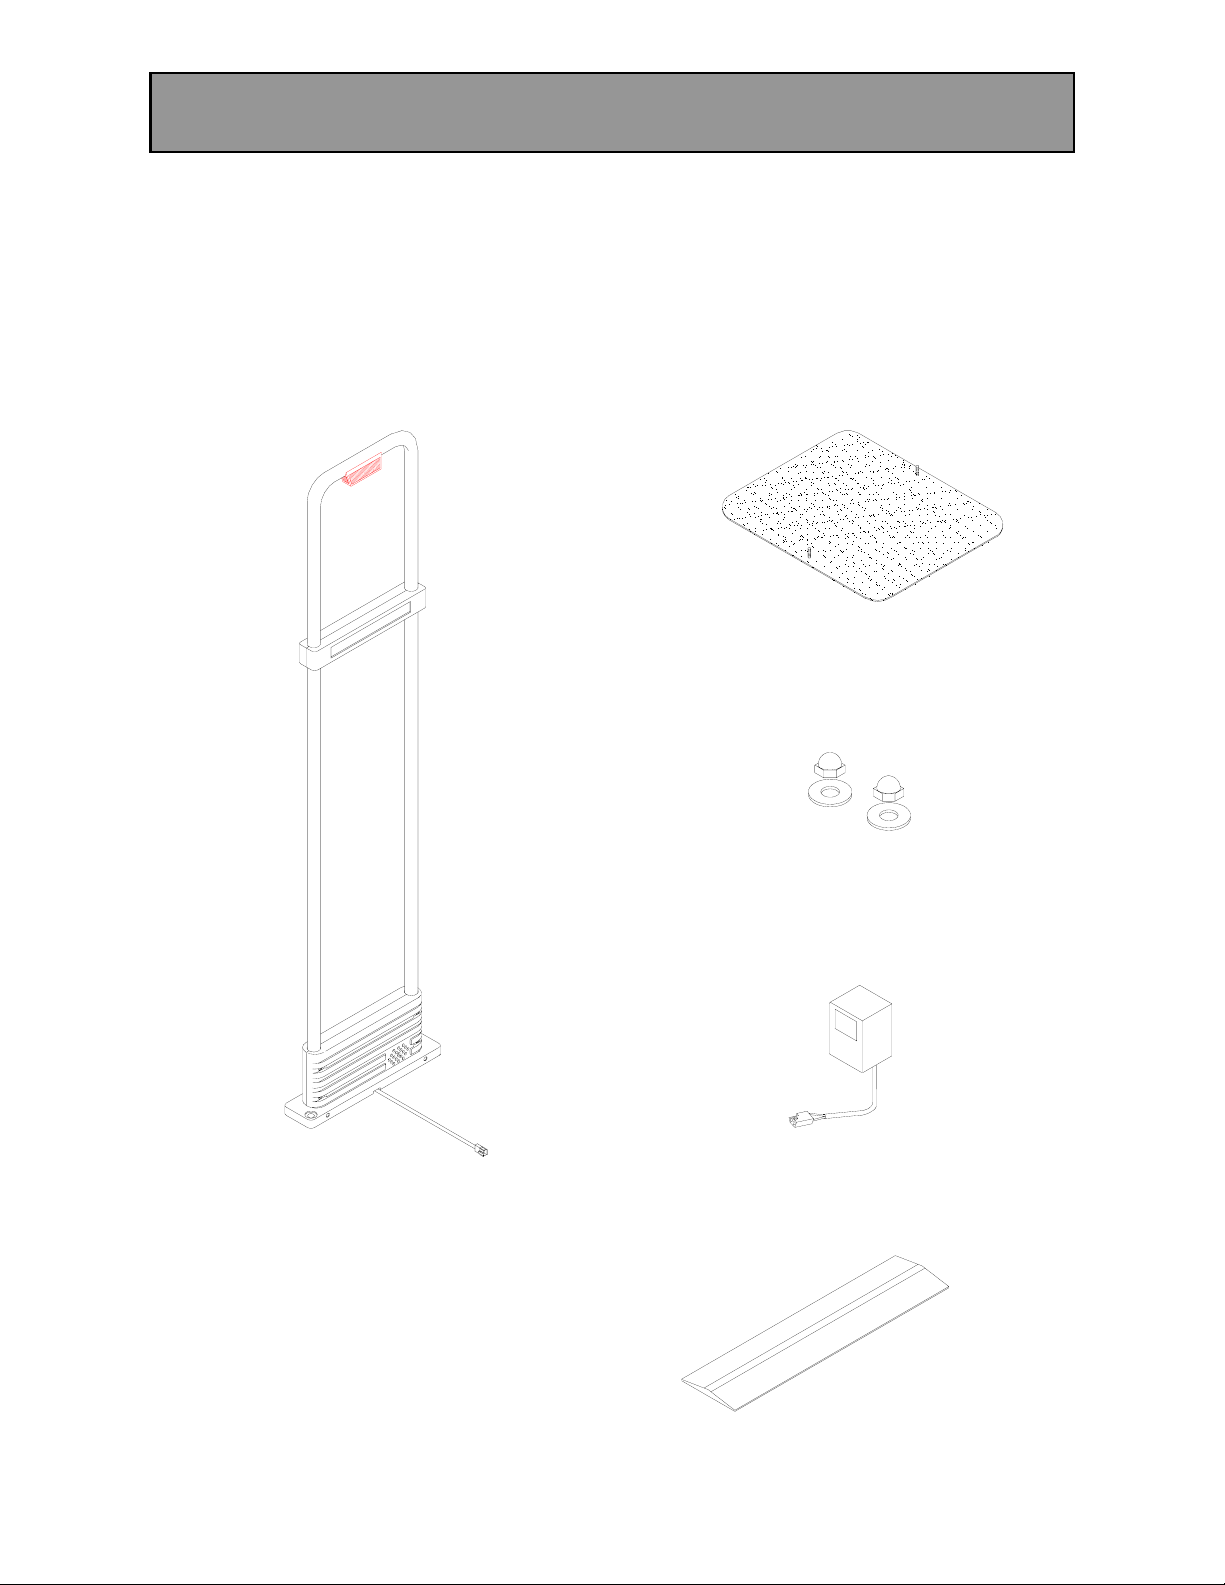
Remove all contents from packaging. Compare products with the example. If you
are missing any parts please contact your supplier immediately. The carton should
contain:
PARTS LIST
BASEPLATE SP-1 ANTENNA WITH WIRE
CAP NUTS AND WASHERS
POWER SUPPLY WITH 10’ OF
CORD
5’ RUBBER MOLDING &
DOUBLE SIDED TAPE
1
Page 4
1-800-658-8788
www.abcoffice.com
abcoffice
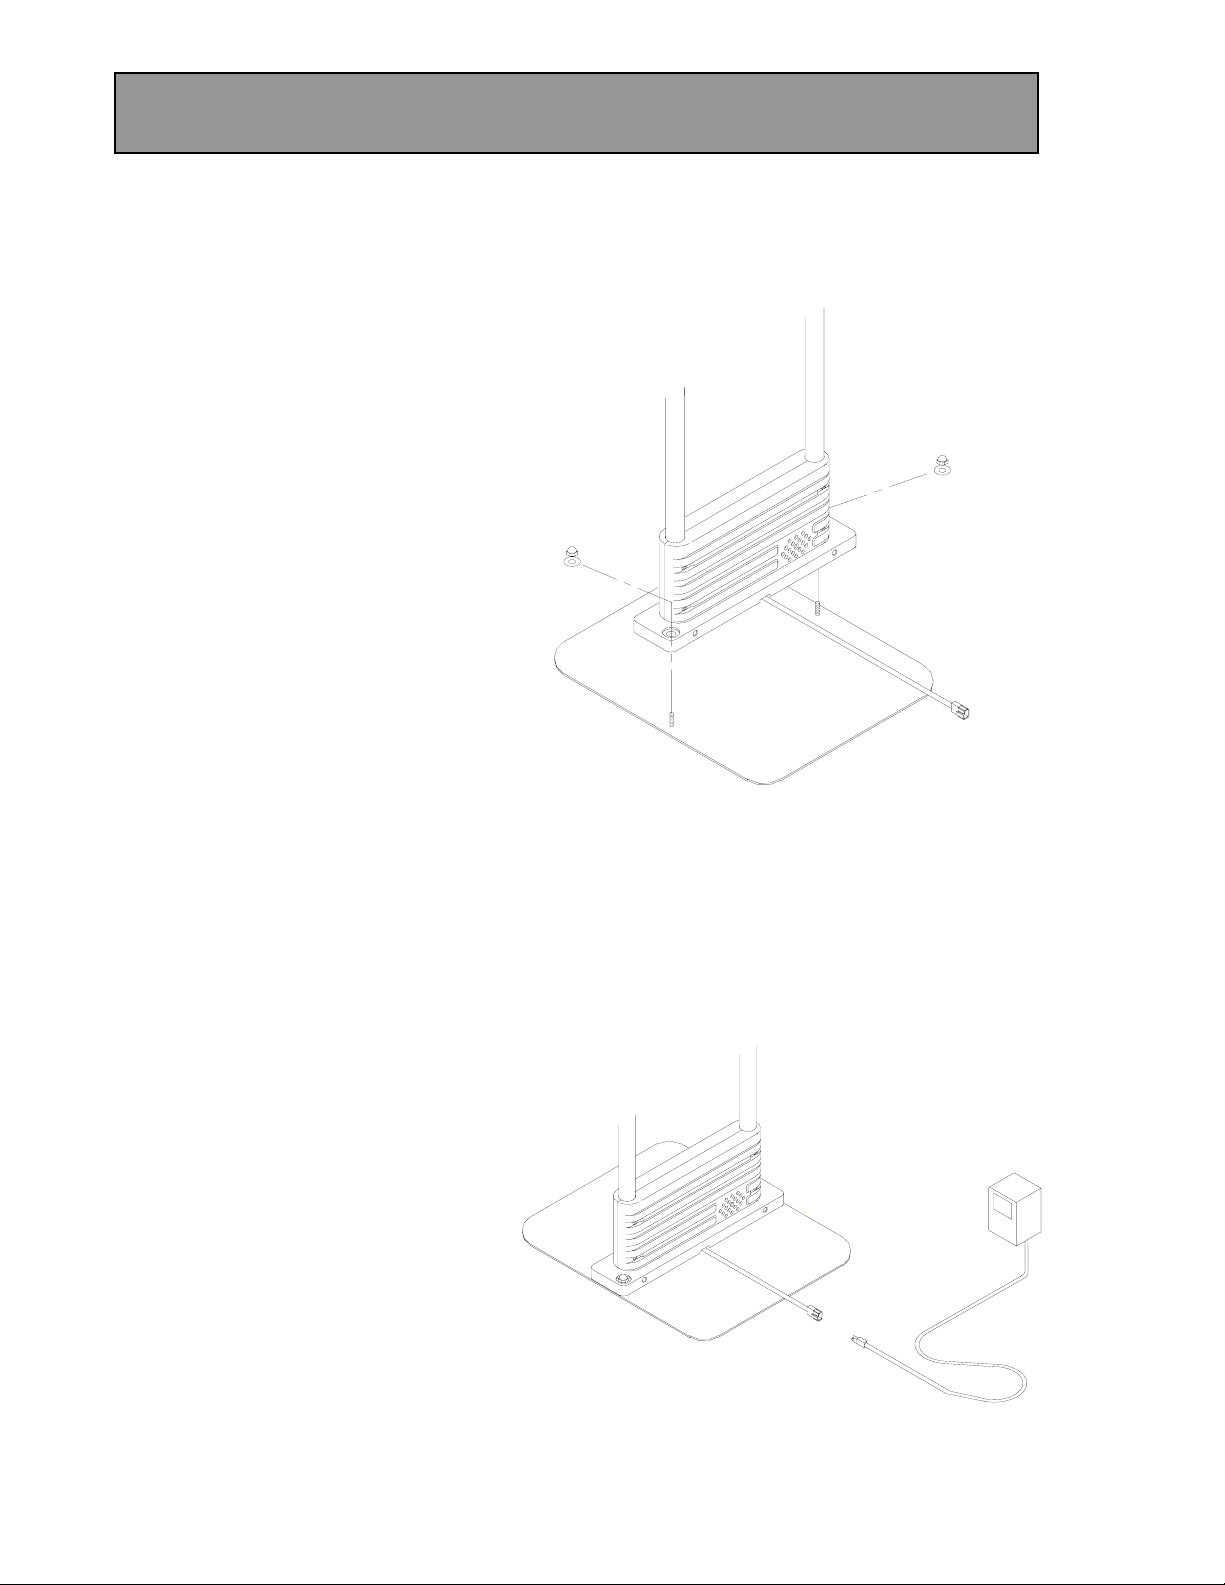
1. Locate the baseplate, cap nuts
and washers.
2. Place the antenna on top of
the baseplate, aligning the
holes in the antenna base with
the studs on the baseplate.
Make sure that the power
supply wire is in the channels
of the antenna base and is not
crushed between the antenna
base and the baseplate.
3. Attach the washers and cap
nuts to the bolts on the
baseplate. DO NOT TIGHTEN.
4. Again make sure that the
power wire is not crushed
between the antenna base and
baseplate and tighten the cap
nuts with a ½” wrench.
5. Connect the wire on the power
supply to the power wire
connected to the antenna. The
wires will only connect in one
direction.
ASSEMBLY INSTRUCTIONS
2
Page 5

1-800-658-8788
www.abcoffice.com
abcoffice
6. Position the system a
minimum of 18” (Inches) from
the doorframe and on the side
closest to the door handle.
7. Cut the rubber molding to the
length that will allow it to cover
the wire from the wall to the
system. You must cover the
wire, using a metal pancake
molding If the wire is in an
area where it will be walked
upon.
8. Insert the system power wire
into the rubber pancake
molding through the slit on the
back. Using double sided tape
fasten the rubber molding to
the floor.
9. Plug the power supply into the
closest outlet. We do not
recommend using an
extension cord for the system.
10. Test the system by placing
one of the hard tags into the
system. The system will beep
approximately 1-1/2 seconds
then reset. If a hard tag is held
in the system it will continue to
alarm.
POSITIONING THE SYSTEM
3
Page 6

1-800-658-8788
www.abcoffice.com
abcoffice
1. The tag should be visible to
the customer.
2. Tag uniformly, it speeds up
removal.
3. Tag near a price label. It
assists in the removal.
4. Place the tag as high as
possible when tagging silks &
light or stretchy fabrics.
5. Except for leather goods we d
not recommend locating the
tag at the seams. The seams
are easily cut open to remove
the pin.
6. Avoid placing tags on
waistbands, cuffs, hems or
perimeters. They can be easily
cut off.
7. Insert pins through the
garment then gently push into
the tag.
8. Never force the pin into the
tag.
9. Never use bent pins.
TAGGING GUIDELINES
o
4
Page 7

1-800-658-8788
www.abcoffice.com
abcoffice
TAGGING GUIDELINES
Dresses Pants
Bikini Bathing Suit
One Piece Bathing Suit
5
Page 8

1-800-658-8788
www.abcoffice.com
abcoffice
TAGGING GUIDELINES
Shoes Tennis Shoes
Belts Purses
6
Page 9

1-800-658-8788
www.abcoffice.com
abcoffice
1. Place the hard tag into the
detacher with the pin facing
up.
2. Remove the pin by holding the
hard tag to the detacher and
pulling straight up on the pin or
garment.
3. Remove the pin and hard tag
from the detacher and store for
future use.
REMOVING HARD TAG
7
Page 10

1-800-658-8788
www.abcoffice.com
abcoffice
It is possible for the locking mechanism to become jammed when the pin is pulled
extremely hard. It is possible to un-jam the pin so that you will be able to remove it
when needed.
The first step is to place the hard tag into the detacher then press on the head of the
pin. This should release the pressure on the locks allowing you to remove the pin.
If you are still unable to release the pin you can tap the locking mechanism (raised
area) on the corner of the sales counter, then put the hard tag back into the
detacher. The pin should now release.
REMOVING HARD TAG
8
Page 11

1-800-658-8788
www.abcoffice.com
abcoffice
The SP-1 system will detect hard tags within 4 feet to each side and 3 feet in front
of and back of the antenna. We recommend that you keep all merchandise with
hard tags a minimum of 4-1/2 feet from the sides of the system and 3 feet from the
front of and back of the system. This will reduce the possibility of the system being
alarmed by the displayed merchandise.
DETECTION AREA
4-1/2 Foot
No Tag Zone
4-1/2 Foot
No Tag Zone
3 Foot
No Tag Zone
9
Page 12

1-800-658-8788
www.abcoffice.com
abcoffice
There are three reasons for the system to alarm:
1. The REAL alarm:
The occurrence of a shoplifting attempt.
2. The ACCIDENTAL alarm:
a) Personnel neglected to remove a tag at the point of sale.
b) An electronic security access card has been carried into the store by a
customer, or
c) A previously purchased product, with an active tag, from another store
using a similar system.
3. The PHANTOM alarm:
The alarm sounds for no apparent reason.
If an alarm occurs follow your companies policies and procedures for the t
of alarm event.
ALARM HANDLING
ype
10
Page 13

1-800-658-8788
www.abcoffice.com
abcoffice
If a problem develops with the SP-1 system it is usually caused by common
occurrences. The following is a basic troubleshooting guide to be used prior to
contacting your supplier if the need arises. DO NOT MAKE ANY INTERNAL
ADJUSTMENTS TO THE SYSTEM PRIOR TO CONTACTING YOUR SUPPLIER.
NO DETECTION
1. Insure that the power supply is plugged into an AC with the proper voltage.
2. Feel the case of the power supply for warmth. Warmth indicates the power
supply is generating low voltage.
3. Check system detection with more than one hard tag.
4. Turn system 90 degrees and check for detection.
5. Move system to different area of store to check for detection.
WEAK DETECTION
1. Turn system 90 degrees and check detection.
2. Move system to different area of store and check detection.
PHANTOM ALARMS
1. Insure that no hard tags are within 4-1/2 feet of the system.
2. Turn system 90 degrees and monitor phantom alarms.
3. Move system to different area of store and monitor phantom alarms.
Contact your supplier for further instructions.
TROUBLESHOOTING
11
 Loading...