

Page 1
WARNING
WARNING: This is not a toy. Misuse may cause serious injury or death. Eye
protection designed specifically for paintball must be worn by the user and persons within
range. Recommend 18 years of age or older to purchase. Persons under 18 years of age
must have adult supervision. READ OWNER’S MANUAL BEFORE USING.
Rules of Safe Marker Handling
1. Treat every marker as if it were loaded.
2. Never look down the barrel of a paintball marker.
3. Keep your finger off the trigger until ready to shoot.
4. Never point the marker at anything you don’t wish to shoot.
5. Keep the marker on “safe” until ready to shoot.
6. Keep the barrel blocking device in/on the marker’s muzzle when not shooting.
7. Always remove paintballs and propellant source before disassembly.
8. After removing propellant source, point marker in safe direction and discharge until
marker is degassed.
9. Store the marker unloaded and de-gassed in a secure place.
10. Follow warnings listed on propellant source for handling and storage.
11. Do not shoot at fragile objects such as windows.
12. Every person within range must wear eye, face, and ear protection designed specifically to stop paintballs and meeting ASTM standard F1776.
13. Always measure your marker’s velocity before playing paintball and never shoot at
velocities in excess of 91.44 meters (300 feet) per second.
TABLE OF CONTENTS:
Page Topic(s)
2. . . . . . . . . . . . . . . . . . . . . . . . . . . . . . . . . . . . . . . . . . . . . Welcome
Warranty Information
3. . . . . . . . . . . . . . . . . . . . . . . . . . . . . . . . . . . . . . . . . . . . . Initial Assembly
Battery Installation
Attaching Propellant Source
4. . . . . . . . . . . . . . . . . . . . . . . . . . . . . . . . . . . . . . . . . . . . . Attaching Feeder/Hopper
Loading Paintballs
5. . . . . . . . . . . . . . . . . . . . . . . . . . . . . . . . . . . . . . . . . . . . . Parts Lists
6. . . . . . . . . . . . . . . . . . . . . . . . . . . . . . . . . . . . . . . . . . . . . Chronographing
7. . . . . . . . . . . . . . . . . . . . . . . . . . . . . . . . . . . . . . . . . . . . . De-Gassing
8. . . . . . . . . . . . . . . . . . . . . . . . . . . . . . . . . . . . . . . . . . . . . Maintenance
9. . . . . . . . . . . . . . . . . . . . . . . . . . . . . . . . . . . . . . . . . . . . . Storage
10. . . . . . . . . . . . . . . . . . . . . . . . . . . . . . . . . . . . . . . . . . . . Trouble Shooting Guide
11. . . . . . . . . . . . . . . . . . . . . . . . . . . . . . . . . . . . . . . . . . . . .Warranty Registration
1
Page 2
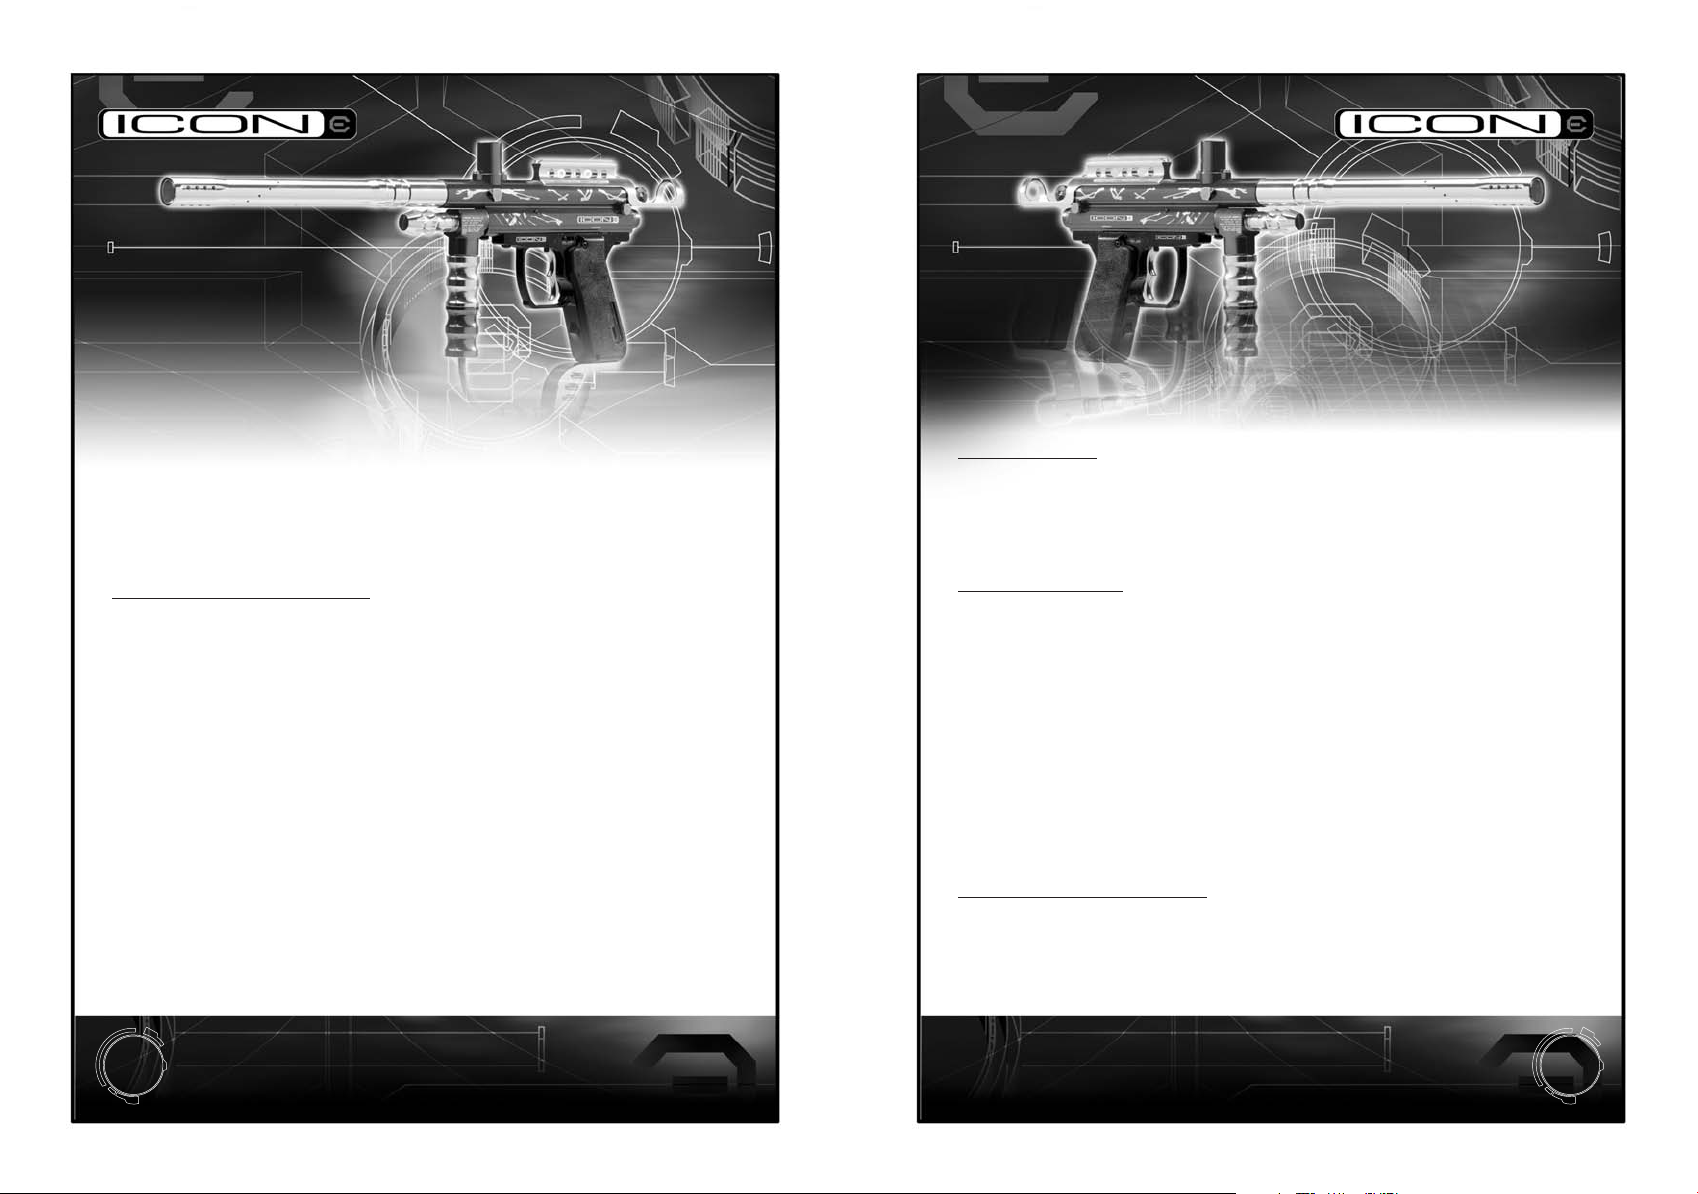
Welcome . . .Thank you for purchasing the Icon Electronic Paintball marker. The Icon-E
represents the culmination of a great deal of research by 32 Degrees, along with input
from players such as you. We believe that the affordability of a reliable, feature-packed
marker will improve your playing experience and winning percentage. While winning
isn't everything, it sure beats the alternative!
Play hard, play safe, play to win!
WARRANTY INFORMATION
Standard Warranty:
The manufacturer warranties to the original customer that this product is free from defects in
material and workmanship under normal use and service for a period of 90 days from the
original date of purchase by the initial owner/purchaser. The manufacturer agrees to repair or
replace (at its discretion) any product within a reasonable period of time. This warranty does
not cover: o-rings, scratches, nicks, normal wear and tear of parts, any modifications or
normal fading of anodizing or damage caused by dropping or hitting of the product. This warranty shall not apply if it is shown by the manufacturer that the consumer caused the defect
or malfunction because of misuse. This warranty only covers original factory parts. Any modifications or tampering of original factory parts will not be covered by this warranty. Warranty
work can only be conducted by the manufacture technicians and or authorized technicians.
If product needs to be repair, package it carefully and send it together with your name,
address, phone number and a brief description of the malfunction to: Paintball Solutions
570 Mantua Blvd
Sewell, NJ 08080
Extended Warranty:
By returning the enclosed warranty registration card or registering your warranty on-line at
www.PaintballSolutions.com, within fifteen days of purchase the warranty will automatically
be extended for an additional year.
Initial Assembly
1. Screw the barrel (#23) hand tight into the Main Body (#34).
2. Screw the Velocity Adjuster (#12) into the Hammer Plug (#24) approximately two
complete turns.
3. Place a Barrel Plug or Barrel cover into/on the end of the barrel. The barrel is the top
chamber of the Main Body (#34).
Battery Installation
1. Find the safety switch located on the left side of the marker just above the Left Grip
Panel (#36).
2. Make sure the switch is in the “Safety” position (toward the rear of the marker).
3. Using a screwdriver, remove the three Grip Panel Screws (20) from the left side (side
facing you if the barrel is pointing to your left) of the Grip Panel (36).
4. Install the 9-volt battery.
NOTE: We recommend the use of a strong, brand name battery, such as Duracell or
Energizer, for a longer lasting charge and better performance.
5. Push the safety switch towards the on position (toward the front end of the marker).
6. Confirm that the LED light located on the grip is lit, signifying that the battery is good
and properly installed.
7. Push the safety switch to the off position toward the rear of the marker.
8. Replace the Grip Panel using the three Grip Panel Screws, being careful not to pinch
the wires leading to the battery connector and those leading to the circuit board.
Attaching Propellant Source
1. Confirm that the Barrel Plug is properly installed and the marker is on “Safe.”
2. Cock the marker by pulling the Bolt (#28) in the rearward direction until it “clicks” into
place. This compresses the Main Spring (#2) and allows the Cupseal (#7) to properly seat.
3. Point the marker downward and in a safe direction.
4. Place a few drops of non-corrosive lubricant made specifically for use in paintball (Empire
2
3
Page 3

Oil) into the Tank Adapter (#14). This will run the oil through the valve to ensure the ORings stay moist and do not dry or crack. Failure to do so may cause the marker to leak.
5. Place the leading end of the propellant cylinder threads into the threaded interface of the
Tank Adapter (14).
6. Without pushing, twist the propellant cylinder in a clockwise direction and allow the cylinder
threads to “draw” it into the Tank Adapter. DO NOT force the cylinder; it could cause cross
threading, not covered by warranty.
7. Screw the propellant cylinder completely in until it is firmly seated.
Attaching Feeder/Hopper
1. Confirm that the Barrel Plug is properly installed on the marker and is on “Safe.”
2. Attach the vertical feed elbow that is provided with your marker and hand tighten the
thumb adjustment screws onto the Vertical Feed Neck (#11). DO NOT OVER TIGHTEN.
Over tightening can cause the vertical feed elbow to crack.
3. Press the neck of the Feeder/Hopper into the Vertical Feed Neck (11) until it is
completely seated.
4. Position the Feeder/Hopper so that the lid is facing the rear of the marker and the
Feeder/Hopper is parallel to the Main Body (34).
5. Tighten down the top screw on the vertical feed neck to secure the feeder/hopper
into place, again being sure not to over tighten.
Loading Paintballs
The performance of your marker is directly affected by the quality of paintballs used. We
highly recommend Diablo paintballs to give you satisfaction and success on the playing field.
1. Confirm that the Barrel Plug is properly installed and the marker in on “Safe.”
2. Point the marker in a safe direction and load paintballs in the Feeder/Hopper. If you
are using a non-motorized hopper, be sure to leave some room in the hopper for the
balls to feed properly.
4
45
26
ICON E Parts List
1. Hammer
2. Main Spring
3. Recoil Pad
4. Spring Strut
5. Quick Strip Pin
A. R-Clip
6. Gas Valve
7. Cupseal
8. Valve Spring
9. Valve Gas Plug
10. Valve Stop Pin
23
33
16
16 16 16
16
31
15A
32
8
11. Vertical Feed Neck
12. Velocity Adjuster
13. Metal Ball Detent
14. Tank Adapter
15. Air Filter
16. Multi-Use O-Ring
17. Grip Frame Pin Set
18. Vertical Feed Screws
19. Bottomline Screws
ELECTRONIC GRIP
FRAME Parts List
E01. Wiring Harness/Trigger
Switch
E02. Solenoid
E03. Ci rcuit Board
18
7
16
6
15A
15
25
B. Locking Set Screw
A. Air Filter O-Ring
E04. ON/OFF Switch Screws
E05. Solenoid Set Screws
13
11
22
29
27
34
9
10
30
14
19
19
20. Grip Panel Screws
21. Grip Frame Screws
22. Vertical ASA Screw
23. Barrel
24. Hammer Plug
25. Gas Line
26. Low Pressure
Chamber
27. Sight Rail
A. Sight Rail Screw
28. Bolt
E06. Ci rcuit Board Screw
E07. Battery Lead
5A
27A
1
16
5
35
21
40
E01
A. Connecting Pin
C. Connecting Pin Set
Screw
29. Drop Forward
30. Drop Forward
Screws
31. Expansion Chamber
32. Gas-Thru
33. Vertical ASA
34. Main Body
35. Grip Frame
16
16
28C
28
28A
3
2
4
12B
12
24
17
E04
E05
37
38
E02
E19
46
21
E03
E06
E07
20
36
20
36. Grip Panels
37. Electronic Sear
38. Sear Spring
40. Trigger
45. Barrel Plug
46. Drop Forward
Re-tension Screw
5
5
Page 4

Chronographing
Never operate your marker without first checking the velocity and confirming that you
are firing below that required on the field of play. At no time should the marker fire
paintballs in excess of 300 feet per second. Higher velocities are not only potentially
dangerous; they often result in a substantial increase in paintballs broken in the marker.
1. Confirm that the Barrel Plug is properly installed and the marker is on “Safe.”
2. Using a 5/64 hex key (not included), make sure the Velocity Adjuster Locking Set
Screw (#12B) is backed out without removing it.
3. Make sure that you and anyone within range is wearing eye protection designed
specifically for paintball.
4. While pointing the paintball marker in a safe direction, remove the Barrel Plug and
move the safety switch to on.
5. Point the marker over the chronograph and in a safe direction.
6. Pull the trigger and observe the reading on the chronograph.
7. To increase the velocity, turn the Velocity Adjuster (#12) clockwise.
8. To decrease the velocity, turn the Velocity Adjuster (#12) counter-clockwise.
9. Once the desired velocity has been reached, use the 5/64 hex key (not included) to
turn the Velocity Adjuster (#12) Set screw in until it binds against the Hammer Plug
(#24). This will prevent the Velocity Adjuster from moving during play and is required
by most competitions and fields.
10. Re-install the Barrel Plug and place the marker on “Safe.”
11. Proceed to the playing field.
12. Keep the safety in the “Safe” position and the Barrel Plug in place until ready to play.
De-Gassing
1. Make sure that you and anyone within range is wearing eye protection specifically
designed for paintball.
2. Set “Safety” switch to the safe position.
3. Point the marker in a safe direction.
4. If you are using a motorized feeder, turn it off.
5. Loosen the bottom screw from the vertical feed elbow.
6. Invert the marker so that the hopper/feeder is upside down and paintballs are no
longer feeding into the marker.
7. Remove the hopper/feeder from the marker.
8. Twisting the barrel in a counter-clockwise direction, remove it from the marker.
9. While now pointing the marker in a safe direction, move the “Safety” on/off switch to
the on position.
NOTE: There may still be a ball in the chamber! Make sure you are in a safe area to
fire the marker safely!
10. Pull the trigger and allow the marker to cycle to confirm the absence of paintballs in
the marker's breech. If a ball discharges, repeat until no more paintballs come out
of the marker.
WARNING: When removing the cylinder from the marker, it could fly off with enough
force to kill if the valve unscrews from the cylinder. LOOK at the valve when removing
the cylinder. STOP if the valve starts to unscrew from the tank. Screw it back on and
take it to a trained person for repair.
6
7
Page 5

11. Unscrew the propellant cylinder approximately one complete revolution.
12. Pull the trigger until the marker fails to re-cock (if this takes more than 10 shots,
unscrew the cylinder an additional turn and repeat).
13. Remove (See Warning Above) the propellant cylinder.
Maintenance
WARNING: All maintenance should be performed with an unloaded and degassed
marker ONLY.
Bolt and Hammer
1. De-gas the marker according to previous directions.
2. Always perform maintenance over a smooth, clean work surface. This will help
prevent the accidental loss of small parts.
3. Make sure the bolt is in the forward position before proceeding.
4. Remove the Quick Strip Pin (#5).
5. Remove the Hammer Plug (#24) from the rear of the Main Body.
6. Pull the Bolt (#28) from the rear. This will also remove the Spring Strut (#4), Main
Spring (#2), Recoil Pad (#3), and Hammer (#1).
7. Clean the Bolt thoroughly; this includes rinsing in warm water if needed. Be sure to
dry all parts well before the next step.
8. Lubricate the Bolt and Hammer with non-corrosive lubricant such as Empire Lube or
Empire Oil.
9. While pointing the marker downward, place the Bolt's Connecting Pin (#28A) into the
hole on top of the Hammer. Guide this assembly in to the rear of the Main Body.
10. The Striker will likely stop when it makes contact with the top of the Sear (#37).
11. Push the “Safety” to the on position; this should light the LED on the circuit board to
signify it is on.
12. While putting slight pressure on the rear of the bolt, pull the trigger (this depresses
the Sear and allows the Bolt/Hammer assembly to travel forward).
13. Push the “Safety” to the OFF position and the LED on the circuit board should shut off.
14. Return the Main Spring, Recoil Pad, and Spring Strut to their proper position following the schematic on Page (5).
15. Place the Hammer Plug into the rear of the Main Body with the longest portion of
the Main Spring / Spring Strut.
16. Push the Hammer Plug in and replace the Quick Strip Pin.
Storage
Always turn off the marker and remove the hopper/feeder, all paintballs and propellant
source and place it in a secure location where it cannot be accessed by unauthorized
persons.
8
9
Page 6

Trouble Shooting Guide
Symptom Cause Cure
Does not Fire Not Cocked Cock the Bolt to the Rear
On “Safe” Switch On/Off Switch to the “On” Position
Bad Battery Replace w/Fresh Duracell or
Leaks Air Down Barrel Bad Cup Seal Replace/Re-set Cupseal
Not Cocked Cock the Bolt to the Rear
Leaks Air from ASA/Bottle Bad Bottle O-Ring Replace Bottle O-Ring
Interface
Does not Re-Cock Low on Gas Refill or Replace Propellant Source
Bad Hammer or Hammer O-Ring Replace Hammer or Hammer O-Ring
Needs Lubrication Lubricate Hammer and Bolt
Debris around Bolt/Hammer Remove Bolt/Hammer and
Goes “Full Auto” Sear Not Catching Tighten Grip Frame Screws (32)
Low on Gas Propellant Source Refill or Replace Propellant Source
Bad Hammer or Hammer O-Ring Replace Hammer or Hammer O-Ring
Needs Lubrication Lubricate Hammer and Bolt
Excessive Ball Breakage Low Quality Paintballs Use better Paintballs Such as Diablo Brand
When in doubt, thoroughly clean and lubricate the marker. Many marker function
problems are caused by excessive dirt or lack of lubrication.
For further assistance go to www.PaintballSolutions.com
Energizer brand batteries
clean parts and breach
Warranty Registration
To assist us in providing the best customer service possible and to increase your warranty
from 90 days to one year at no additional cost Complete and mail this to:
Paintball Solutions
570 Mantua Blvd.
Sewell, NJ 08080
Or register online at www.PaintballSolutions.com
Marker Type: Icon E
Name: ____________________________________________________
Address: __________________________________________________________
__________________________________________________________
City: _____________________ State:________ Zip: ______________
Country: ________________________________
Email Address: _____________________________________________
Serial Number (located on left side of marker):_
Date of Purchase: ___________________________________________
Place of Purchase: ___________________________________________
____________________
10
11
 Loading...