


SMARTPLUG USER GUIDE

2
TABLE OF CONTENTS
Welcome
The Hardware
Setup
Features
Zuli Presence
Introduction
Calibration
Settings
FAQs
Specifications
Safety
Other
3
Welcome to Zuli!
Inside the packaging, you’ll find a Quick Start
Guide with some basic information.
The Zuli Smartplug is Bluetooth Smart enabled
and can be controlled from an iPhone (4s or
later) and iPod Touch (5 or later).
Each Zuli Smartplug gives you on/off control of
appliances, dimming control of lamps, energy
usage monitoring, scheduling and, Zuli
Presence, which adapts to your preferences as
you move throughout your home.
WELCOME
4
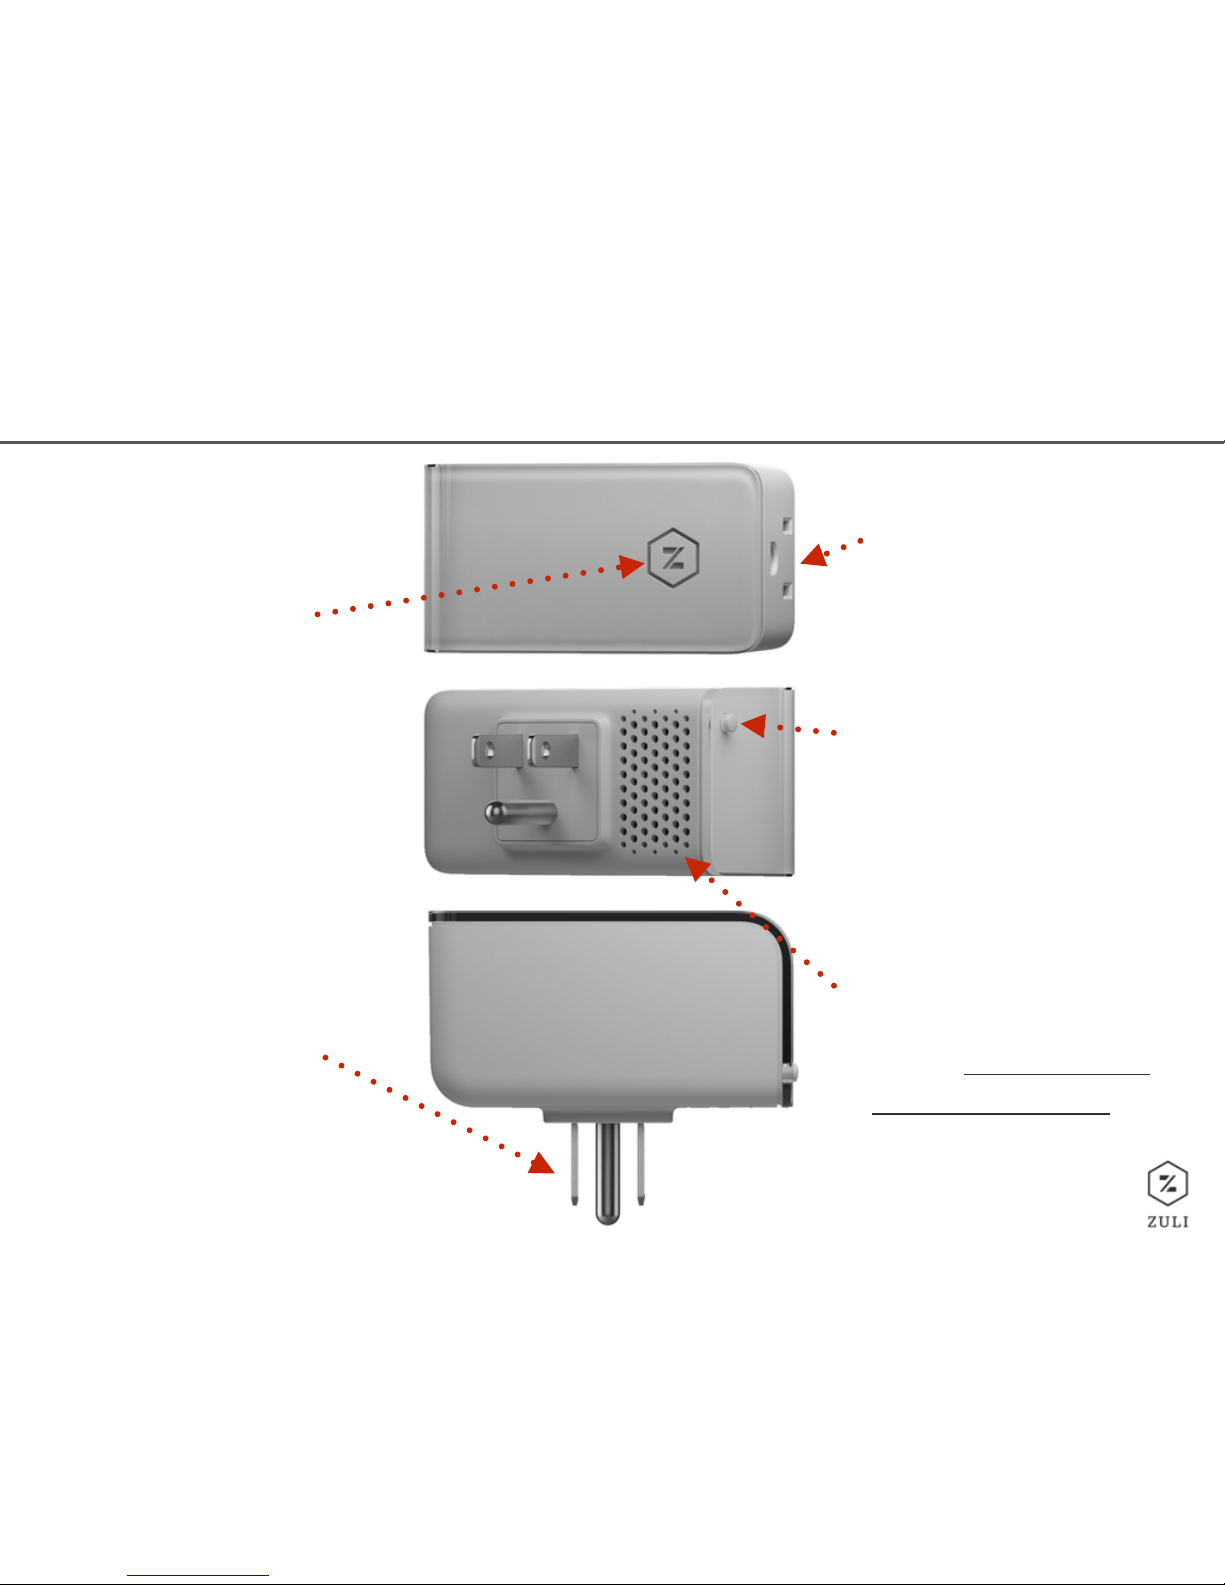
THE HARDWARE
Receptacles: Plug in a
lamp or other appliance
in here.
Button: Physical On/Off
switch and used for
factory reset (page 26)
Vent: This is a heat
vent for the dimming
circuit. DO NOT STICK
ANYTHING INSIDE.
LED logo: This logo has
multiple color and
blinking states that mean
different things. See
Specifications (page 24) to
learn more.
Prongs: Plug this end
into any 120V North
American outlet to
power the Smartplug.

5
SETUP
Setting up your Smartplug!
Over the next few pages, we’ll go
through the setup process. We’ve
also created a number of helpful
videos which appear in our Training
Videos Dropbox folder. Access the
folder any time to view videos on
how to use Zuli. We’ve also linked
them throughout this document for
you.
If you have additional questions at
any time, please contact Zuli
Support by visiting support.zuli.io or
emailing support@zuli.io.
Click here to see an overview of
our Setup process.
6
SETUP
Download App
Visit the www.zuli.io/download to
download the Zuli App so you can get
started.
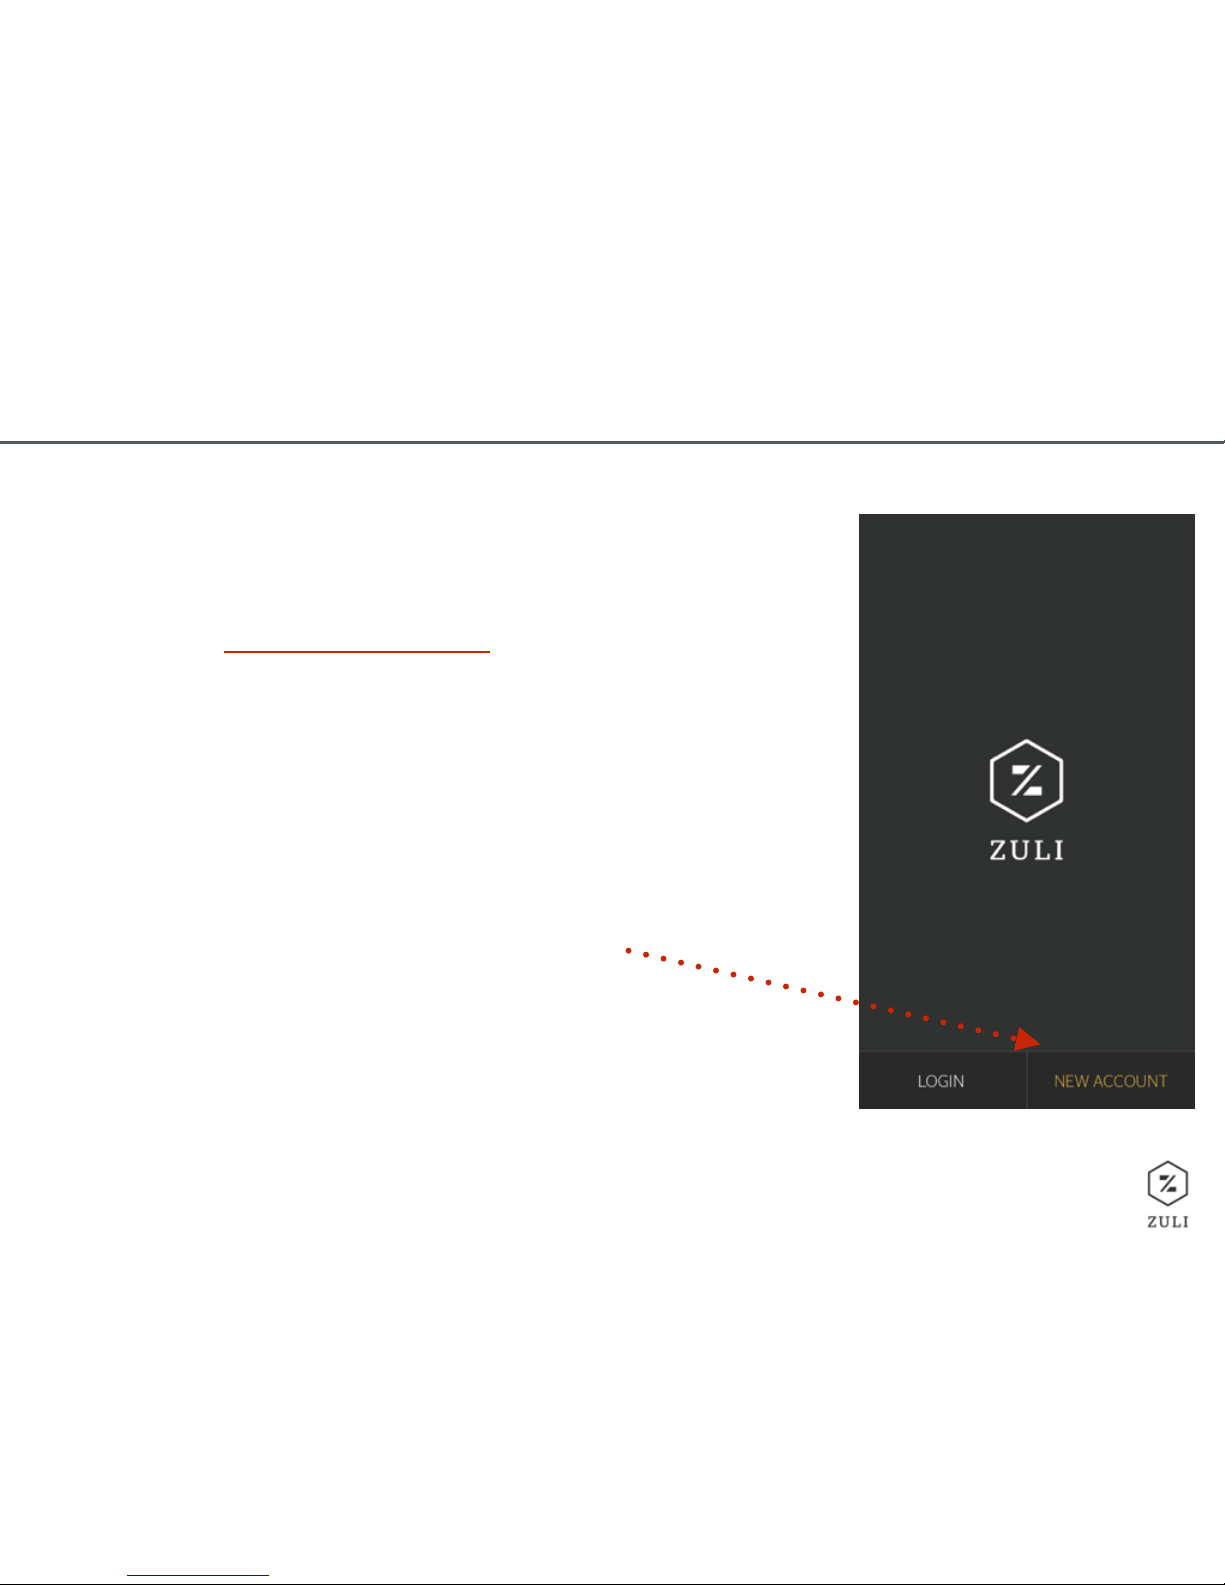
Create Account
If this is your first time using Zuli, you will
need to create a user account. Open the
app and tap “New Account.” Enter your
name, your email address and create a
password (8 character min).
1. Download the app & create an account
7
SETUP
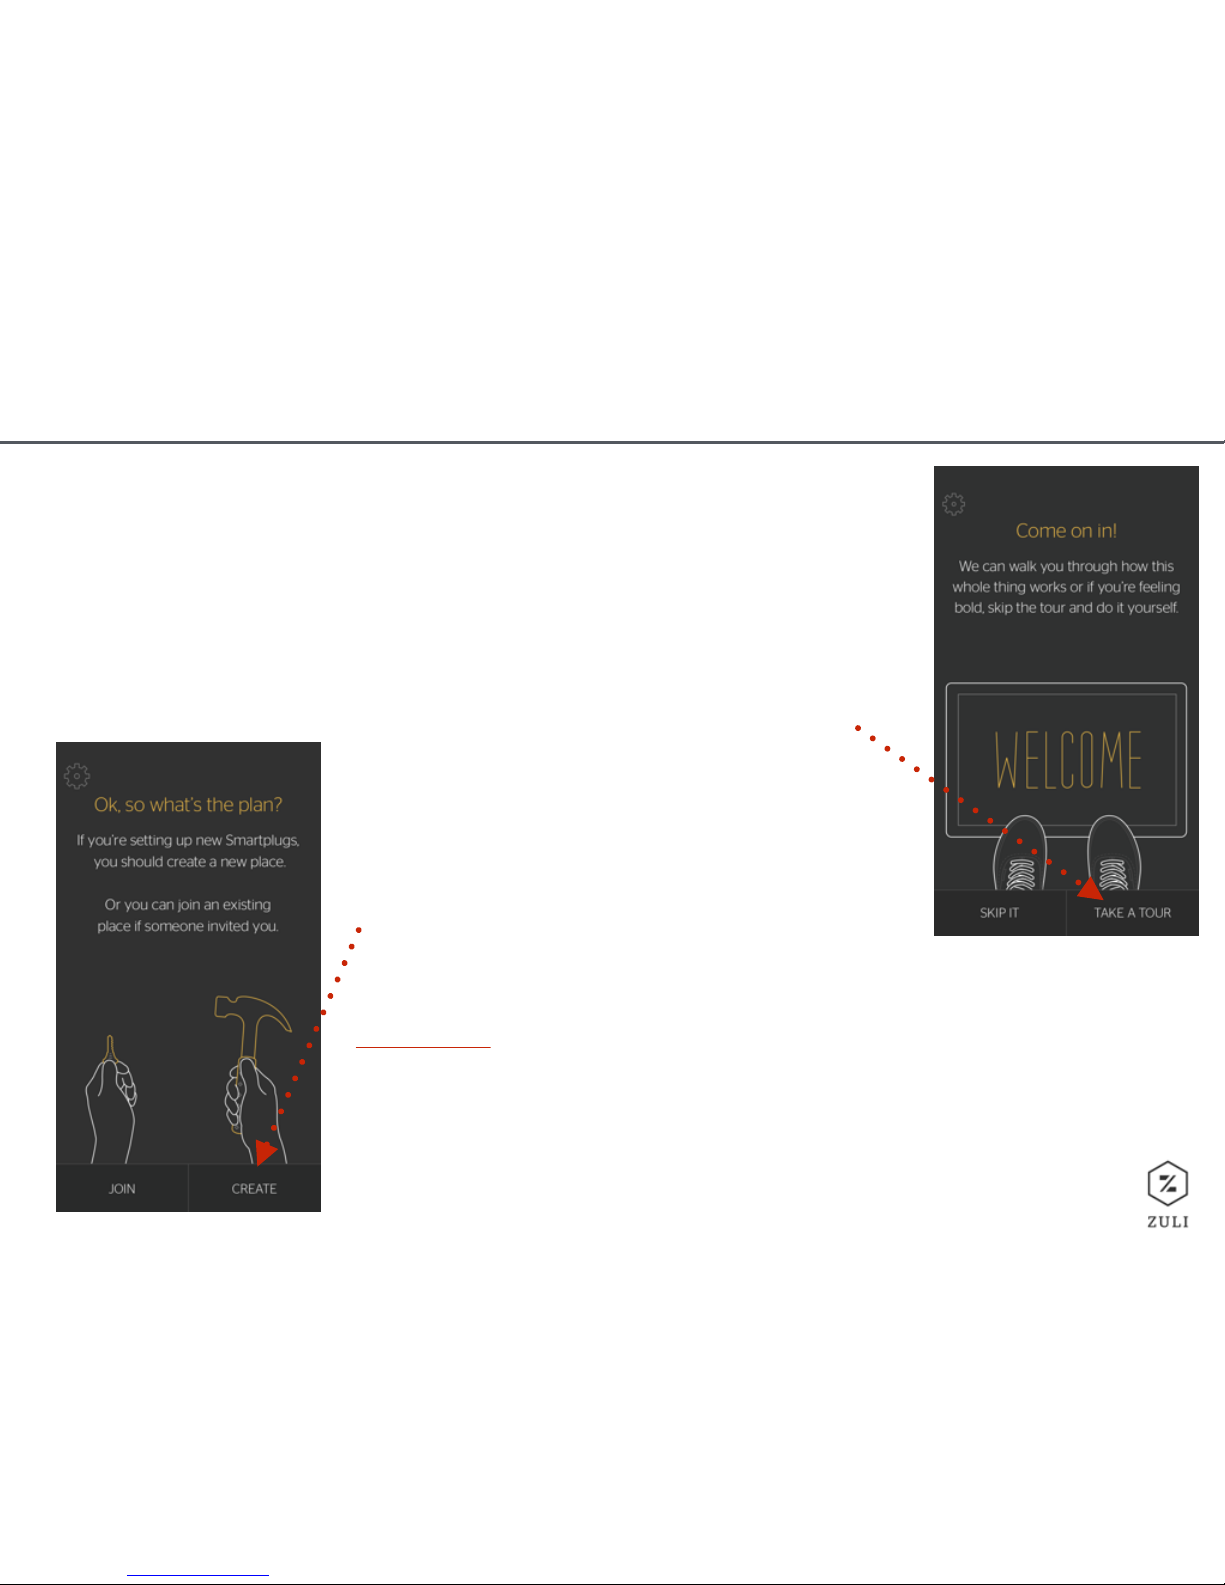
Tour!
After you’ve set up your account, the app will offer you a quick
tour of the app. The Tour is a great way to familiarize yourself
with some of the features and nomenclature of the app menu.
2. Take the tour and create a place
Create a Place!
After the Tour, it is time to setup your
Smartplugs. Tap ‘CREATE’ to get started.
Click here to see how to set up a New
Place

8
SETUP
3. Plug in Smartplugs and Scan
Select “Start Scanning”. Follow the on-screen instructions on the Zuli app to select the
Room, device name, and icon. When prompted, select if the device is an electronic device,
non-dimmable light or dimmable light. Please note: Note, dimming a non-dimmable
light bulb or an electronic device could have fatal consequences for your device.
IF UNSURE IF DEVICE IS DIMMABLE, SET UP AS ELECTRIC DEVICE/NON-DIMMABLE LIGHT.
9
SETUP
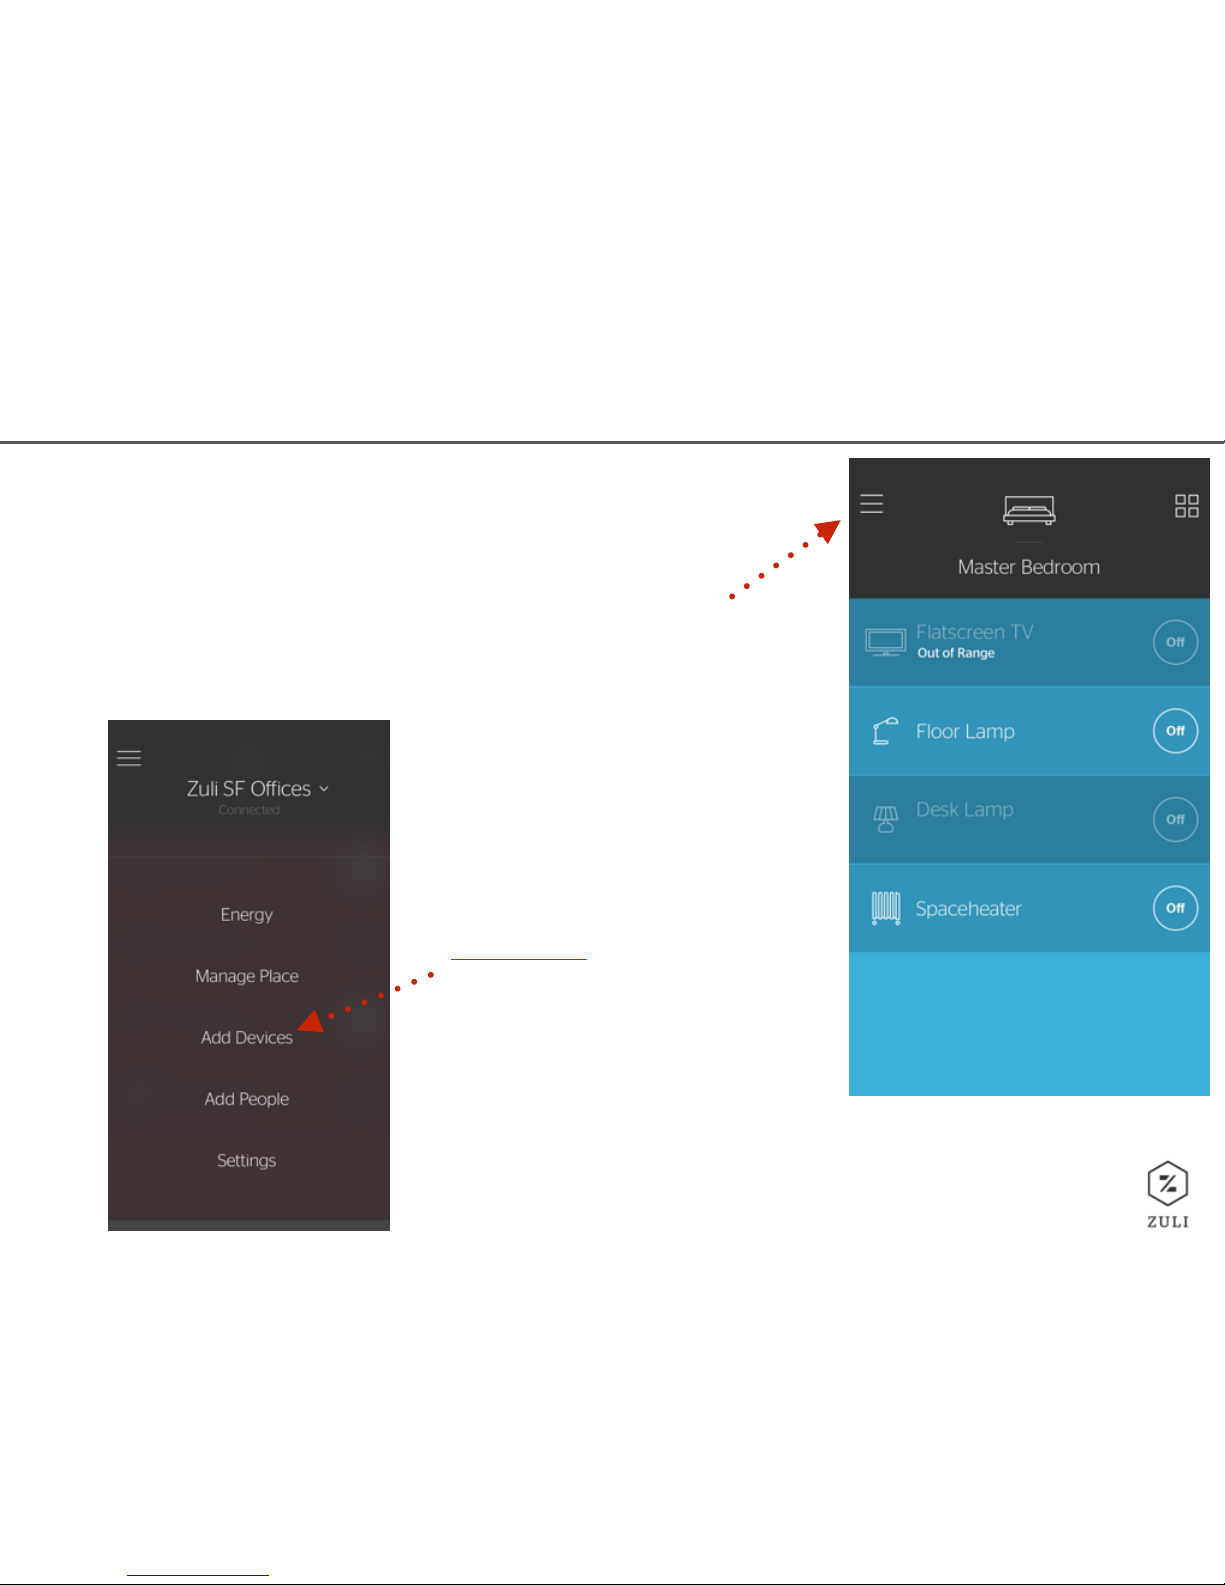
4. Set up Additional Smartplugs
After you’ve set up your first Smartplug, the app will
default to Room view. To set up more Smartplugs,
tap the menu button (top left corner) to open the
main menu.
Once there, tap “Add
Devices” and follow the
same procedure as you did
before to set up all your
Smartplugs.
Click here to see how to
add Additional Smartplugs.
Congrats! You are all
set up and ready to
look at some of Zuli’s
features…
10
FEATURES
On/Off
Dim
Schedule
Energy
Settings: Change plug settings
Global controls
Room change
Change Place/Room name and color
Add devices: Nest Thermostat

11
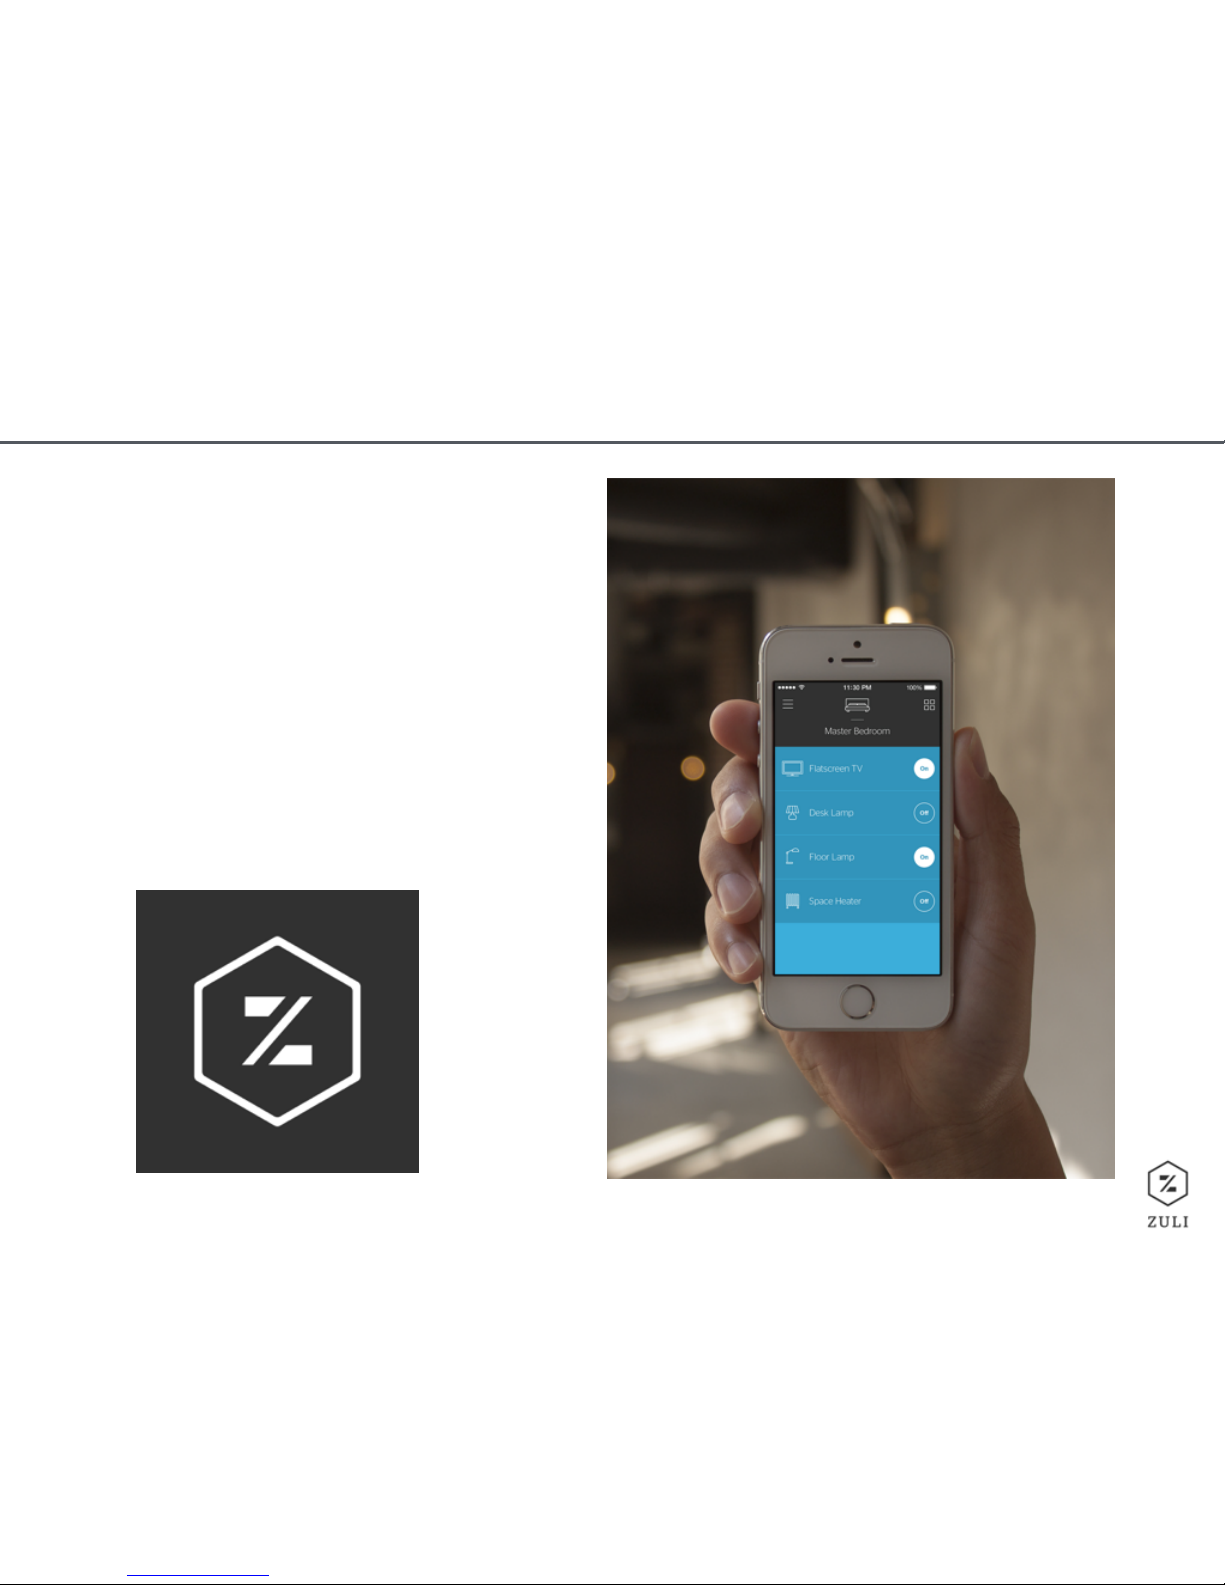
FEATURES
On/Off
For On/Off control, simply tap the circle to the right
of the device name. A connection indicator may
appear for a second or two when the Smartplug
changes state (from on to off or from off to on).
Click here to see the On/Off feature in action.
More Features
Tap on a device
name to access the
rest of the device
features.
12
FEATURES
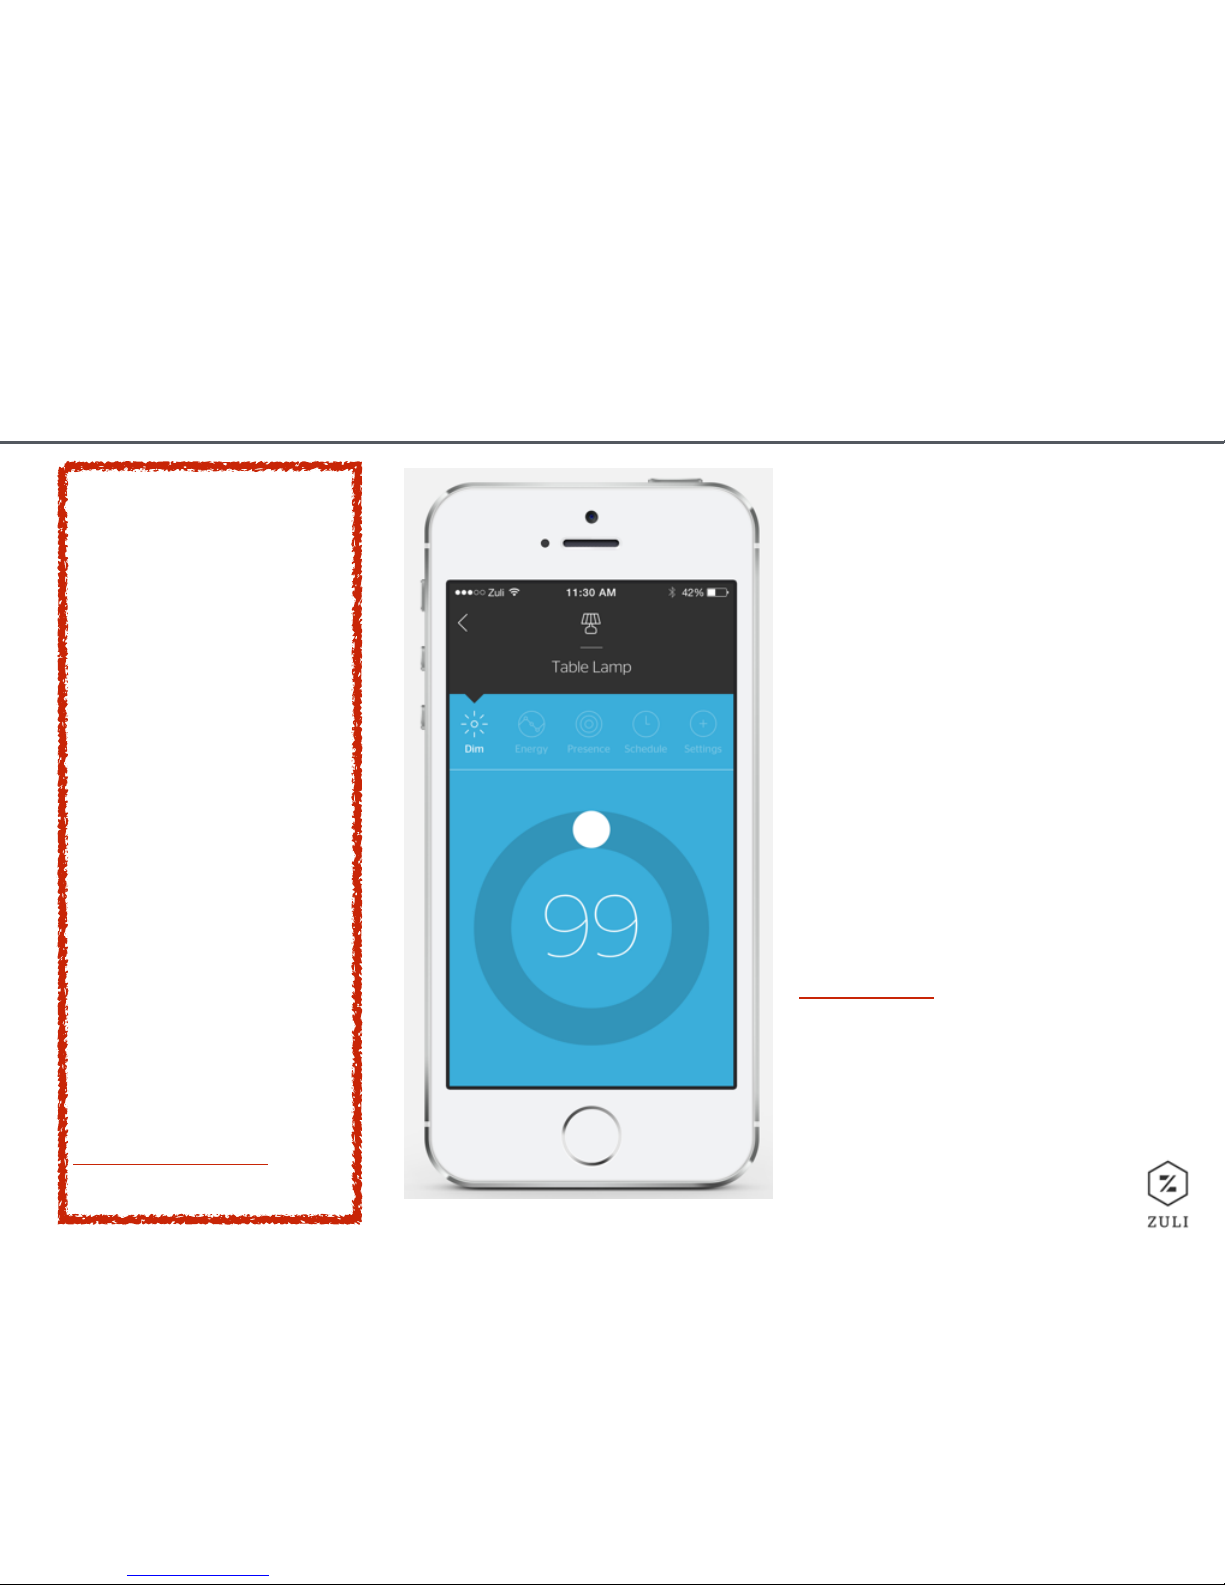
Dimming
To dim your light, tap and hold
on the circle and drag it
counter-clockwise.
To brighten your light, tap and
hold on the circle and drag it
clockwise.
Click here for more on how
to Dim.
WARNING
Our dim feature is
ONLY DESIGNED to
be used with
incandescent bulbs
and dimmable CFL/
LED/Halogen bulbs.
DO NOT SET UP nondimmable devices to
be dimmable with the
Zuli App. This could
have catastrophic
consequences for
your non-dimmable
device. Not sure if
your bulb is
dimmable? Check out
this online list for
more…
13
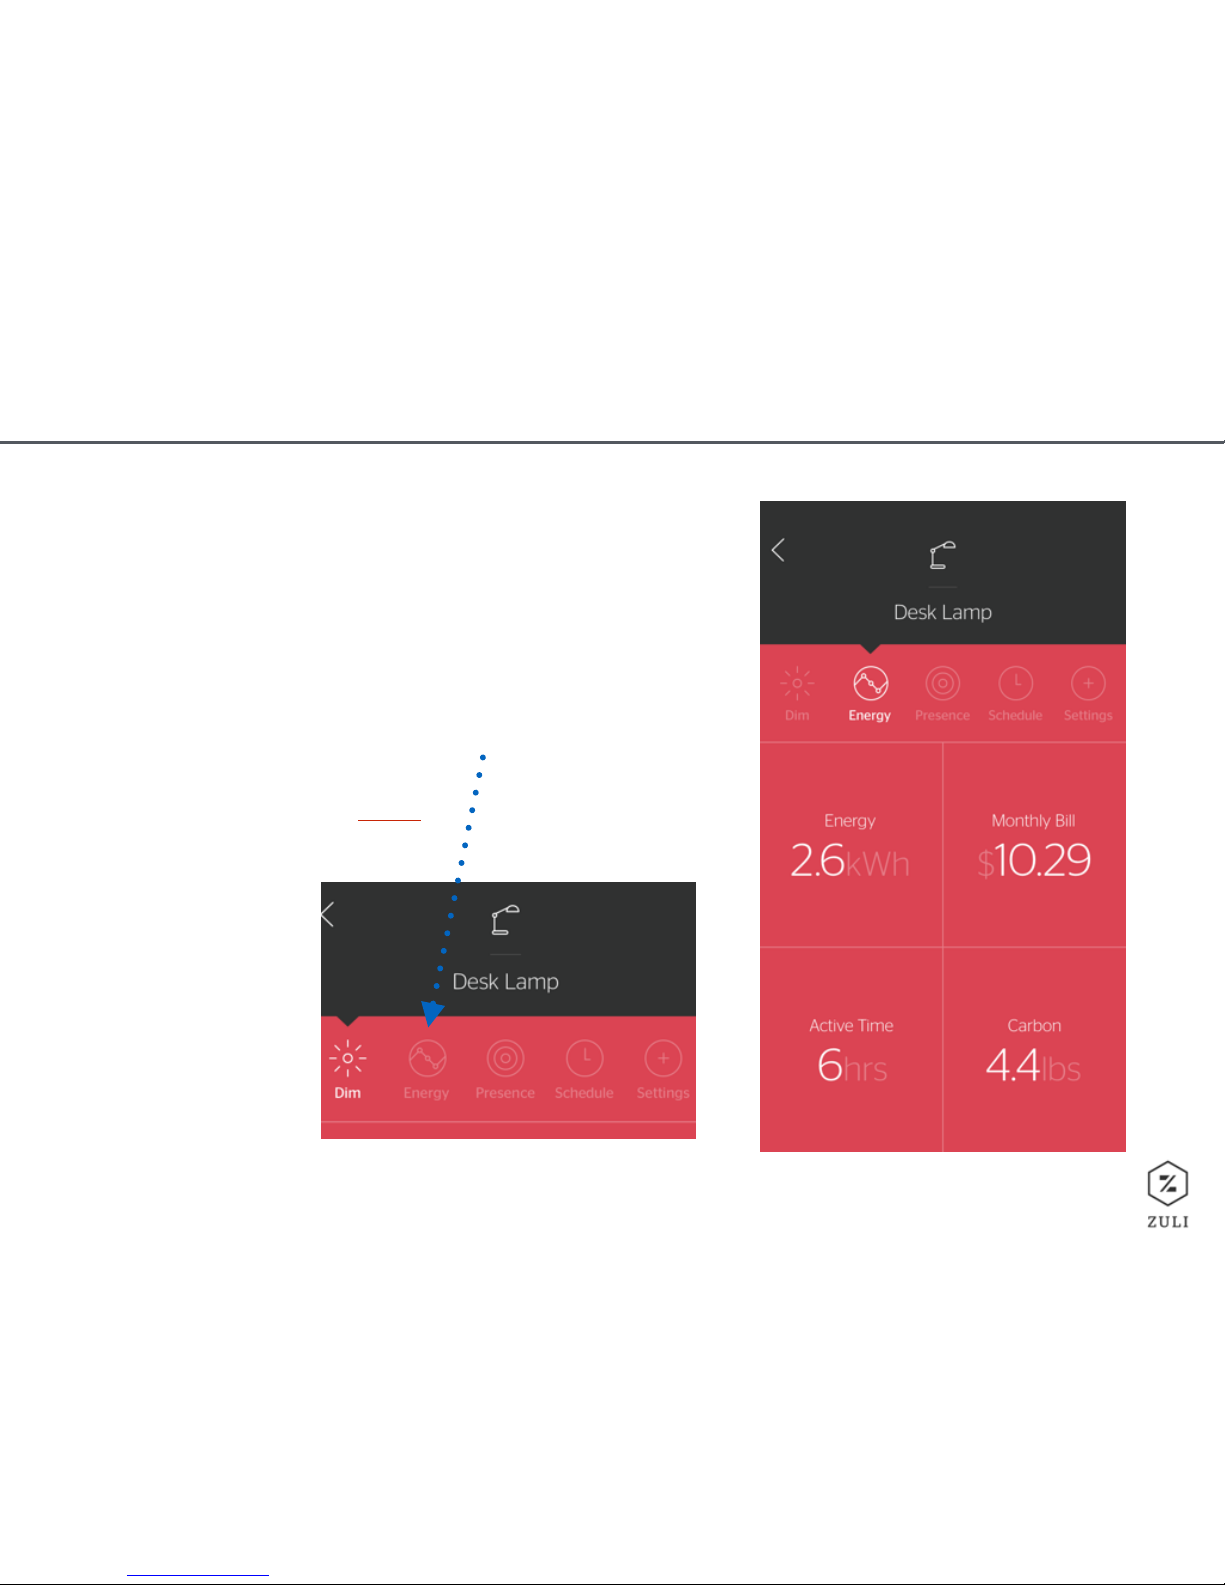
FEATURES
Energy
To view Energy usage of a device, tap the Energy
icon and see your kWh, estimated monthly bill,
active usage time, and an estimate of your carbon
use.
See more about Energy here.

14
FEATURES
Schedule
Select Schedule in the features section and tap “Add Event.” You can customize what you’d like
the Smartplug to do and when. Select time, daily repeat options, an event name and then tap
done. You’ll then see the scheduled event listed under that device’s Schedule. Edit or add events
as you please. Click here for more on Scheduling.

15
FEATURES
Settings
Tap the Settings tab to change the following:
-
Name of device
-
Device Icon
-
Type of device (remember never to select
“Dimmable Light” unless the light is in fact,
dimmable)
-
Delete plug
You can also see the firmware version, which will
help our support staff diagnose issues if they
should arise.
Click here to view the Settings video.
16
FEATURES
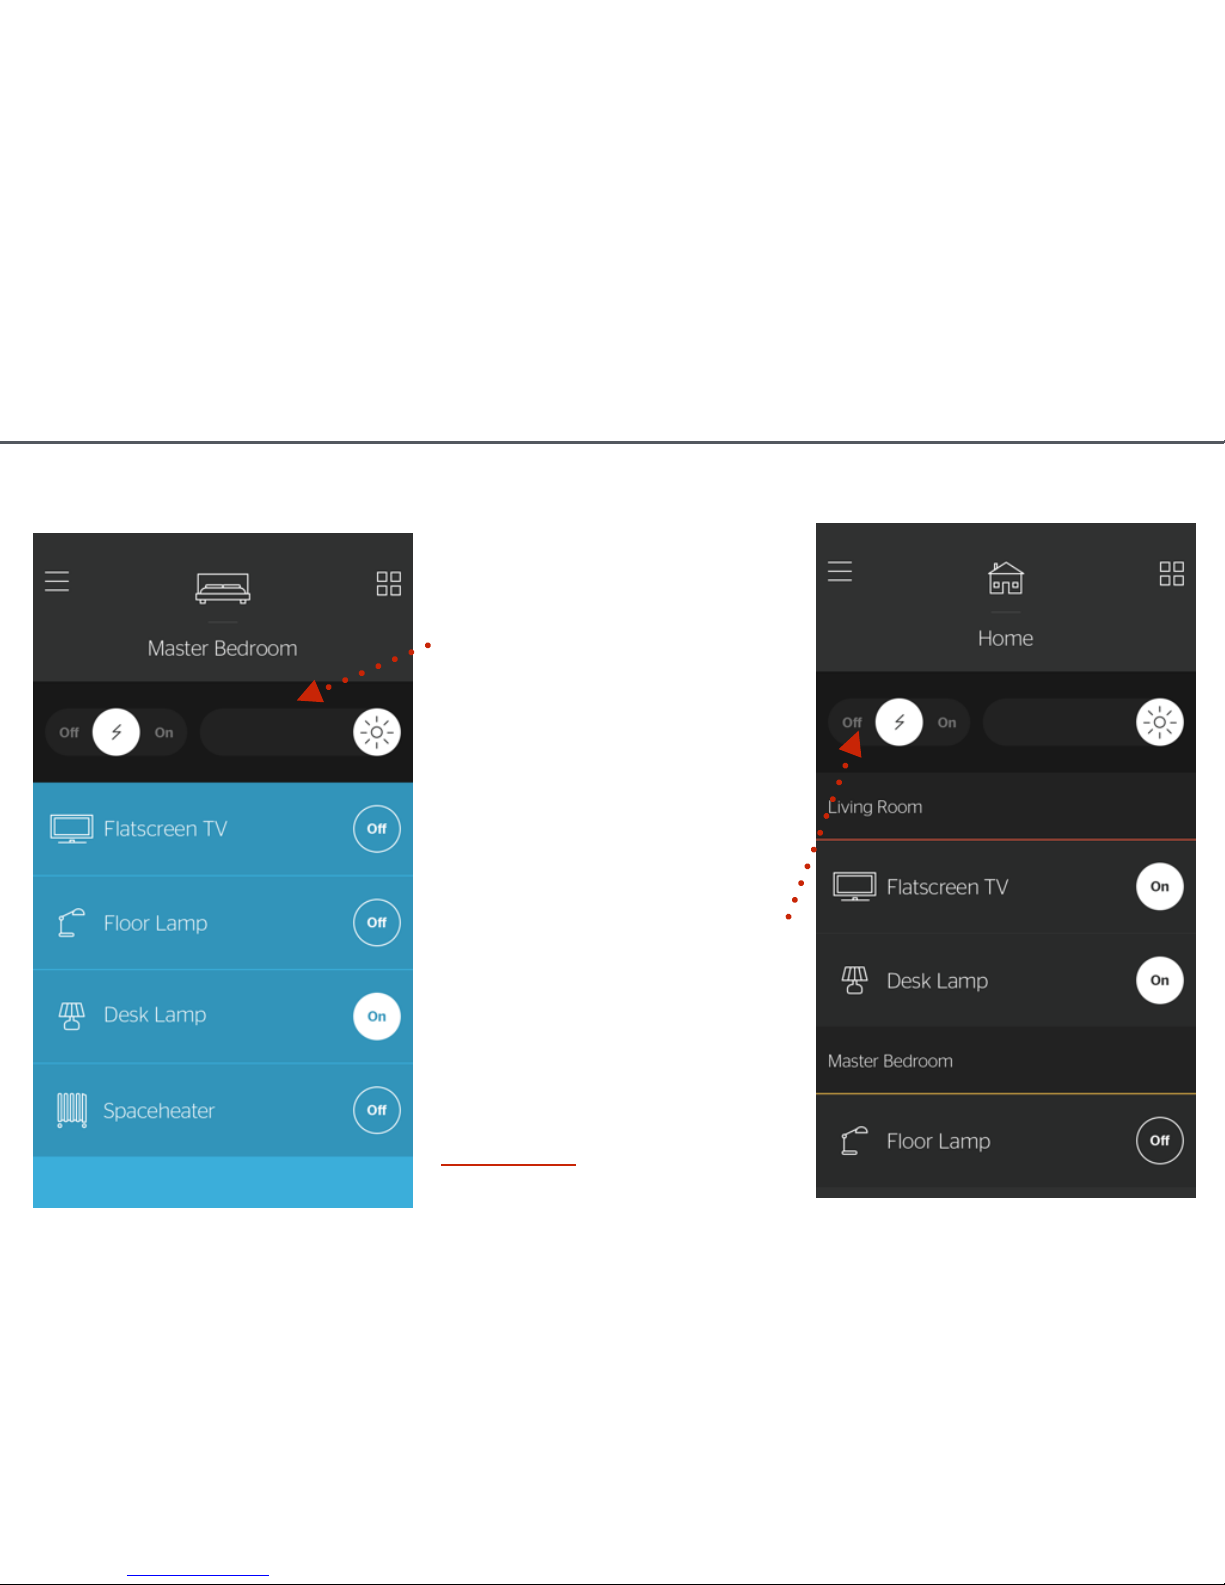
Global Controls
There are two types of
Global Controls: Room and
Place:
Room Global Controls can
control On/Off and Dim for
all Smartplugs in a Room.
Swipe down from the Room
Screen to get this option.
Place Global Controls can
control On/Off and Dim for
all Smartplugs in a Place.
Tap the top right menu
then all devices to access
these controls.
Click here to see how
Global Controls work.
17
FEATURES
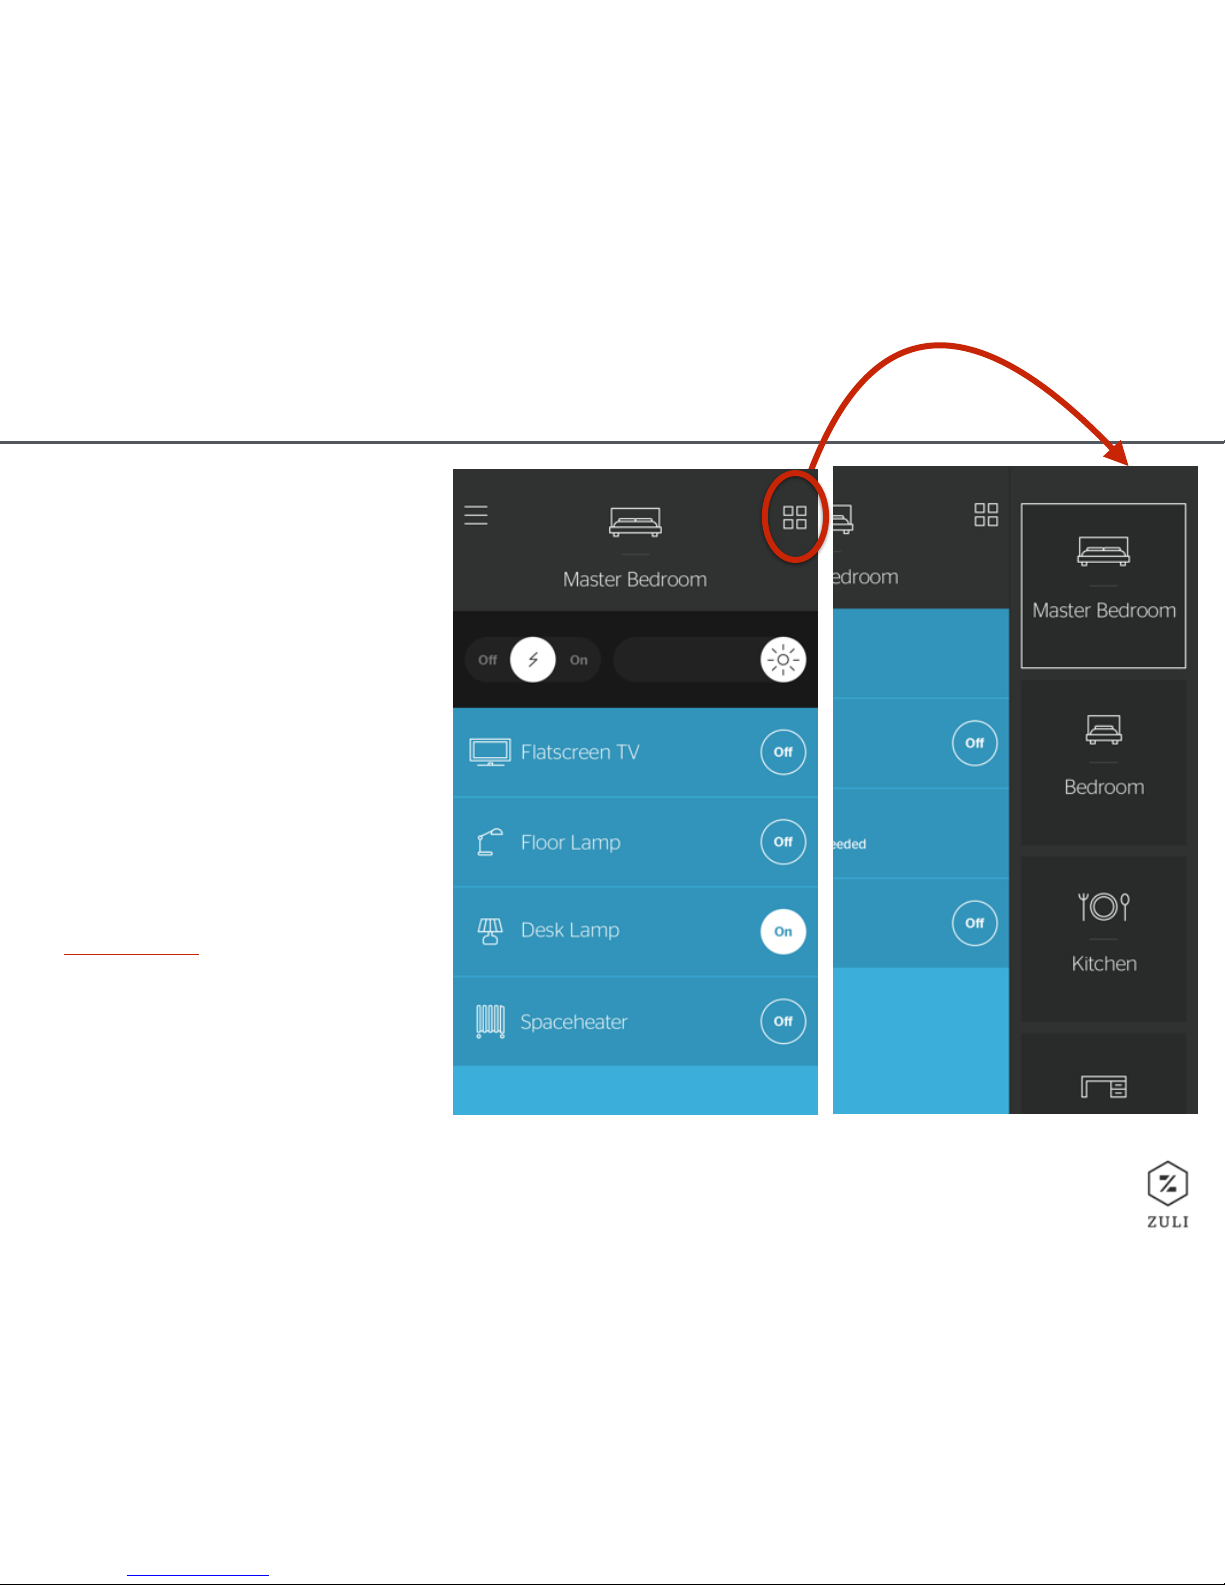
Room Change
Want to change rooms?
Easy. Just tap the top right
icon which will bring up a
list of rooms on the righthand side of the app.
Select which room you’d
like and then your
dashboard will change to
the other room.
Click here to view the
Room Change video.
18
FEATURES
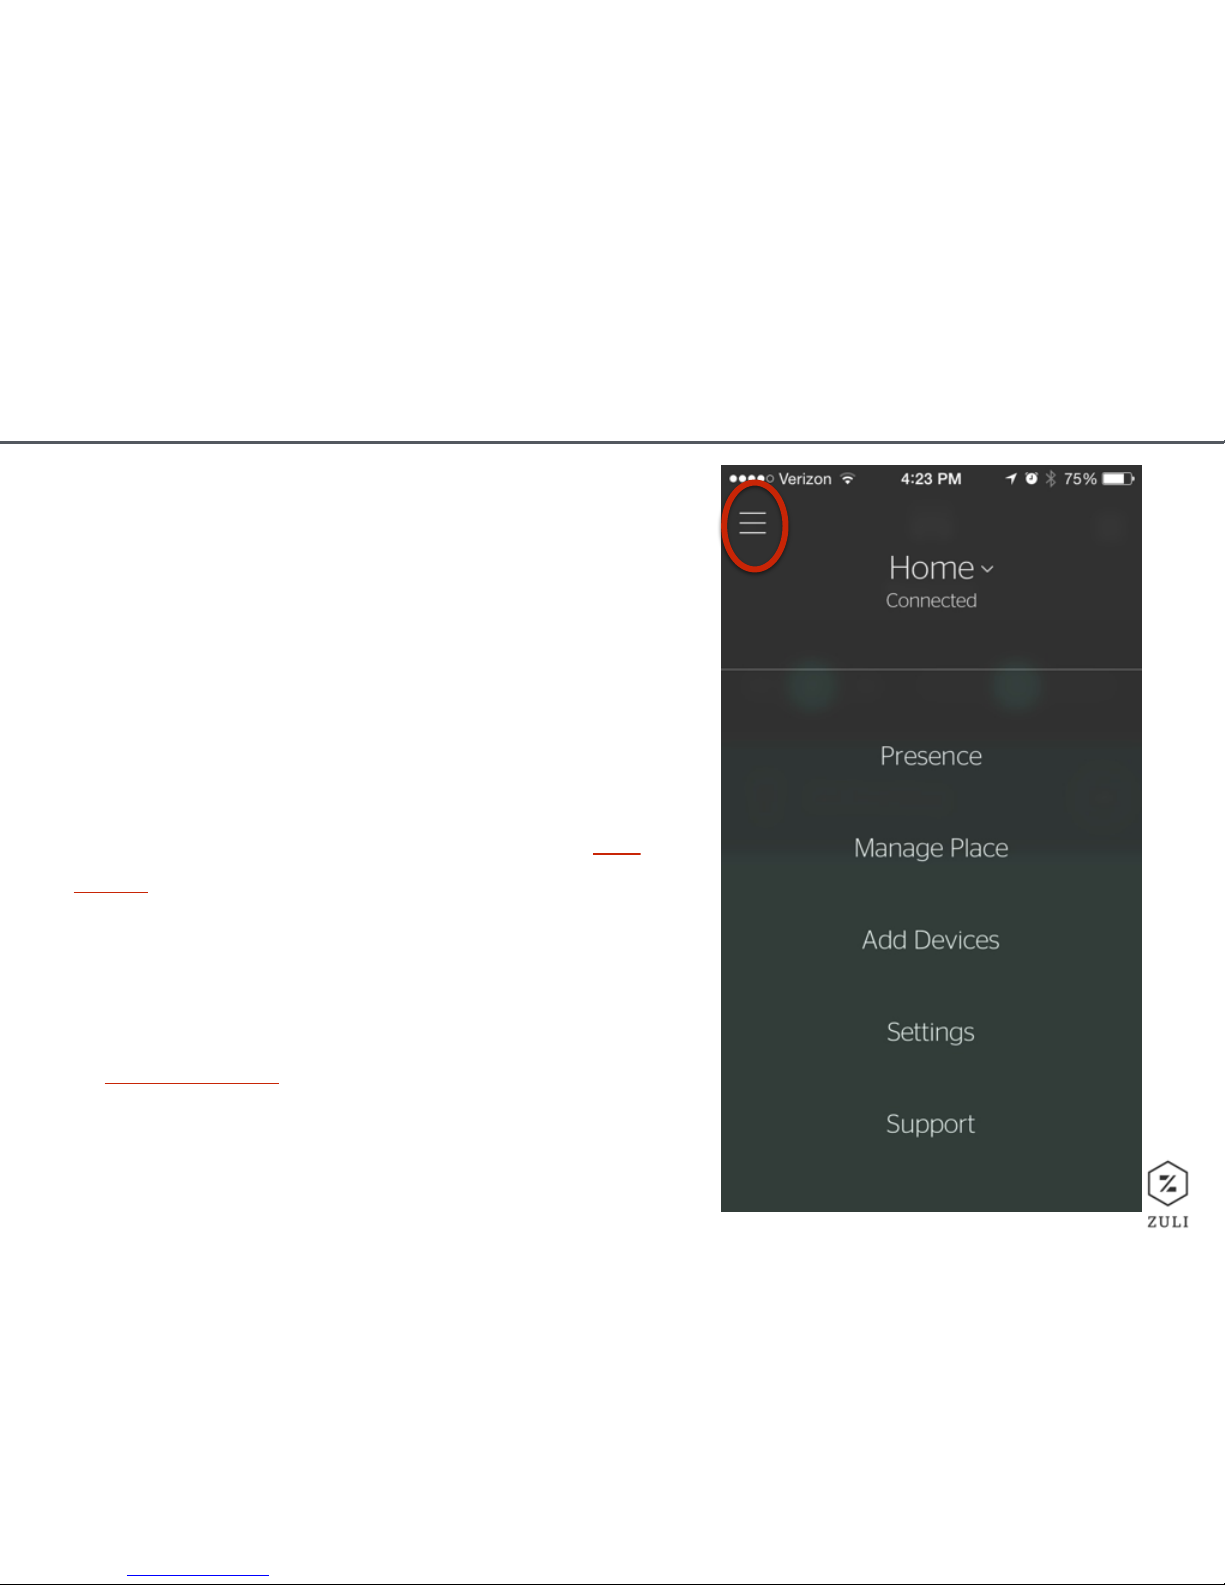
Menu
Tapping the menu icon on the top left of the screen
anywhere in the app will take you to the Main Menu.
Here, you can access the following:
-
“Presence” (update Zuli Presence settings and
recalibrate plugs if necessary)
-
“Manage Place,” which allows you to change ‘Place’/
‘Room’/ ‘Device’ names, colors and icons. - See
video.
-
“Add Devices,” which allows you to add new
Smartplugs and 3rd Party Devices to Zuli.
-
“Settings” - Account and legal info.
-
“Support” - A direct channel to our Support portal
at support.zuli.io.
19
FEATURES
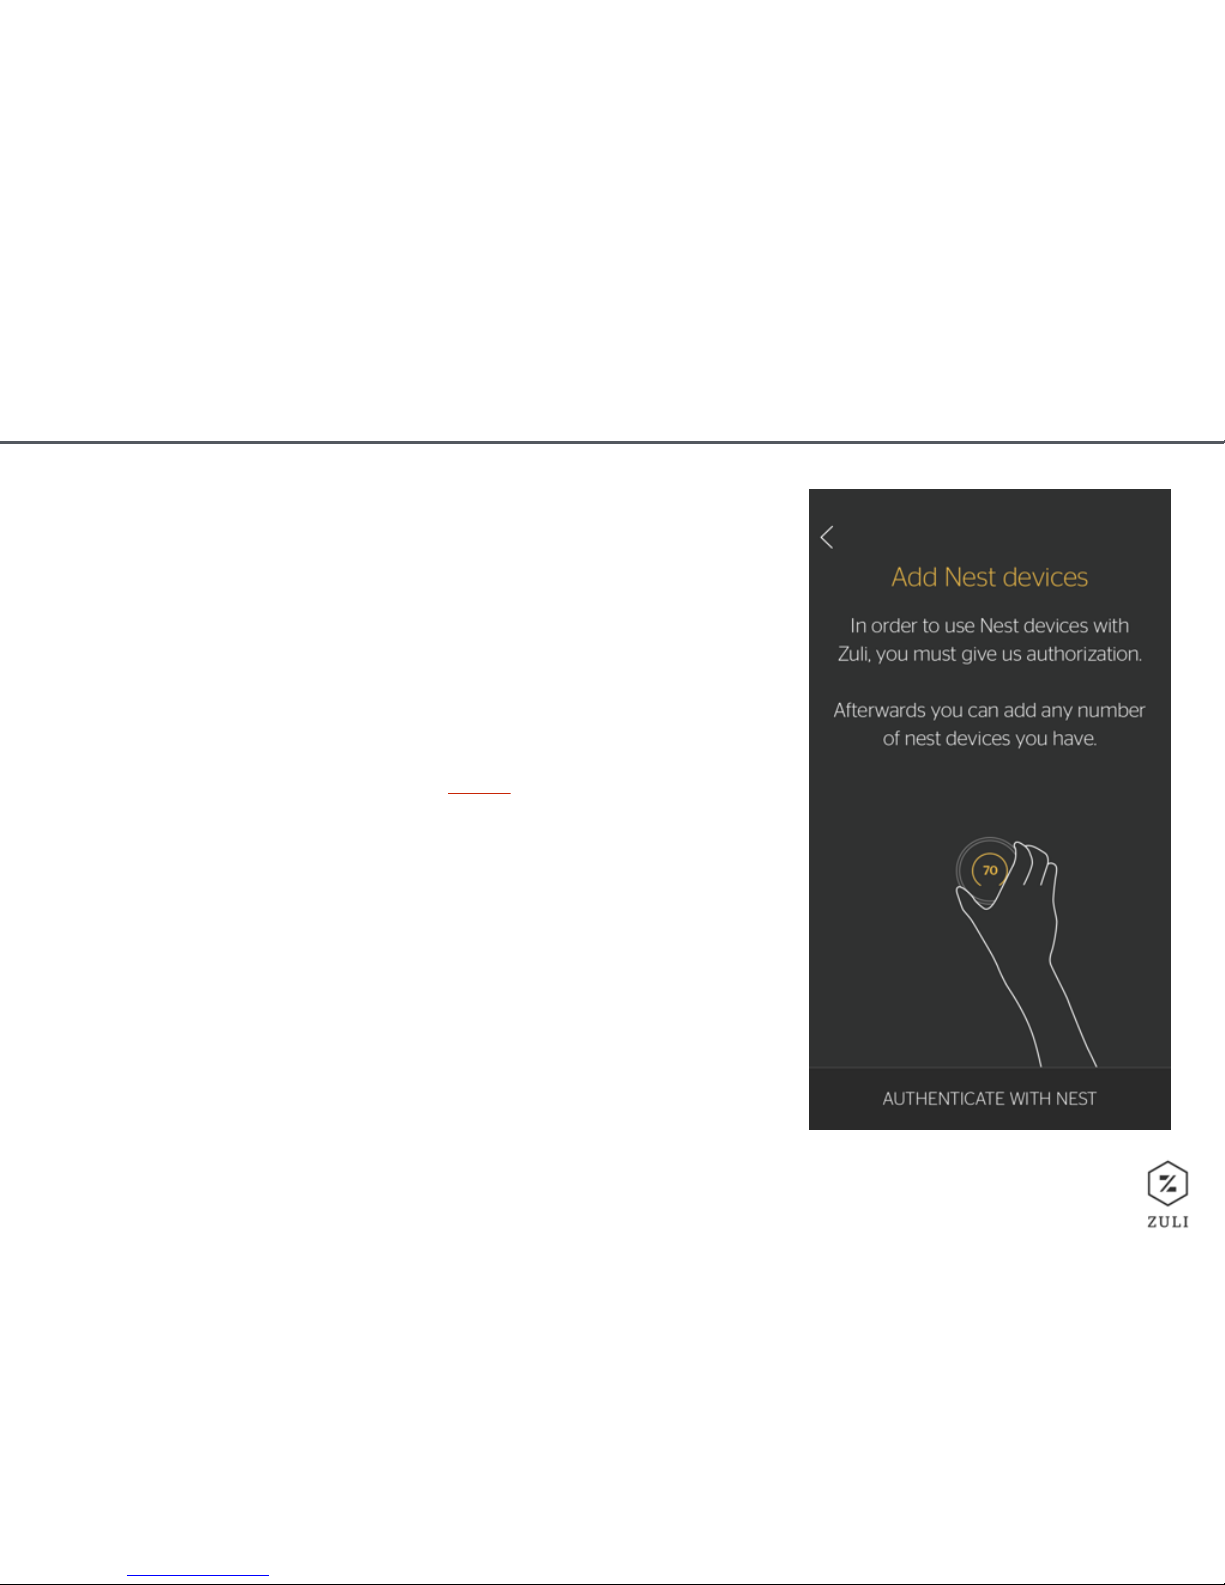
Add Devices: Nest thermostat
Tap left menu > “Add Device” > “Nest Thermostat”
and then follow the instructions on the screen to
add a Nest device.
More information in the video here.
20
ZULI PRESENCE: INTRODUCTION
What is Zuli Presence?
Zuli Presence enables your devices to adjust to
your comfort preferences based on your presence
in a particular room.
Zuli Presence is able to adapt to your movements in
order to turn on lights as you walk in them, shut off
devices in rooms you’re not in to save you energy,
as well as shut off dangerous appliances when you
leave to give you and your family peace of mind.
Read more about Zuli Presence here
21
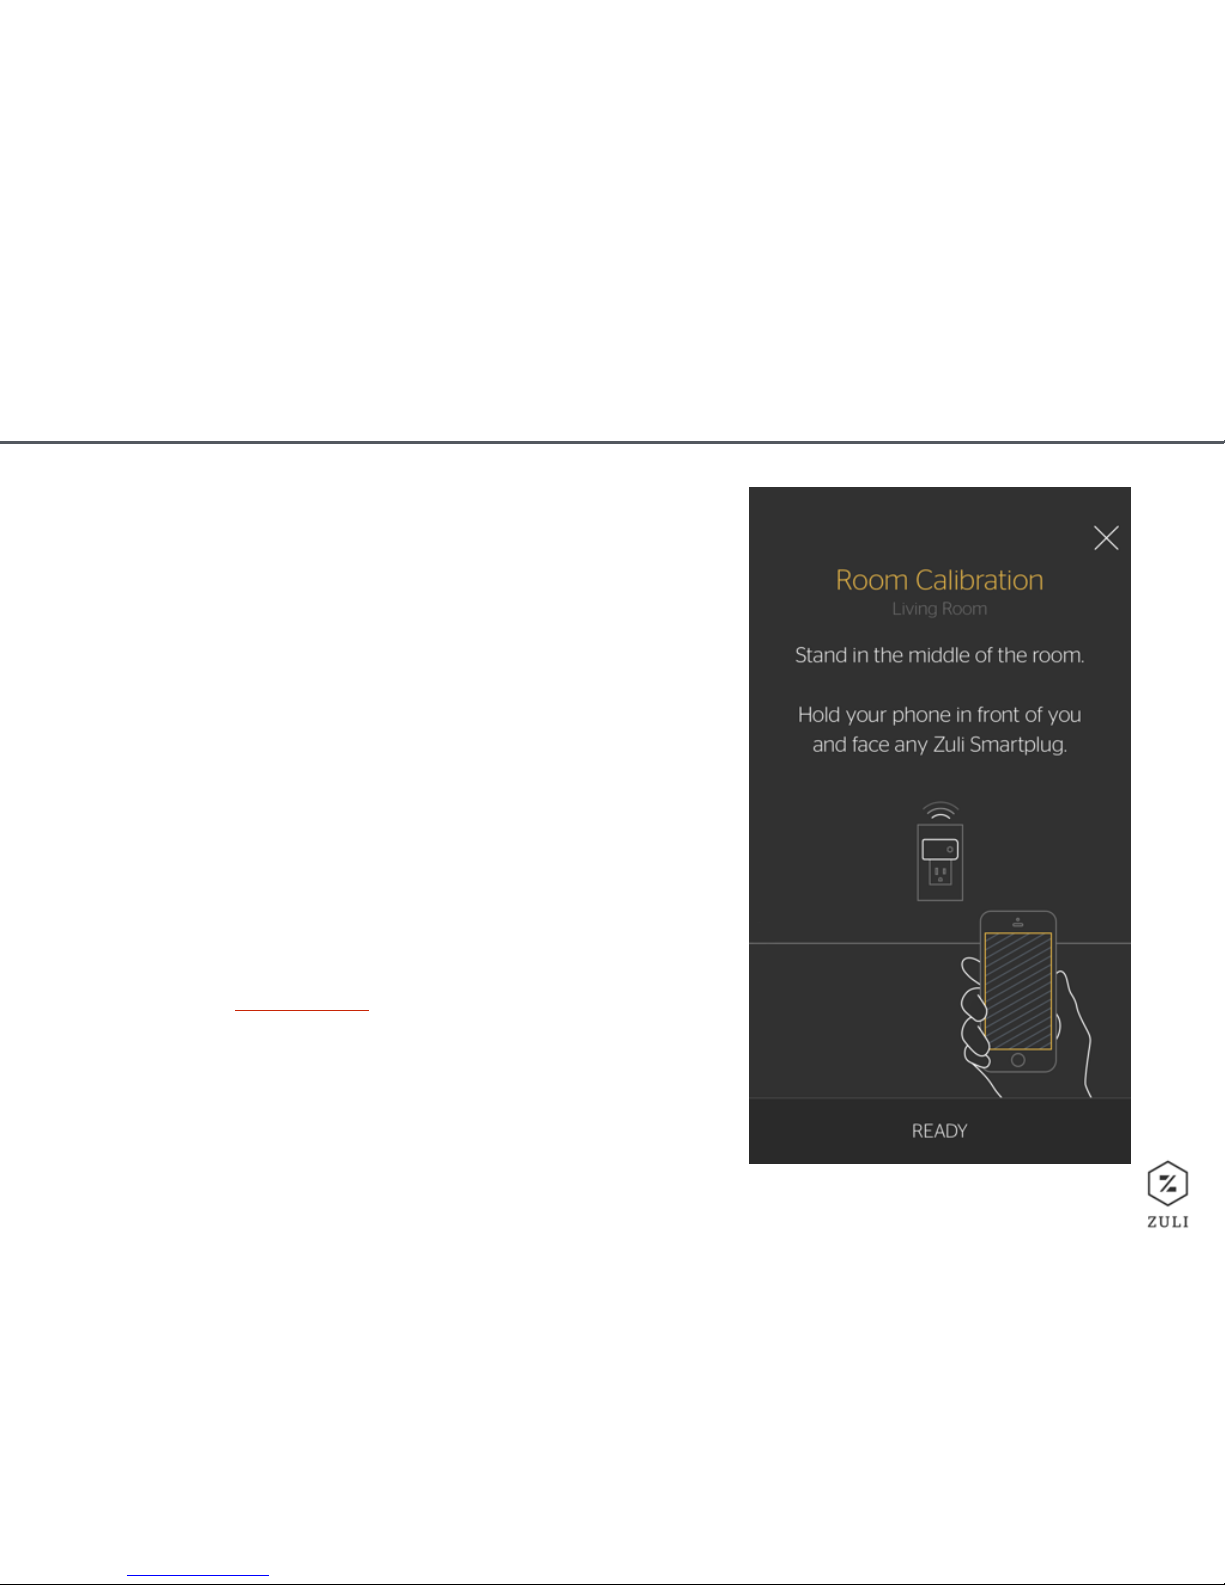
ZULI PRESENCE: CALIBRATION
Zuli Presence Requires Calibration
In order to learn the unique layout of your home,
Zuli Presence requires calibration of the Smartplugs
through a quick, two-part process.
Start by tapping “Menu” > “Presence” > “Select
Room”
Stand in the center of the room you are calibrating
and click “Ready.” Follow the instructions on the
screen to complete the calibration.
Please watch this video first so you can get a good
idea of what to expect as you go through the
calibration process.
22
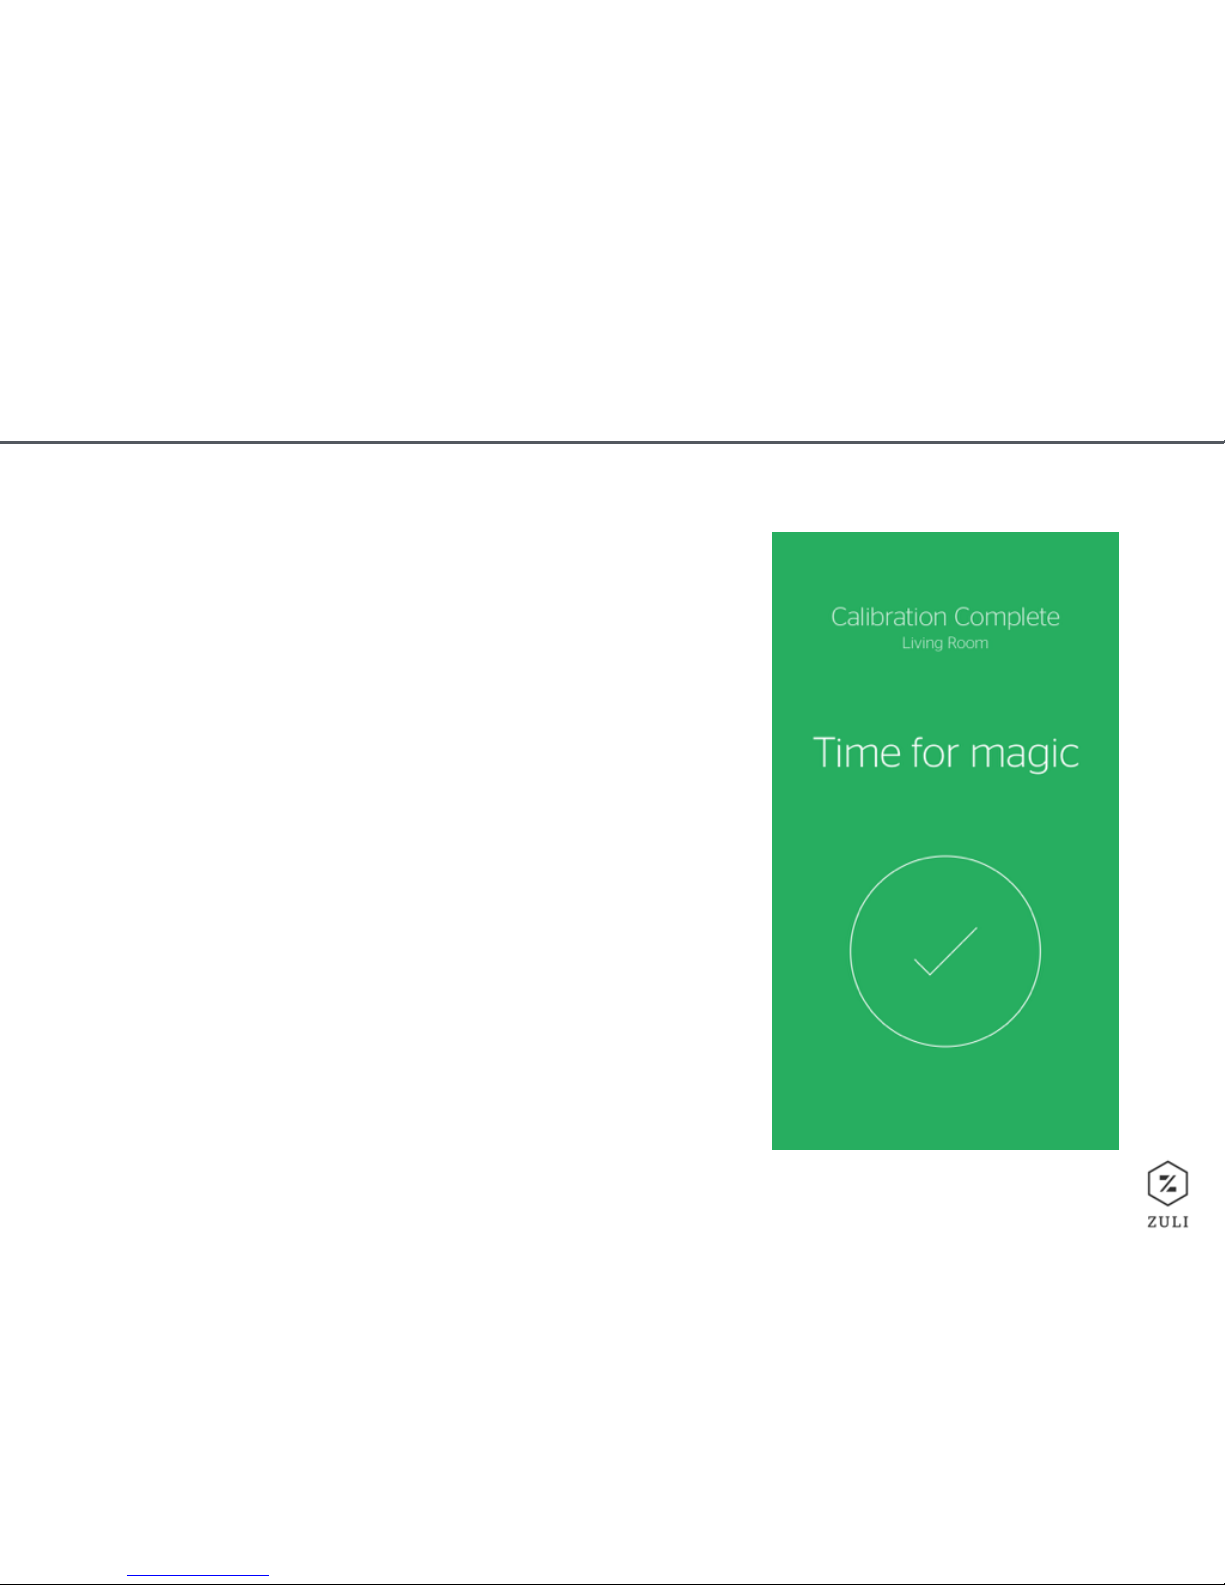
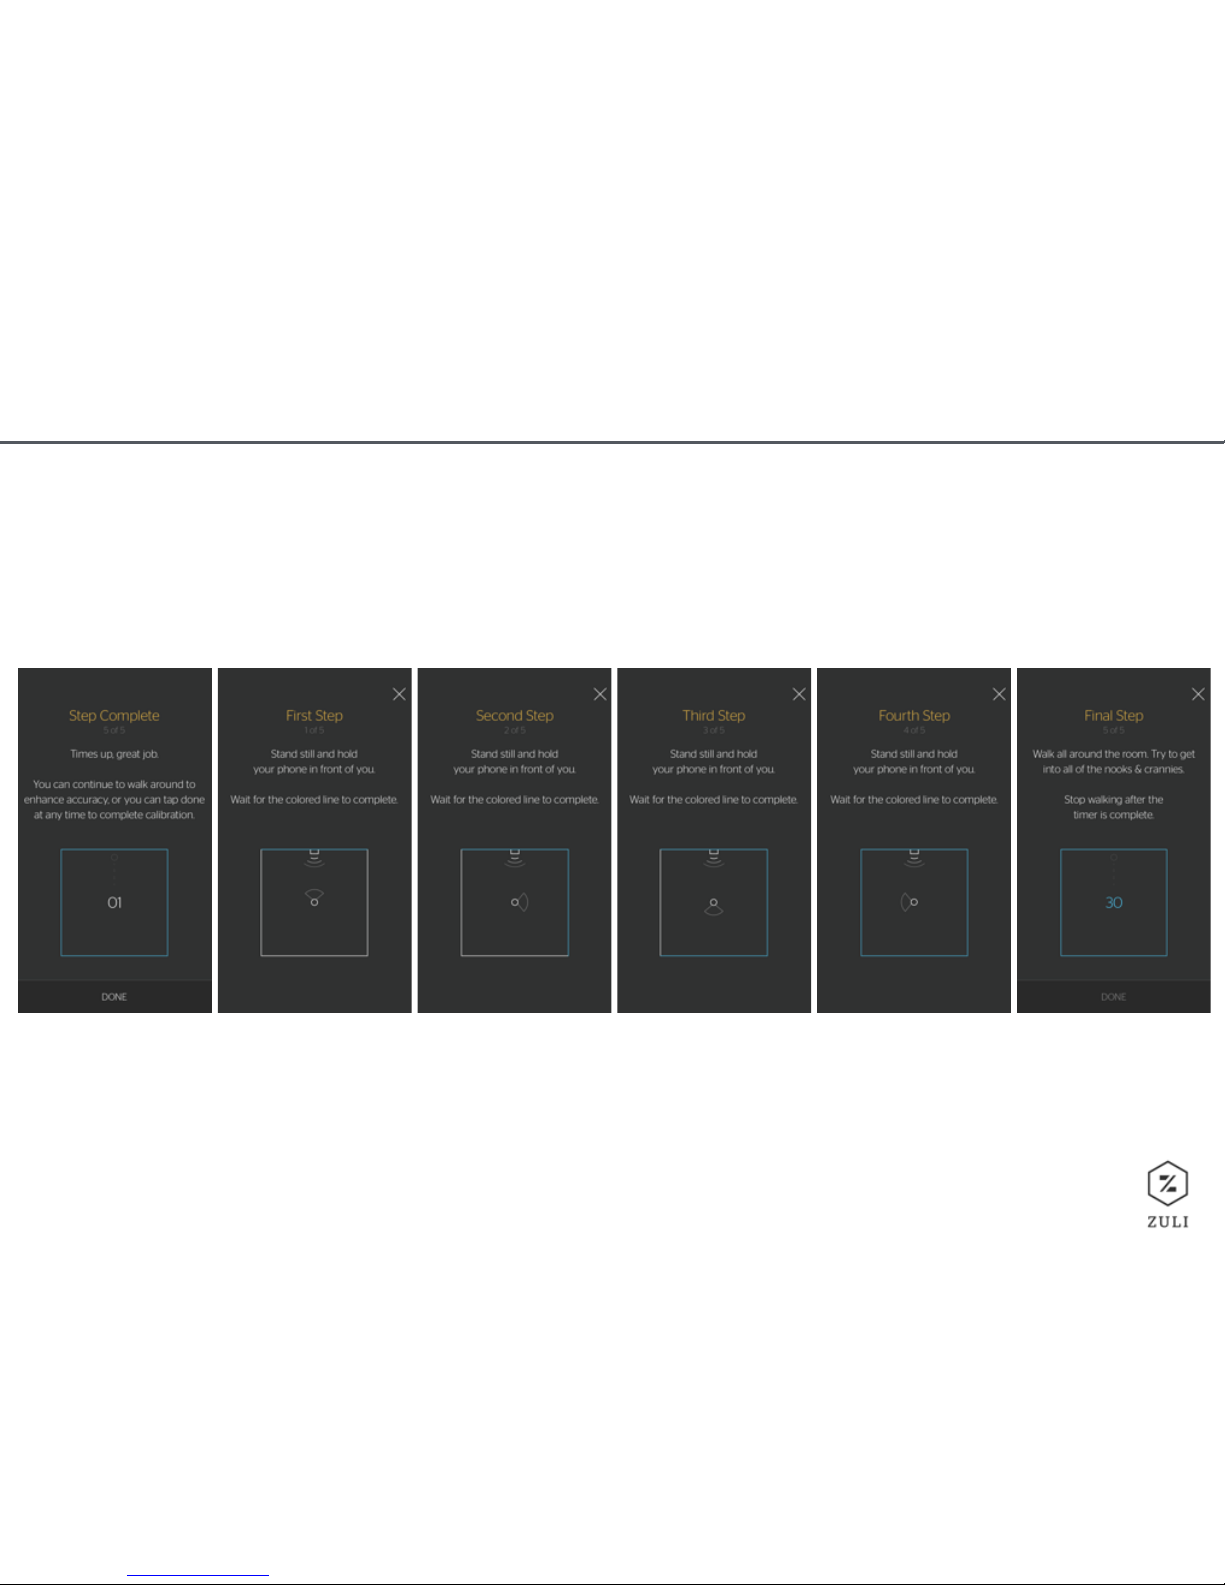
ZULI PRESENCE: SCREEN SHOTS
Below, you’ll see this progression of someone going through Zuli Presence calibration. The first
step will include facing each wall of the room while standing in the center of that room. Then,
the app will ask you to walk around your room, and then you are all done with that Smartplug.
23
FREQUENTLY ASKED QUESTIONS
At Zuli, we strive to make sure all of our customers
have the tools necessary to set up and use our
products successfully the first time.
We’ve designed the Zuli Smartplug and Zuli
Presence to be simple to setup and use, however
problems can arise anytime you need to interface
between a hardware device (the Smartplug) and
your phone.
We have a number of tools to help with this. First
and foremost, you can visit our site
www.support.zuli.io and/or email us at
support@zuli.io
We are also available to chat on Twitter and
Facebook.

24
Glowing White: Not Set Up
This mode identifies that the plug is powered properly, but has not been setup and added to
a place. You should only see this mode if you are setting up a Smartplug for the first time.
Blinking White: Currently Setting Up
This mode identifies that you are currently setting up this plug in the Zuli App. When you plug
in multiple Smartplugs and are setting up each one individually, this mode let’s you identify
which plug you are setting up.
Solid White: On Mode
This mode identifies that the plug is working properly and set up on a network, and is in the
“ON” position.
LED Off: Off Mode
This could indicate either the plug is in off mode or is not properly powered. If neither of
these cases are correct, please contact Zuli support.
Red LED on: Problem has Occurred
This indicates there is a problem with the Smartplug. Try unplugging and replugging. If it is still
red, try factory resetting the plug as detailed in Safety below. If still red, please contact Zuli
support.
SPECIFICATIONS
What do the LED lights mean?

25
SPECIFICATIONS
Requirements
• Standard 120V North American outlet.
• Internet access for setup.
• Bluetooth Smart.
• Zuli app available for free on the App
Store℠.
• iPhone® 4s or later & iOS 7 or later.
Technical Specifications
•
Input: 120V / 60Hz / 15A.
•
Output: 120V / 60Hz / Resistive 1800W /
Incandescent 600W / Electronic Ballast 240W.
•Dimming Output: 120V / 60Hz / 2A / 240W.
• Works with Bluetooth® Smart.
• Indoor dry location use only.

26
SAFETY
Factory Resetting your Zuli Smartplug
Unplug from the wall and remove your light or appliance from the Smartplug.
Hold down the button on the side of the Smartplug, then plug it in to your
powered outlet while continuing to hold the button. If done correctly, you will see
the Logo blinking red. Continue to hold the button until the logo stops blinking
and is solid red (about 10 seconds). Release the button and you should see the
white LED begin to glow again. If its still not working, please contact Zuli Support.
Warnings
• Only use in 120V AC Outlets.
• Keep all Heaters and Radiators at least 1 meter from all Smartplugs.
• Do not get wet or use outdoors.
Cleaning your Zuli Smartplug
First, make sure your Zuli Smartplug is removed from your outlet and fully
powered off. Pass a can of compressed air back and forth across the entire
Smartplug or gently wipe with a soft cloth. DO NOT USE WATER.

27
OTHER
Warranty
Zuli offers a one year limited warranty. For more information, visit
www.zuli.io/warranty.
Terms and Conditions
Please visit www.zuli.io/TermsandConditions to view the terms you
agree to by purchasing the product and downloading the app.
Privacy Policy
Please visit www.zuli.io/privacy to view Zuli’s privacy policy.
 Loading...