

Zotac ZBOX ID82 User Manual
1
ZOTAC ZBOX
ZOTAC ZBOX
User’s Manual
No part of this manual, including the products and software described in it,
may be reproduced, transmitted, transcribed, stored in a retrieval system, or
translated into any language in any form or by any means,except documentation kept by the purchaser for backup purposes, without the express written
permission of ZOTAC.
Products and corporate names mentioned in this manual may not be registered trademarks or copyrights of their respective companies, and are
used for identication purposes only. All trademarks are the property of their
respective owners.
Every effort has been made to ensure that the contents of this manual are correct and up to date. However, the manufacturer makes no guarantee regarding the accuracy of its contents, and reserves the right to make changes
without prior notice.
CAUTION:
Risk of explosion if the battery is replaced with an incorrect type. Batteries
should be recycled where possible. Disposal of used batteries must be in
accordance with local environmental regulations.

2
ZOTAC ZBOX
Table of Contents
Product Specications -------------------------------------------------------------------------- 3
Safety information -------------------------------------------------------------------------------- 4
Setting up your system ----------------------------------------------------------------------- 4
Care during use -------------------------------------------------------------------------------- 4
Welcome --------------------------------------------------------------------------------------------- 5
Package contents ------------------------------------------------------------------------------ 5
Getting to know your ZOTAC ZBOX -------------------------------------------------------- 6
Front view ---------------------------------------------------------------------------------------- 6
Rear view----------------------------------------------------------------------------------------- 7
BIOS settings of specic functions --------------------------------------------------------- 8
How to disable the ring LED indicator ---------------------------------------------------- 8
How to enable USB2.0 charge (for S3/S4/S5 status) --------------------------------- 10
High Current/Fast Charging USB ports ---------------------------------------------- 12
Installing Hardware inside ZOTAC ZBOX ------------------------------------------------- 13
Installing a memory module ----------------------------------------------------------------- 13
Removing the memory module ------------------------------------------------------------- 14
Installing a hard disk -------------------------------------------------------------------------- 15
Setting up your ZOTAC ZBOX ---------------------------------------------------------------- 16
Positioning your ZOTAC ZBOX --------------------------------------------------------------- 18
Installing the stand ----------------------------------------------------------------------------- 18
Installing your ZOTAC ZBOX to a monitor ----------------------------------------------- 18
IR receiver --------------------------------------------------------------------------------------- 19
Remote control --------------------------------------------------------------------------------- 19
Function keys ------------------------------------------------------------------------------- 19
Lithium cell installation -------------------------------------------------------------------- 20
Installing drivers and software --------------------------------------------------------------- 21
Installing an operating system -------------------------------------------------------------- 21
Installing system drivers ---------------------------------------------------------------------- 21
Using your ZOTAC ZBOX ----------------------------------------------------------------------- 22
Conguring wireless connection ----------------------------------------------------------- 22
Conguring wired connection --------------------------------------------------------------- 22
Using a static IP ---------------------------------------------------------------------------- 22
Using a dynamic IP (PPPoE connection) -------------------------------------------- 23
Conguring audio output via an HDMI device ------------------------------------------ 23

3
ZOTAC ZBOX
Product Specications
q Chipset
v Intel® HM65 Express
q Product Size
v 188mm x 188mm x 44mm
q Microprocessor support
v Intel® Core
TM
i3 2330M (dual-core, 2.2 GHz)
v Optional for other 2nd Generation Intel® Core Processors, max TDP: 35W
q Operating systems:
v Supports Windows 7 32bit/64bit
q System Memory support
v Two 204-pin SO-DIMMs DDR3-1333
v Up to 16 GB of memory
q USB Ports
v Two USB 3.0 ports on the back panel
v Four USB 2.0 ports (one front panel port, one top panel port and two rear panel
ports)
q Onboard Serial ATA
v SATA 6.0 Gb/s transfer rates
v Supports one 2.5-inch SATA HDD or SSD (support the device with max 9.5mm
height)
q Onboard LAN
v Supports 10/100/1000 Mbps operation
v Supports IEEE 802.3
q WiFi/Bluetooth support
v Compliant with IEEE802.11n Draft 2.0 standard
v High speed wireless connection and enhanced wireless security
v Fully qualied Bluetooth v3.0
q Onboard Audio
v Onboard 8-channel Digital Audio
v Stereo Analog Audio
q Green Function
v Supports ACPI (Advanced Conguration and Power Interface)
q Onboard Graphics support
v Intel® HD Graphic/ Intel® HD Graphic 2000/ Intel® HD Graphic 3000 (subject
to actual SKU conguration)
v HDMI & DVI-I output (VGA compatible with adapter)

4
ZOTAC ZBOX
Safety information
Your ZOTAC ZBOX is designed and tested to meet the latest standards of safety for information technology equipment. However, to ensure your safety, it is important that you read
the following safety instructions.
Setting up your system
Read and follow all instructions in the documentation before you operate your system.
Do not use this product near water or a heat source such as a radiator.
Set up the system on a stable surface with the provided stand. Never use the system
alone without the stand.
Openings on the chassis are for ventilation. Do not block or cover these openings.
Make sure you leave plenty of space around the system for ventilation. Never insert
objects of any kind into the ventilation openings.
Use this product in environments with ambient temperatures between 0℃ and 35℃.
If you use an extension cord, please use the UL listed cord and make sure that
the total ampere rating of the devices plugged into the extension cord does not
exceed its ampere rating.
Care during use
Do not walk on the power cord or allow anything to rest on it.
Do not spill water or any other liquids on your system.
When the system is turned off, a small amount of electrical current still ows. Always
unplug all power, modem, and network cables from the power outlets before cleaning
the system.
If you encounter the following technical problems with the product, unplug the power
cord and contact a qualied service technician or your retailer.
¾ The power cord or plug is damaged.
¾ Liquid has been spilled into the system.
¾ The system does not function properly even if you follow the operating instructions.
¾ The system was dropped or the cabinet is damaged.
¾ The system performance changes.
5
ZOTAC ZBOX
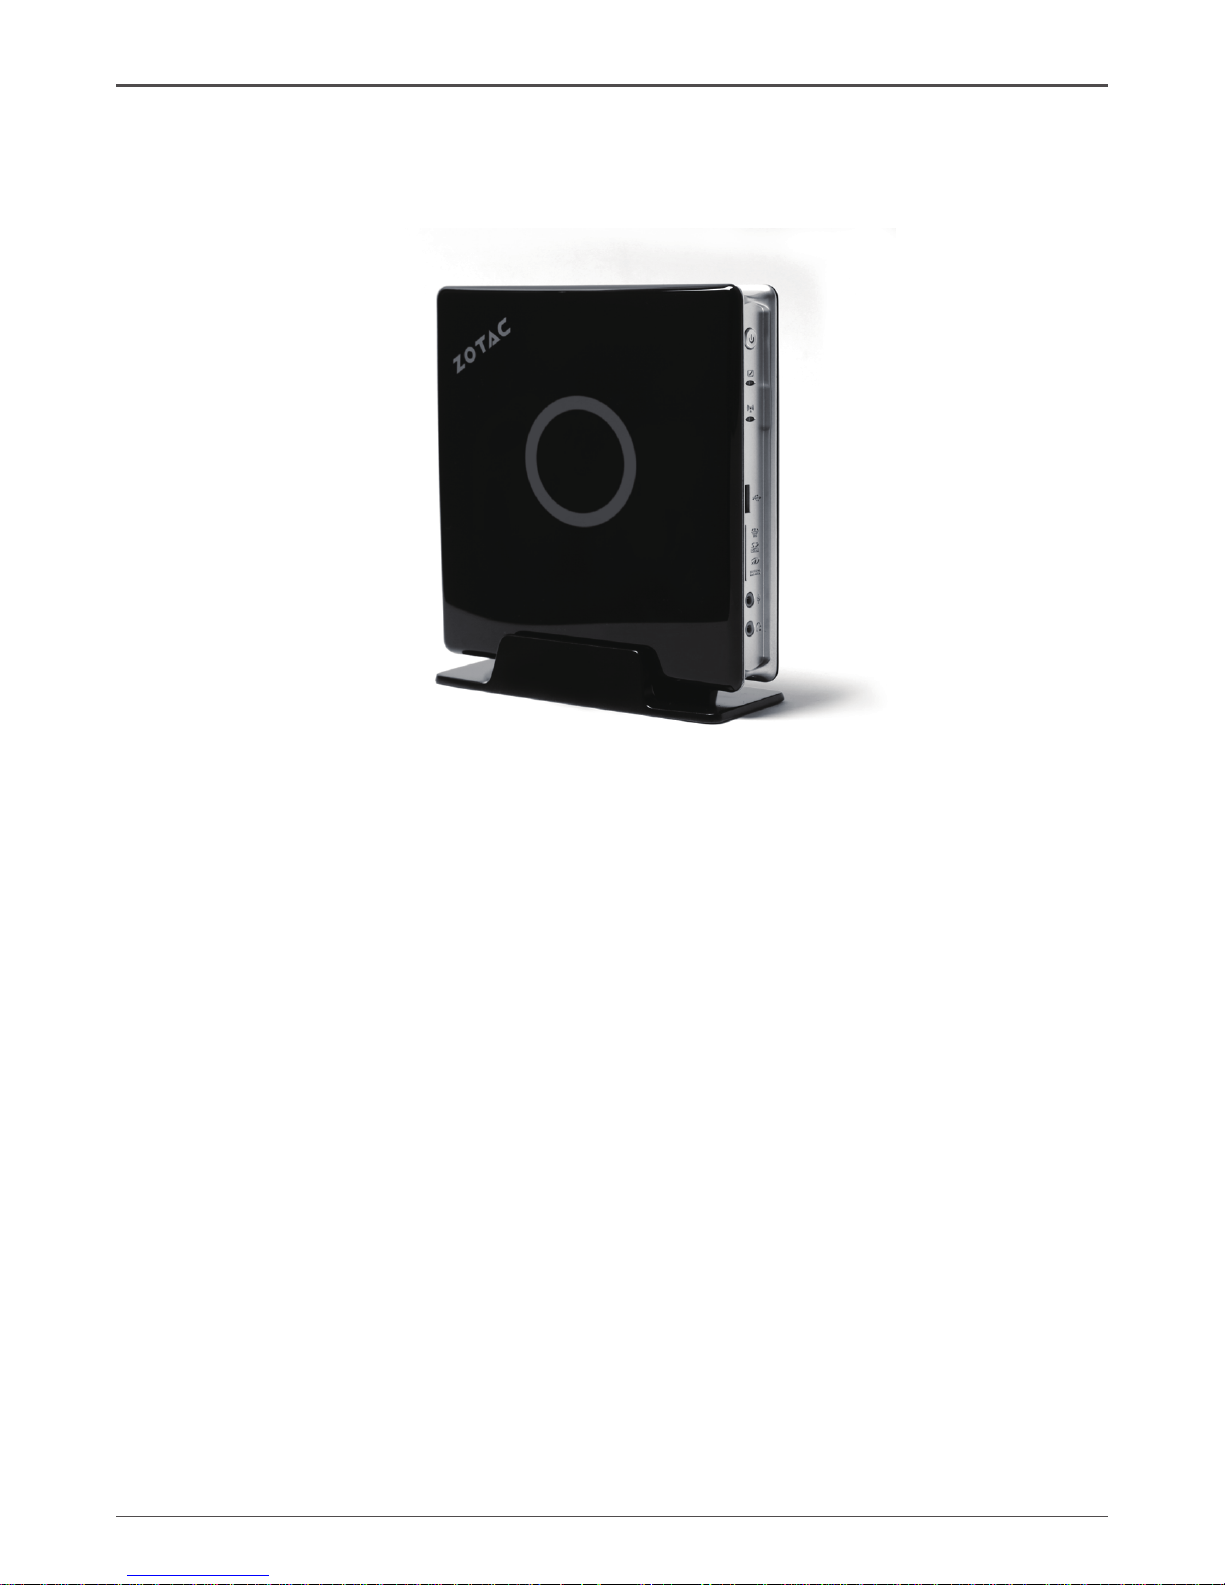
Welcome
Congratulations on your purchase of the ZOTAC ZBOX. The following illustration displays
the package contents of your new ZOTAC ZBOX. If any of the below items is damaged or
missed, contact your retailer.
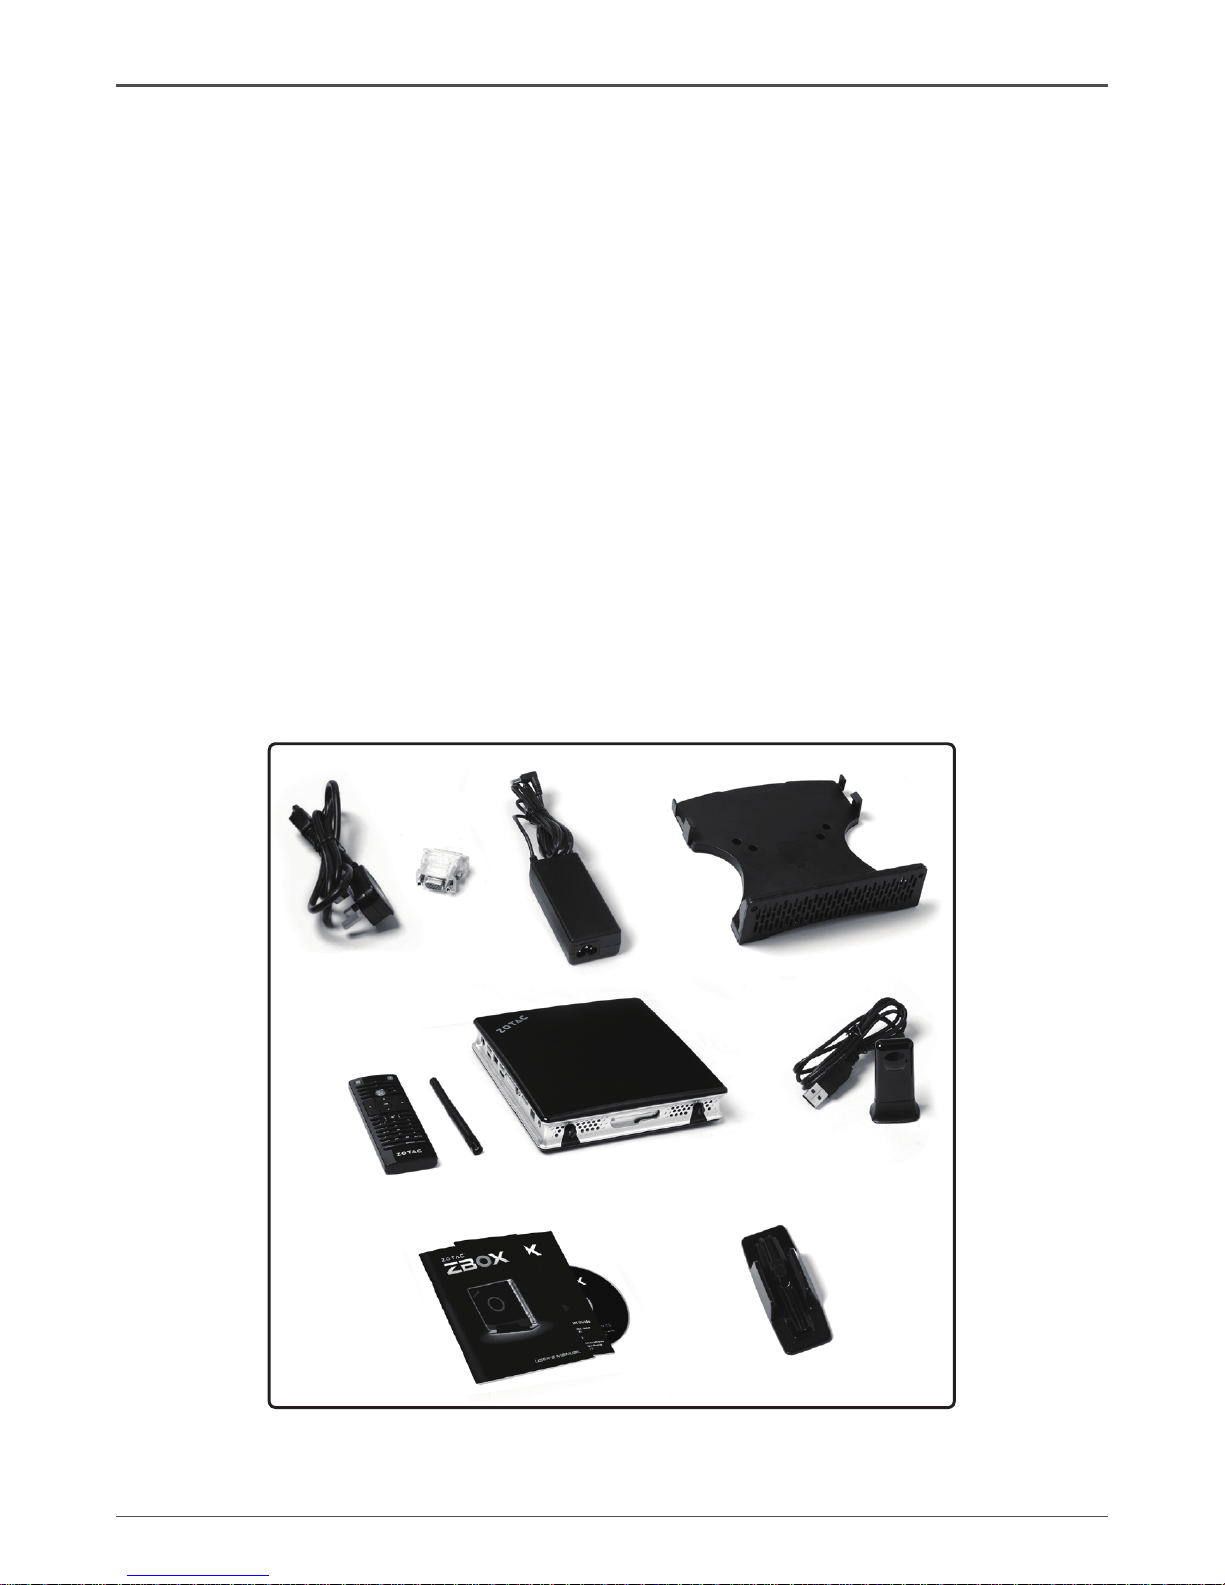
Package contents
• 1 x ZOTAC ZBOX
• 1 x Stand
• 1 x VESA mount
• 1 x AC Adapter
• 1 x DVI-to-VGA Adapter
• 1 x Power Cord
• 1 x WiFi Antenna
• 1 x Remote Control with 2 x CR2032 batteries
• 1 x USB Extended IR Receiver for Remote Control
• 1 x Support DVD
• 1 x User Manual & Warranty Card
• 1 x Quick Start Guide
6
ZOTAC ZBOX
Getting to know your ZOTAC ZBOX
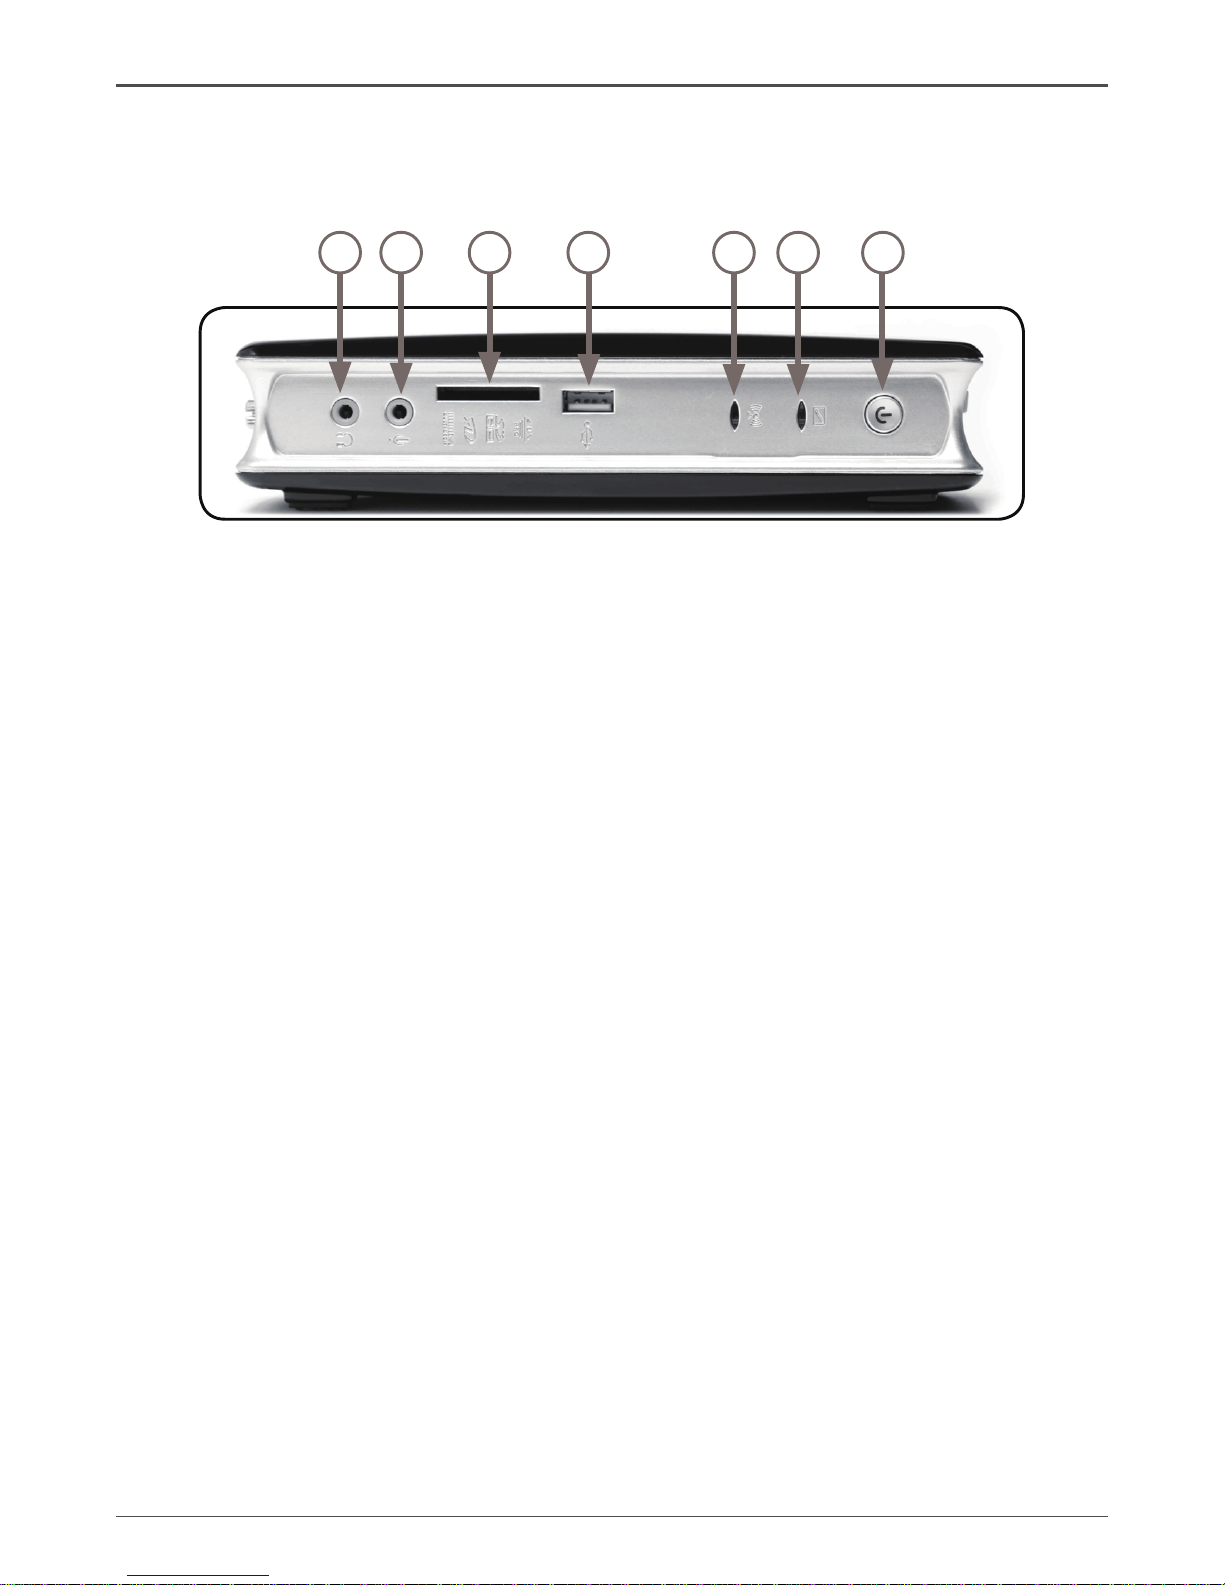
Front view
1 2 3 4 5 6 7
Refer to the diagram below to identify the components on this side of the system
1. Headphone/Audio Out jack
The stereo headphone jack (3.5mm) is used to connect the system’s audio out
signal to amplied speakers or headphones.
2. Microphone jack
The microphone jack is designed to connect the microphone used for video conferencing, voice narrations or simple audio recordings.
3. Memory card slot
The built-in memory card reader reads MMC/SD/SDHC/MS/MS Pro/XD cards used
in devices like digital cameras, MP3 players, mobile phones and PDAs.
4. USB 2.0 port
The USB (Universal Serial Bus) port is compatible with USB devices such as keyboards, mice, cameras and hard disk drives.
5. WiFi LED
The WiFi LED blinks when data is being transfered over WiFi.
6. Hard disk LED
The hard disk LED blinks when data is being written into or read from the hard disk
drive.
7. Power switch
The power switch allows powering ON and OFF the system
7
ZOTAC ZBOX
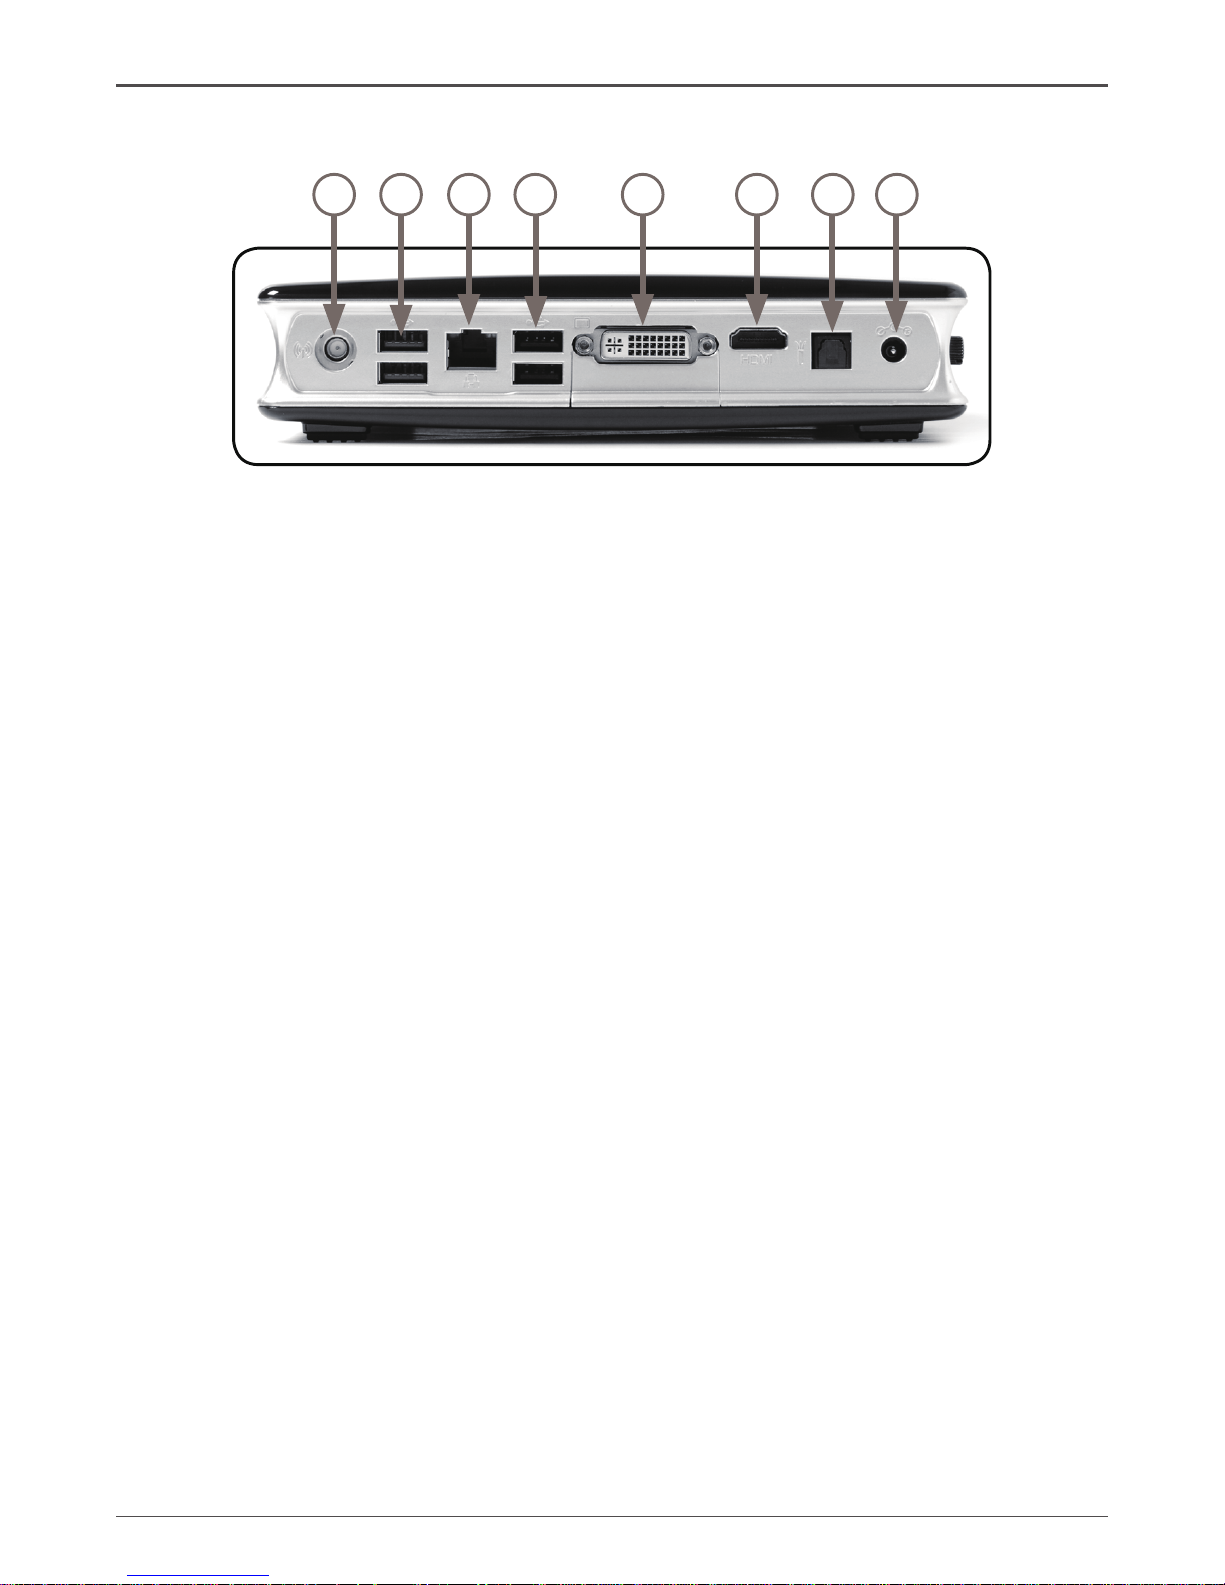
Rear view
Refer to the diagram below to identify the components on this side of the system.
1. WiFi antenna connector
The WiFi antenna connector supports WiFi antenna module.
2. USB 3.0 ports
The USB 3.0 port supports the SuperSpeed USB 3.0 devices and is backwards
compatible with USB 2.0/1.1 devices. Use this port for USB 3.0 devices for
maximum performance with USB 3.0 compatible devices.
3. LAN port
The eight-pin RJ-45 LAN port supports standard Ethernet cable for connection to
a local network.
4. USB 2.0 ports
The USB (Universal Serial Bus) port is compatible with USB devices such as
keyboards, mice, cameras and hard disk drives. They also support USB IR receiver
(please refer to page 14).
5. DVI port
The DVI port supports connection to analog monitors and displays.
6. HDMI port
The HDMI (High Denition Multimedia Interface) port supports a Full-HD device
such as an LCD TV or monitor to allow viewing on a larger external display.
7. Optical (SPDIF OUT) jack
Plug an optical cable into this jack for digital audio transfer.
8. Power input (DC19V)
The supplied power adapter converts AC power to DC power for use with this jack.
Power supplied through this jack supplies power to the PC. To prevent damage to
the PC, always use the supplied power adapter.
The power adapter may become warm to hot when in use. Do not cover the
adapter and keep it away from your body.
1 2 3 4 5 6 7
8
 Loading...