


TTaabbllee ooff CCoonntteennttss
Package Contents……………………………………………………………………………………………………………3
Product Diagram…………………………………….………………………………………………………………………3
Specifications……………………………………………………………………………………………………………………3
System Requirements………………………………………………………………………………………………………3
Driver Installation…………………………………………………………………………………………………………..4
Software Installation…………………………………………………………………………………………………………5
Hardware Installation………………………………………………………………………………………………………6
Check the hardware is working and related settings…………………………………………………….……6
Advanced Settings………….…………………………………………………………………………………………………9
Cautions………………………………………………………………………………………………………………………..12
2

Package Contents:
˙ One ZVC7500
˙ One User Manual
˙ One Driver CD
PPrroodduucctt DDiiaaggrraamm
SSppeecciiffiiccaattiioonnss
˙ 1.3 Mega pixels Digital Camera
˙ Image Sensor: CMOS
˙ Video Capture Resolution: 1280*960
˙ Max. Image Resolution: 2304*1728 (picture size)
˙ Video mode: RGB24 / I420
˙ Interface: USB 2.0 port
˙ Frame rate: 1280*960 mode up to 10 ~ 15 fps
1600*1200 mode up to 10 fps
˙ Signal-Noise ratio: Larger than 48dB
˙ Dynamic range: Larger than 72dB
˙ Focus Settings: Manual, 3cm to infinity
˙ Non-Compression Image Processor
˙ Automatic Whiteness Balance
˙ Automatic Face Tracking
˙ Lens: 5-layer Glass
˙ Snap-shot Button
˙ Special Image Effect
˙ Special Image Frame
˙ Built-in Microphone
˙ Digital Zoom function
SSyysstteemm rreeqquuiirreemmeennttss
˙ CPU: above PII 400MHz, Celeron, AMD Athlon
˙ OS: Windows
˙ Free HDD space: over 200MB
˙ Memory: min. 128MB
˙ CD-ROM driver
˙ Available USB port
˙ Support DirectX 9.0 VGA card
98/2000/ME/XP
3
DDrriivveerr iinnssttaallllaattiioonn
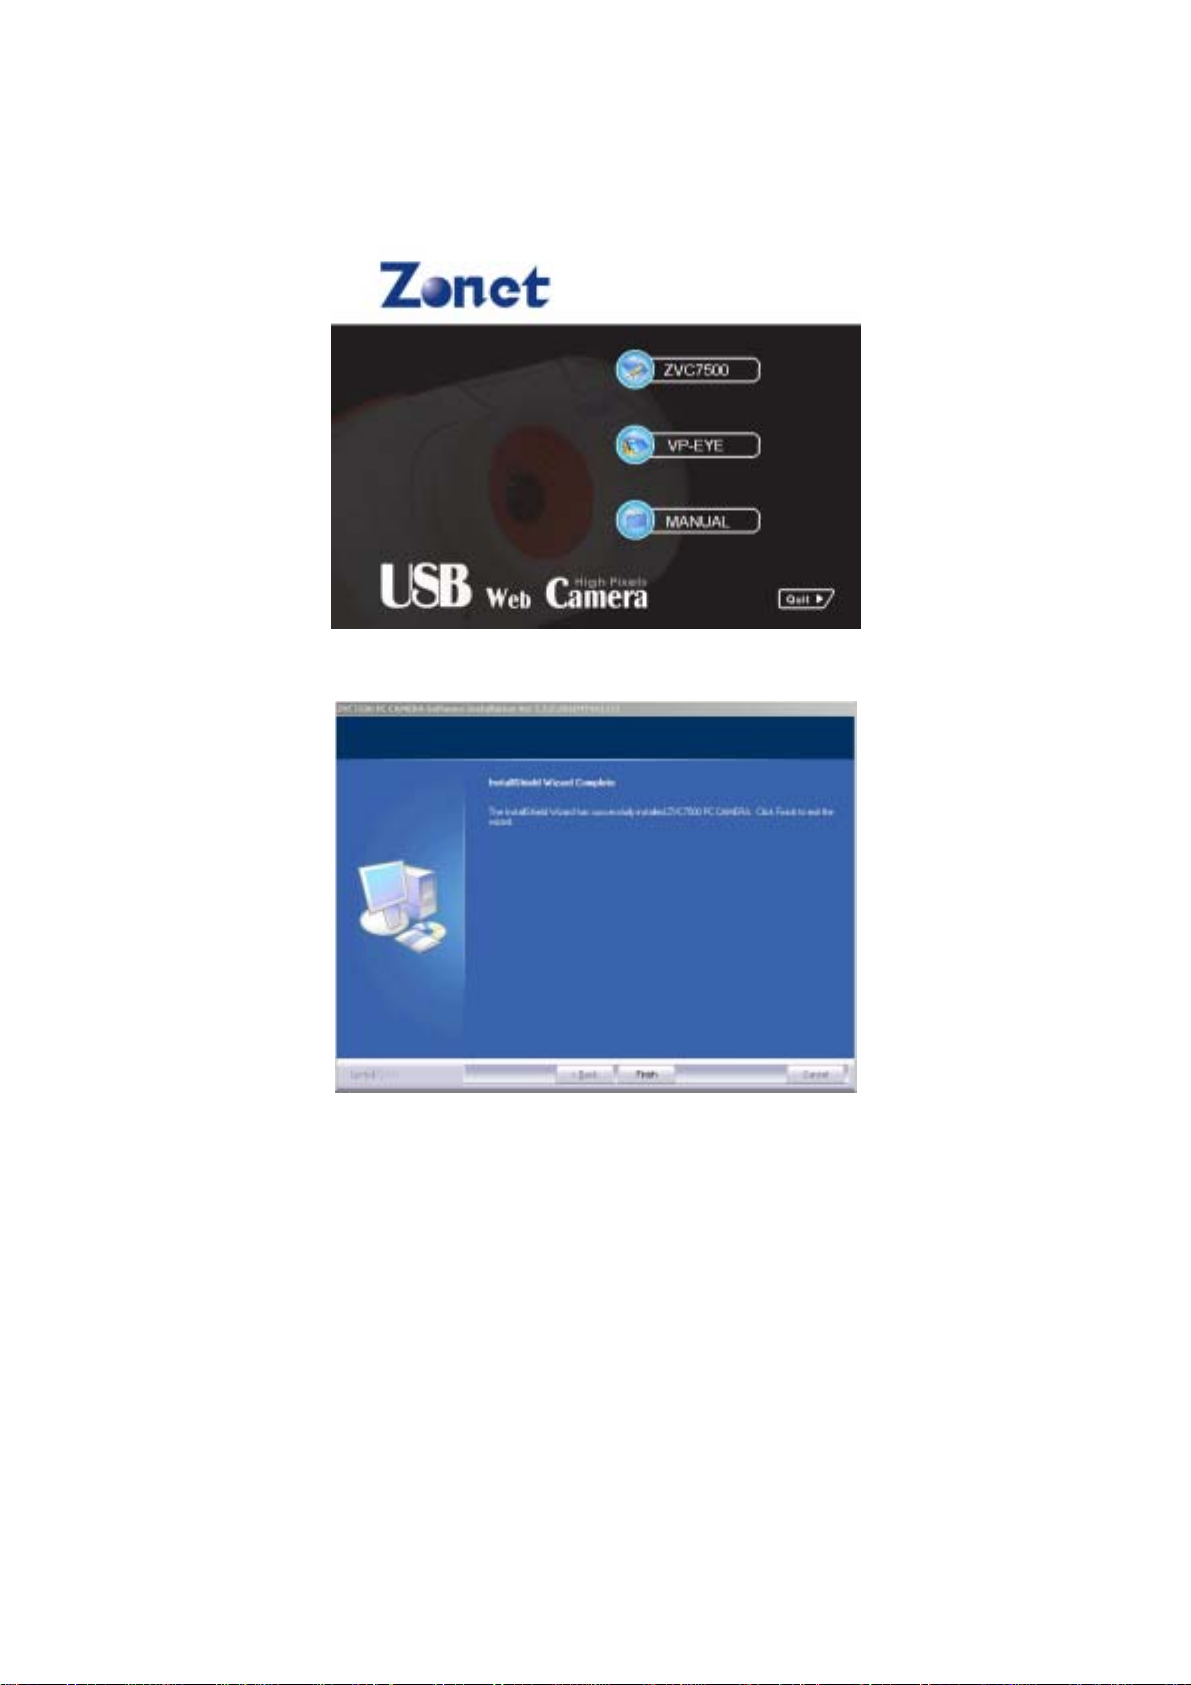
Notice: DO NOT PLUG ZVC7500 INTO USB PORT BEFORE DRIVER IS INSTALLED! If have already plugged
ZVC7500, please get it unplugged and follow the Steps below.
Insert the Installation Disc into CD-ROM driver then installation menu will automatically appear.
a. Click ZVC7500 to install the driver
b. Click Finish to complete the driver installation
Figure 1
Figure 2
4
 Loading...