

Page 1

22--PPoorrtt D
Mooddeell##
M
DVVII KKVV
K
K
M SSwwiittcchh
M
V
M33440022
V
M
nssttaallllaattiioo
IIn
n
n
G
uiiddee
G
u
Page 2
HHaarrddwwaarree IInnssttaallllaattiioonn::
All hardware must be powered OFF during hardware installation.
1. Connect DVI cables to KVM3402 and Source Input Devices
2. Connect Output Device to KVM3402 console port
3. Power ON all hardware
4. Do not switch between devices during power up process
5. Hardware installation is now completed and your KVM3402 is ready to operate.
PPaacckkaaggee CCoonntteennttss::
One KVM3402
One Installation Guide
Two sets of DVI w/Audio cable
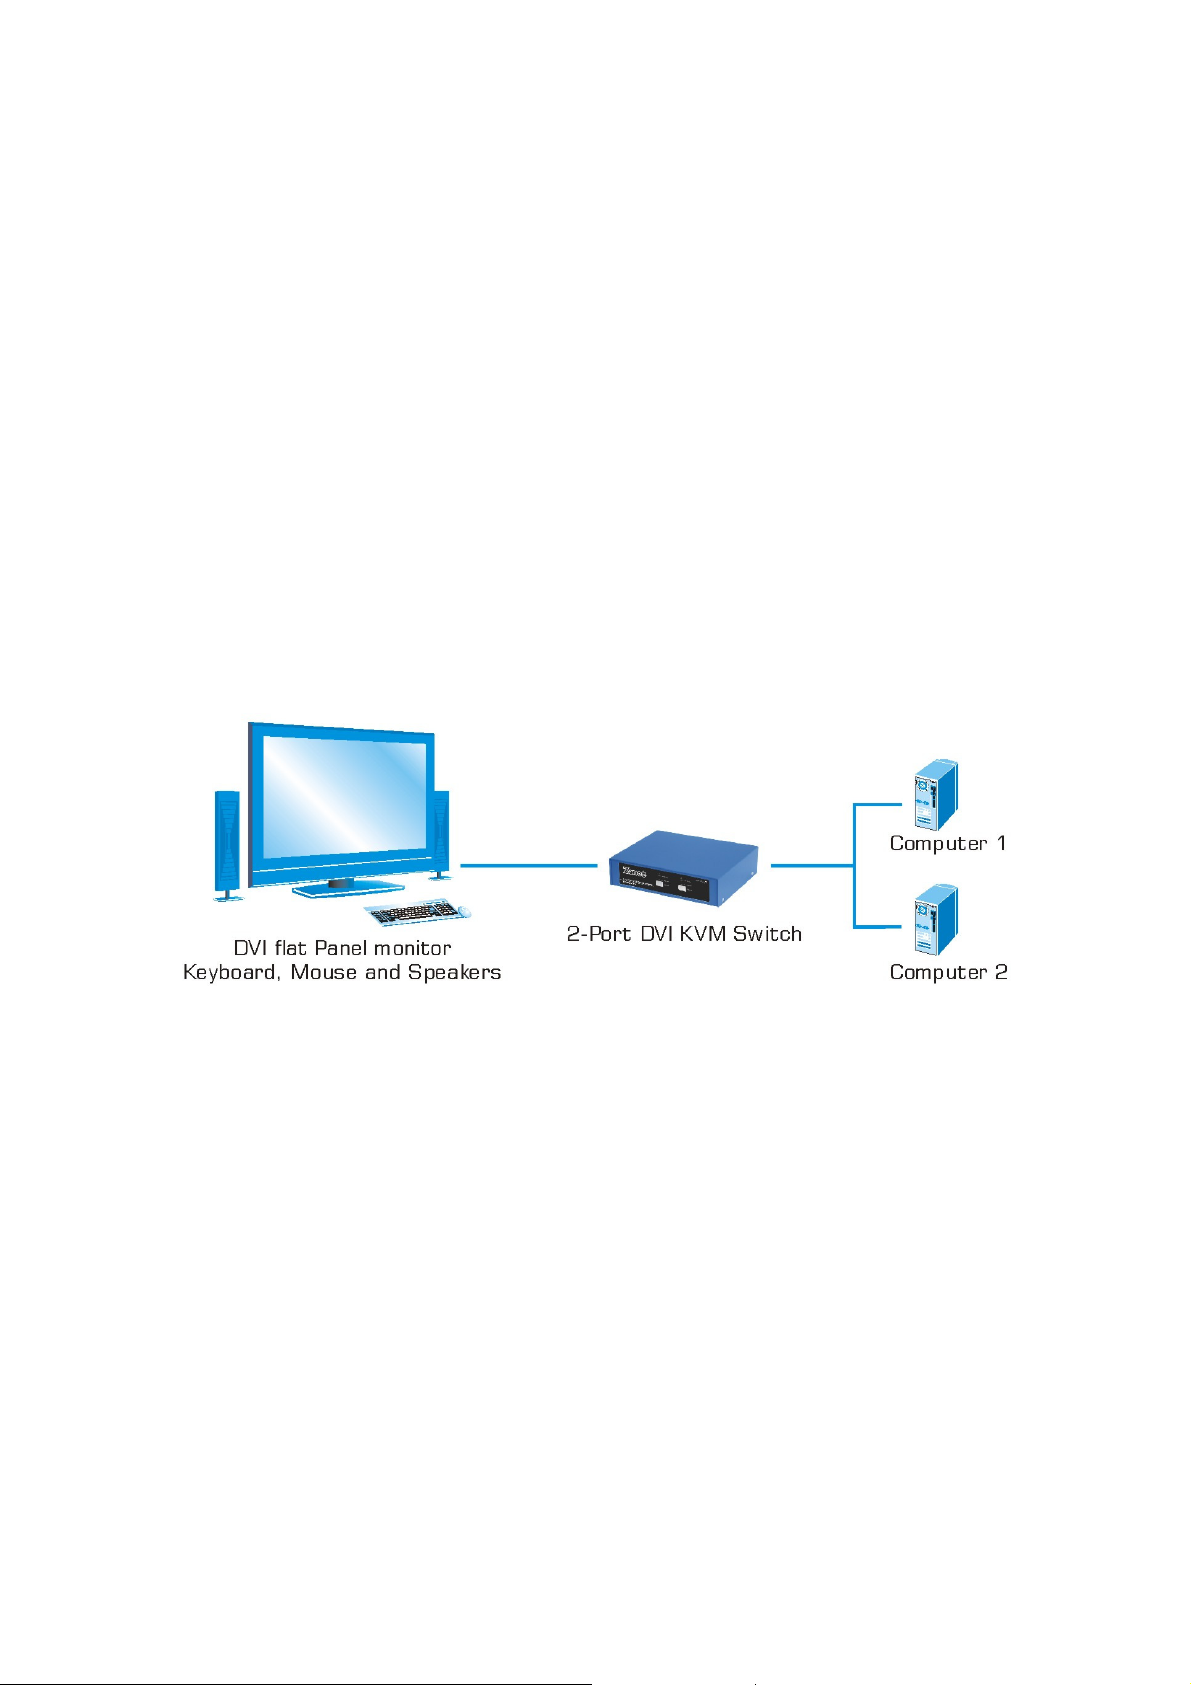
AApppplliiccaattiioonn DDiiaaggrraamm::
CCoonnssoollee PPoorrttss::
Monitor: Female DVI-I port
Speaker: 3.5mm audio port next to the speaker symbol
Microphone: 3.5mm audio port next to the microphone symbol
Mouse: Female PS/2 port next to the mouse symbol
Keyboard: Female PS/2 port next to the keyboard symbol
1
Page 3

Scroll
Scroll
↑ ↓
+
Scroll
Scroll
2 1
+
Scroll
Scroll
B
+
Scroll
Scroll
S
+
PPuusshh BBuuttttoonnss aanndd LLEEDD IInnddiiccaattoorrss::
Push Buttons:
Use the Selected button on the front panel to select PC port
LED Indicators:
Online: [ON] Source Input Device is selected and it is power-ON
[FLASH] Source Input Device is selected but it is power-OFF
[OFF] Source Input Device is not select or nothing connects to the port
Power: [ON] Source Input Device is power-ON, all KVM cables are securely connected
[OFF] Source Input Device is power-OFF, KVM cables are loosed, or nothing is
connected.
+
+
+
Lock
Lock
Lock
Lock
+
KKeeyybbooaarrdd HHoottkkeeyyss::
1. Switching Channel: Scroll Lock must be pressed within 2 seconds
Lock
2. Select PC Port: Scroll Lock must be pressed within 2 seconds
3. Beeper Function: Scroll Lock must be pressed within 2 seconds
4. Auto-scan Mode: Scroll Lock must be pressed within 2 seconds
Lock
Only works under Scan Mode. Factory default = Beeper ON
Lock
Scan interval is 8 seconds. Press any key or space bar to exit Auto-Scan mode.
Lock
OR
OR
2
Page 4

TTrroouubblleesshhoooottiinngg TTiippss::
1. Make sure all KVM cables are connected securely, properly and well-seated
2. Suggested to label all KVM cables accordingly to avoid confusion
3. Do not move or press any mouse button when switching between ports
4. Do not move or press any key on keyboard when switching between ports. Keyboard
error may occur.
5. Why my keyboard is not working after the computer is boot-up?
a. KVM3402 only supports 101-, 102-, and 104- keyboards
b. Make sure the keyboard is working properly when connect directly to the
computer
c. Try other keyboards
6. Why my mouse is not working after the computer is boot-up?
a. Make sure the mouse is working properly when connect directly to the computer
b. KVM3402 only support true PS/2 mouse. If you are using a combo mouse, you
must use a correct PS/2 converter
7. What is the power adapter specification if I want to add additional power source to the
unit?
a. Voltage: DC9V
b. Ampere: 500mA~1A
c. Polarity: Center Positive
3
 Loading...