

Page 1
User Manual
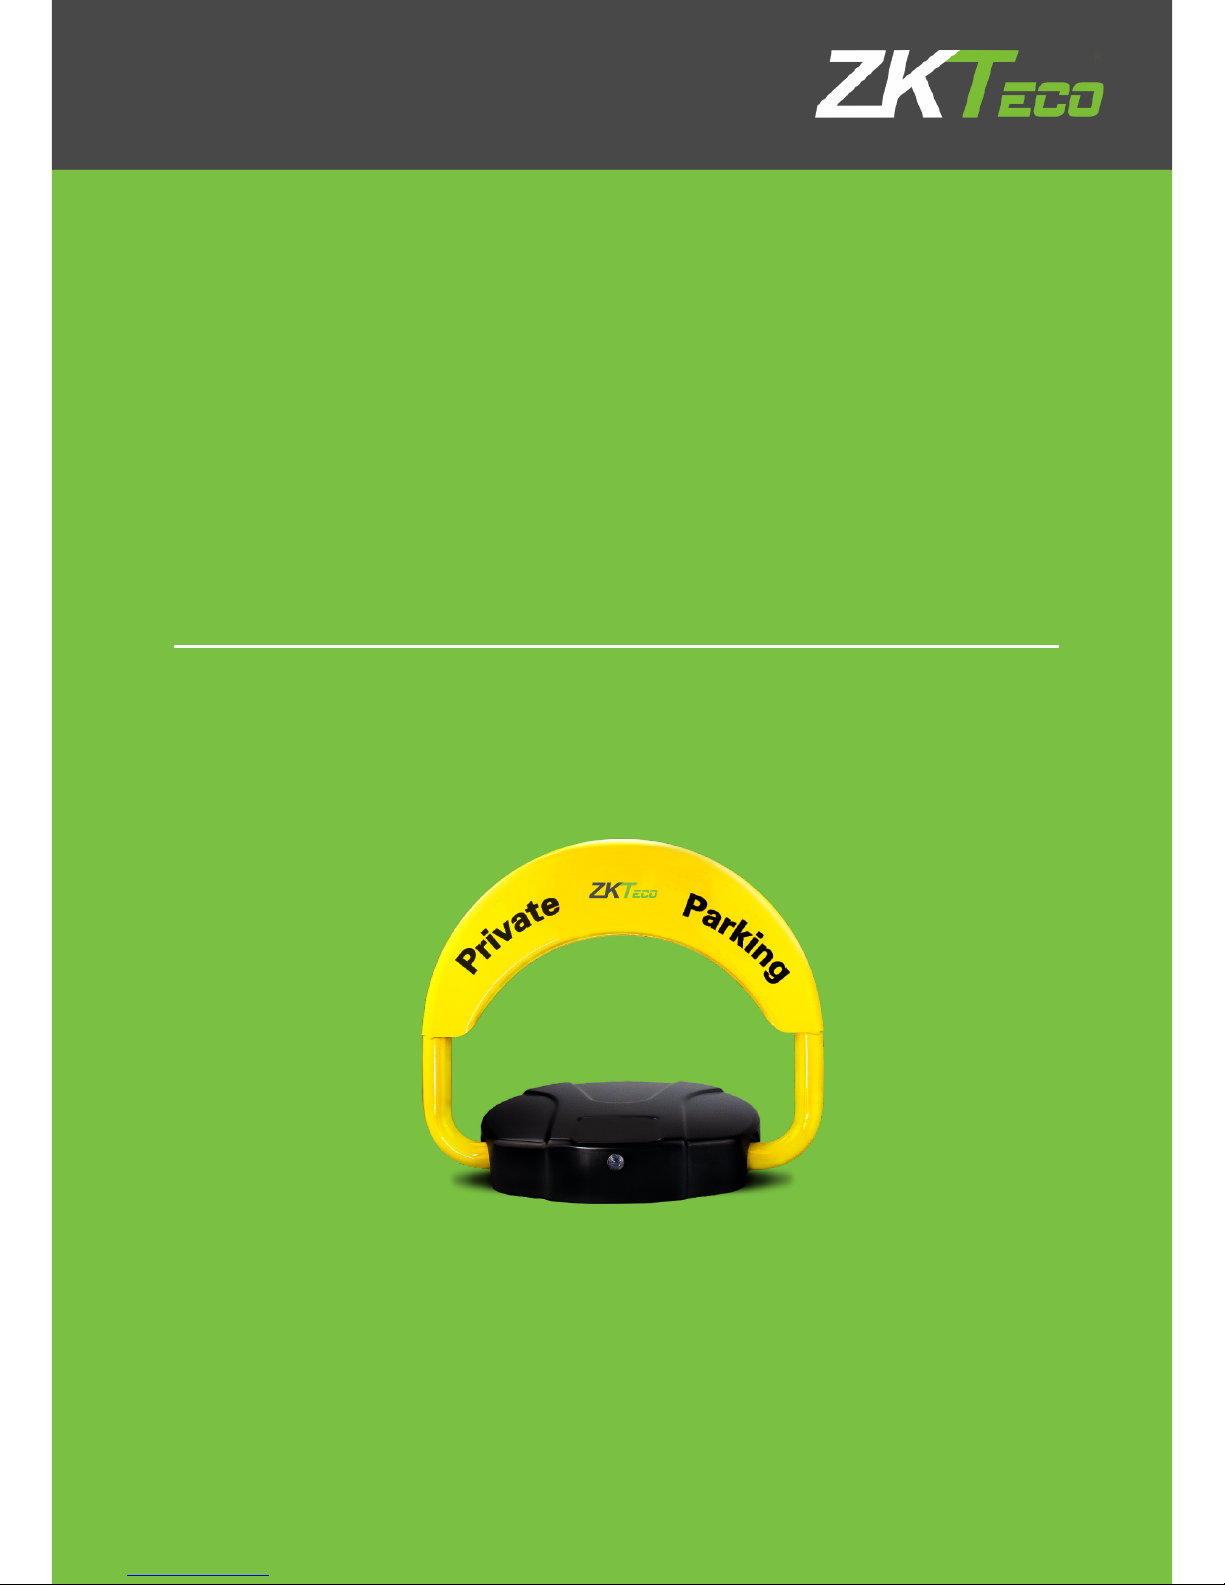
Plock 2: Automatic Sensing Parking Lock
Version: 1.0
Date: May, 2018
Page 2

Content
1. Brief introduction ..................................................................................................................................................................... 1
2. Specifications .............................................................................................................................................................................. 1
3. Function & features ................................................................................................................................................................. 2
4. Structure ......................................................................................................................................................................................... 2
5. Installation ..................................................................................................................................................................................... 2
6. Precautions for handling batteries ............................................................................................................................... 3
7. Cautions on use ......................................................................................................................................................................... 3
8. Troubleshooting ....................................................................................................................................................................... 4
9. What’s in the box ...................................................................................................................................................................... 4
Page 3

Plock 2 User Manual Page | 1
1. Brief introduction
Plock 2 is the second generation of parking lock in ZKTeco. Plock 2 keeps all original features of Plock
1 and is equipped with new auto-sensing function. User can easily manage his/her parking space by
placing a sensor in a cigarette lighter receptacle. Compared with traditional parking locks, Plock 2
does not need any manual operation, which makes parking experiences more ideal. It is a competent
private parking manager.
2. Specifications
Model Plock 2
Material
Steel
Control distance
≤20m
Arm rising time/ falling time
≤6s
Altitude after rising
420mm
Altitude after dropping
75mm
Operating temperature
-10°C ~ +55°C
Power supply
Alkaline dry battery (D x 4)
Rated voltage
DC6V
Quiescent current
≤1.5mA
Operating current
≤2.5A
Size
460mm x 460mm x 75mm
Weight
8KG
Page 4
Plock 2 User Manual Page | 2
3. Function & features
Auto-sensing: the parking lock will automatically open when you approach from under 15m.
When you leave the detection area, the arm of the lock will automatically rise.
Built-in 180° anti-collision alarm system: an alarm will be triggered if the arm of the lock is being
pushed and pulled by external forces.
2T high pressure resistance: withstand 2 tons of car rolling without damage.
Protection class: IP67.
Low battery automatically prompts: if the built-in battery is low, buzzer will be triggered and Led
light will flash.
Anti-theft: the key components of the lock inside the housing, which need a key to open.
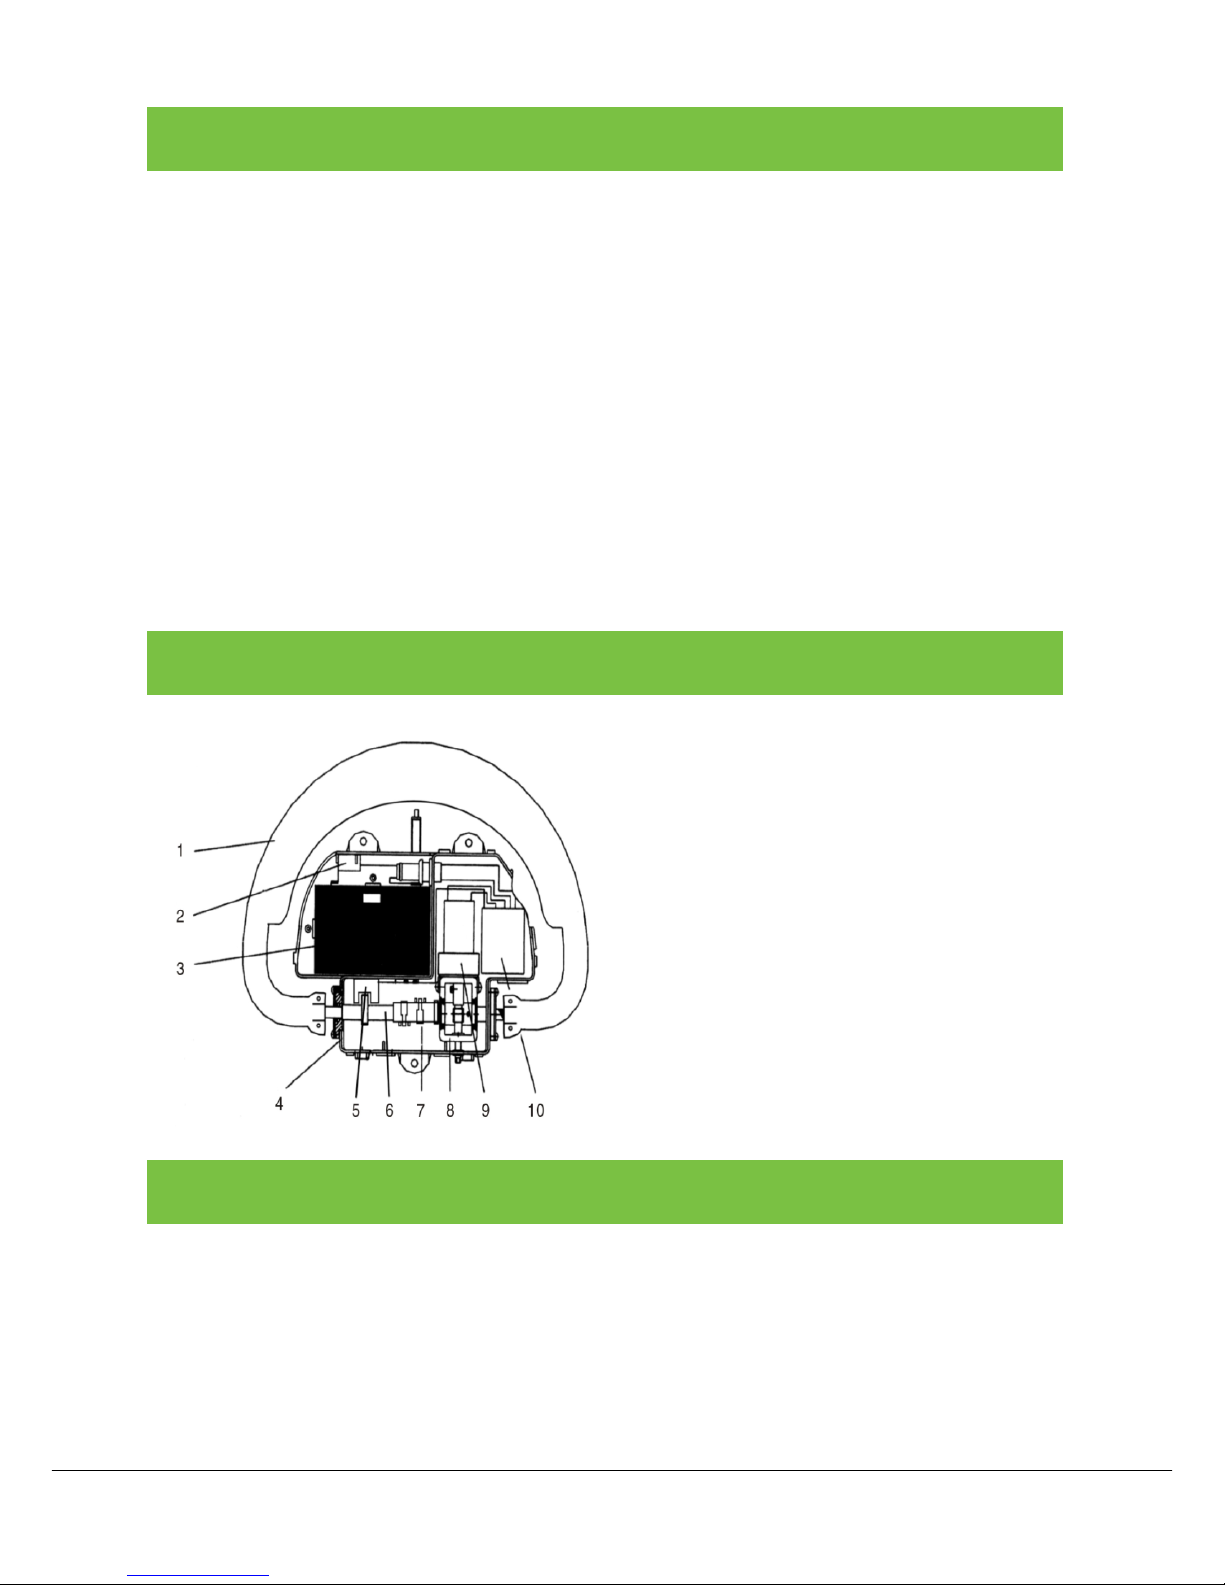
4. Structure
5. Installation
Before installing the parking lock, please confirm all equipment is intact, and make sure the ground is
concrete and smooth.
1 Arm
2 Alarm
3 Battery
4 Box Body assembly
5 Photoelectric sensor
6 Drive shaft
7 Anti-collision device
8 Gearbox
9 Electrical motor
10 Control board
Page 5

Plock 2 User Manual Page | 3
Installation tool:
Impact drill, drill bit No. 8, No. 8 expansion screw, hex wrench, ordinary hammer.
Installation steps:
1. Pull up the arm of the parking lock, unlock and remove the top cover.
2. Determine the parking lock installation position, and place the parking lock in the position.
3. Use a pen to mark three holes to facilitate drilling.
4. Drill three holes with diameter of 12mm and depth of 50mm with the model M12 drill bit according
to the positions of the three mounting holes, and knock the expansion bolt M8 into the hole, then
remove the nut.
5. Thread the three holes through the expansion bolt and tighten the nut.
6. Connect the battery plugs and lock the top cover.
7. Start operating the parking lock. If the parking lock operates normally, the installation is completed.
6. Precautions for handling batteries
1. The product is not equipped with batteries. Please prepare regular alkaline dry batteries (D x 4).
2. Do not heat and disassemble the batteries, or they may explode or sink.
3. Do not reverse the electrical polarities.
4. Do not throw the batteries into fire.
5. Do not attempt to open the batteries.
7. Cautions on use
1 When the batteries of the remote controller are dead, you must replace them with the same type of
batteries in time.
2 Keep the parking lock clean by removing dust and rubbish from it regularly.
Page 6

Plock 2 User Manual Page | 4
8. Troubleshooting
Power is on but no power prompt.
1. Low battery or batteries are damaged; please replace them.
2. Poor power cord connection, please tighten or replace the power cord.
3. Host control box is damage; please replace it.
Remote control short distance or remote-control failure.
1. Low battery; please replace the batteries.
2. Host control box is damaged; please replace it.
Arm is not in place; no external force but alarm.
1. Loose limit switch; please fine-tune the limit switch and tighten the screw properly.
2. Look for and remove any obstacle at the spindle and/or near the arm.
3. Transmission is damaged; please replace it.
If you cannot solve the problem, please contact the supplier.
9. What’s in the box
Serial NO. Name Quantity
1 Parking lock 1PCS
2 Sensor 1PCS
3 Operation Instruction 1PCS
4 Remote controller 1PCS
5 Key 2PCS
6 Expansion bolts 3PCS
 Loading...