

ZKTeco G4 User Manual

User Manual
G4
Version: 1.0
Date: November 2018

Important Notice
Thank you for choosing our product. Before using this product, please carefully read this instruction manual. This
will help prevent unnecessary damage to the product. Follow these instructions to ensure that your product
functions properly and completes verifications in a timely manner.
Unless authorized by our company, no group or individual shall take excerpts of or copy all or part of these
instructions nor transmit the contents of these instructions in any way.
The products described in this manual may include software that is copyrighted by our company and its possible
licensors. No one may copy, publish, edit, take excerpts of, decompile, decode, reverse-engineer, rent, transfer,
sublicense, or otherwise infringe upon the software's copyright unless authorized by the copyright holder. This is
subject to relevant laws prohibiting such restrictions.
As this product is regularly updated, we cannot guarantee exact consistency between this product
and the information provided in these instructions. We will hear no disputes that arise due to
differences between the actual product and the contents of these instructions, and you may not be
informed of changes in advance.

I
Contents
1. Instruction for Use ································································································································································································ 1
1.1 Using Your Fingerprints ·············································································································································································· 1
1.2 Startup Screen ······························································································································································································· 2
1.3 Virtual Keyboard ···························································································································································································· 3
1.4 Change the Theme and Wallpaper ························································································································································ 4
1.5 Verification Methods ··················································································································································································· 9
1.5.1 Fingerprint Verification ······································································································································································ 9
1.5.2 Password Verification ········································································································································································· 16
1.5.3 Facial Verification················································································································································································· 21
1.5.4 Combined Verification ······································································································································································ 25
2. Main Menu ············································································································································································································· 29
3. Employee Management ··················································································································································································· 31
3.1 Add an Employee ························································································································································································· 31
3.1.1 Register Basic Employee Information ········································································································································· 33
3.1.2 Register Employee Photo ································································································································································· 34
3.1.3 Registration Comparison Methods ·············································································································································· 38
3.1.4 Permission Settings ············································································································································································ 49
3.1.5 Period of Validity Settings ································································································································································ 51
3.1.6 Verification Method Setup ······························································································································································· 53
3.2 Searching for an Employee ······································································································································································ 56
3.3 Edit an Employee ························································································································································································· 58
3.4 Delete Employee ·························································································································································································· 60
4. Attendance Events ······························································································································································································ 63
4.1 Add Attendance Events ············································································································································································· 63
4.2 Edit Attendance Events·············································································································································································· 68
4.3 Delete Attendance Events ········································································································································································ 70
5. Access Control Settings ····················································································································································································· 73
6. Record Search ······································································································································································································· 75
6.1 Search for Attendance Records ······························································································································································ 75
6.2 Search for Attendance Photos ································································································································································ 80
6.3 Search for Blacklist Photos ······································································································································································· 85
7. Data Management ······························································································································································································ 86
8. USB Disk Management ······················································································································································································ 88
8.1 Upload to USB Drive ··················································································································································································· 89
8.2 Download to a USB Drive ········································································································································································· 90
8.3 USB Disk Settings ························································································································································································· 91
9. Alarm Management ···························································································································································································· 92

II
9.1 Add Alarms ····································································································································································································· 92
9.2 Edit Alarms ······································································································································································································ 98
9.3 Delete Alarms ······························································································································································································· 100
10. System Settings ································································································································································································ 104
10.1 Network Settings ······················································································································································································ 105
10.1.1 Ethernet Settings ············································································································································································· 106
10.1.2 Comm Connection Settings ························································································································································ 108
10.2 Date and Time···························································································································································································· 109
10.2.1 Date and Time Settings ································································································································································· 110
10.2.2 Date and Time Format Settings·················································································································································· 11 2
10.3 ATT Parameters ·························································································································································································· 114
10.3.1 Status Mode ······················································································································································································· 115
10.3.2 Plugin Function Rules ···································································································································································· 127
10.3.3 Camera Mode ···················································································································································································· 128
10.3.4 Verification Settings ········································································································································································ 129
10.3.5 Validity Period of User Information ··········································································································································· 131
10.4 Cloud Service Settings ··········································································································································································· 133
10.5 Wiegand Settings ····················································································································································································· 134
10.5.1 Wiegand In ························································································································································································· 135
10.5.2 Wiegand Out······················································································································································································ 136
10.6 Display Settings ························································································································································································ 138
10.7 Sound Settings ·························································································································································································· 139
10.8 Biometric Parameters ············································································································································································· 140
10.9 Auto-testing································································································································································································ 141
10.10 Advanced Settings ················································································································································································ 143
10.11 About the Device ···················································································································································································· 144
Appendix ···················································································································································································································· 145
Statement on the Right to Privacy ··································································································································································· 146
Eco-friendly Use ······································································································································································································· 147
1
1. Instruction for Use
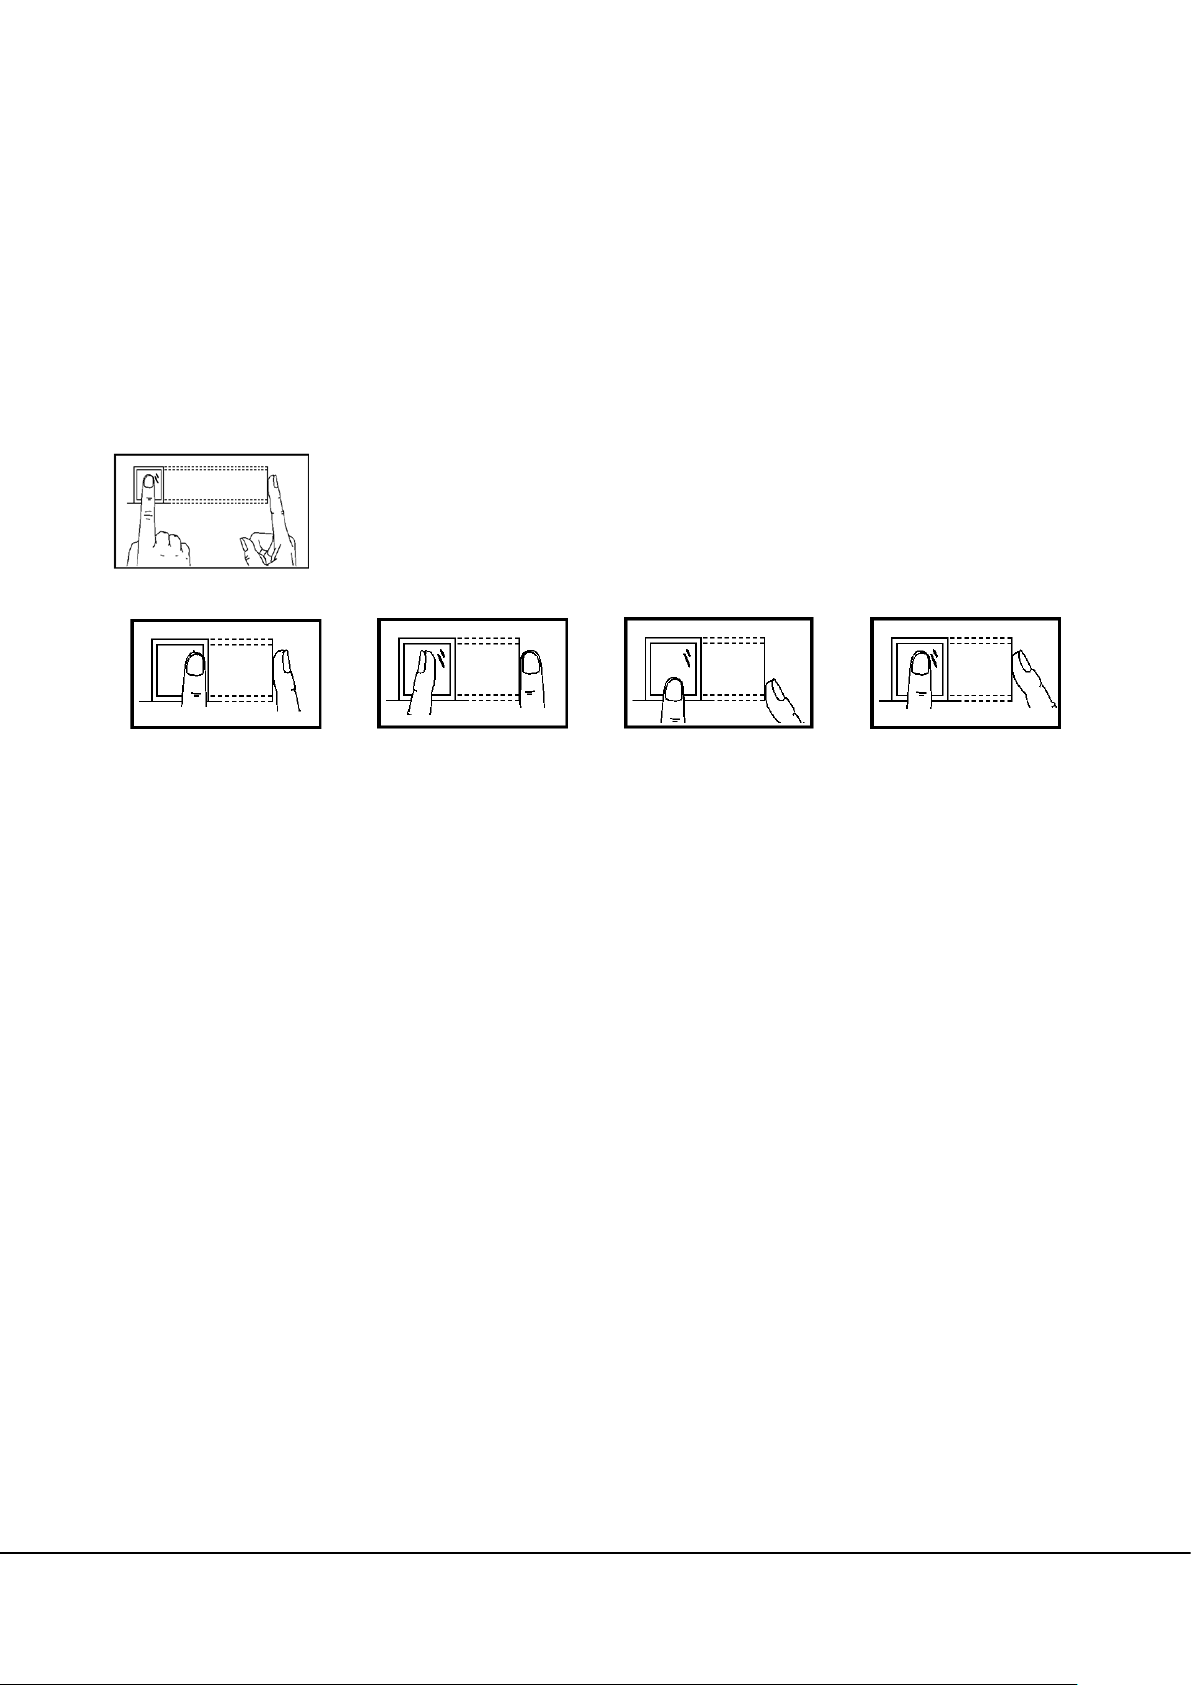
1.1 Using Your Fingerprints
Recommended fingers: index, middle, or ring fingers; avoid using the thumb or pinky, as they are difficult to
accurately press onto the fingerprint reader.
Diagram of how to correctly press your fingers onto the fingerprint reader.
Press your finger onto the fingerprint reader.
Ensure that the center of your finger is aligned with the
center of the fingerprint reader.
Incorrect ways of pressing your fingers onto the fingerprint reader.
Off-center
Note: Please use the correct method when pressing your fingers onto the fingerprint reader for registration and
identification. Our company will assume no liability for recognition issues that may result from incorrect usage of
the product. We reserve the right of final interpretation and modification concerning this point.
Not the fingerprint’s
center
Off-center
Not the fingerprint’s
center
G4 User Manual
2
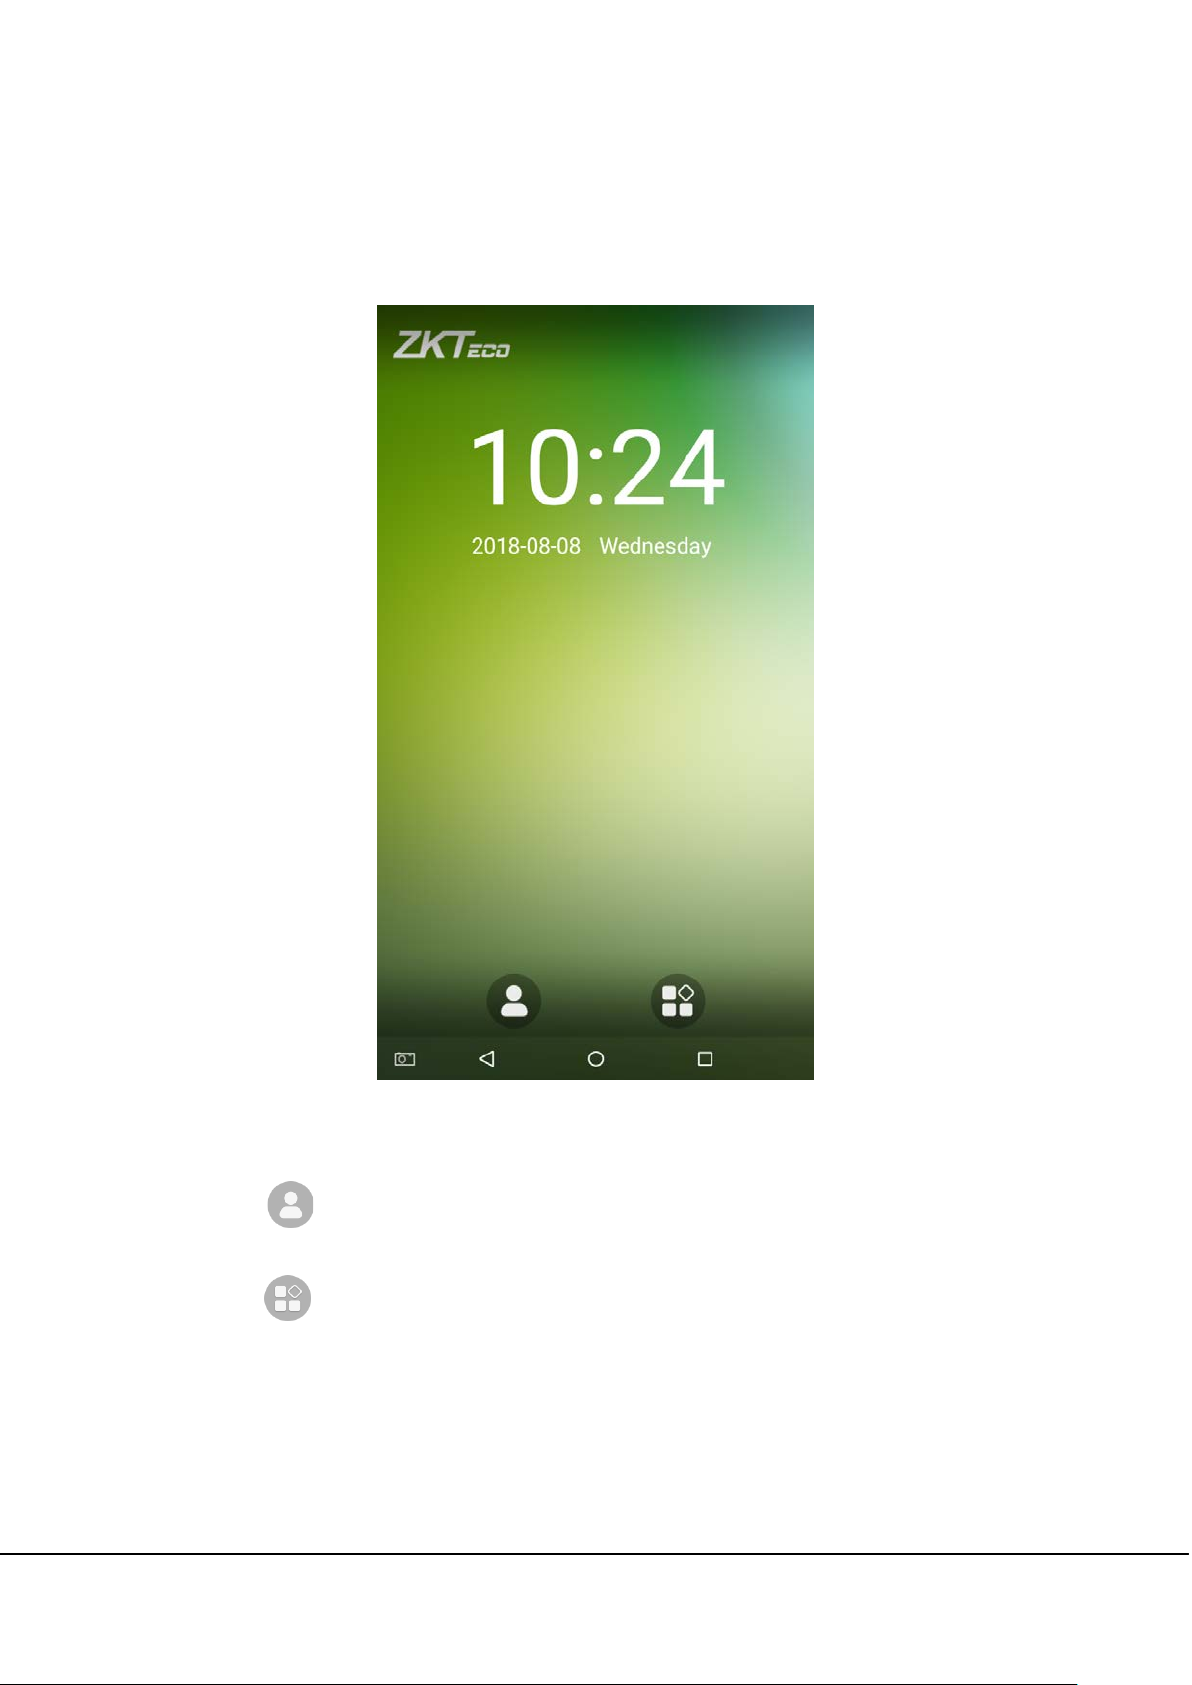
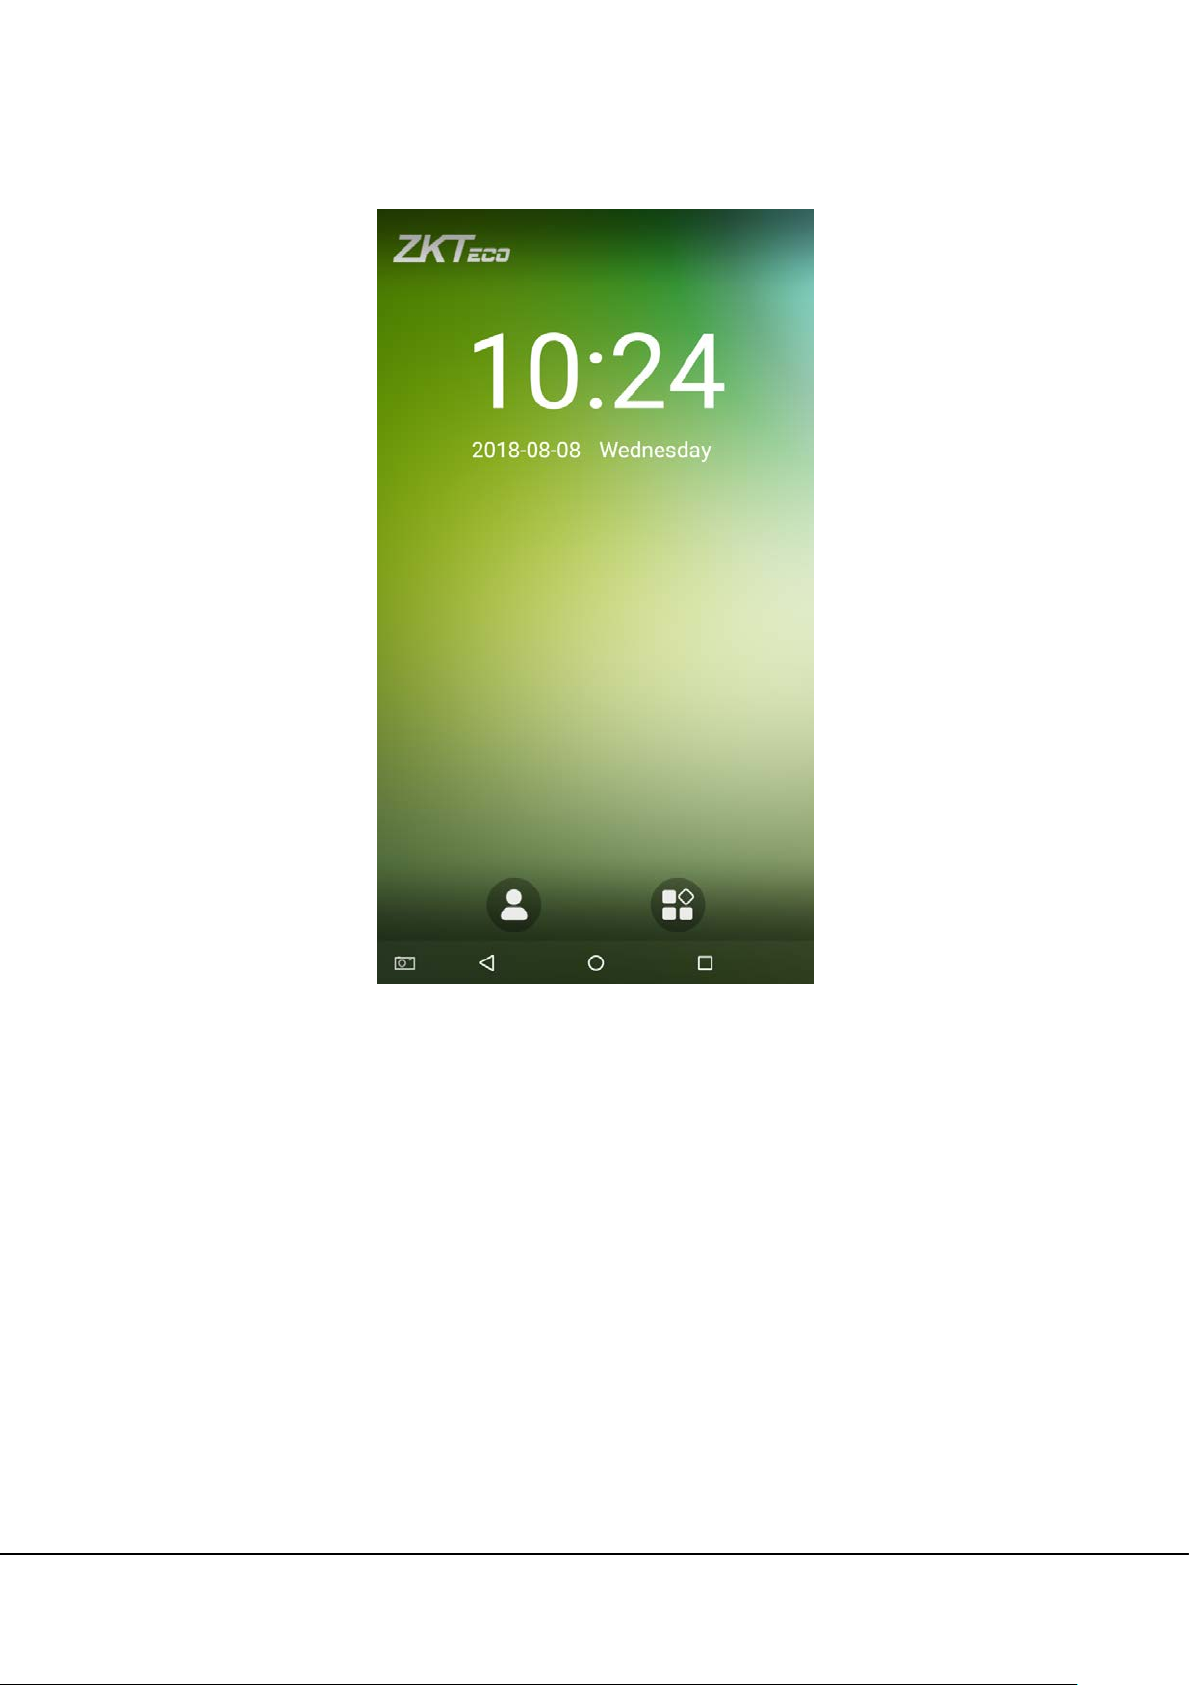
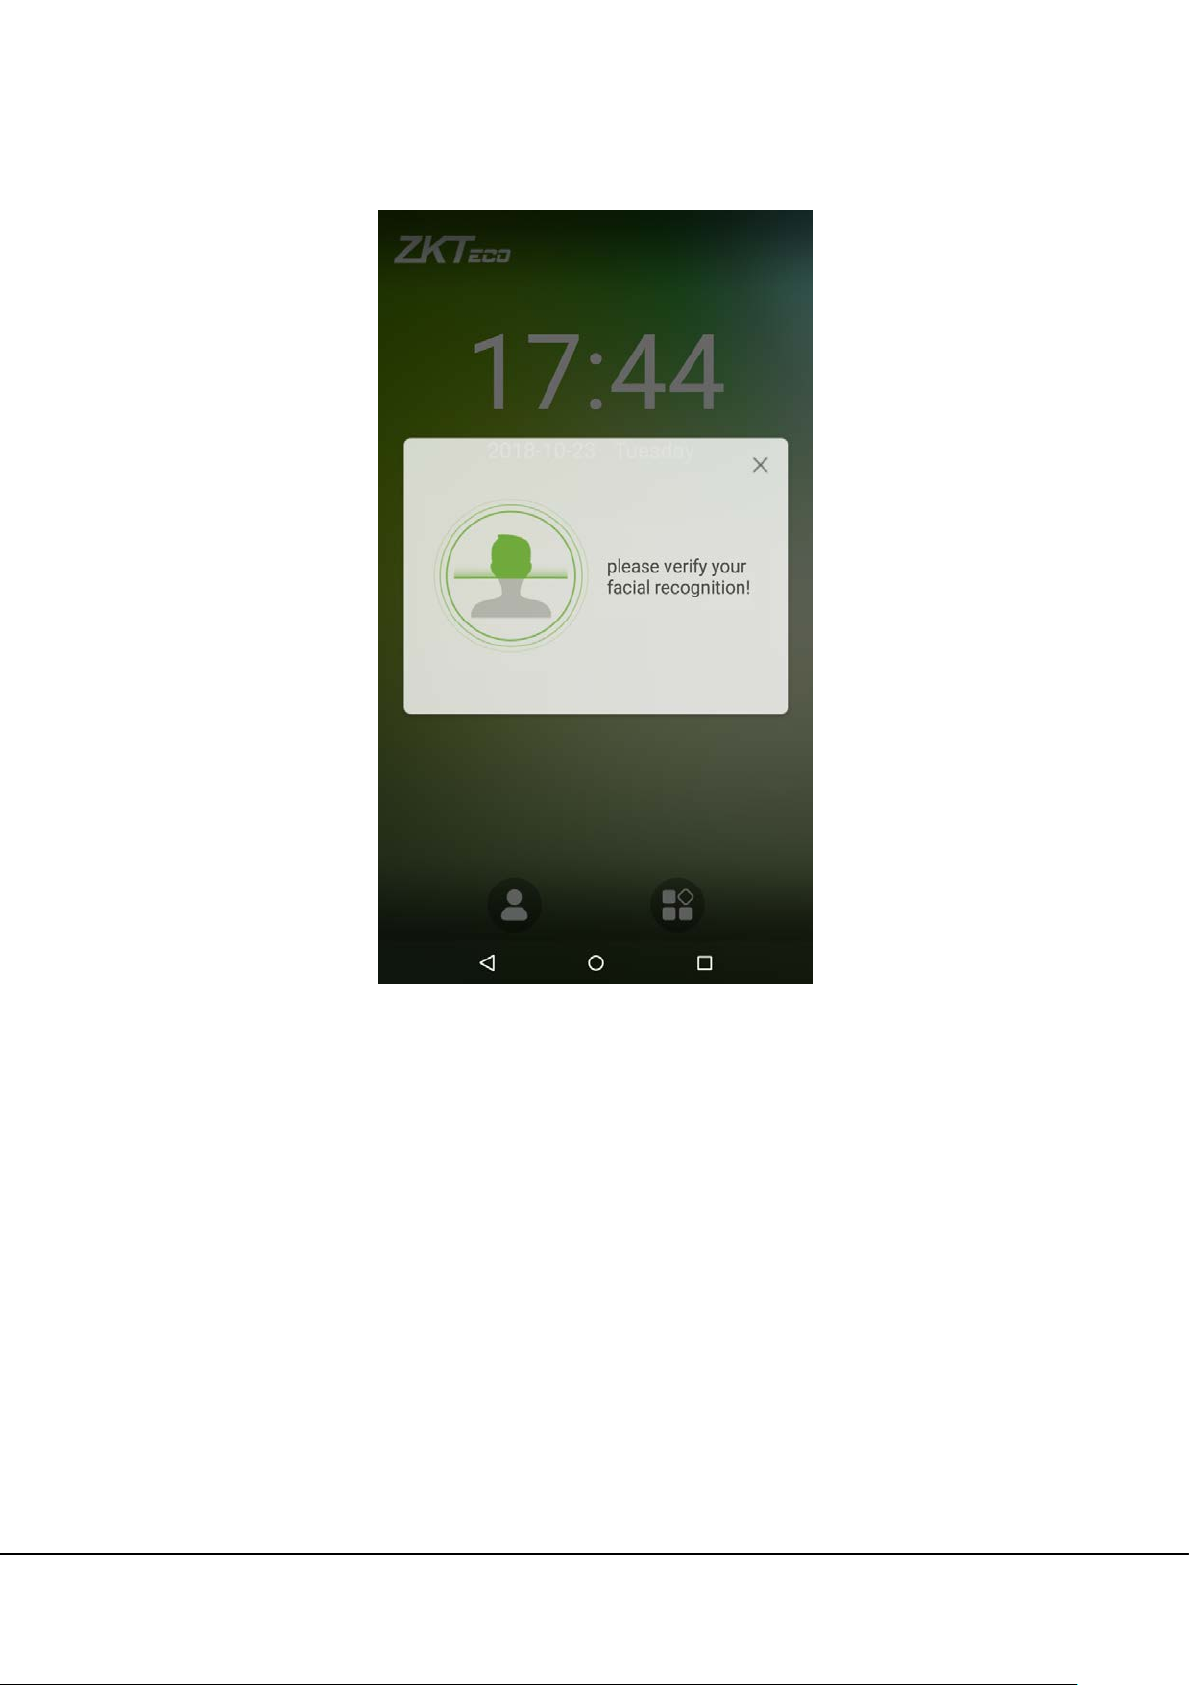
1.2 Startup Screen
After plugging in the device, press the On/Off switch located on the side. The following screen will load:
Notes:
The wallpaper can be customized. For more details, please refer to “1.4 Change Theme and Wallpaper”.
Tap on
about the 1:1 verification process, see section “1.5 Verification Method”.
Tap on
you will need the permission of the super administrator to enter the main menu.
G4 User Manual
to enter the personnel ID Input screen in 1:1 verification mode. For further information
to enter the main menu. If a super administrator has already been registered for this device,
3
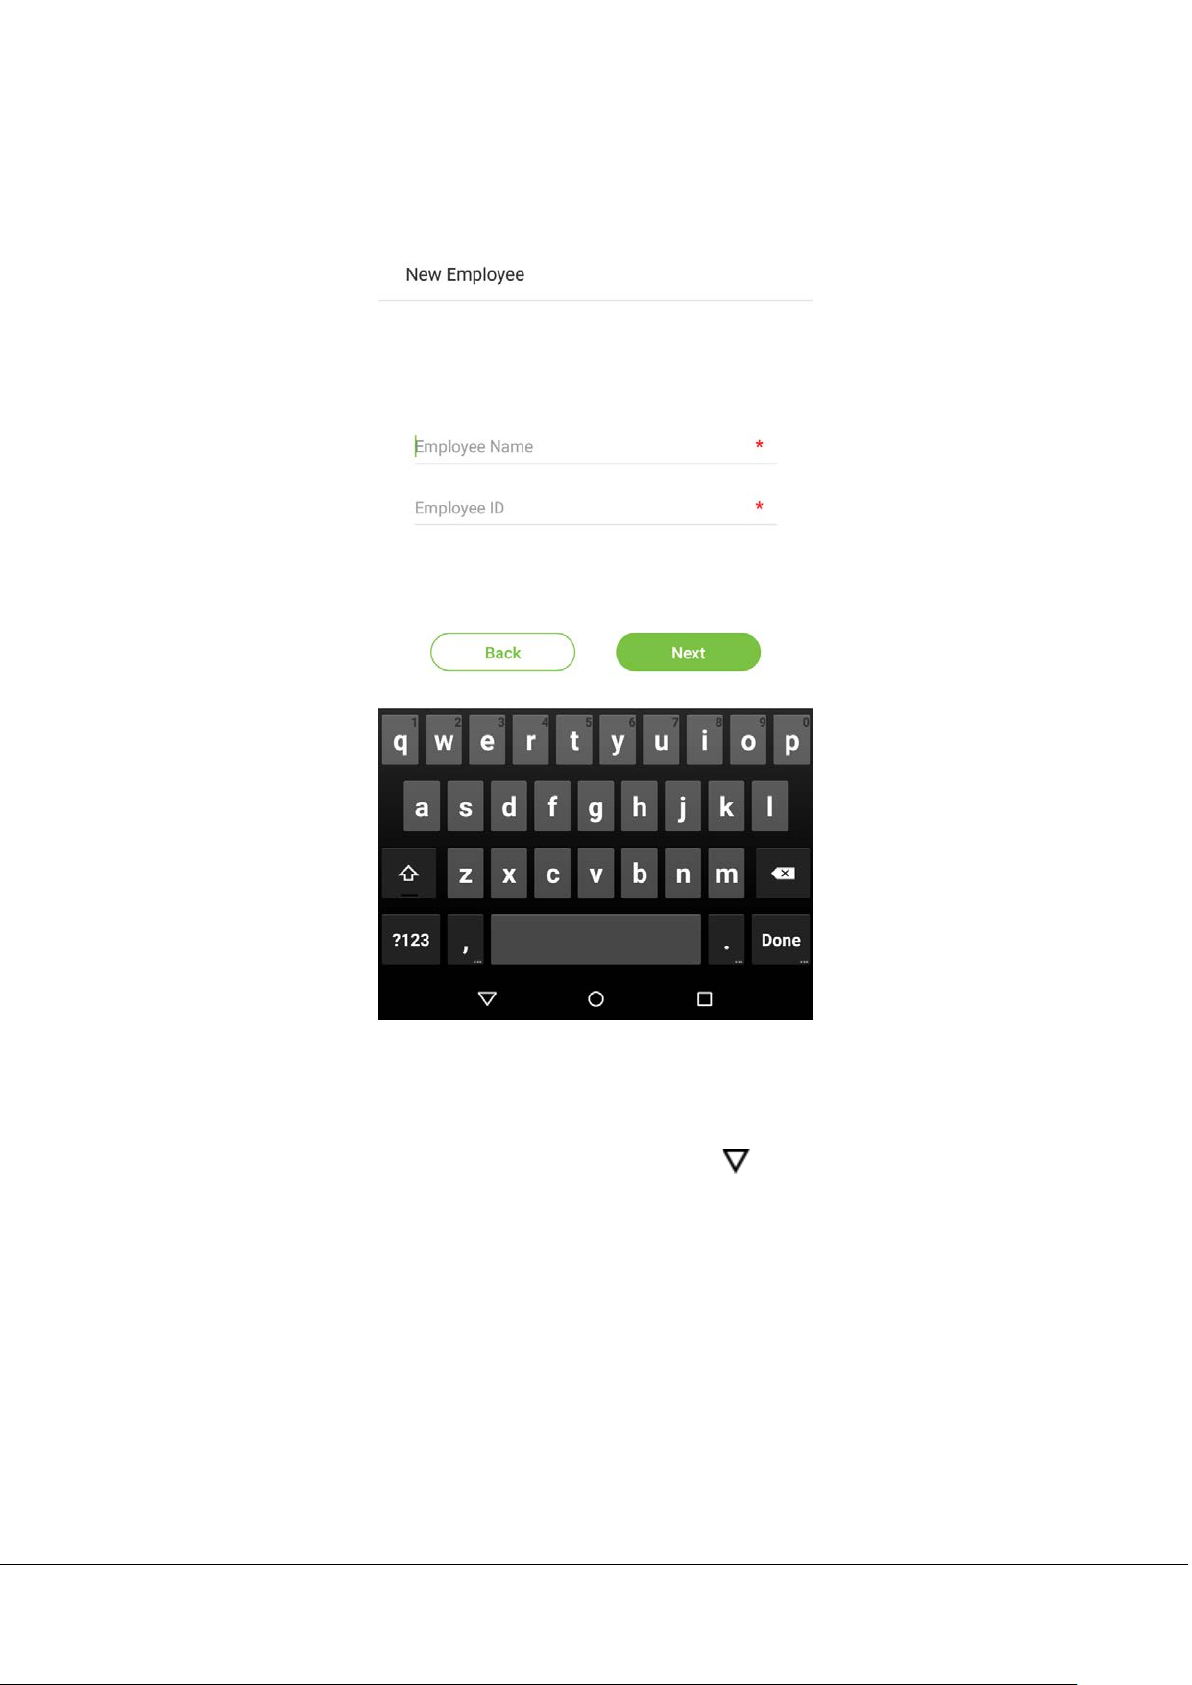
1.3 Virtual Keyboard
English keyboard
Note: This device supports input methods of Chinese, English, numbers, and symbols. Press [CN] to switch to the
Chinese keyboard; press [EN] to switch to the English keyboard; press [?123] to switch to the numbers and symbols
keyboard; and press [Back] to return to the alphabet keyboard. If you tap on an input box, the virtual keyboard will
pop up on the screen. To hide the keyboard, tap on the downwards arrow
G4 User Manual
.
4
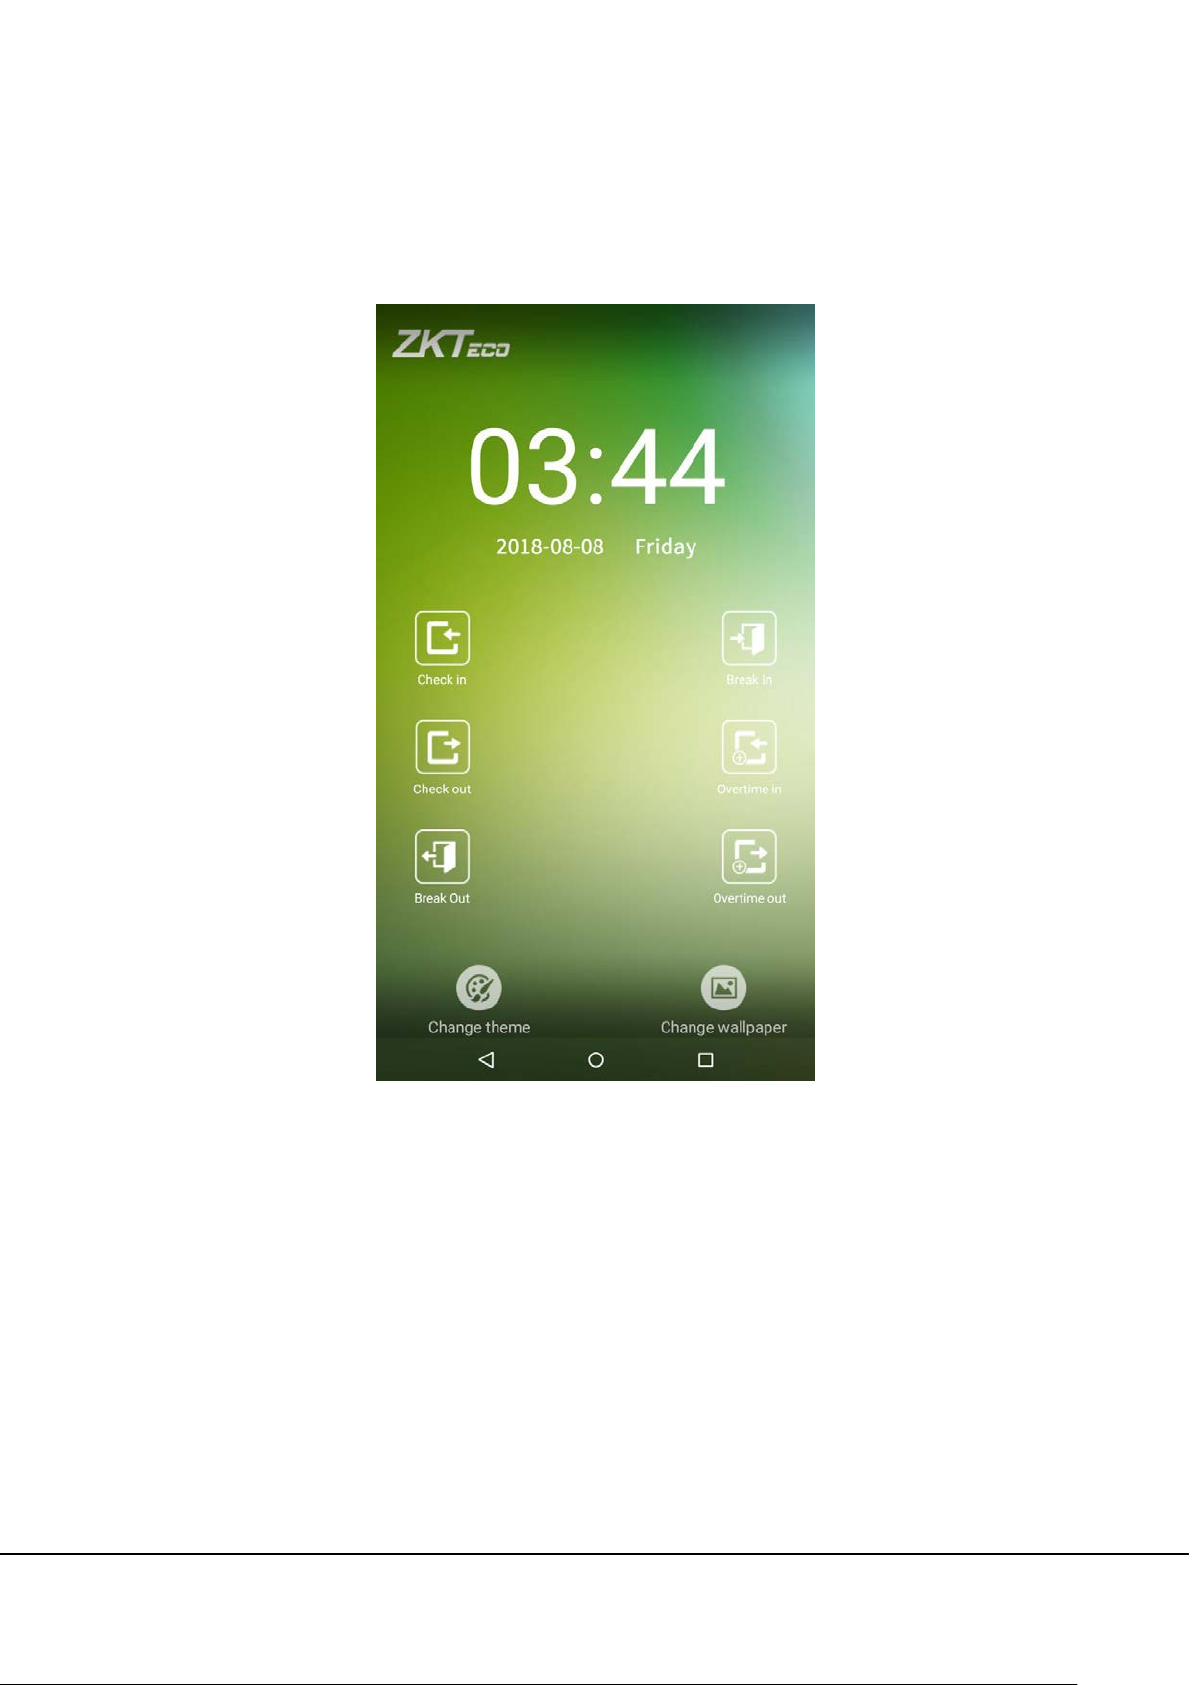
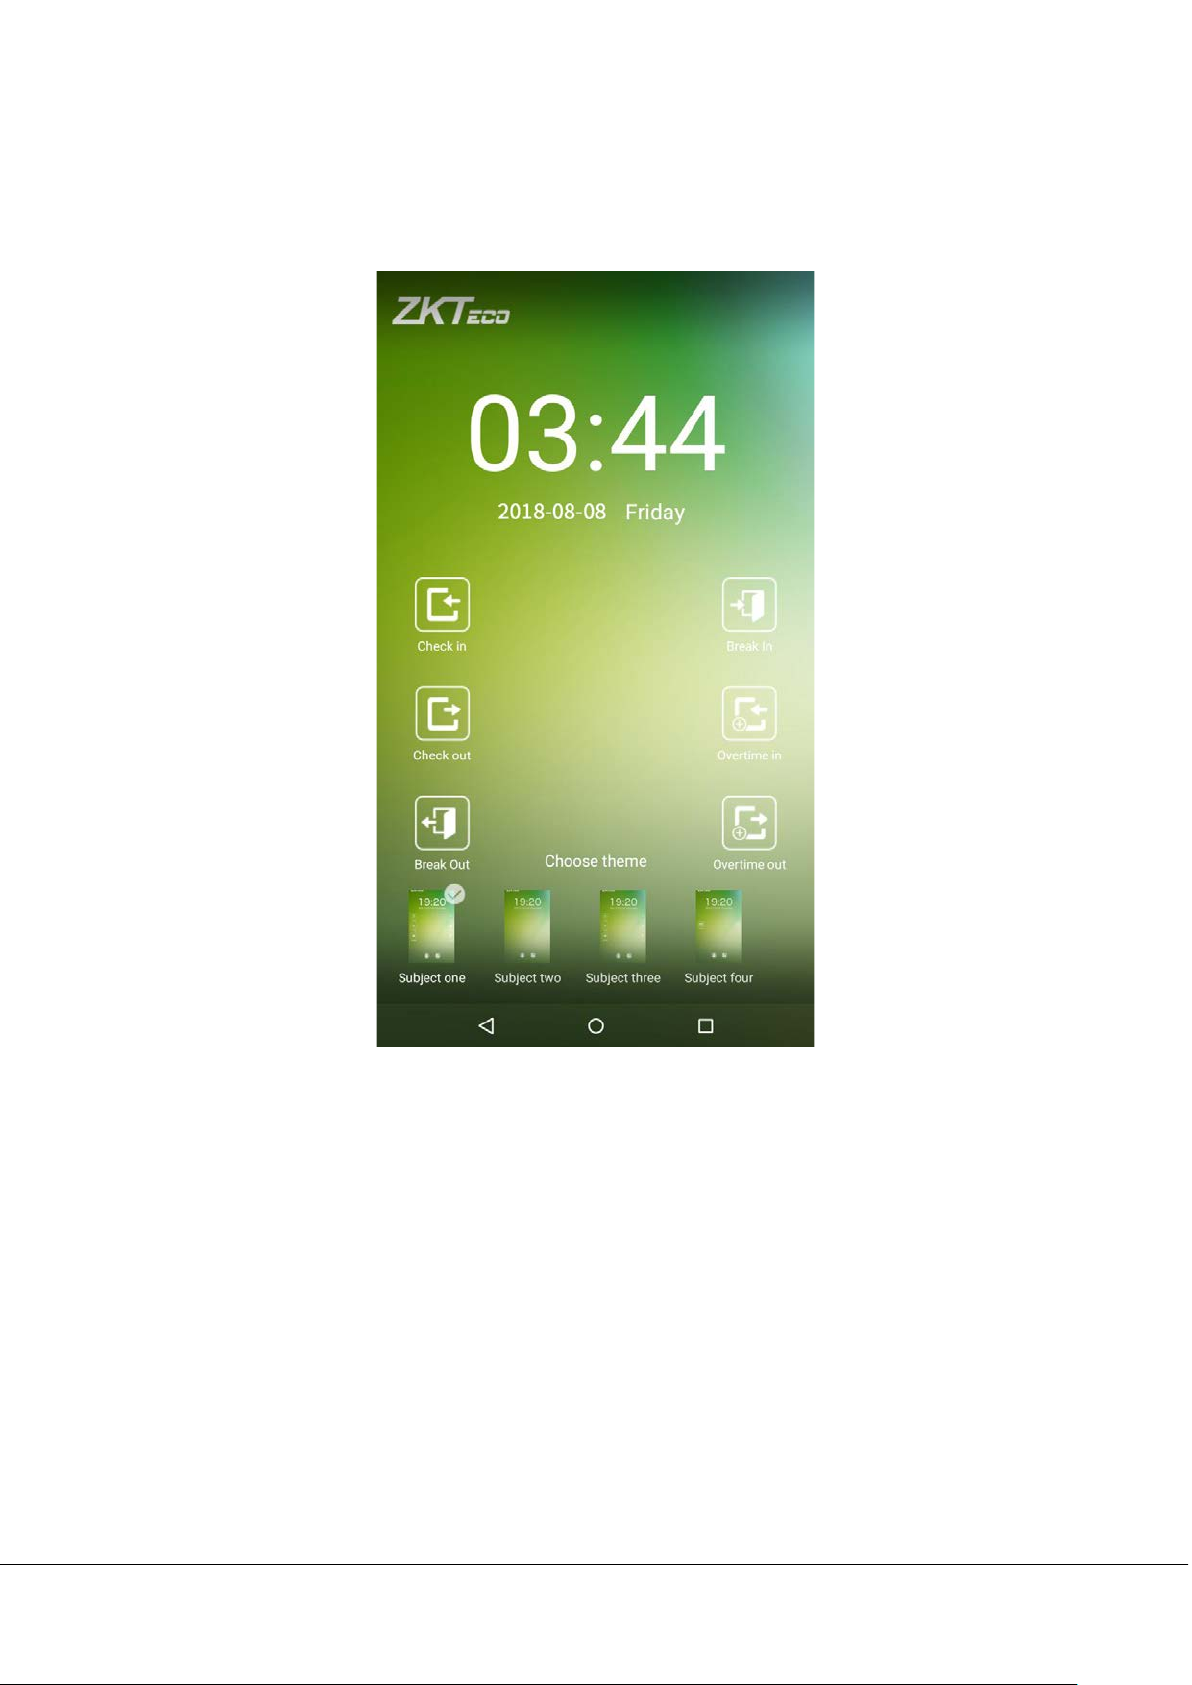
1.4 Change the Theme and Wallpaper
Tap on any blank area with your finger on the initial interface to change the theme and wallpaper, as shown below:
G4 User Manual
5
Change the theme
1. Tap on [Choose theme] and select a theme at the bottom of the interface.
G4 User Manual
6
2. After the theme was set successfully, it will be displayed on the standby interface.
G4 User Manual
7
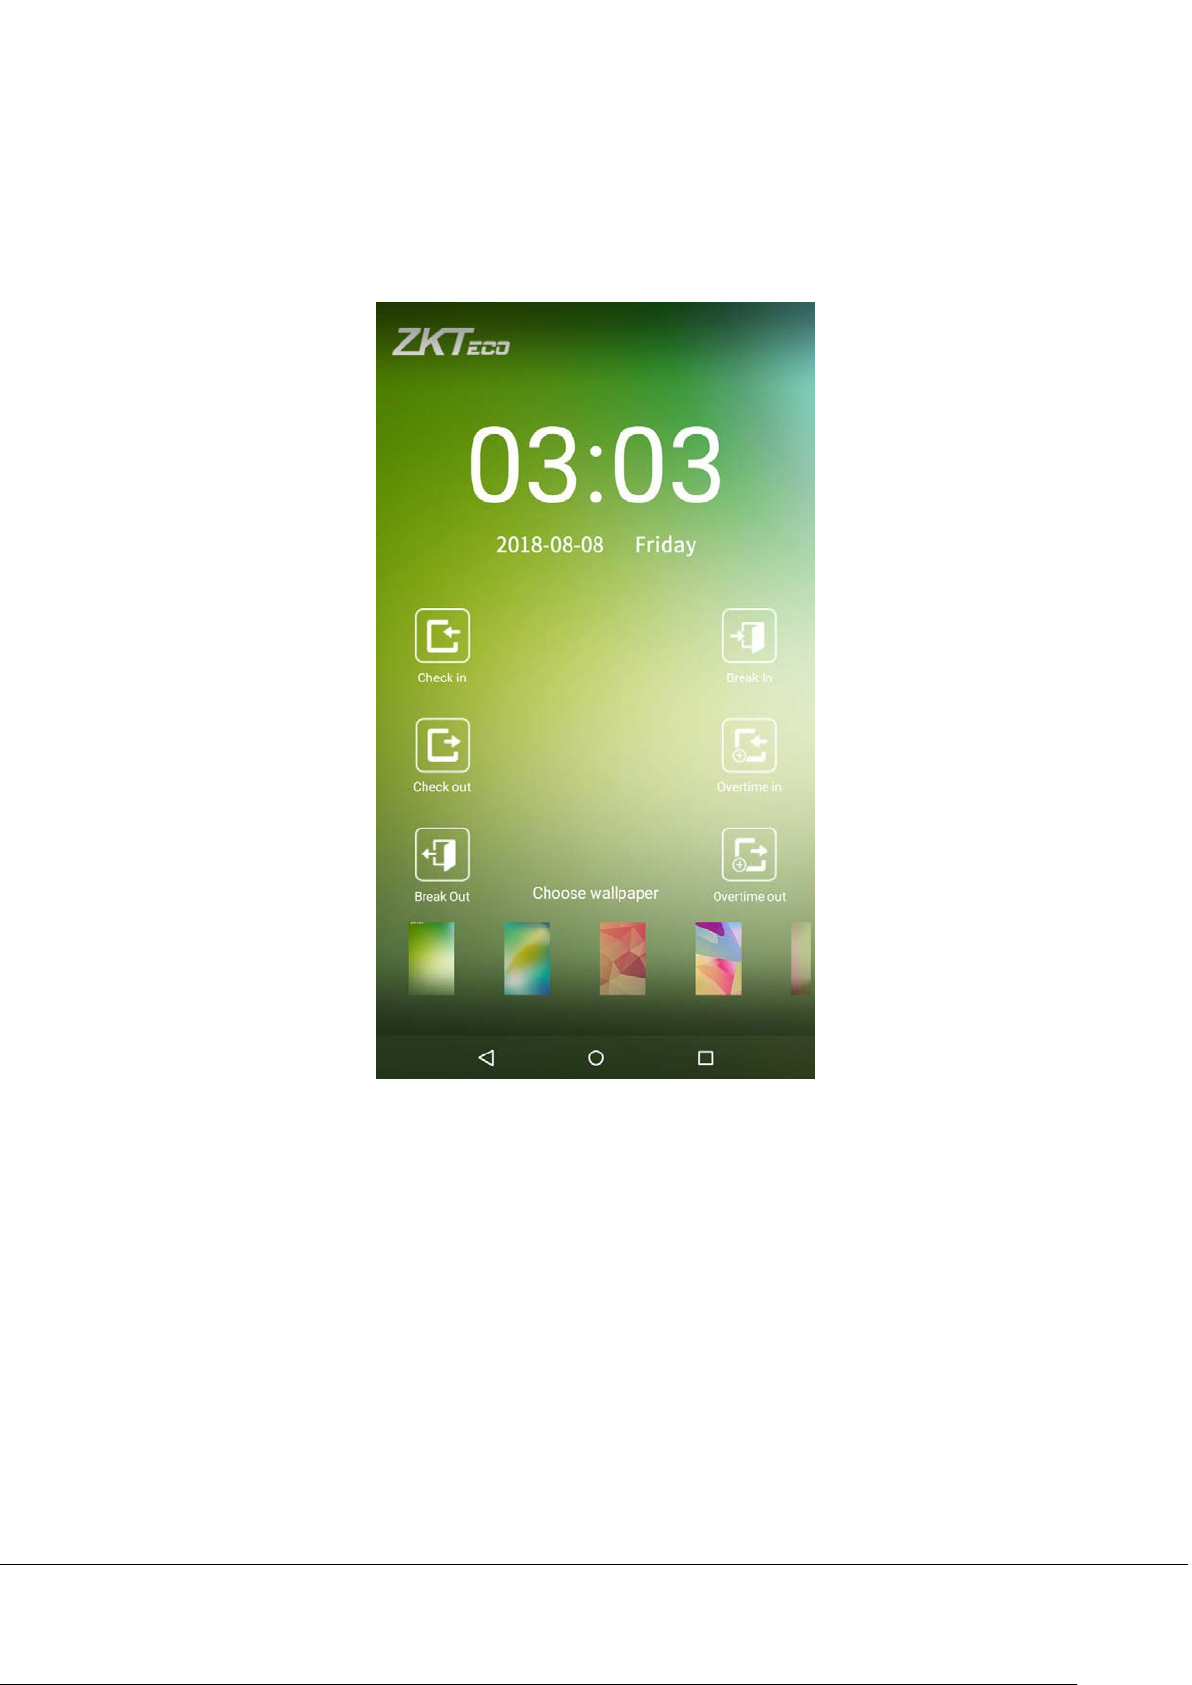
Change the wallpaper
1. Press on any blank area on the screen for a while, then tap on the [Change wallpaper] icon, slide from right to
left and back in the wallpaper choosing area to choose the desired wallpaper.
G4 User Manual

8
2. The wallpaper is set successfully and displayed on the standby interface.
G4 User Manual
9
1.5 Verification Methods
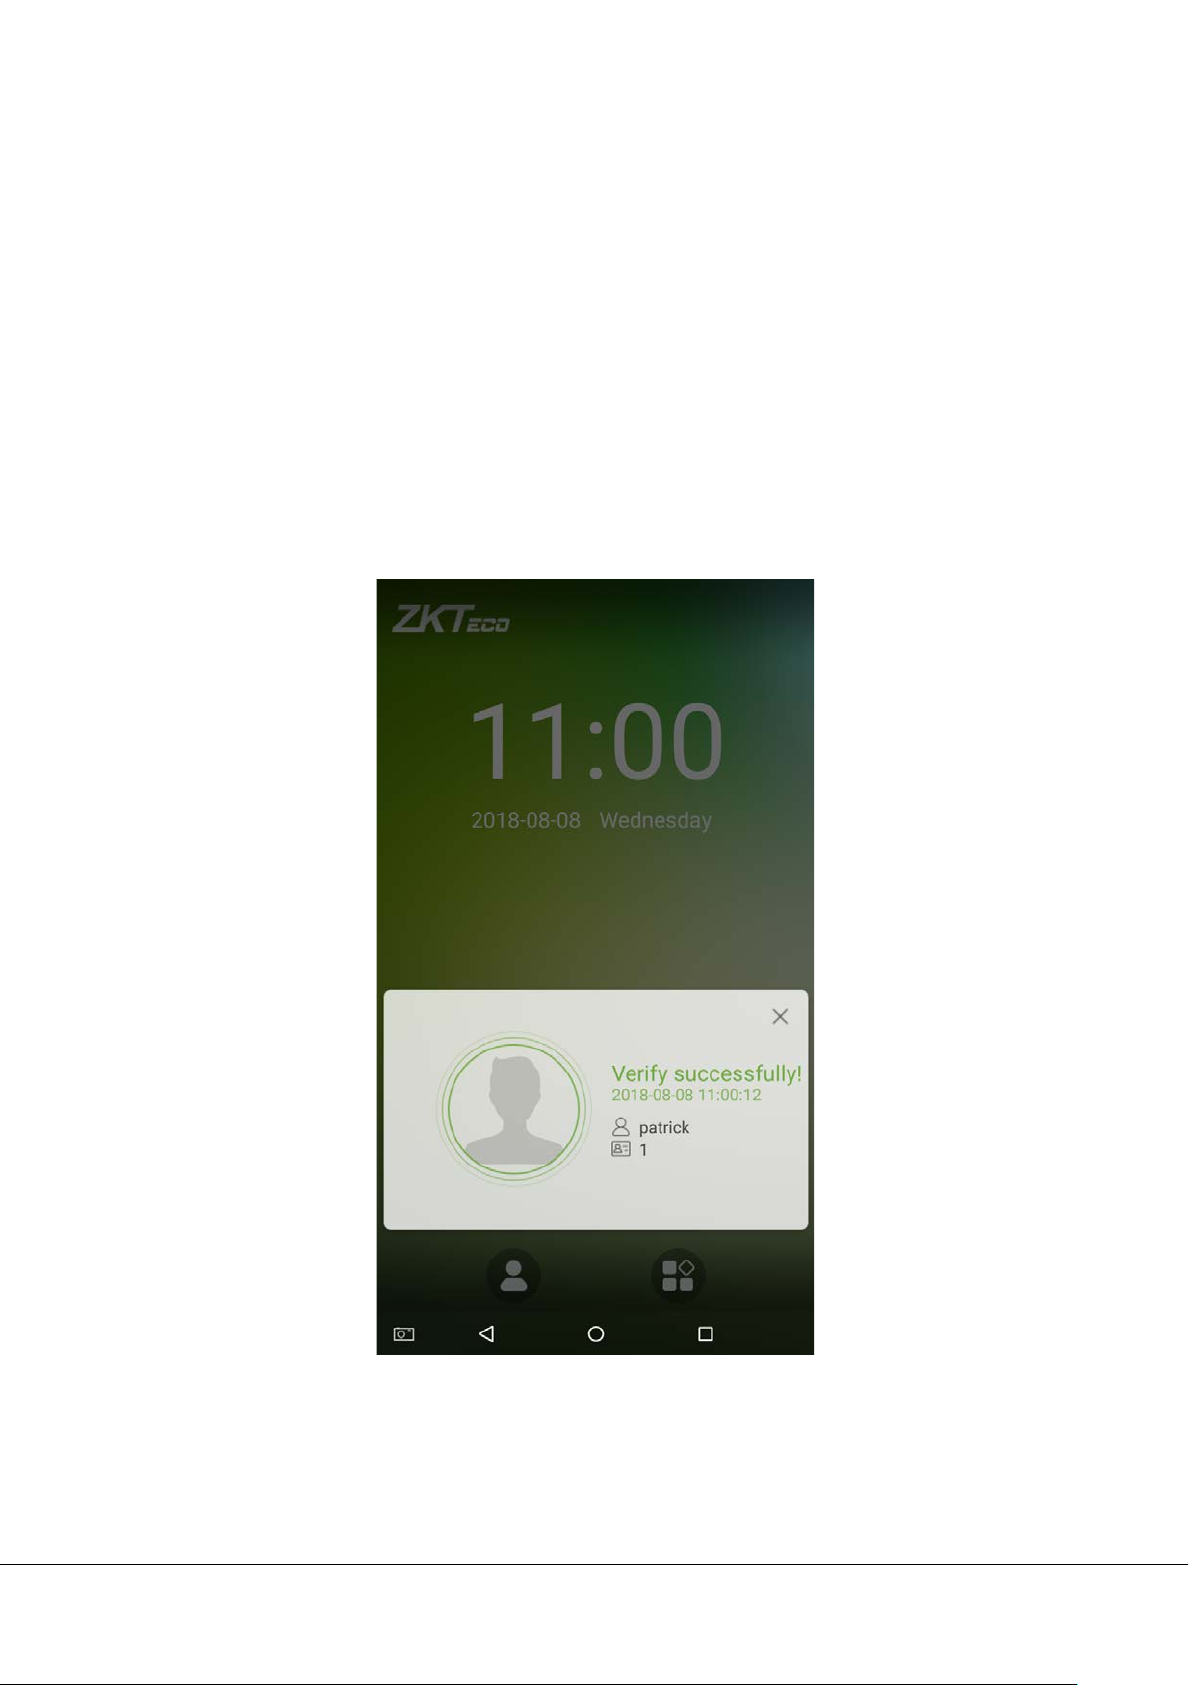
1.5.1 Fingerprint Verification
1:N fingerprint verification
Compare the fingerprint that is being pressed onto the fingerprint reader with all of the fingerprint data that is stored in
the device.
To enter fingerprint verification mode, simply press your finger on the fingerprint reader.
Make sure that you correctly press your fingerprint onto the fingerprint reader. Please refer to section
“1.1Using your finger” for further details.
Successful verification:
G4 User Manual
10
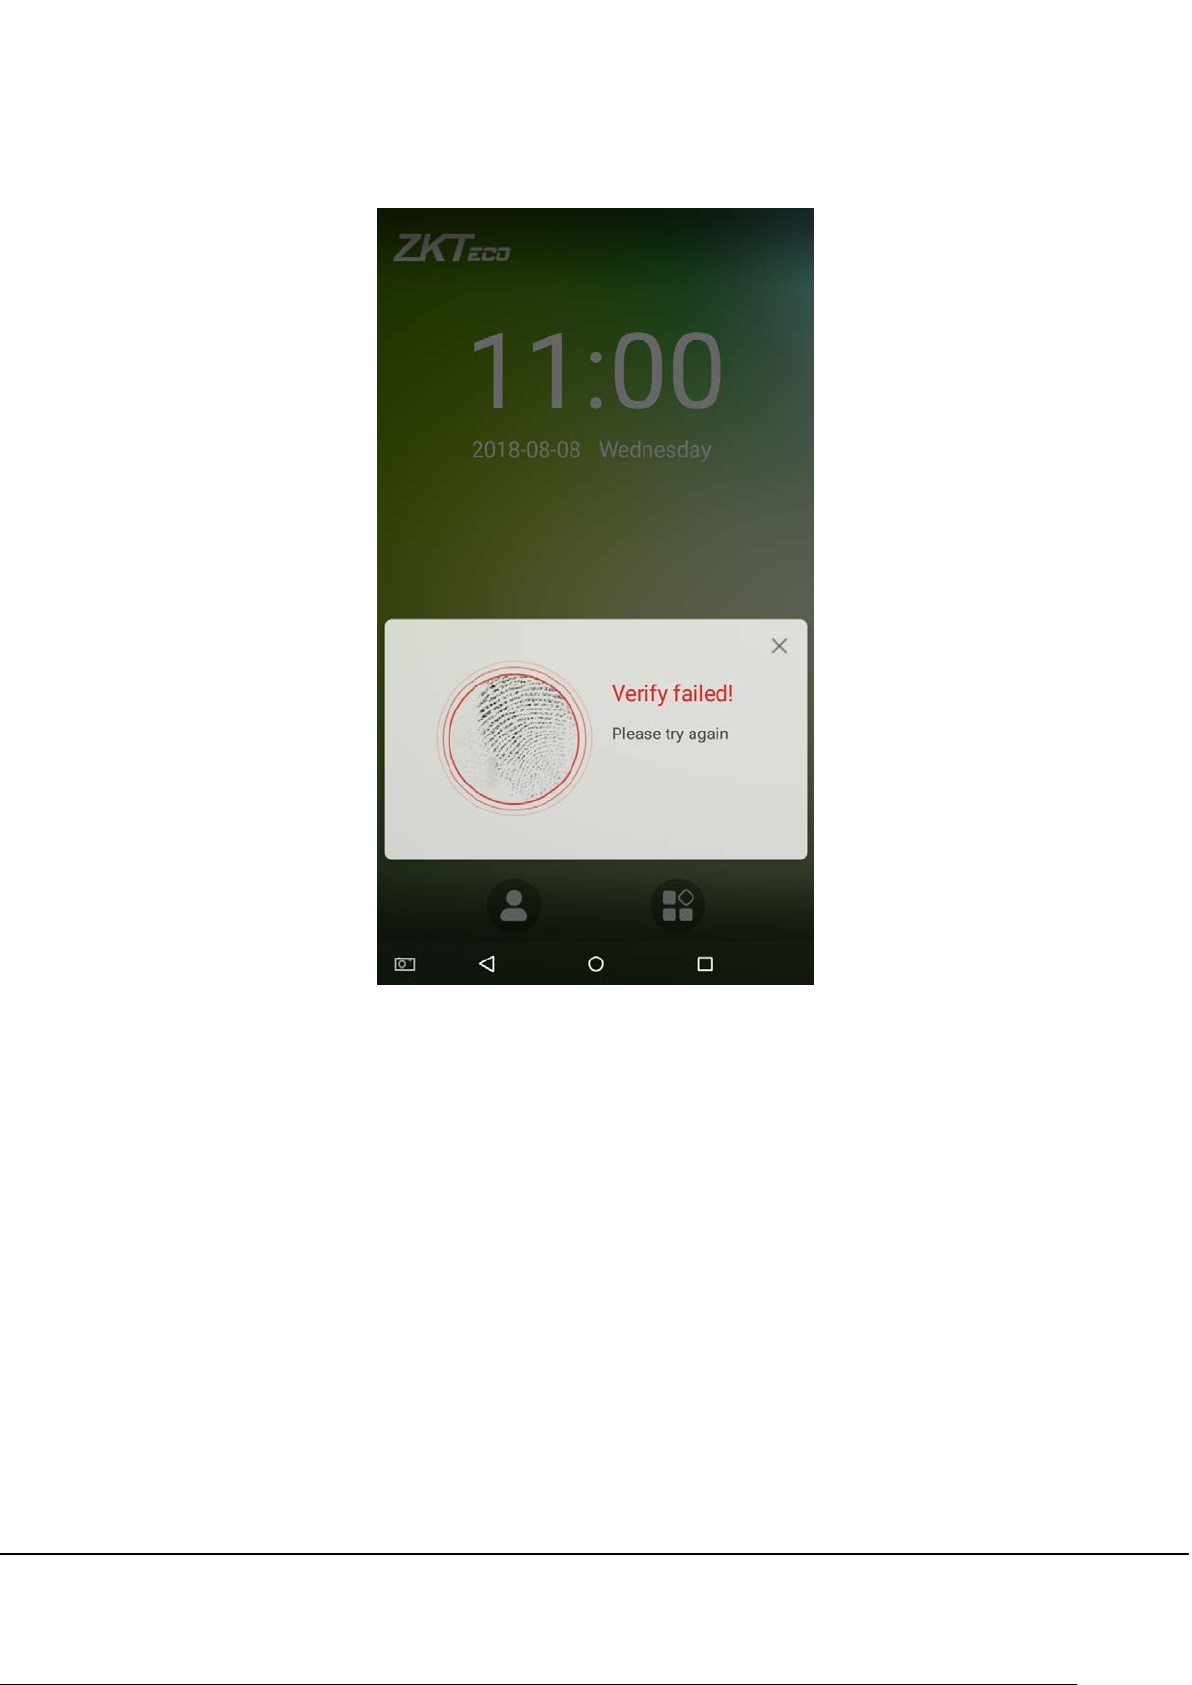
Verification is failed:
G4 User Manual
11
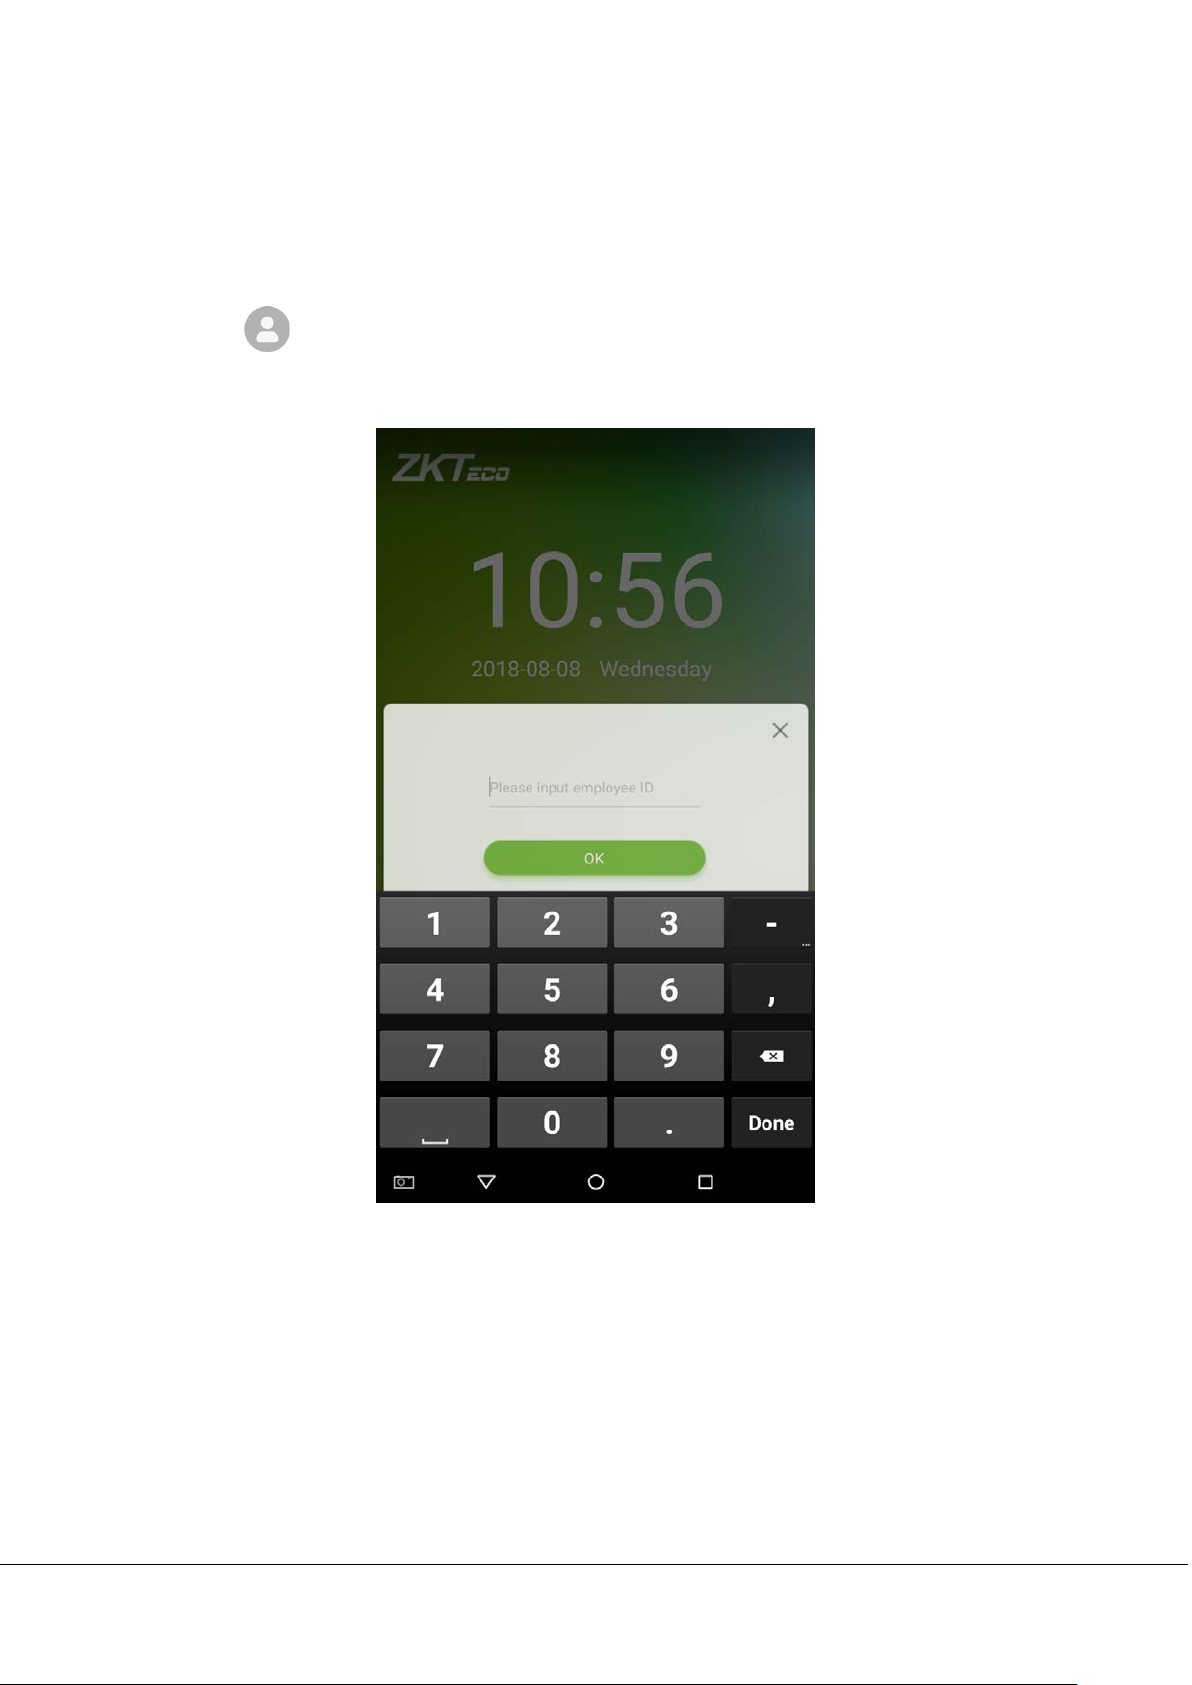
1:1 fingerprint verification
Compares the fingerprint that is being pressed onto the fingerprint reader with the fingerprints that are linked to
Employee ID input via the virtual keyboard. This method can be used when the system has trouble recognizing an
employee's fingerprints.
Press the
button on the main screen to enter 1:1 fingerprint verification mode:
1. Enter the Employee ID and press [OK].
G4 User Manual
12
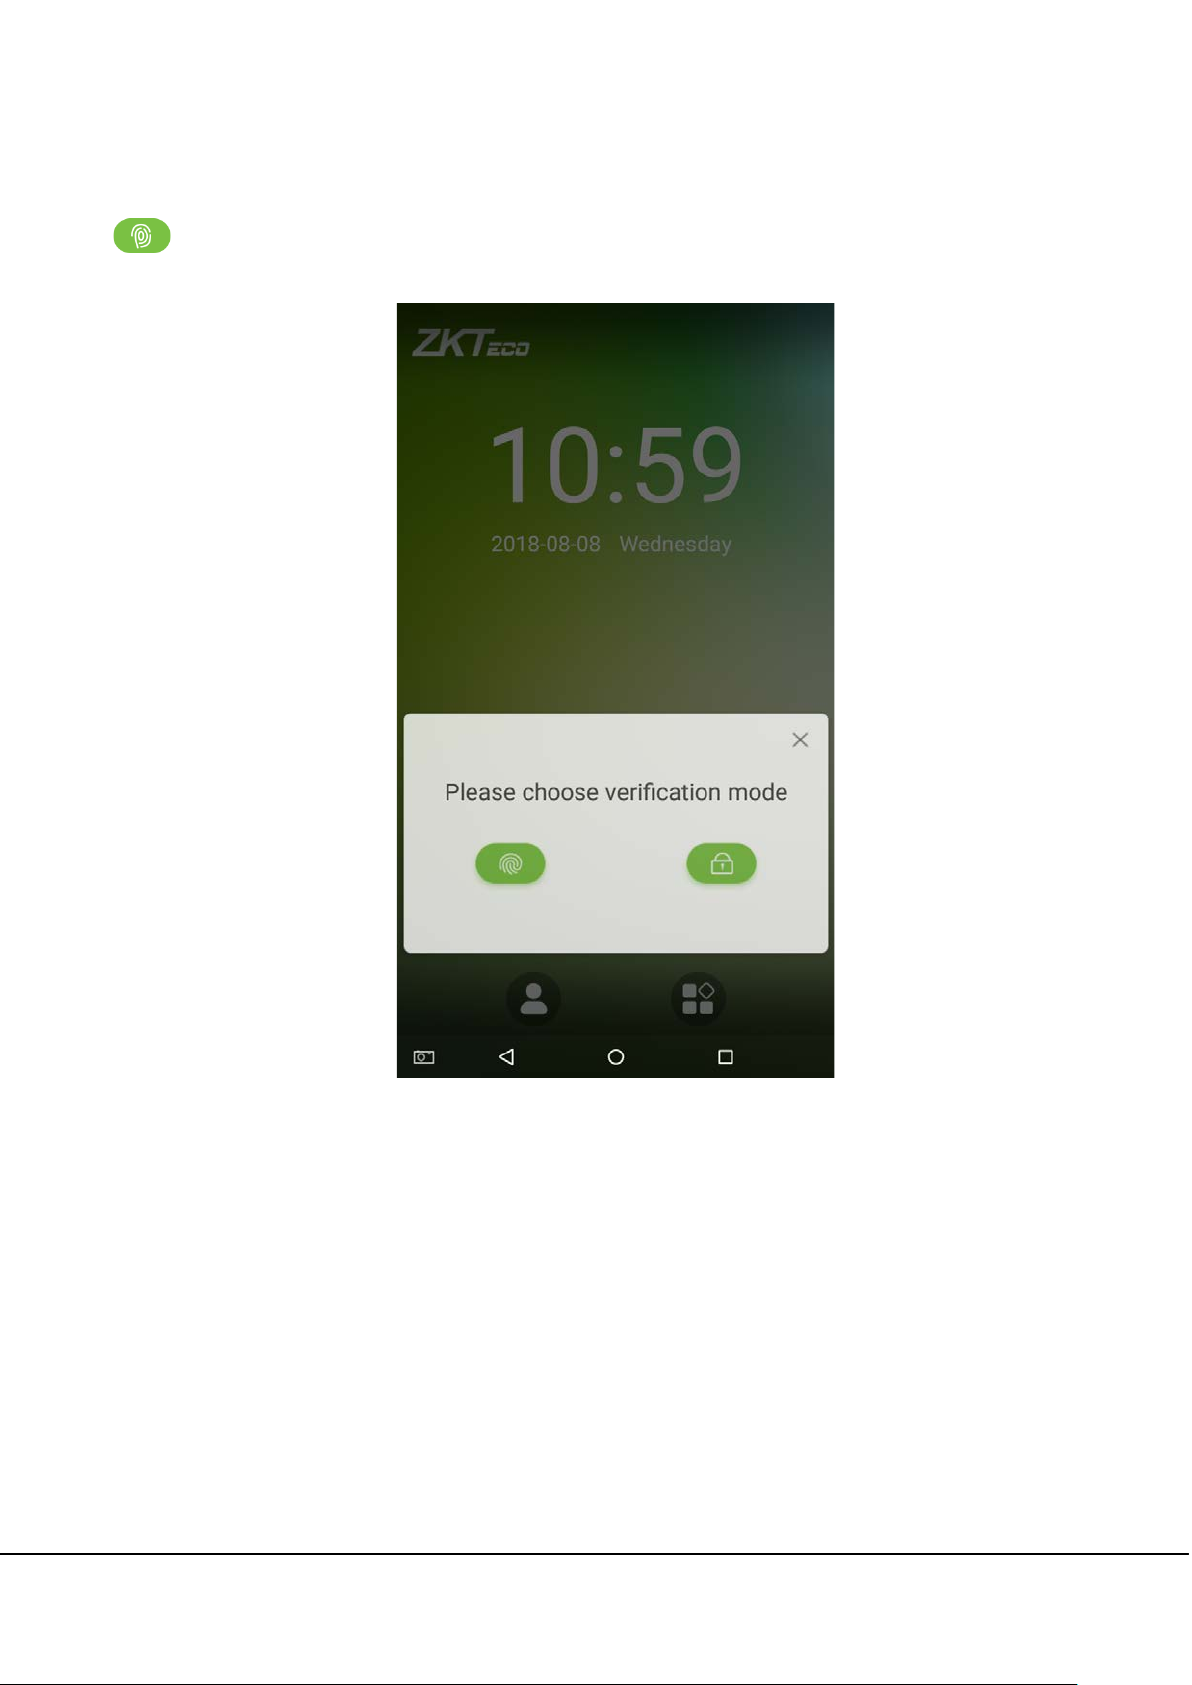
If an employee has registered a password and badge in addition to his/her fingerprints and the verification method
is set to fingerprint/ password/ badge verification, the following screen will appear. Select the fingerprint icon
to enter fingerprint verification mode:
G4 User Manual

13
2. Press the finger on the fingerprint reader to proceed with verification.
G4 User Manual

14
3. Successfully verified.
G4 User Manual

15
4. Verification is failed.
G4 User Manual

16
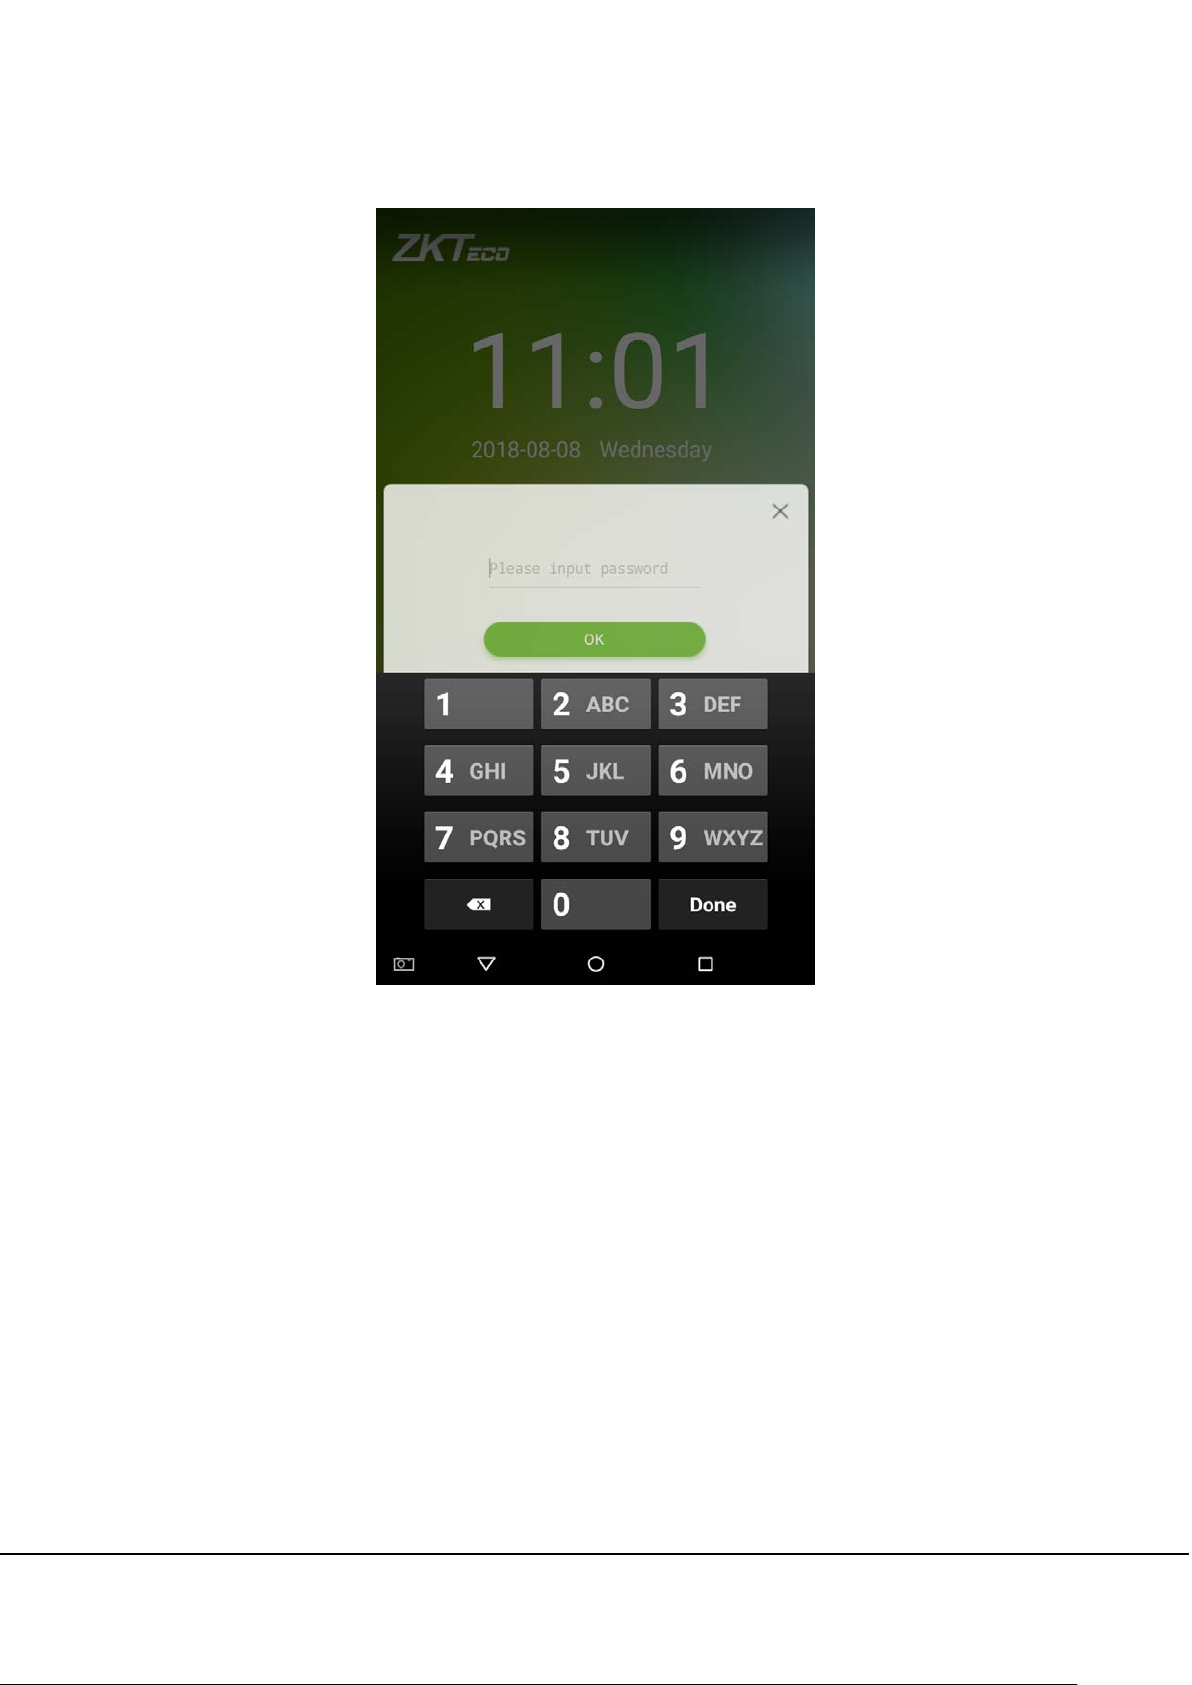
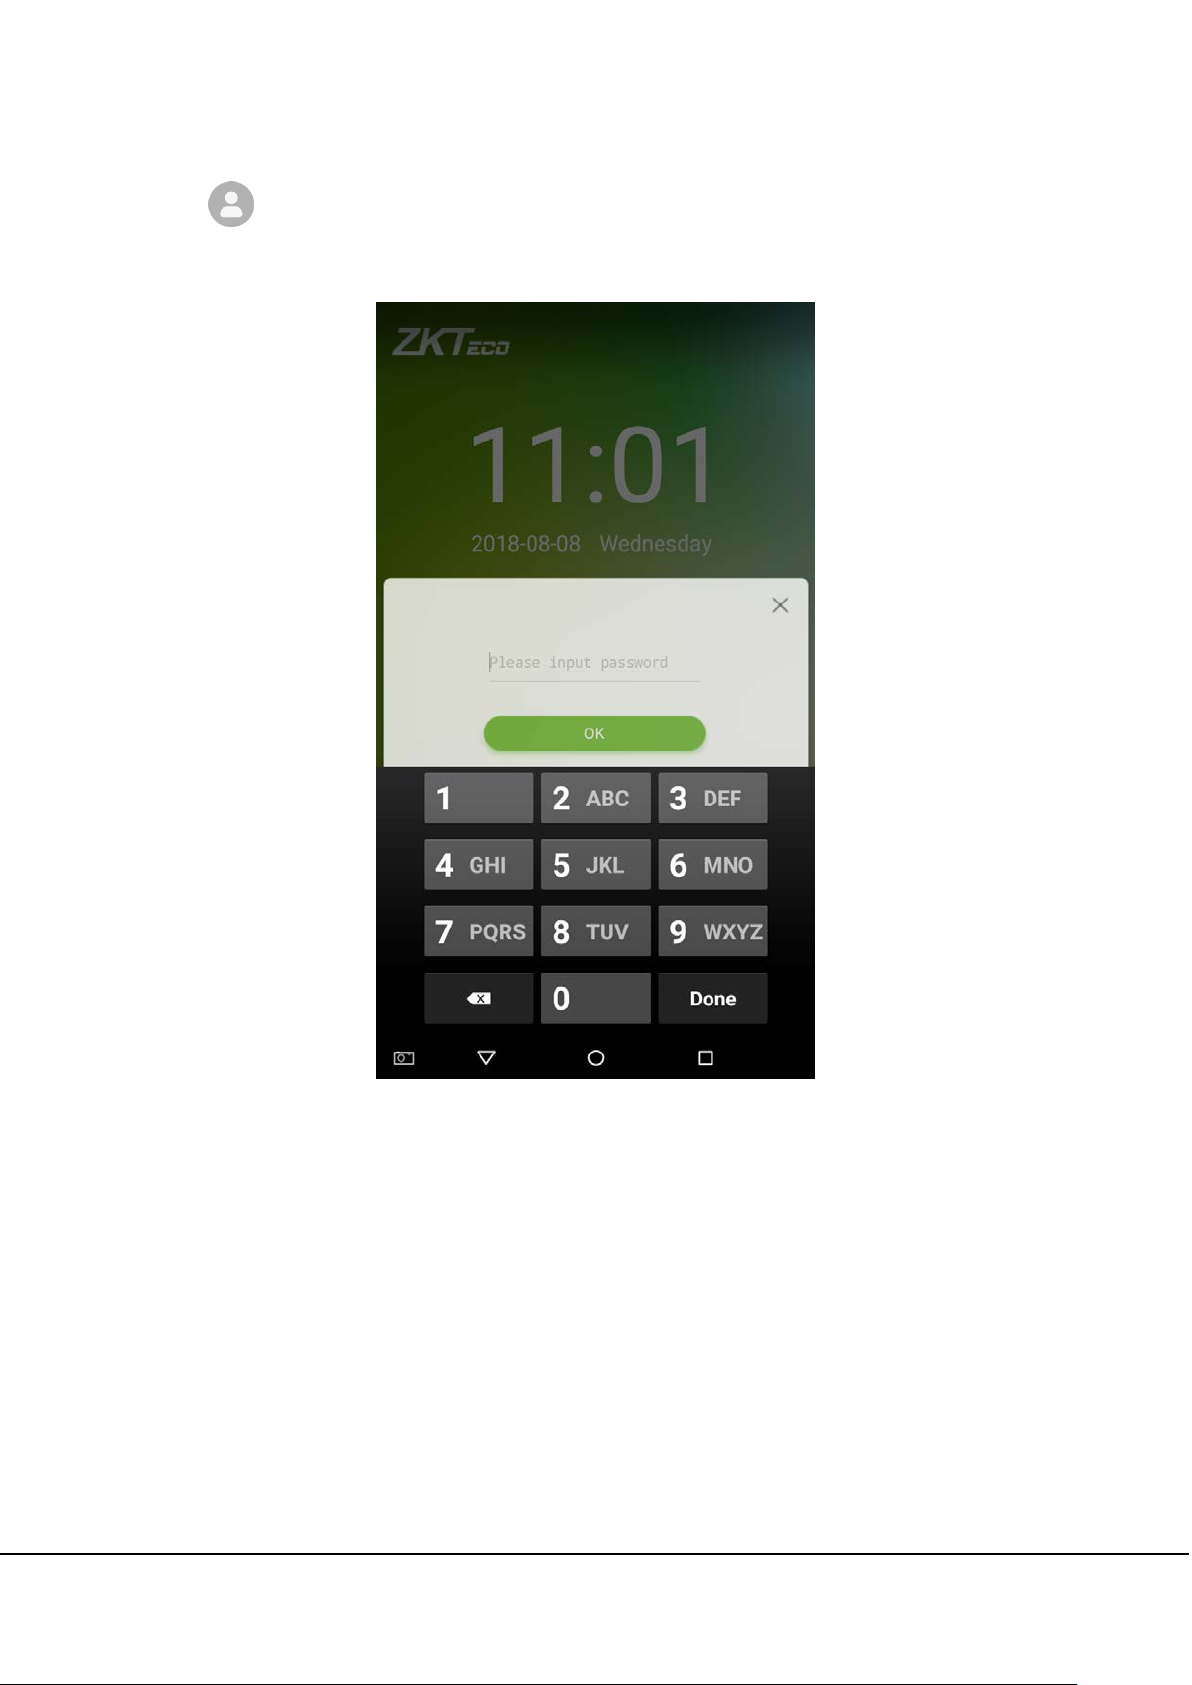
1.5.2 Password Verification
When an employee inputs his/her personnel ID and password into the device, the data will be compared to the
personnel IDs and passwords saved in the system.
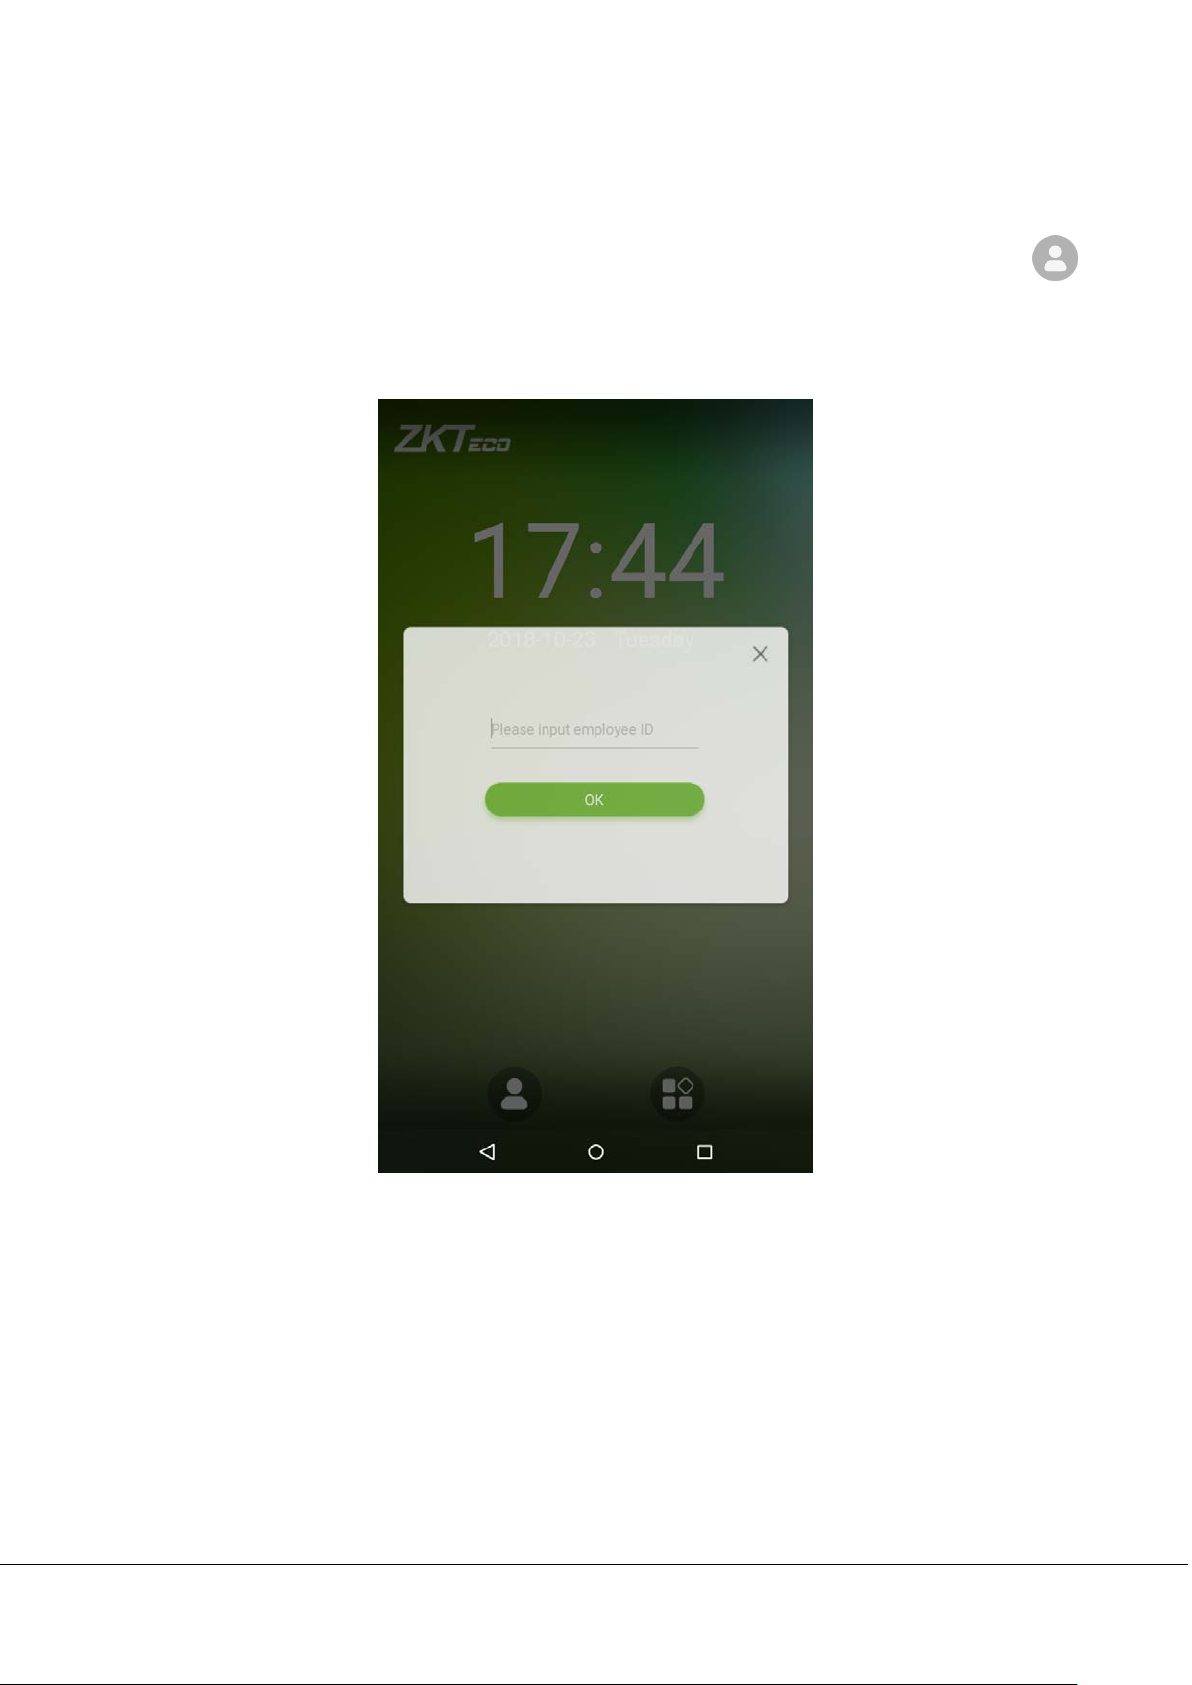
Tap on the
1. Enter the employee ID and press [OK].
button on the main screen to enter the 1:1 password verification mode.
G4 User Manual
17
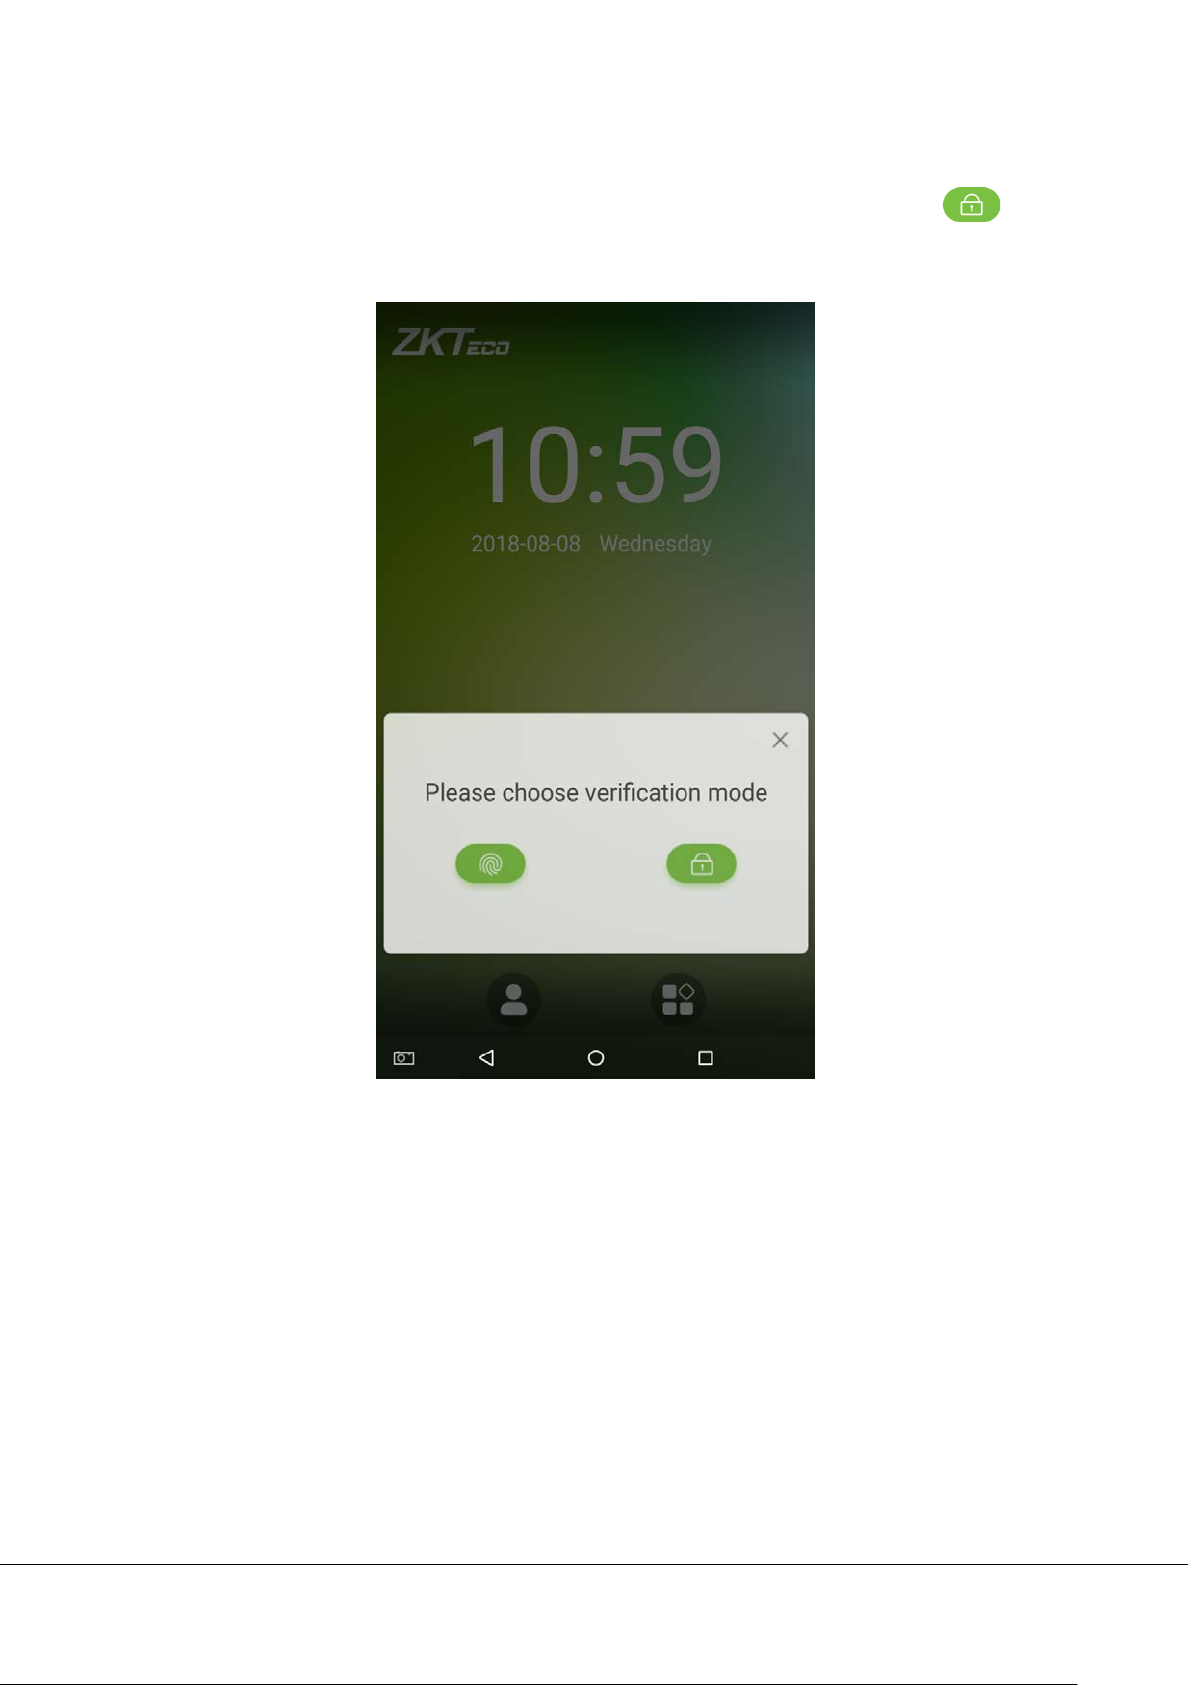
If an employee has registered a fingerprint and card in addition to a password and the verification method is set to
fingerprint/password/card verification, the following screen will appear. Select the password icon
password verification mode.
to enter
G4 User Manual
18
2. Enter a password and press [OK].
G4 User Manual
19
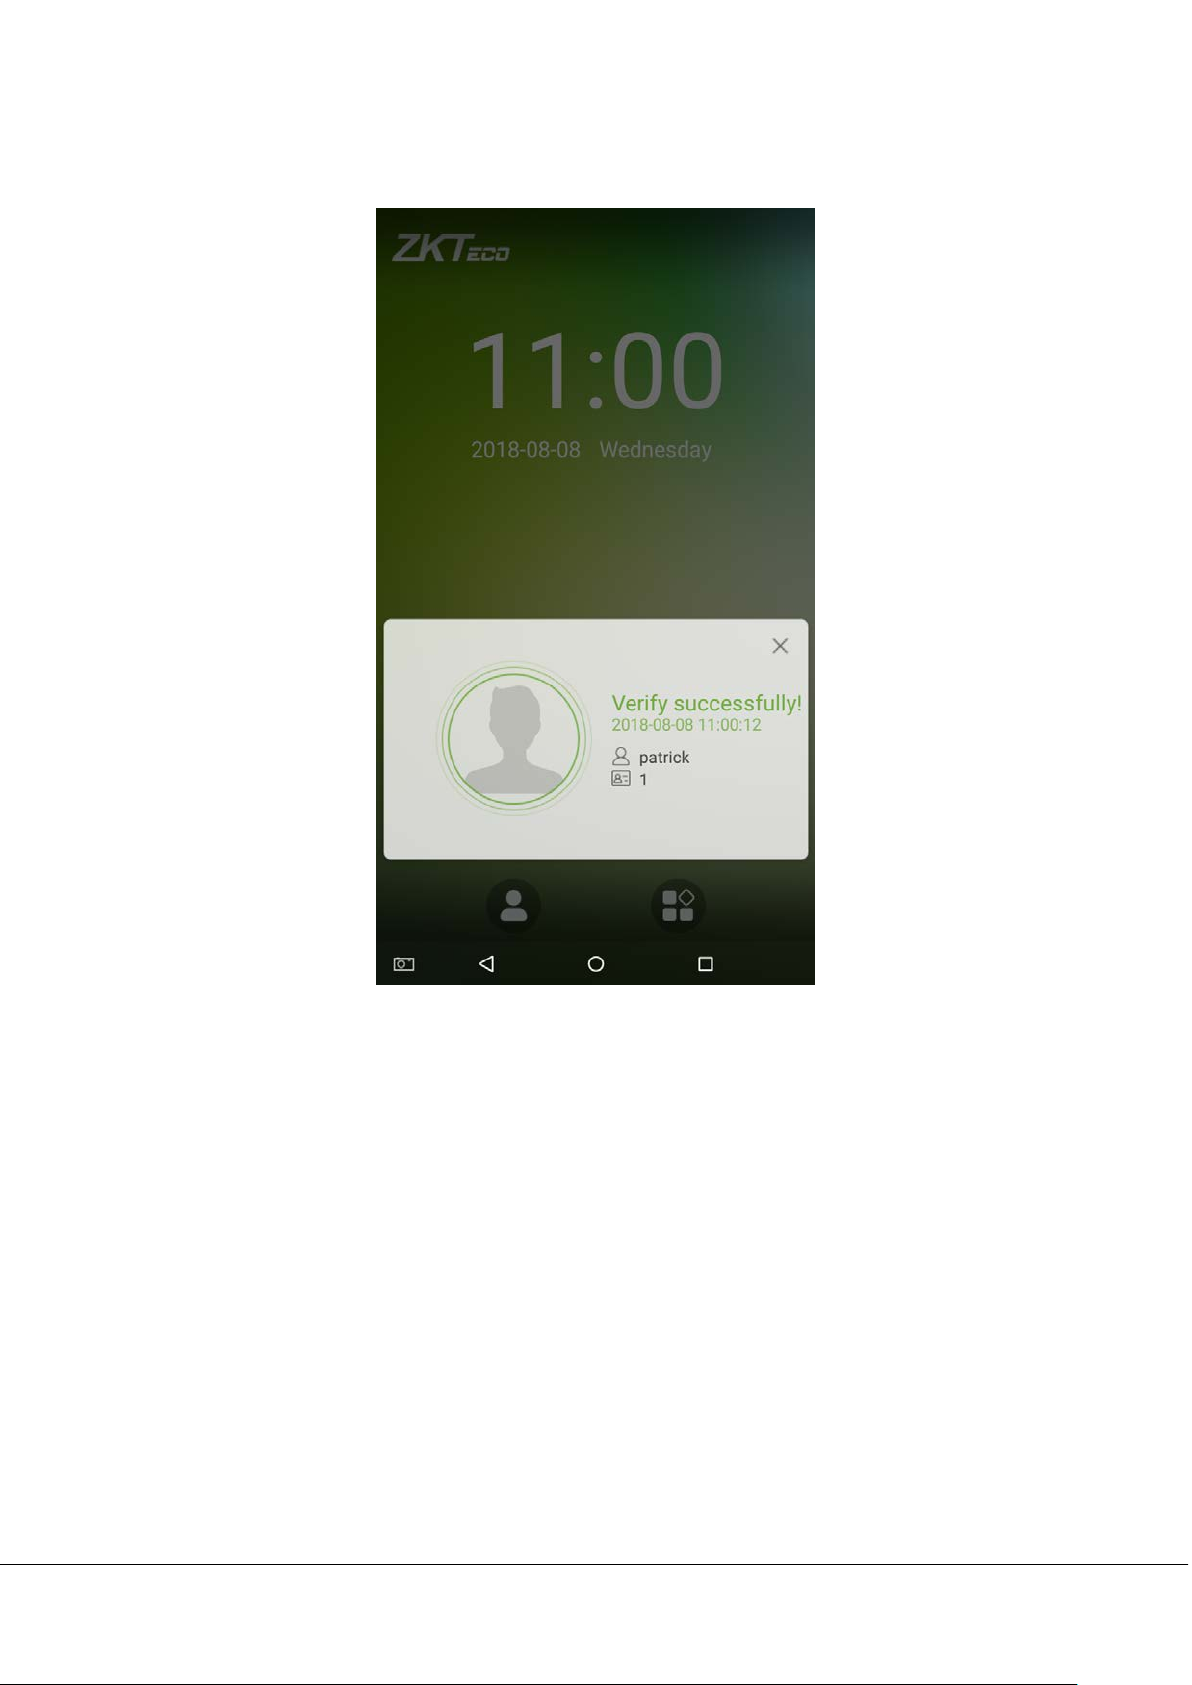
3. Successfully verified.
G4 User Manual
20
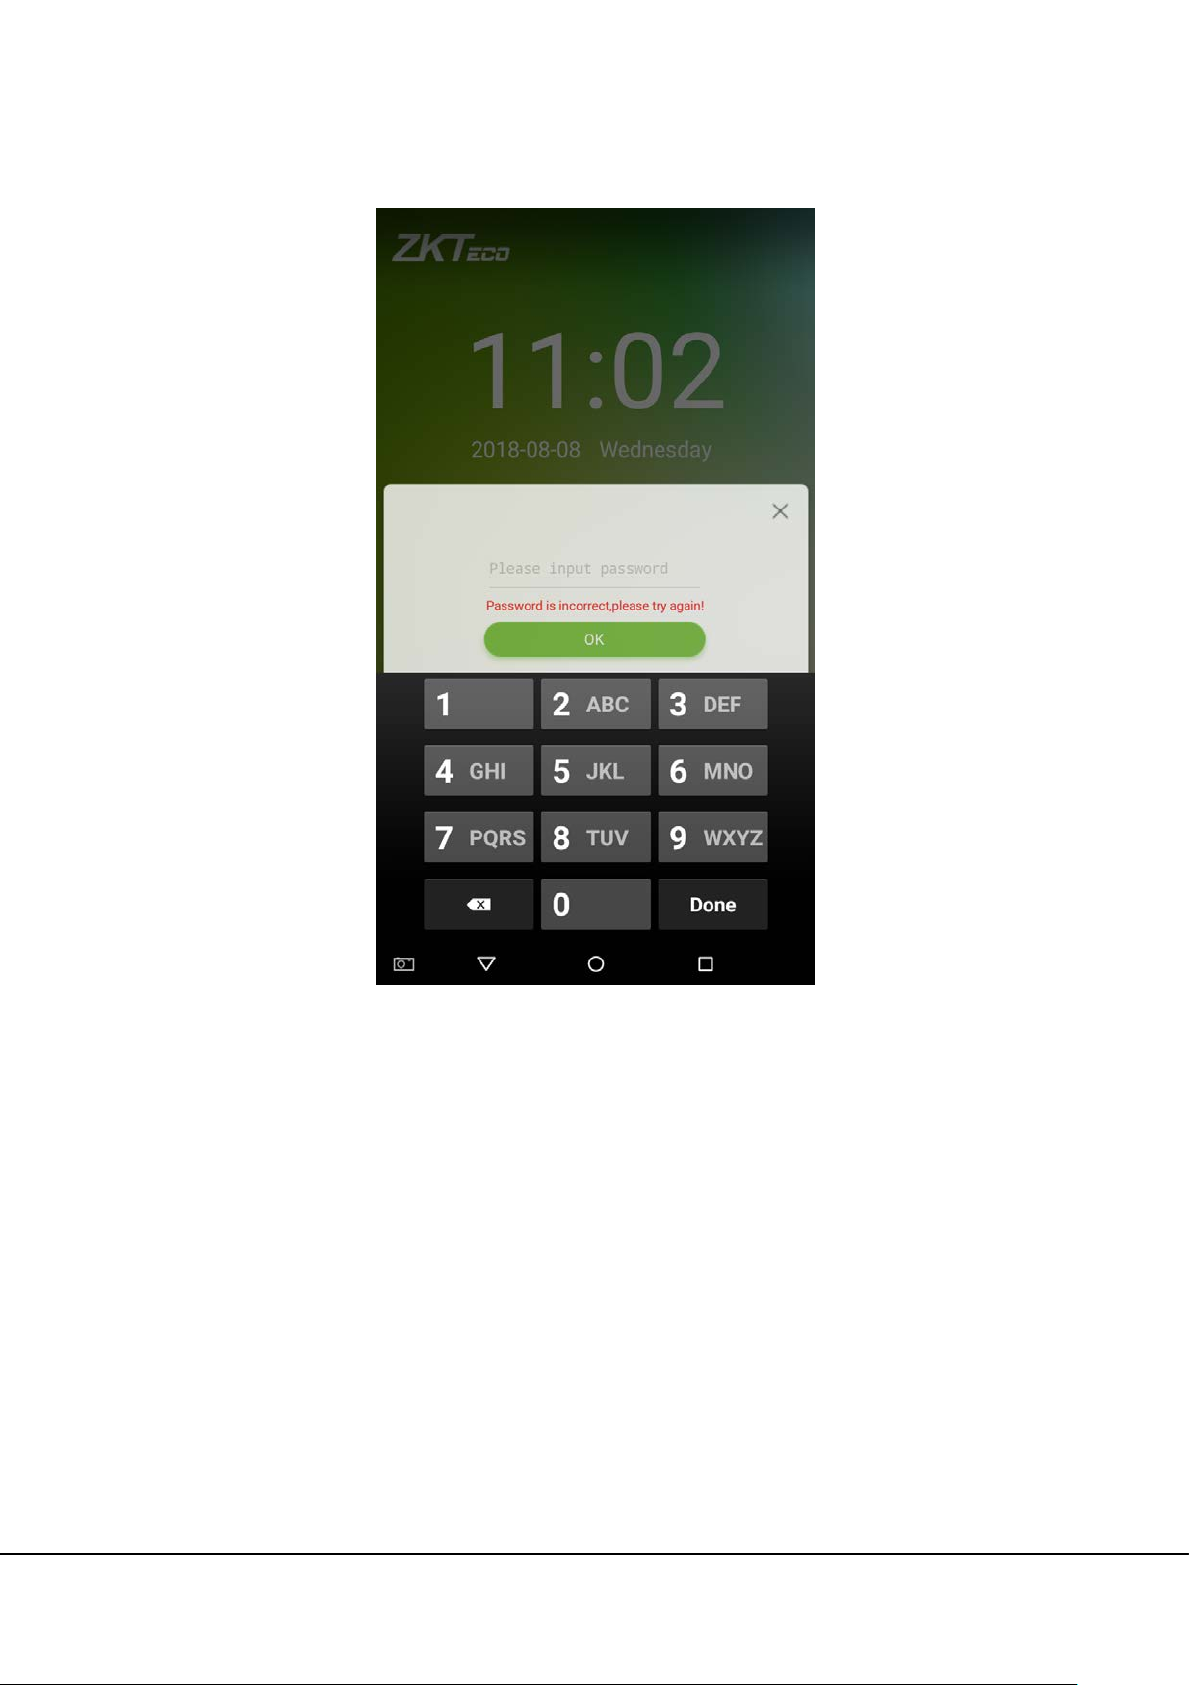
4. Verification is failed.
G4 User Manual
21
1.5.3 Facial Verification
Compare the face captured by the camera with the facial template related to the personnel ID input. Press
on the main interface and enter the 1:1 facial verification mode.
1. Input the personnel ID, click on [OK].
G4 User Manual
22
2. Look at the camera, make sure your face stay in the center of the camera.
G4 User Manual

23
3. Successfully verified.
G4 User Manual

24
4. Verification is failed.
G4 User Manual
25
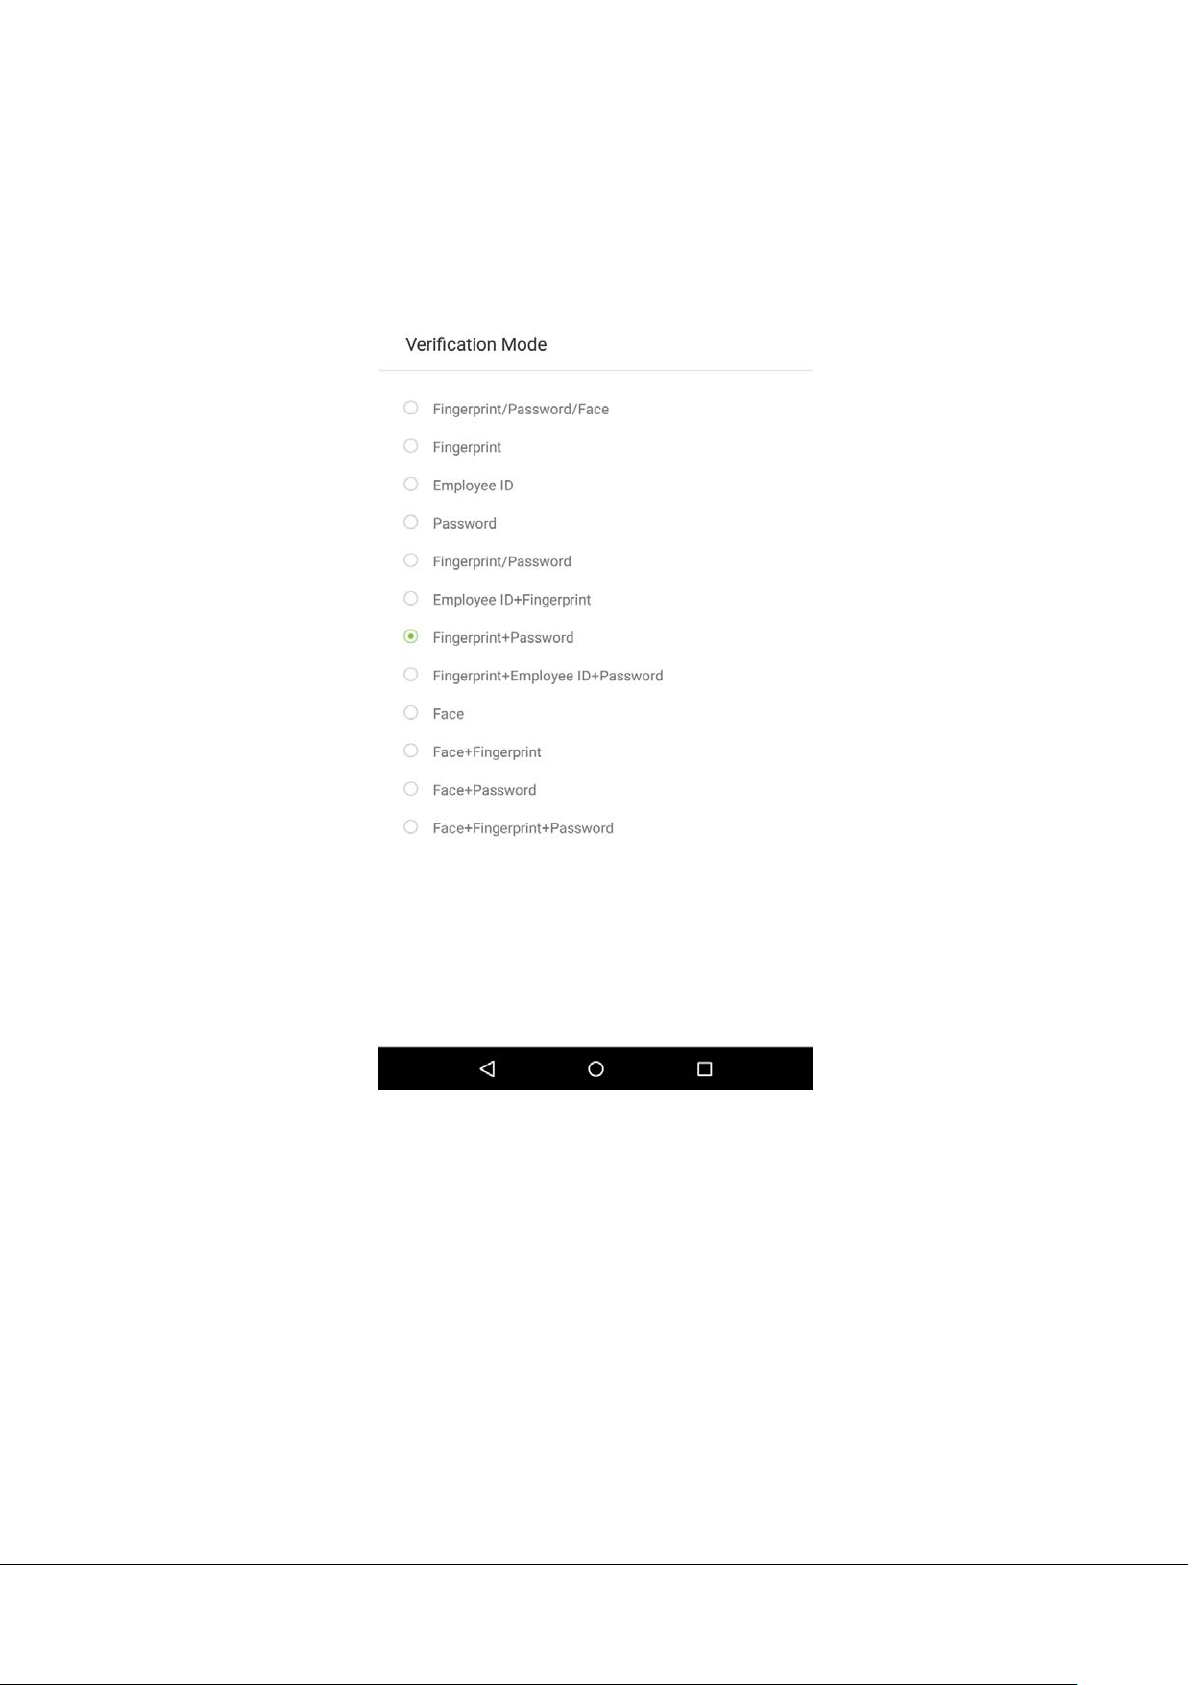
1.5.4 Combined Verification
To increase security, this device offers the option of using multiple forms of verification methods. A total of 12
different verification combinations can be used, as shown below:
Notes:
1. “/” means “or” and “+” means “and”.
2. Combined verification requires employees to register the information needed to complete verification.
Otherwise, employees may not be able to complete the verification process. For instance, when employee A
registers with his/her fingerprint data, and the system's verification method is set as “Fingerprint + Password”,
the employee will not be able to complete the verification process.
G4 User Manual
26
The example below shows “Fingerprint + Password” verification. To log in to the system, please follow these steps:
1. Press
to access the multiple verification interface, then the following window will appear. Enter the
password and tap on [OK].
G4 User Manual
 Loading...