

"2.4GHz All Around Freedom, Infinite
This device complies with part 15 of the FCC rules. Operation is subject to the
following two conditions
(1)This device may not cause harmful interference and
(2)This device must accept any interference received, including interference that
may cause undesired operation
You are cautioned that changes or modifications not expressly approved by the
party responsible for compliance could void your authority to operate the
equipment.
Possibilities"
Aluminum Transport, RF-722
User Manual
WAKE SLEEP POWER
Batt.Low
System requirements
IBM or compatible PC
Windows Operating System
Pentium-equivalent processor or above
At least 10MB hard disk space
One available USB port
OS support
Windows XP
Windows 2000/NT
Windows ME
1 3
Warning
Any malfunction, damage or personal injury caused by the malfunctioning or
damage of the user's personal computer or misuse of this product.
Any attempt to dismantle, change or modify this product in any manner.
Warning
Please do not use this product in ashy, wet, or oily environments. Failure
to do so may shorten the life of this product and may cause bodily harm.
Please keep this product as far away from Radio Frequency
interruption areas as possible.
This is not an outdoor product. Exposing this product to the elements
may cause damages to the product and bodily harm to its users.
Please do not use petroleum, benzene or thinner-based solution to
clean this product.
Laser Mouse
International standards and safety. This Laser device complies with
International Standard IEC 60825-1:2001-08, Class 1 Laser Product,
and also complies with 21 CFR1040.10 and 1040.11, except for
deviations pursuant to Laser Notice No.50, dated July 26, 2001:1)
Emission of a parallel beam of infrared user-invisible light: 2) Maximum
Power of 716 microwatts CW, wavelength range 832-865 nanometers;
3) Operating temperature between 0 ( 32 ) to 40 ( 104 ).
CAUTION: This Laser device has no serviceable parts. Use of controls
or adjustments or performance of procedures other than those
specified herein may result in hazardous radiation exposure.
Safety and Usage Guidelines
1) Do not point infrared beam at eye.
2) In the absence of proper operation and if customer-initiated
troubleshooting is unsuccessful, switch off device and call technical
support.
3) Do not disassemble your product or expose it to liquid, humidity,
moisture, or temperatures outside the specified operating range of 0
( 32 ) to 40 ( 104 ). 4) If you product is exposed to out-of-range
temperatures, Switch it off and allow the temperature to return to the
normal operating range.
Mouse
Dimensions: L105 x W55.5 x H35.5 mm
Weight: 80.7 +/- 25g (with Battery)
Key Number: 3 Keys
(Wheel button on middle button)
Battery: 2 x AAA batteries
Battery Life: 1 Month (Base on average usage)
Channel: 78 Channels
ID: Unique ID for mouse
Radio Frequency: 2.4 GHz
Dongle Receiver
Dimensions: L70xW22.7xH12.3mm
Weight : 10.9g +/-25g
Interface: USB 1.1
5
B. Setting up the Keyboard and Mouse
1
.Open the keyboard's battery compartment cover and
insert the two pieces of AAA Alkaline batteries.Make
sure they are properly installed. (FIG. 1)
2.Replace the keyboard battery compartment cover.
3.Open the mouse's battery compartment cover and insert
the two pieces of AAA Alkaline batteries. Make sure they
are properly installed and Switch on the switch at the
bottom case.(FIG. 2)
4.Replace the mouse battery compartment cover.
5.Usually the keyboard and mouse have bind in the
factory, if the system cannot recognize the keyboard
and mouse,
please follow step 6~8 to bind keyboard and mouse.
6.Let Keyboard right corner and Mouse to close the
Dongle to 0~15cm.
7.To press any key of keyboard and any button of mouse,
the system will automatically recognize the keyboard
& mouse.
8.The LED indicator on the dongle receiver will show
green light when the connecting have been properly
set and the keyboard and mouse are working.
7
Introduction
Thank you for your patronage of purchasing our
cordless keyboard and Laser mouse. For your own
safety, please read this manual thoroughly before
using this product. After you have read this manual,
please keep it in place for reference when necessary.
Contents in the package
The following items are included in the package.
Please make sure all items are accounted for as you
open the package. If there was any i tem missing or
damaged, please contact the reseller where the
product was purchased or our support center.
Wireless Keyboard x 1
Wireless Laser Mouse x 1
USB 2.4GHz dongle receiver x 1
Installation CD x 1
Manual x 1
Alkaline batteries x4
( 2 AAA for keyboard, 2 AAA for Mouse)
Warranty Information
This product is backed by a One-Year Manufacturer's
Warranty, starting from the date of purchase. The
warranty covers for free repair in accordance with the
contents stated herein but does not cover wear and tear
and any malfunction or damages as results of improper
usage as stated in this manual.
Specifications
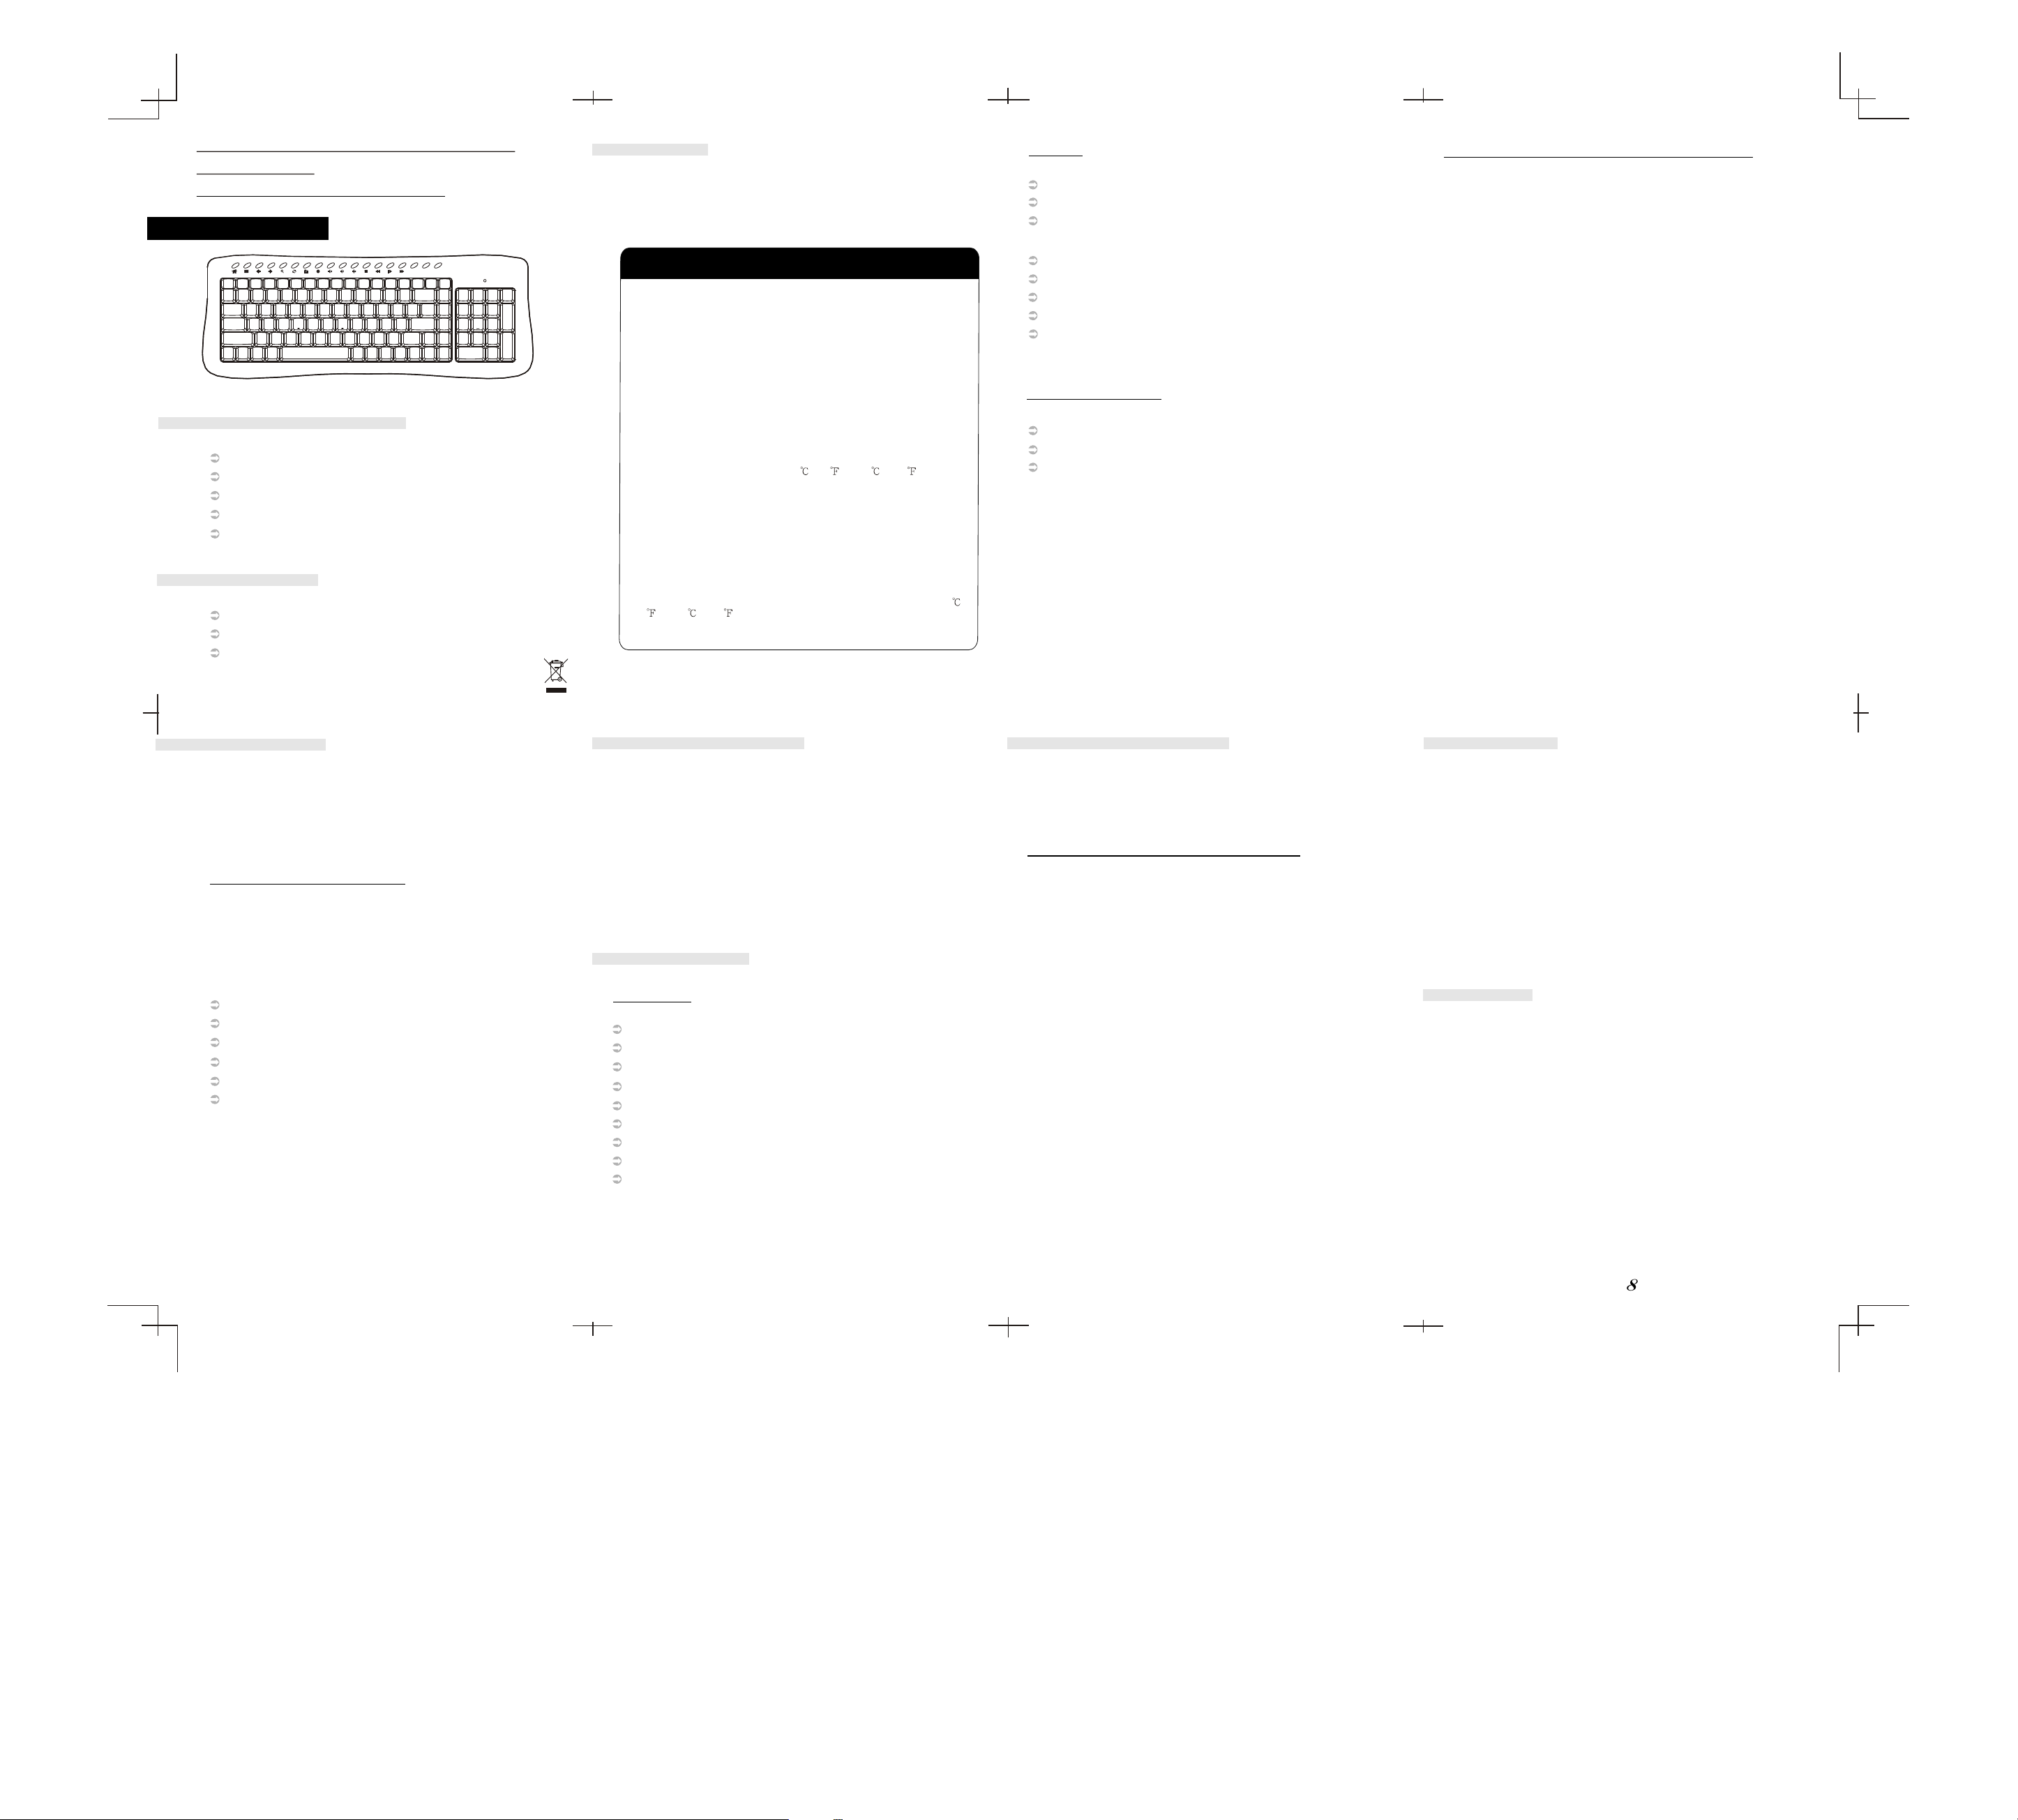
Keyboard
Dimensions: 430 x 162x 25 mm
Weight: 620+/- 20g (with Battery)
Key Number: 104 Keys(By language)
Battery: 2 x AAA batteries
Battery Life: 3 Month (Base on average usage)
Channel: 78 Channels automatically switch.
ID: unique ID for each keyboard
Radio Frequency: 2.4 GHz
Hot Keys : previous page, next page, WWW home,
stop, refresh, my favorite, search, e-mail, mute,
previous, play/pause, next, stop, volume down,
volume up, wake up, sleep, power
Installation Procedure
Before installing this product please make sure you have
one available USB port reserved for the dongle receiver.
A. Setting up the Dongle Receiver
Plug the dongle receiver (FIG. 3) into an available
1.
port.
2. Wait for Windows to install drivers for the dongle
receiver, keyboard and mouse.
3. When the dongle receiver has been properly initialized,
its LED light will stay alit.
USB
Battery Low
1
.Low-Battery is indicated by the illumination of
the mouse
Top case. Please replace the battery when the LED
lights up .
2.While the mouse is in sleep mode, please press any
button or move the scroll wheel to wake it up.
3. We recommend using alkaline batteries for the keyboard.
4.You may need to reset the ID's after replacing new
batteries for the keyboard and mouse.
Warning
Please be careful when resetting the ID's for the keyboard,
mouse and dongle receiver. Objects with sharp point may
break and leave behind shards.
To remove batteries, please repeat steps 4 to 3 or 2 to 1
in reverse order.
4
862
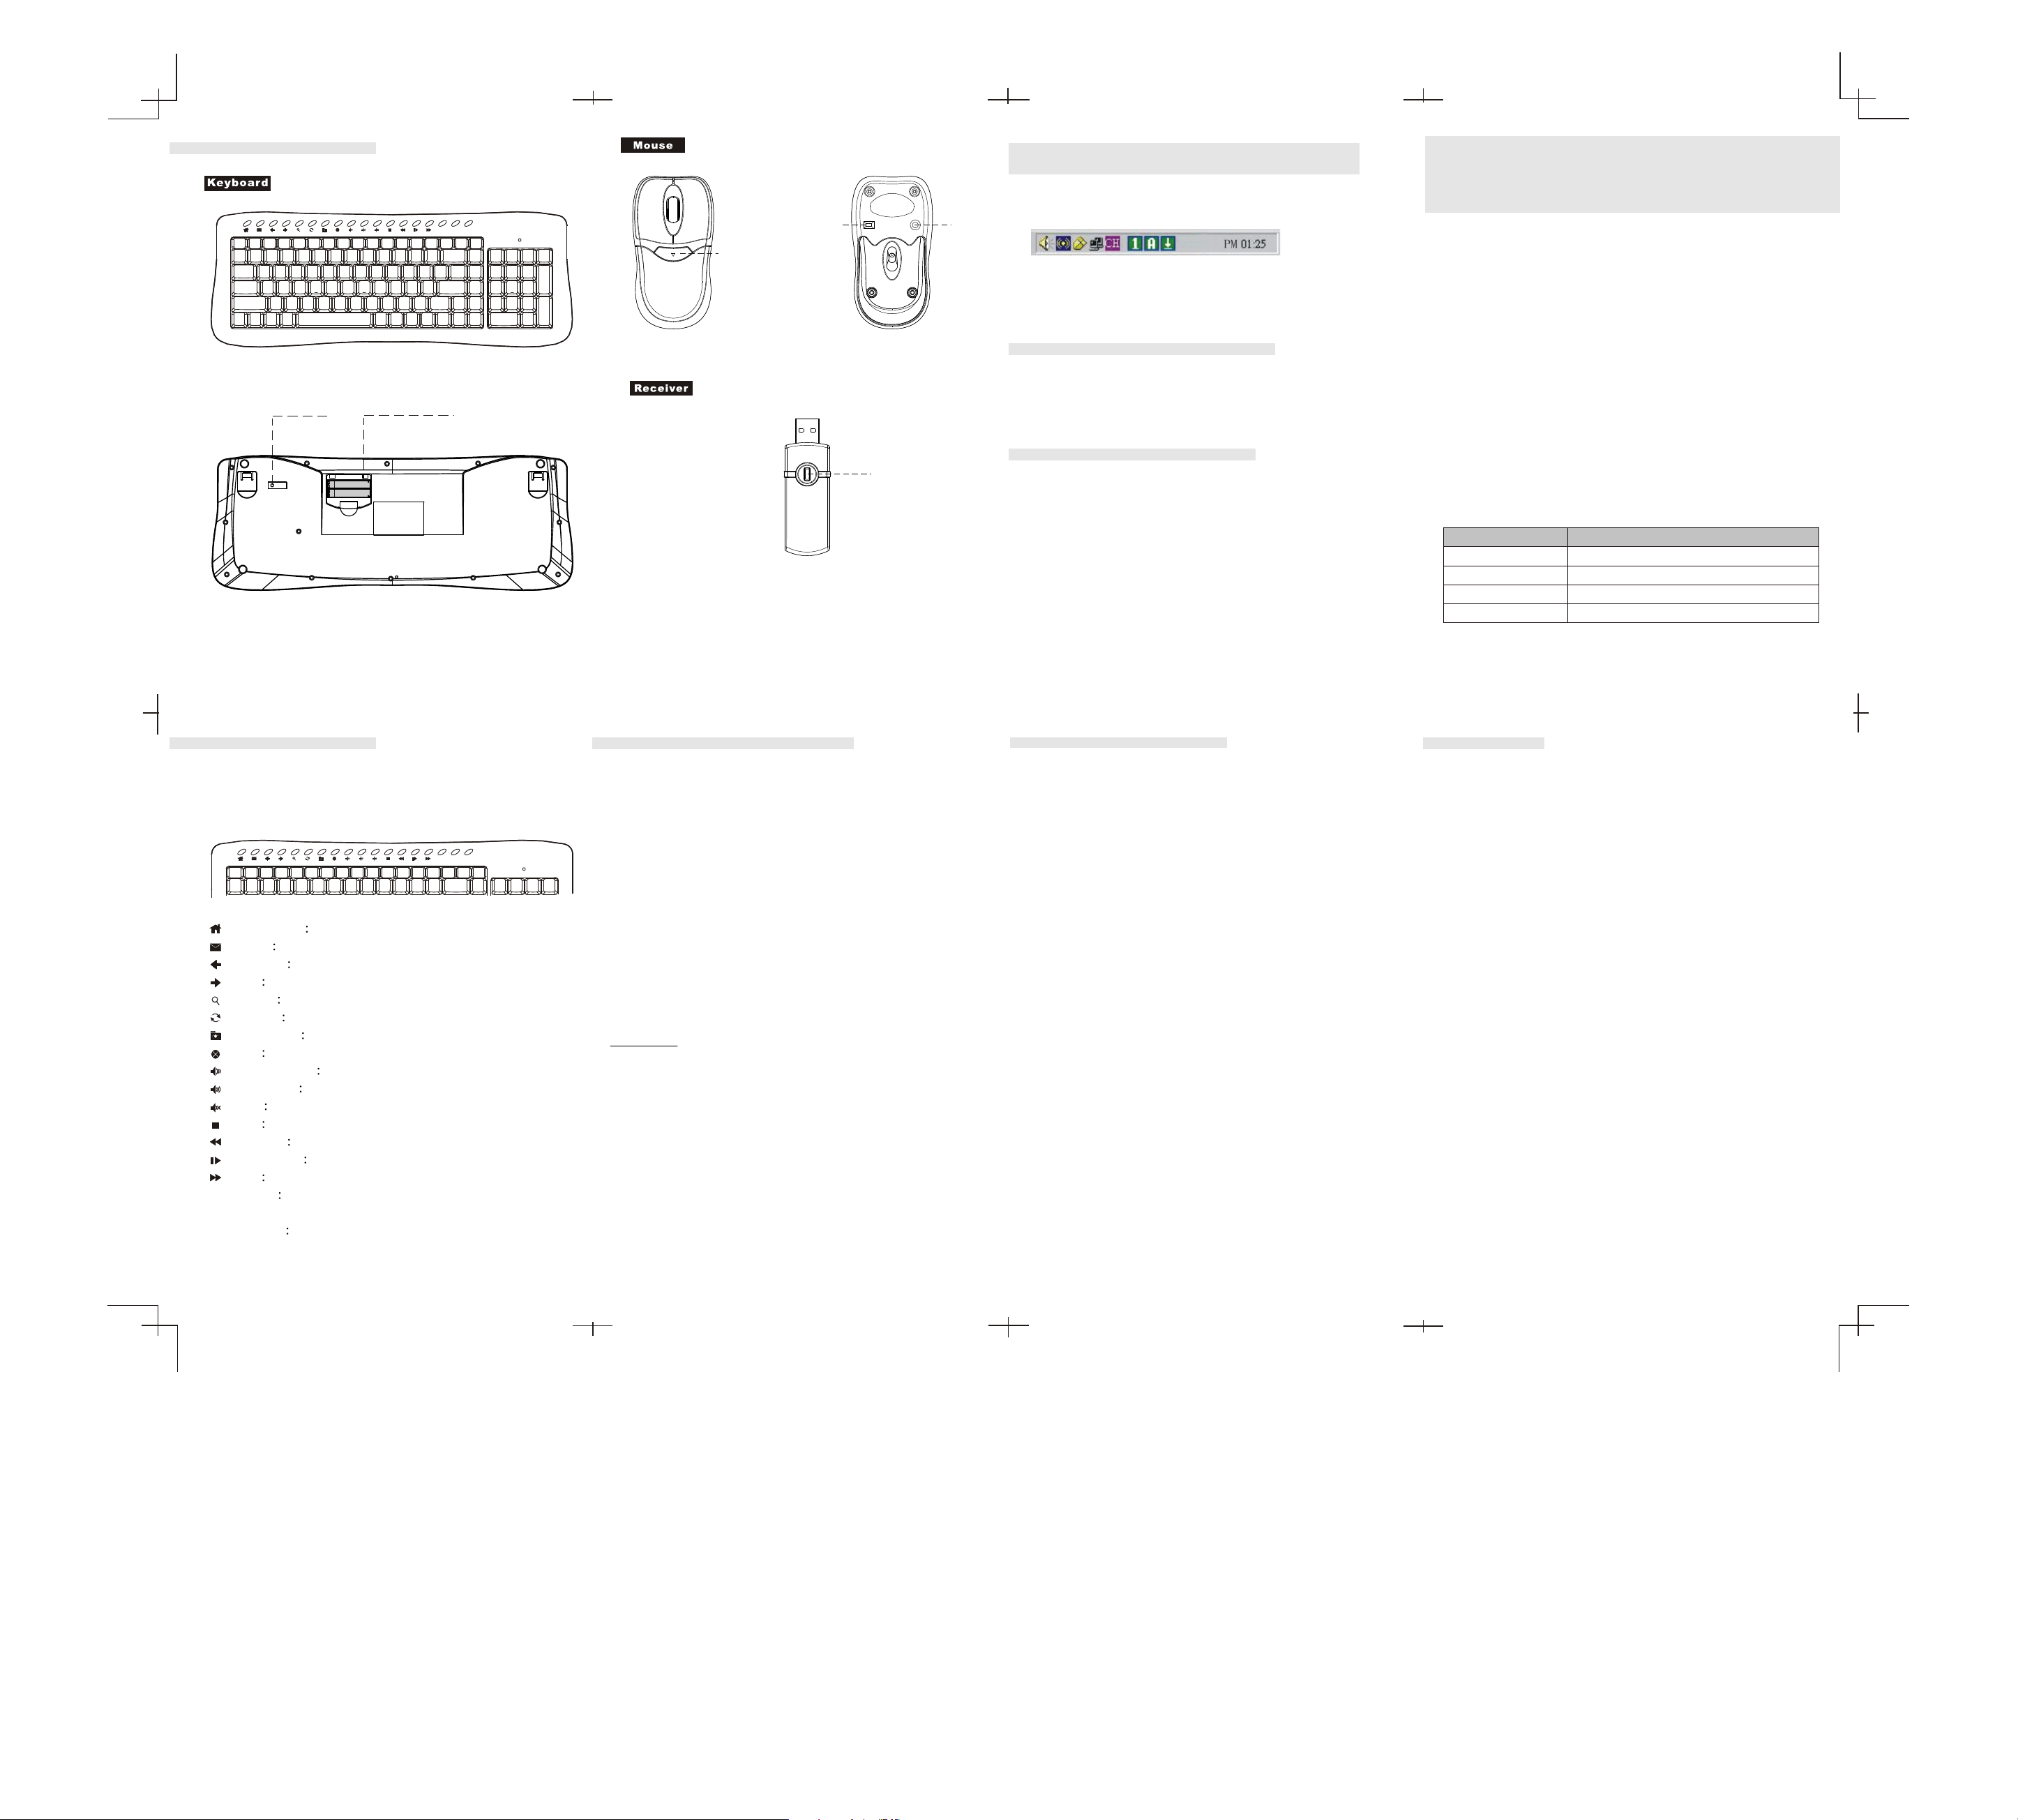
Function discription
ID button
WAKE SLEEP POWER
Battery housing
Batt.Low
On/Off
Press button for
battery compartment
FIG.2
ID button
Reset
Number Lock, Scroll Lock, Cap Lock
indication software
After install keyboard status indication software, you will
find 3 small icon in your task bar as follows:
When you lock up the Number pad, cap or scroll the light
will show green color, otherwise it will show the gray color.
Uninstall the Hot Key driver
Click [Start]-->[Program]-->[RF Status]--> uninstall,
and uninstall according to the directions on the screen.
Uninstall the OSD driver
Click [Start]-->[Program]-->[wirless]--> uninstall RF
keyboard 1.0, and uninstall according to the directions
on the screen.
Mandatory repair charges are required for
the following conditions, even within the
guarantee period:
(1) Malfunction or damage is due to misuse or improper
alteration or repair.
(2) Malfunction or damage is caused by the movement
or fall during installation after the purchase.
(3) Malfunction or damage is caused by a fire, salt, gas,
earthquake, lightning, wind, water or other natural
calamities, or abnormal voltage.
(4) The manual is not presented.
(5) Date of purchase, customer's name, name of the
shop are not filled in or are altered.
(6) Malfunction or damage is caused by other devices
connected to the RF-722.
To get the repair service, please disconnect RF-722
from other devices connected.
Date
Contents of service
FIG.1
9
Hotkey Functions
There are 18 built-in hotkeys for the RF-722 for quick
access under the Windows operating system. Please
refer to the following section on their functions.
WAKE SLEEP POWER
Batt.Low
Home page Start the WWW browser.
E-mail Start the e-mail application.
Previous Go back to the previous page of the internet.
Next Proceed to the next page of the internet.
Search [Search] button of the internet browser.
Refresh Reload web page.
My favorite [My favorite] button of the internet browser.
Stop Stop download of the web page.
Volume down Turn down the volume.
Volume up Turn up the volume.
Mute Toggle the on/off of the sound.
Stop Stop the play of the CD.
Previous Return to the previous track of the CD.
Play/Pause Toggle the play/pause of the CD.
Next Proceed to the next track of the CD.
SLEEP Suspend Enter the Suspend mode.
Wake up: Wake up system when entering suspend mode.
POWER Power off or Exit the computer.
FIG.3
How to install the software
The CD in the package provide the Number Lock, Scroll
Lock, Cap Lock , hotkey information OSD (On Screen
Display) function, For Windows 98SE/ 2000/ ME /XP
system , the OSD driver should be installed before use,
and to use the functions of the hotkeys under Windows
98SE, you must install the software from the CD-ROM.
Please follow the ste ps below on bow to install the
Multimedia Keyboard software to your system .
1.Insert the CD disk ,RF driver , into the CD-ROM drive.
2.The system will automatically run the setup.exe once
after the disk is inserted, However , if the system . fails
to perform the procedure , simply double- click on the
setup.exe of CD Disk to continue the installation
procedure.
3.Follow all the on-screen instructions.
Attention
If the install screen does not run automatically, open
[my computer] -->[CD-ROM] -->[Hot key driver] or
[LED OSD driver] folder --> setup.exe icon.
When you restart the computer, onscreen Slim
Multimedia will show on the screen, and Slim Multimedia
icon will show in the taskbar.
You can drag the onscreen Slim Multimedia with the
mouse to anywhere you want. To close onscreen Slim
Multimedia, right click and left click [Finish] from the
menu. When you right click Slim Multimedia icon, the
menu will show and you can read the help or version
information etc.
12 14
FCC Statement on CLASS B
This equipment has been tested and found to comply
with the limits for a Class B digital device, pursuant to
part 15 of the FCC Rules. These limits are designed to
provide reasonable protection against harmful
interference in a residential installation. This equipment
generates, uses and can radiate radio frequency energy
and, if not installed and used in accordance with the
instructions, may cause harmful interference to radio
communications. However, there is no guarantee that
interference will not occur in a particular installation. If
this equipment does cause harmful interference to radio
or television reception, which can be determined by
turning the equipment off and on, the user is encouraged
to try to correct the interference by one or more of the
following measures:
- Reorient or relocate the receiving antenna.
- Increase the separation between the equipment and
receiver.
- Connect the equipment into and outlet on a circuit
different from that to which the receiver is connected.
- Consult the dealer or an experienced radio / TV
technician for help.
Person in charge
Person in charge
Warning
You are cautioned that changes or modifications not
expressly approved by the party responsible for
compliance could void your authority to operate the
equipment.
All brand names, trademarks and logos are the properties
of their respective owners.
11
1310
15
C701324003
 Loading...