

Page 1
Installation and Operating Instructions
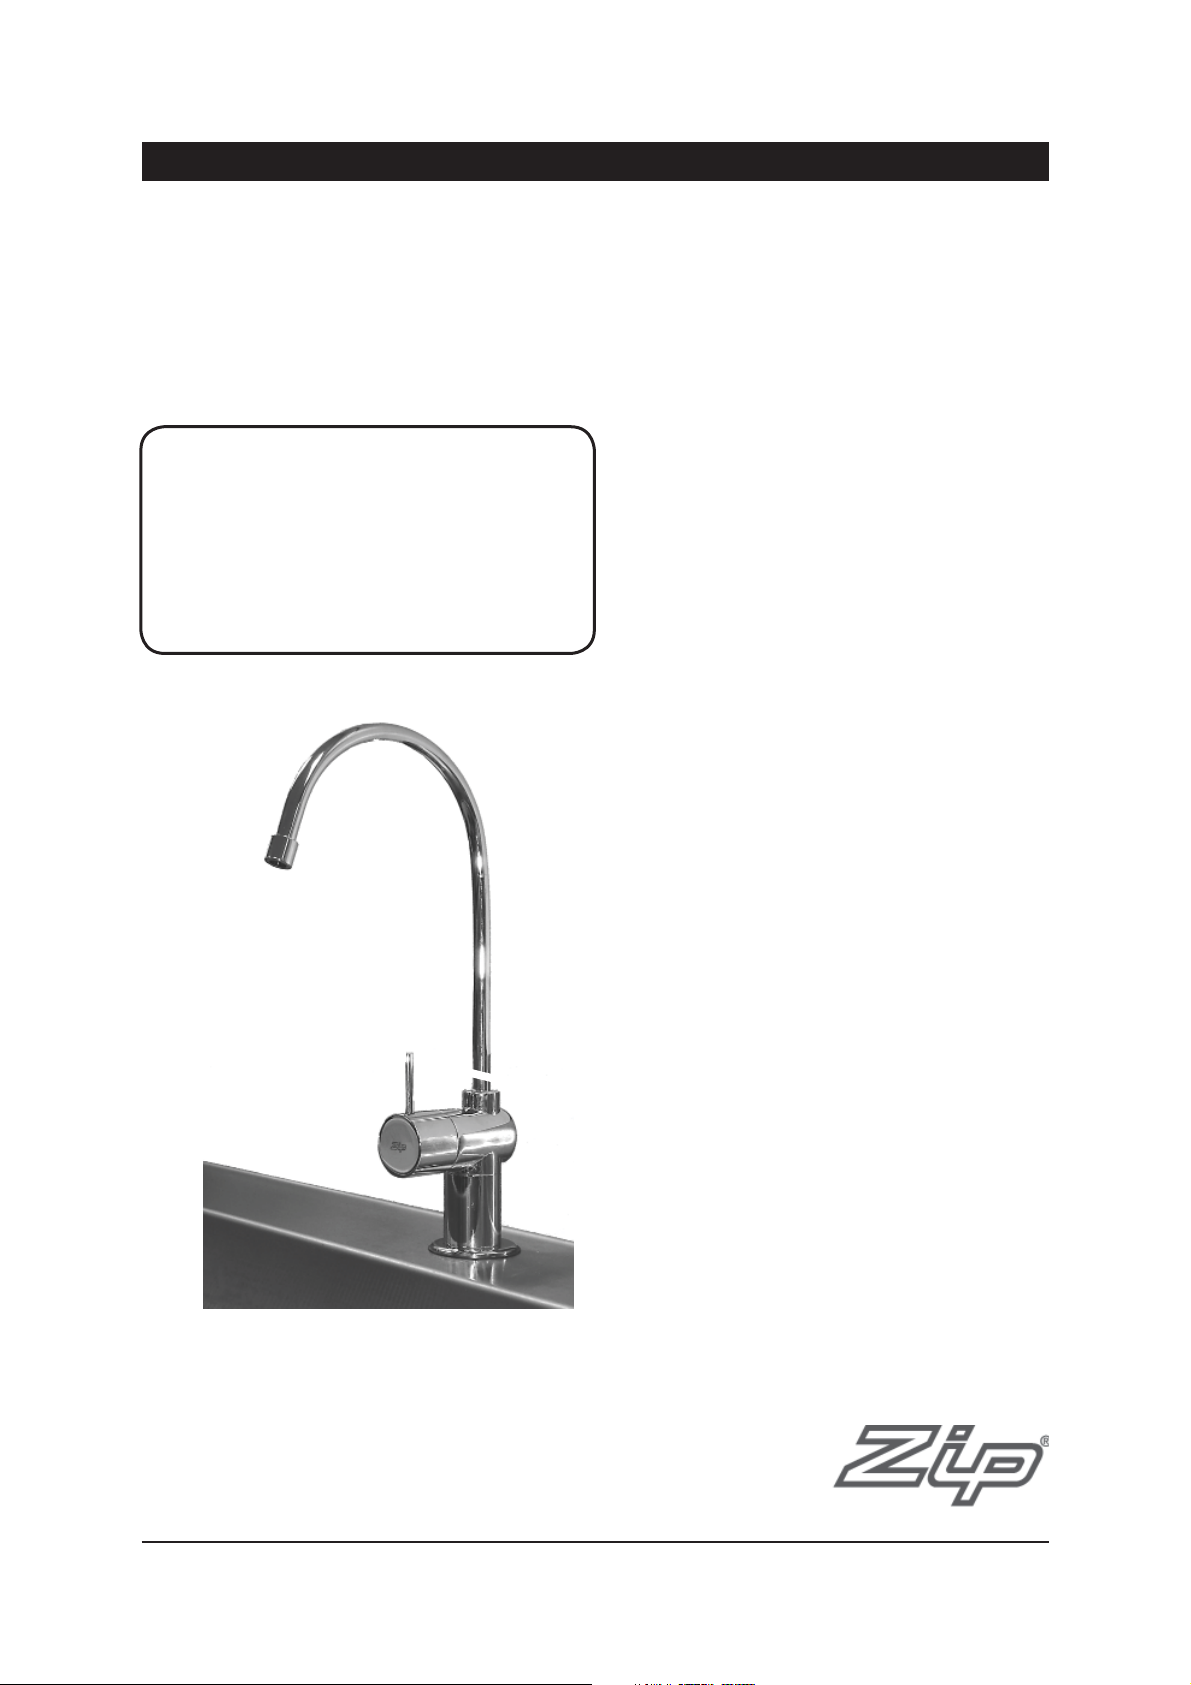
Zip Filter Tap
Filtered Ambient drinking water for the home.
Affix Model Number Label Here
82232UK
Zip Filter Tap - Installation & Operating Instructions - 82232UK - August 2011 v1.03 Page 1 of 8
Page 2
#
Please read all installation requirements, installation procedures and precautions before installing any Zip FilterTap.
Never attempt to install any Zip FilterTap without reading all of the applicable instructions.
The outlet from any Zip Filter must be connected directly to an outlet spout on the sink and must not be obstructed by a
tap or valve or in any other way.
These appliances ares not intended for use by persons (Including Children) with reduced physical, sensory or mental
capabilities, or lack of experience and knowledge, unless they have been given supervision or instruction concerning use
of the appliances by a person responsible for their safety.
Children should be supervised to ensure they do not play with the appliances
The units are for indoor use only and must not be exposed to the elements of nature.
These units must not be positioned in an area that may be cleaned by a water jet and must not be cleaned by a water jet.
All plumbing connections must be made in accordance with UK Water Regulations and these Installation Instructions.
Before installing, ensure there is a cold water supply with a minimum working pressure of 70 kPa (0.7 bar) and a
maximum working pressure of 700 kPa (7 bar).
For best results we recommend a munimum static pressure of 200 kPa (2 bar). If the static pressure exceeds 700 kPa (7
bar), you must also supply and install a 350 kPa (3.5 bar) pressure-limiting valve.
Read these Warnings First
# Installation Instructions
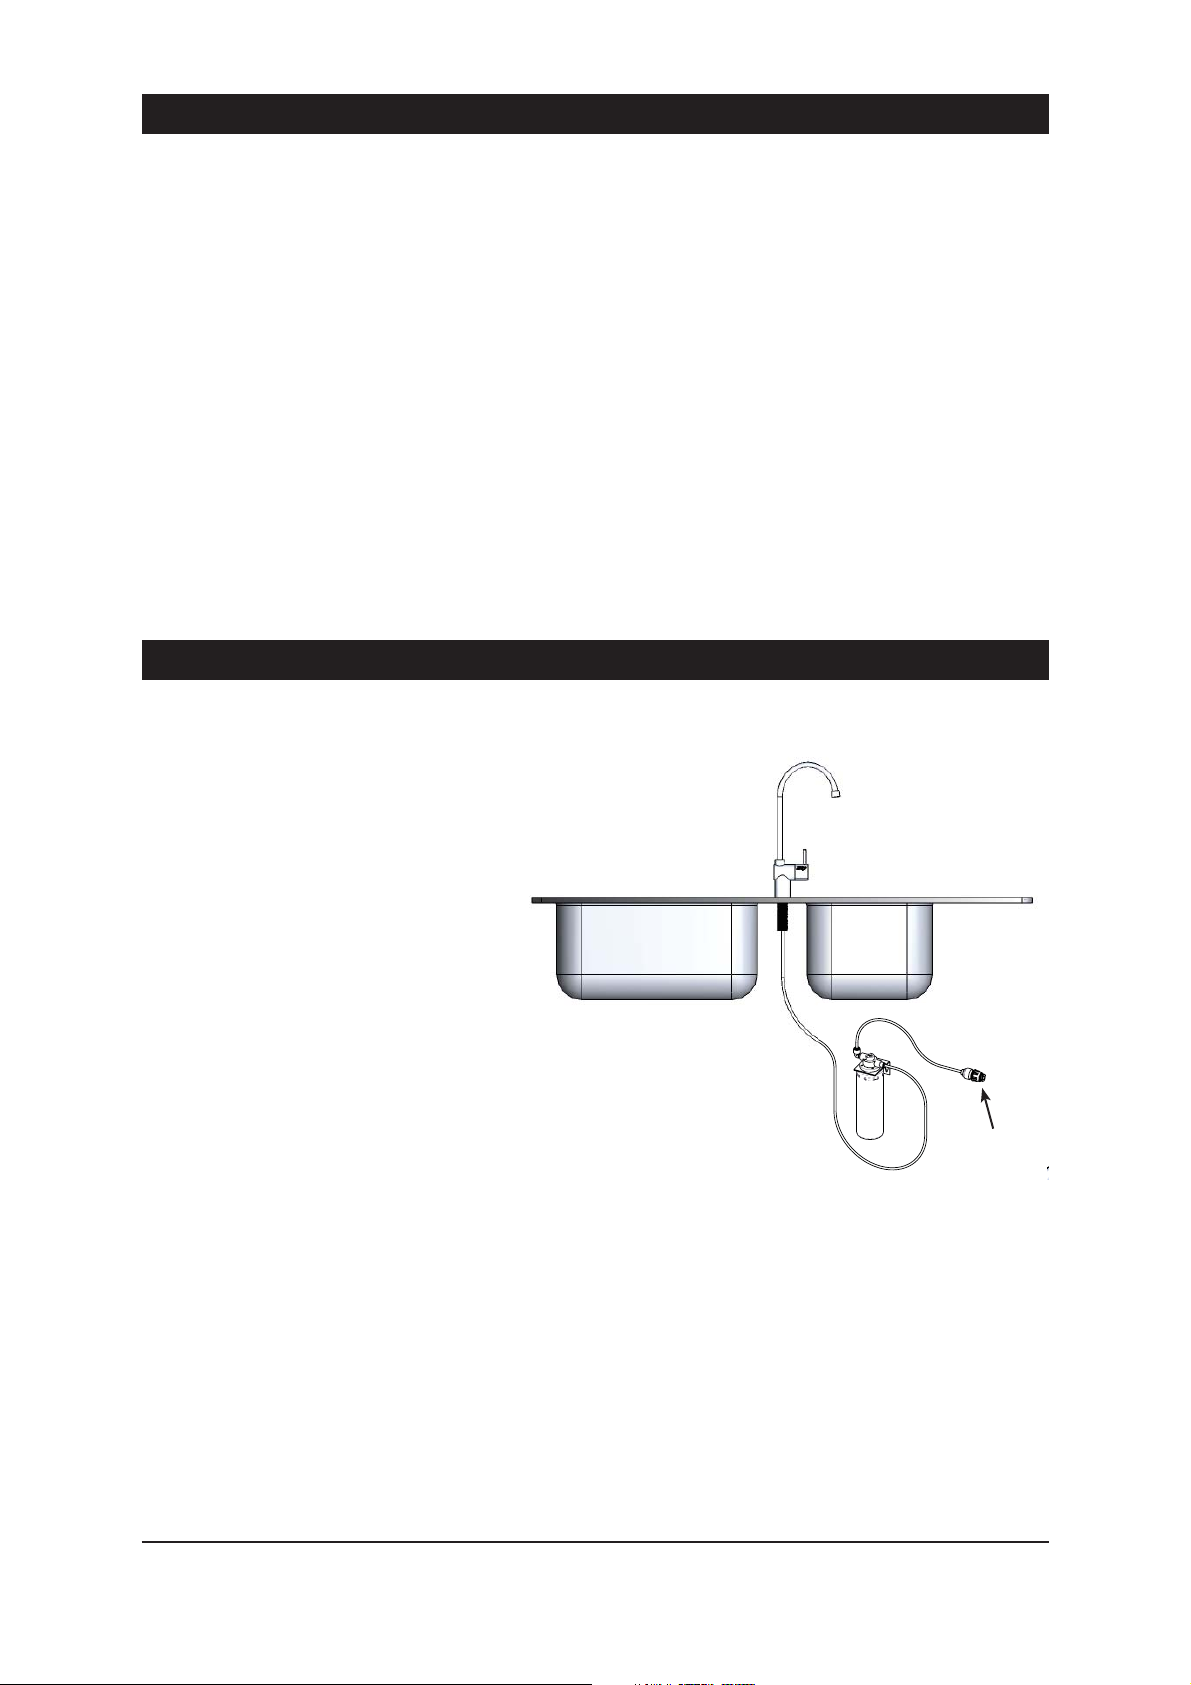
Install the Filtration Unit
1. The filtration unit should be mounted
as close as possible to the front of the
cupboard, to allow for ready and easy
access during filter changes.
Usually the side of the cupboard, near
the door, is most suitable.
2. Using the two screws provided,
screw the filter head to the inside of the
cupboard, allowing 260 mm miniumum
between the underside of the filtration
head and any obstructions like shelves,
etc.
3. Write the installation date on the
filter cartridge. Fit the cartridge into
the housing. The model you have
may appear slightly different to that
illustrated, however, operation and function is identical.
4. Align the tabs of the cartridge with the filter housing and insert it into the socket. Turn the cartridge a quarter turn to
the right until it stops and locks into position.
5. Check that the direction of flow on the filter head is correct.
A
JG Nut+Straight Connector Assembly
NOTE: You must separately supply and install an isolating valve in the supply line before the connection to the product.
Fit JG Nut+Straight Connector Assembly to isolating valve. Take one end of 1/4” white tubing and fit to JG connector
assembly. Take the other end of 1/4” white tubing, measure, trim and connect to inlet of filter.
Page 2 of 8 Zip Filter Tap - Installation & Operating Instructions - 82232UK - August 2011 v1.03
Page 3
# Installation Instructions (continued)
Install the Filter Tap
1. Position the filter tap at the back of the sink where there is a 45 mm wide flat area
within the draining areas of the sink. The recommended position is over one corner of
the bowl. Make sure the selected position allows the spout to overhang the sink bowl.
The required hole size is 25 mm. Mark the centre of the new Filter Tap position on the
sink with a centre punch.
2. Drill out the centre of the hole to allow the screw of a sheet metal punch to pass
through the sink. Use a 25 mm sheet metal punch to neatly open up the hole.
3. Remove the nut and washer from the base of the Filter Tap, and pass the tubing
through the sink until the Filter Tap sits upright within the hole you just created in the
sink surround.
4. Orient the Filter Tap so that the operating lever is away from the sink bowl. Slide on
the washer and nut from beneath the sink, and tighten the nut to secure the Filter Tap
firmly into place.
5. One blue tube hangs from the bottom of the Filter Tap. The blue tube connects to
the outlet of the filter through a push-fit John Guest fitting.
Take care, when bending plastic tubing, to prevent it from kinking or crushing on a
bend. Please be careful to ensure the colour and connection of the tubing on the Filter
Tap are correct.
Do not connect the tubes in any other arrangement than that described here. The
filter cartridge and the Filter Tap have directional flow connections that will not work if
connected incorrectly. Incorrect installation will void any product warranty.
Note: the flow direction of the filter housing is indicated on the filter housing.
6. Measure and cut the blue tube to length so that it runs around the back of the
cupboard to the (lower) outlet side of the filter housing. Use a tube cutter to cut the
end off the tubing neat and square, so that there are no dags or rough edges. Shake
the tube vertically to allow any debris to fall out of the tube before inserting it into the
filter head.
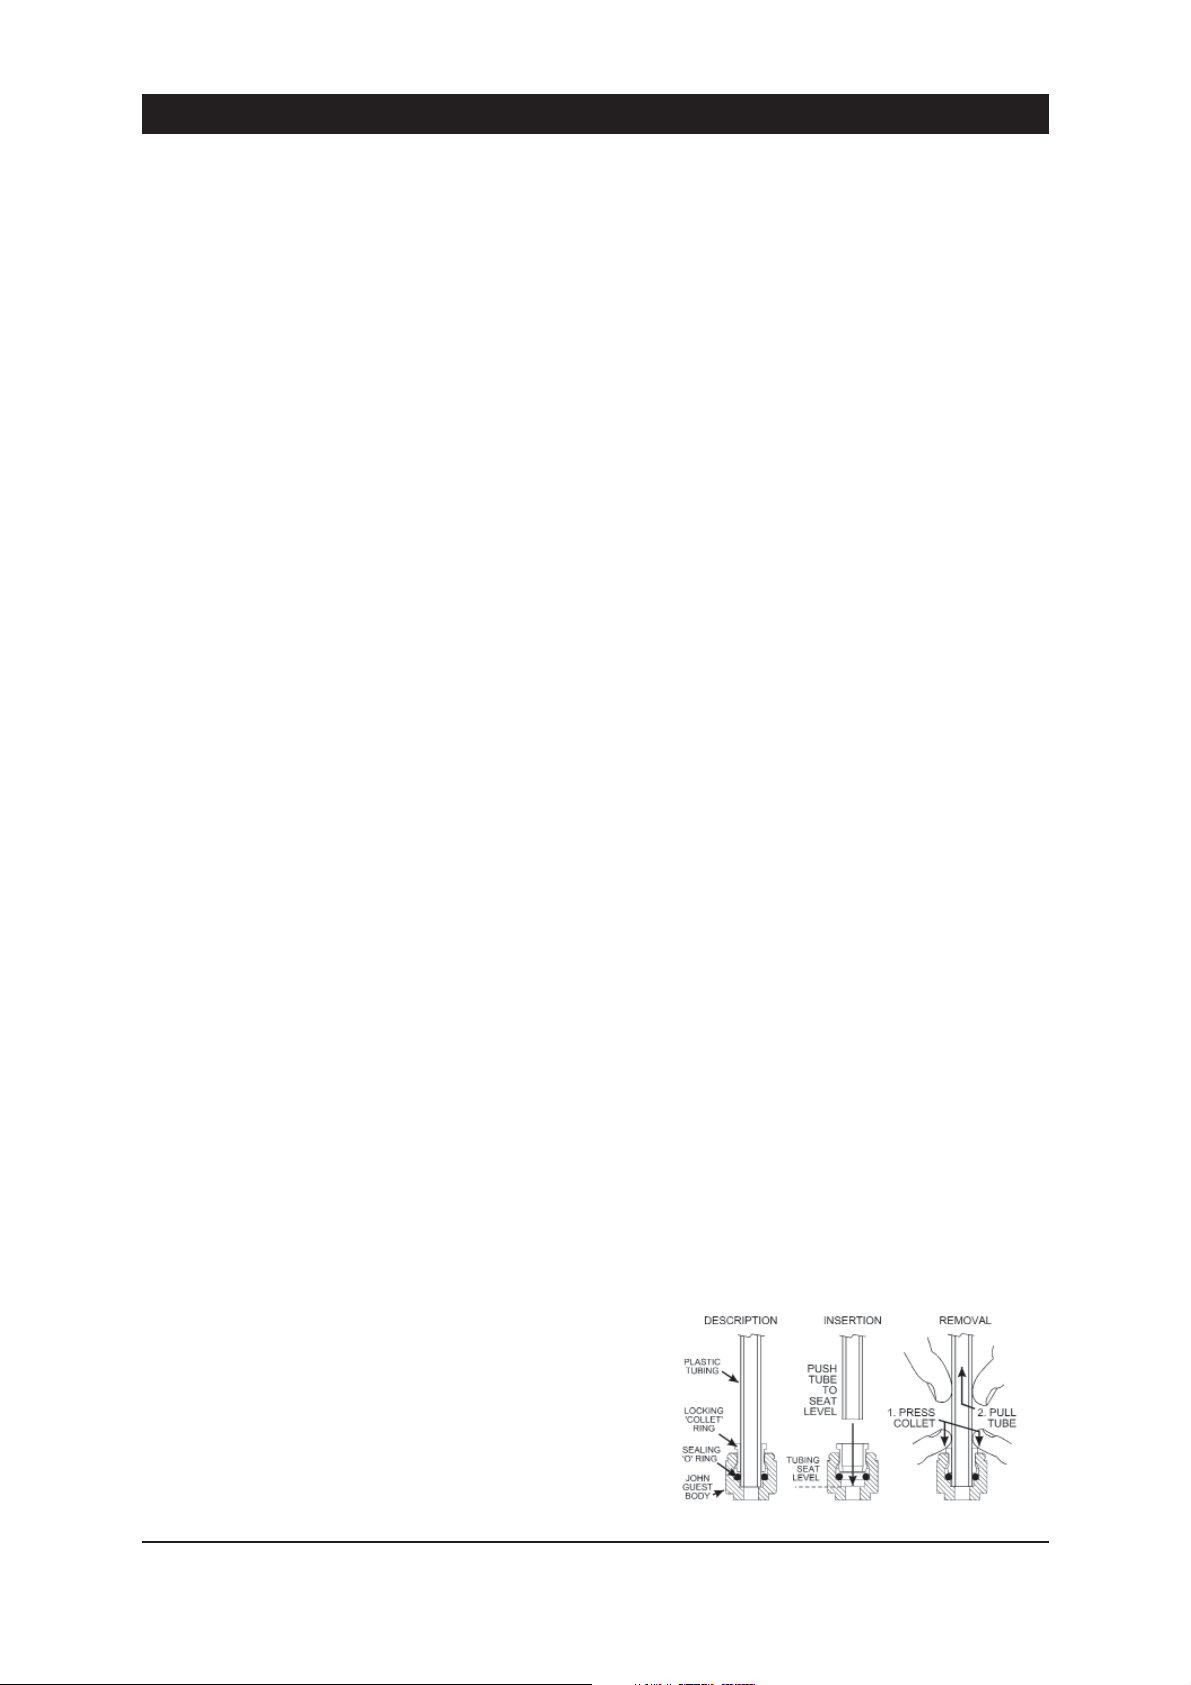
John Guest fittings
Insertion and removal details for JG fittings using plastic tubing.
1. Cut the tube squarely with a sharp knife or tube cutter. Shake out and remove any
swarf or debris.
2. Push this end of the blue tube firmly into the John Guest socket on the (lower)
outlet side of the filter head. It must push in at least 15 mm - 16 mm.
3. Test the connection by trying to pull the tube out. If it comes out, re-insert it so that
it won’t come out when pulled against.
4. To remove the tube, press the collet into the fitting and at the same time pull back
on the tube.
Zip Filter Tap - Installation & Operating Instructions - 82232UK - August 2011 v1.03 Page 3 of 8
Page 4

Installation Instructions (continued)
Fill the system
1. Turn on the water supply. Check the connections for leaks. Repair any found.
The filter and tubing are full of air until purged, and the filter cartridge requires
activation when first installed.
2. Rotate the operating lever on the Filter Tap for a minimum of five minutes
until all of the air has been purged from the system, and the cartridge has time
to become fully activated.
3. Every time the filter cartridge is replaced, repeat this procedure of a five
minute flush to activate the new cartridge properly.
NOTE: When flushing the system, some black particles may be released into
the water. This is normal. The water will become clear after the first few litres.
Complete the installation
Leave these instructions with client.
Page 4 of 8 Zip Filter Tap - Installation & Operating Instructions - 82232UK - August 2011 v1.03
Page 5
Operating Procedures
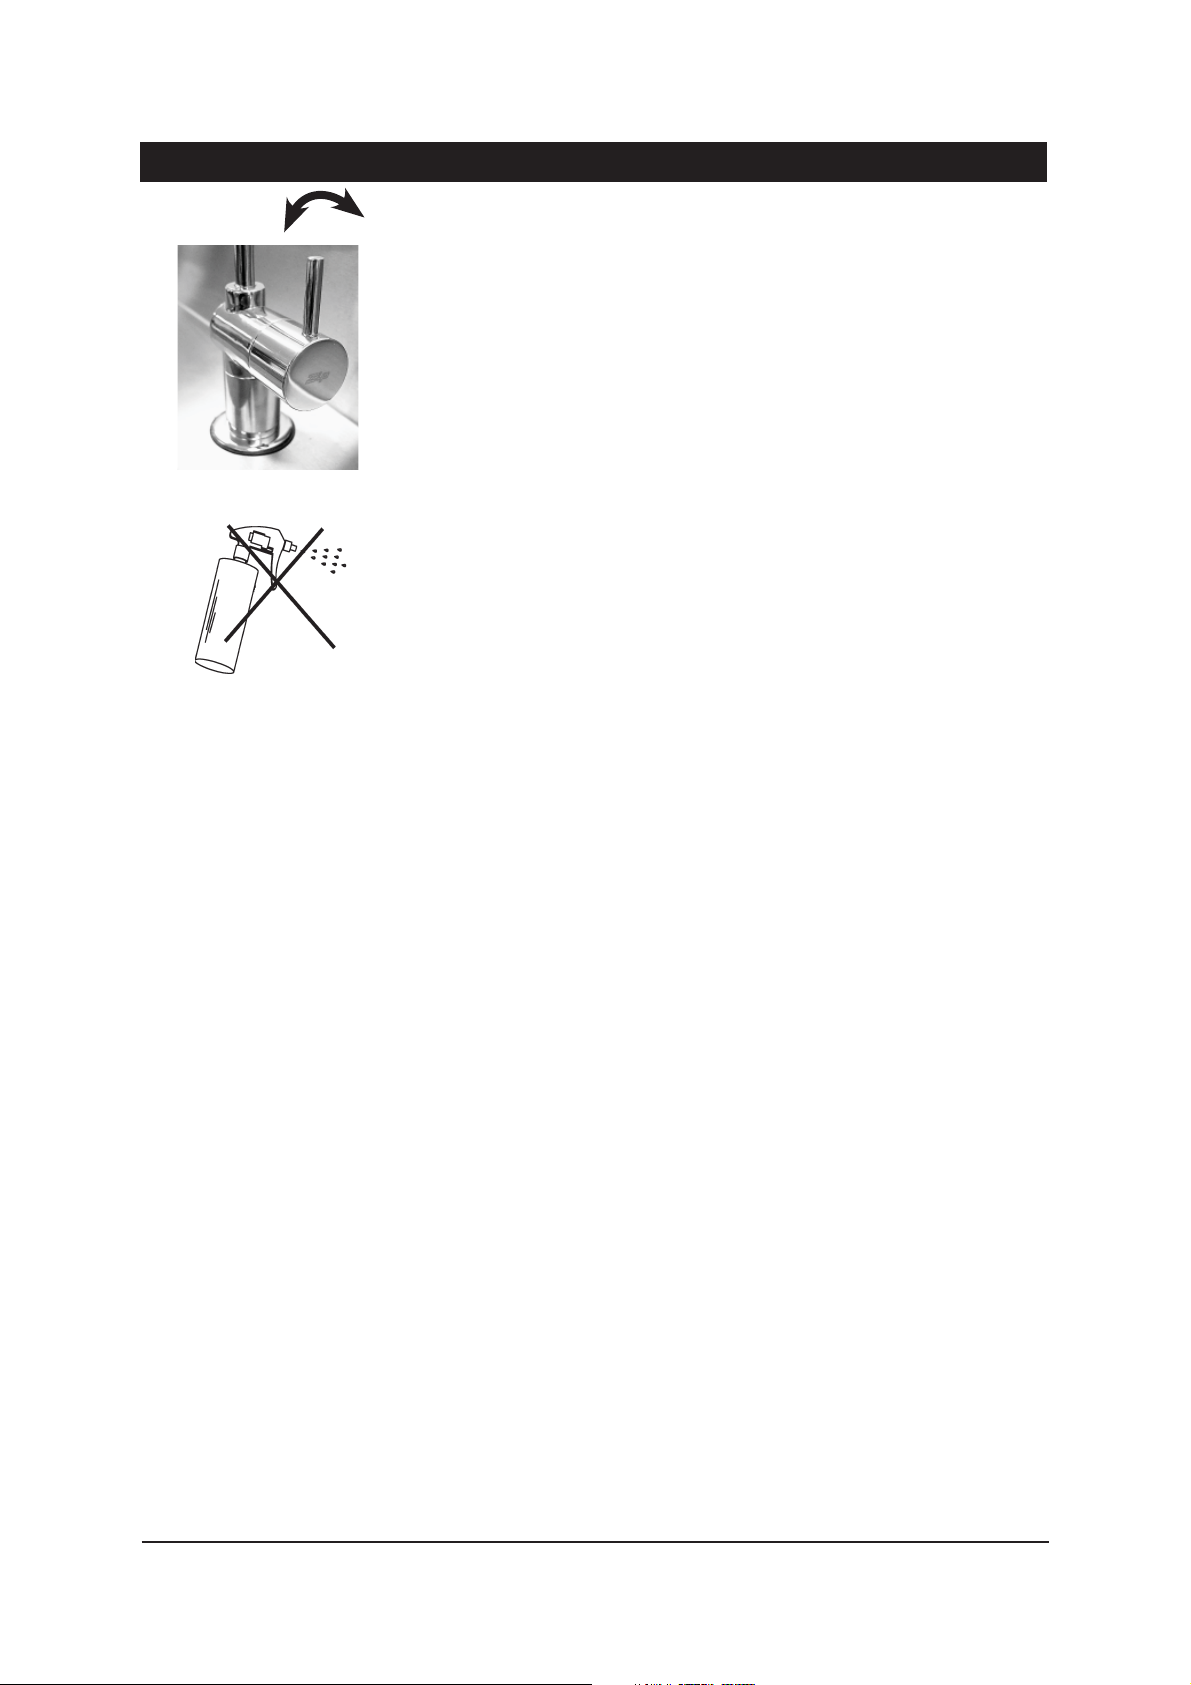
ROTATE
Operating
You can obtain filtered water as long as you rotate the tap lever.
In the upright position the tap is off, when the lever is rotated anticlockwise
water will flow. Water will continue to flow until the lever is returned to the
upright position.
Cleaning
Never use strong, corrosive or abrasive cleaning materials on the Zip Filter Tap.
Wipe clean the outer surfaces with a sponge or a soft cloth using a mild soap
and water.
Filter Replacement
The Zip Filter Tap has a separate filtration system connected to the incoming
water supply line.
For safe operation, the filter cartridge should be replaced every 6-12 months,
or earlier if you notice a persistent reduction in water pressure from the
appliance or an unpleasant taste or odour in the water.
WARNING
Not changing filtration cartridges when required, may cause the water
to become biologically unsafe. Make an entry in your diary to check the
water quality of the Filter Tap at least six months after installation and
after every subsequent filter change.
Use only genuine Zip replacement filter cartridge ZT002. Replacement
filter cartridges can be obtained through plumbing suppliers or directly
from Zip.
Replacement instructions come with the filter cartridges.
Before attempting to disconnect or remove the filter cartridge from the
housing, isolate (turn off) the water supply prior to the filter system, and
then relieve the system pressure by operating the Filter Tap until the
water ceases to flow.
Service
There are no user serviceable parts. All service work must only be carried out
by a suitably qualified and experienced service person.
Zip Filter Tap - Installation & Operating Instructions - 82232UK - August 2011 v1.03 Page 5 of 8
Page 6

Warranty
Certain warranties may be implied by law into your contract with Zip. The warranty provided below is additional to these
implied warranties and nothing set out below shall limit your statutory rights or rights at law.
Zip Heaters (UK) Ltd warrants that, should any part fail within 12 calendar months of installation, that part will be
repaired or replaced free of charge by Zip or its Distributor or Service Provider, except as set out below, provided
the appliance is installed and used strictly in accordance with the instructions supplied, and that failure is not due
to accident, misuse, abuse, unsuitable water conditions, or to any alteration, modification or repair by any party not
expressly nominated by Zip.
No costs are payable by the customer other than any mileage or travelling-time charges incurred by a Zip Service
Provider or the cost of removal, cartage and re-installation of any component of the appliance if it needs to be returned
for repair to Zip or its Distributor.
This warranty does not cover damage resulting from non-operation of the appliance, the use of non authorised parts or
consequential damage to any other goods, furnishings or property.
No warranty applies to the life of any filtration cartridge installed with the appliance as cartridge life may vary according
to water quality and the rate of water consumption.
Zip does not exclude, restrict or modify any liability that cannot be excluded, restricted or modified or which cannot,
except to a limited extent, be excluded, restricted or modified as between the owner or user and Zip under the laws
applicable.
Furthermore, this warranty does not displace any statutory warranty, but, to the extent to which Zip is entitled to do
so, the liability of Zip under any statutory warranty will be limited at Zip’s option to the replacement of the appliance or
supply of equivalent appliance, the payment of the cost of replacing the appliance or acquiring an equivalent appliance,
or the payment of the cost of having the appliance repaired or the repair of the appliance.
Registering Your Purchase
Registering your Zip installation on the Zip website may help to establish date of installation should it become necessary
to service the appliance under terms of the Zip warranty. To register your installation go to www.zipheaters.co.uk and
look under the heading “Warranty”.
As Zip policy is one of continuous product improvement, changes to specifications may be made without prior notice.
Images in this booklet have been modified and may not be true representations of the finished goods.
Page 6 of 8 Zip Filter Tap - Installation & Operating Instructions - 82232UK - August 2011 v1.03
Page 7

Notes
Zip Filter Tap - Installation & Operating Instructions - 82232UK - August 2011 v1.03 Page 7 of 8
Page 8

Contact
Zip Heaters (UK) Ltd.
14 Bertie Ward Way
Dereham
Norfolk
NR19 1TE
Customer Service/ Sales Tel: 0845 602 4533
Service/ Technical Support Tel: 0800 077 8302
E-mail: [email protected]
Website: www.zipheaters.co.uk
Zip Filter Tap - Installation & Operating Instructions - 82232UK - August 2011 v1.03 Page 8 of 8
 Loading...