

Zip Soap Dispenser Installation & Operating Instructions 87400 - July 2007 Page 1
Installation Instructions and Operating Procedure
Soap Dispenser
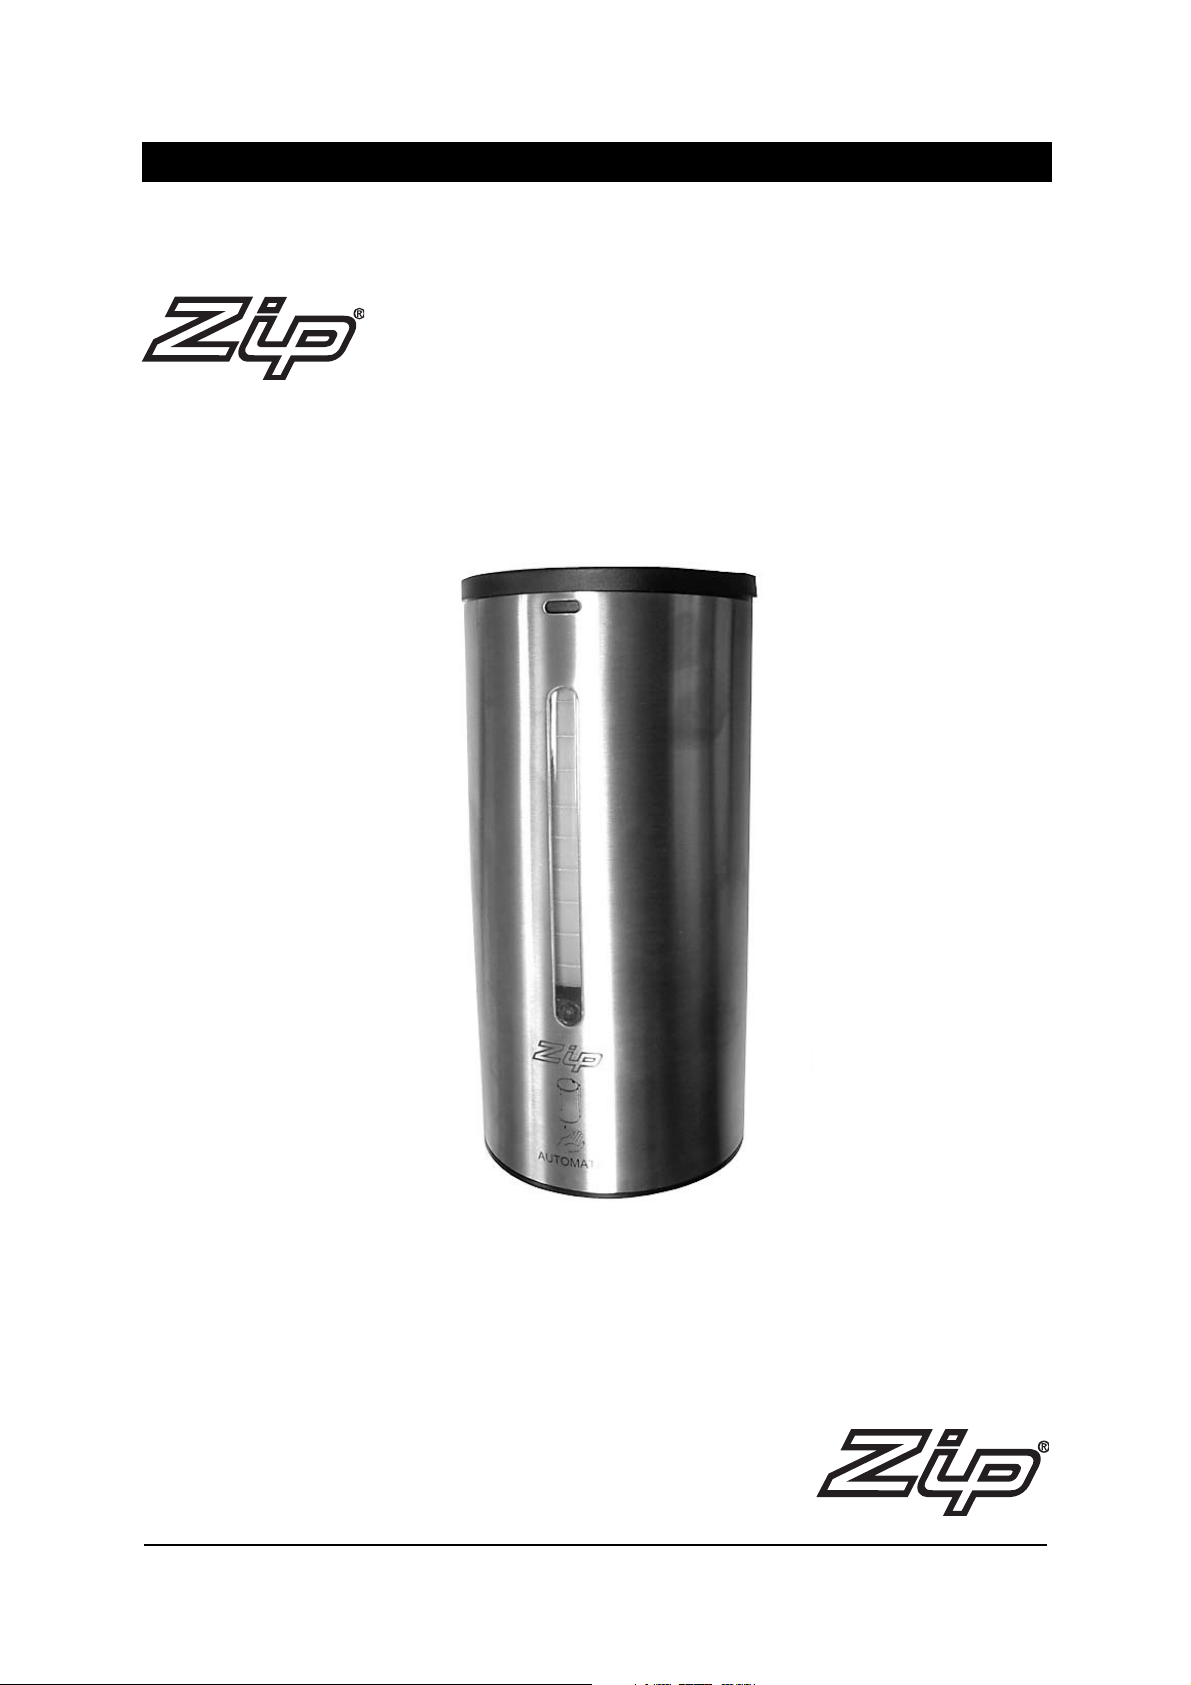
Automatic Soap Dispenser
29013 Zip Liquid Soap Dispenser Stainless Steel

Page 2 Zip Soap Dispenser Installation & Operating Instructions 87400 - July 2007
1. Check if surface of wall is smooth and
clean.
2. Distance between sensor and bench-top
should be more than or equal to 25cm.
Dimensions
W x H x D
115 x 240 x 125 mm
(4.5” x 9.4” x 4.9”)
Soap Tank
Capacity
1000ml
Battery
6pcs of Alkaline AA (1.5V)
(Not Included)
Detection Range Automatic Adjustment
Room
Temperature
5ºC~40ºC
Sensing Delay
Time
0.5 ~ 1 sec
Dispensing Time
Period Max 5 sec (Default
1 sec) Adjustable
Dispensed Soap
Quantity
about 1.0 ml
Applicable Liquid
Soap Viscosity
1 ~ 3500 mPa*s (cP)
1. SPECIFICATIONS : 2. PACKING LIST :
4. BEFORE INSTALLATION :
ITEM DESCRIPTION KIT NO.
1 ELECTRONIC BOX W/ BATTERY COVER KIT 99157
2 UPPER COVER ASSY W/ SECURITY KEY KIT 99158
3 SOAP TANK KIT 99159
4 BATTERY BOX ASSEMBLY KIT 99160
5 KEY (METAL) KIT 99161
1. Paste the Installation Template at the
appropriate location on the wall.
2. Drill three ø6mm holes and insert plastic
dowels. (Fig. 1)
3. Insert two screws into dowels and tighten.
Leave about 3mm gap between the screw
and the wall to hang the soap dispenser.
(Fig. 2 and Fig.3)
25cm
Illustration Description Qty
1
Soap
Dispenser
1 Set
2
Installation
Instruction
1 Pc
3
Installation
Template
1 Pc
4
Key 2 Pcs
5
Plastic Dowel 3 Pcs
6
Fixing Screw 2 Pcs
7
Locking Screw 1 Pc
8
Battery AA
1.5V
(Not Included)
6 Pcs
9
Battery
Security Screw
1 Pc
4. Hang the dispenser on two fixing screws by
the back plate holes of the dispenser.
5. Remove the soap dispenser lid using the key
to unlock. (Fig. 4 and Fig. 5)
6. Remove soap tank, then lock dispenser to
wall with locking screw provided. (Fig 6.)
Fig. 1
Fig. 6
5. INSTALLATION STEPS:
6mm
Fig. 2
Fig. 3
Fig. 4
Fig. 5
3mm
UPPER
COVER
KEY
SECURITY
WRENCH
SOAP TANK COVER
ELECTRONIC
BOX
BATTERY
BOX
SOAP TANK
LOCKING
SCREW
CASING
BATTERY
SECURITY
SCREW
3. RECOMMENDED INSTALLATION :
20cm
25cm

Zip Soap Dispenser Installation & Operating Instructions 87400 - July 2007 Page 3
A. Service Instructions
1. Open the upper cover using the key provided. (The security
wrench for battery box is attached in the upper cover.)
2. Remove cover from battery box, put 6 pcs of Alkaline AA
1.5V batteries into the battery box, put box back into original
casing and close with cover. (Fig. 7)
3. Remove soap tank, open it and pour liquid soap into the
container. Close properly. Should any soap spill over the
outside of the container, it must be cleaned thoroughly.
Replace clean soap container in its original position. Close
the casing and lock it.
4. Place your hands under the dispenser. The LED will turn on
and the dispenser will release a portion of liquid soap.
5. When using for the first time, repeat that process a few
times to order to fill the system.
6. A flashing LED will indicate low battery. Replace
batteries with new ones. If problem persists, contact
your dealer.
-The sensing range is automatically selfadjusting.
-Dispenser will detect the incoming object and
adjust the sensing range dynamically.
-Drop volume setup: (Fig. 10)
1. Push 1st time to enter setup mode (See LED
flash)
2. Push 2nd time to start counting (See LED light)
3. Push 3rd time to stop setup mode (See LED off)
1. Check if soap dispenser is firmly fixed to
the wall.
2. Check if soap container cover is closed
properly and no soap is leaking.
3. Use 6 pieces of new Alkaline AA (1.5V)
batteries. Ensure that the batteries are
installed properly and in the right direction
(observe +/- indication).
4. Once batteries are installed and casing is
closed, a red light will flash 4 times to
indicate normal function.
5. Make sure soap dispenser is locked
properly using the key provided.
6. Ensure that the battery cover is secured
with battery security screw.
6. OPERATION INSTRUCTIONS :
8. SENSING RANGE AND SOAP VOLUME
ADJUSTMENT:
7. INSTALLATION CHECK :
11. TROUBLE SHOOTING (FOR QUALIFIED ELECTRICIAN USE ONLY) :
Fig. 10
SOAP VOLUME
ADJUSTMENT
BUTTON
1. Ensure no light source is aimed at the sensor from
below.
2. Use a pure liquid soap only and clean the soap
container properly before each re-fill. Deposits of old
soap will lead to malfunction and jamming.
3. Do not dilute liquid soap and do not use grain
containing soap. Observe specified viscosity factor of
liquid soap.
4. Do not immerse the soap dispenser in water or clean
it under running water. This will lead to short circuit.
5. Should the dispenser be out of order and batteries
have been replaced, do not attempt any repair work.
Call your dealer for professional assistance.
9. IMPORTANT NOTICE :
Problem Solution
LED does not indicate
- Check batteries and ensure that they are new and properly inserted.
- Check sensor cover for stain. Clean unit properly.
LED flashes when unit is not used
- Low voltage: Change batteries (Fig. 7)
- Sensor is activated constantly. Remove the object below the sensor.
- If above does not help, contact your dealer for professional assistance.
No soap discharges when motor works
- Obstructed soap dispenser nozzle. Clean soap container or change it.
- Check if soap is not liquid enough (viscosity as per specification).
Insufficient soap is released
- Soap has hardened: use unit fro several times or remove soap container and wash it thoroughly.
- Soap nozzle is obstructed: wash soap container and use unit continuously until normal soap
quantity is dispensed.
B. Users Instructions
1. Put palm of your hand under the dispenser. The
sensor will activate and the motor will release
1ml of liquid soap. If you need more soap, repeat
the movement a few times, waiting at least 1
second before you replace your hand under the
unit. Do not scoop soap from the nozzle as this
may lead to damage. (Fig. 8)
2. To safeguard the sensitive electrical components
inside the dispenser, always remove the soap
tank completely from housing during re-fill.
NEVER
attempt to fill when the soap tank is still in
the dispenser housing unit. (Fig. 9)
For all other enquiries call you local deal for technical assistance.
AA (1.5V)
Fig. 9
AA x 6
Fig. 7
Fig. 8
Notice: Should the dispenser be out of order and batteries have been replaced,
do not attempt any repair work. Call your dealer for professional assistance.
Stage 1: LED flashing indicate battery is low and
sensing function is still working.
Stage 2: LED always lights up and without sensing
function. Battery is nearly exhausted.
10. BATTERY LOW INDICATION :
Caution: Placing of the batteries in an
incorrect Position may cause a malfunction.

Page 4 Zip Soap dispenser- Installation & Operating Instructions 87400 - July 2007
Warranty Information
Head Office
Zip Heaters (Aust) Pty. Ltd.
ABN 46 000 578 727
67 Allingham Street
Condell Park NSW 2200
Postal: Locked Bag 80
Bankstown 1885 Australia
Website: www.zipheaters.com
Facsimile (02) 9796 3858
Telephone (02) 9796 3100
Free Call 1 800 638 633
Certain warranties may be implied by law into your contract with Zip. The
warranty provided below is additional to these implied warranties and nothing
set out below shall limit your statutory rights or rights at law.
Zip Heaters (Aust.) Pty. Ltd warrants that, should any part fail within 12 calendar
months of installation, that part will be repaired or replaced free of charge by
Zip or its Distributor or Service Provider, except as set out below, provided the
appliance is installed and used strictly in accordance with the instructions
supplied, and that failure is not due to accident, misuse, abuse, unsuitable
water conditions, or to any alteration, modification or repair by any party not
expressly nominated by Zip.
No costs are payable by the customer other than any mileage or travelling-time
charges incurred by a Zip Service Provider or the cost of removal, cartage and
re-installation of any component of the appliance if it needs to be returned for
repair to Zip or its Distributor.
This warranty does not cover damage resulting from non-operation of the
appliance, the use of non authorised parts or consequential damage to any
other goods, furnishings or property.
No warranty applies to the life of any filtration cartridge installed with the
appliance as cartridge life may vary according to water quality and the rate of
water consumption.
Zip does not exclude, restrict or modify any liability that cannot be excluded,
restricted or modified or which cannot, except to a limited extent, be excluded,
restricted or modified as between the owner or user and Zip under the laws
applicable.
Furthermore, this warranty does not displace any statutory warranty, but, to the
extent to which Zip is entitled to do so, the liability of Zip under any statutory
warranty will be limited at Zip’s option to the replacement of the appliance or
supply of equivalent appliance, the payment of the cost of replacing the
appliance or acquiring an equivalent appliance, or the payment of the cost of
having the appliance repaired or the repair of the appliance.
Registering Your Purchase
Registering your Zip installation on the Zip website may help to establish date
of installation should it become necessary to service the appliance under terms
of the Zip warranty. To register your installation go to www.zipheaters.com and
look under the heading “Warranty”.
The use of this crossed out wheeled bin logo indicates that this product needs
to be disposed of separately to any other household waste.
Within each of the European Union member countries, provisions have been
made for the collection and recycling of unwanted electrical and electronic
equipment. Outside of the EU it will be necessary to dispose of this product at
your local community waste collection or recycling centre.
In order to help preserve our environment we ask that you dispose of this
product correctly. Please contact your local city council for collection centre
details
As Zip policy is one of continuous product improvement, changes to
specifications may be made without prior notice. Images in this booklet have
been modified and may not be true representations of the finished goods.
the term Zip is a registered trade mark
 Loading...