

ZEGO ELECTRONIC 7TX, 7RX Users manual
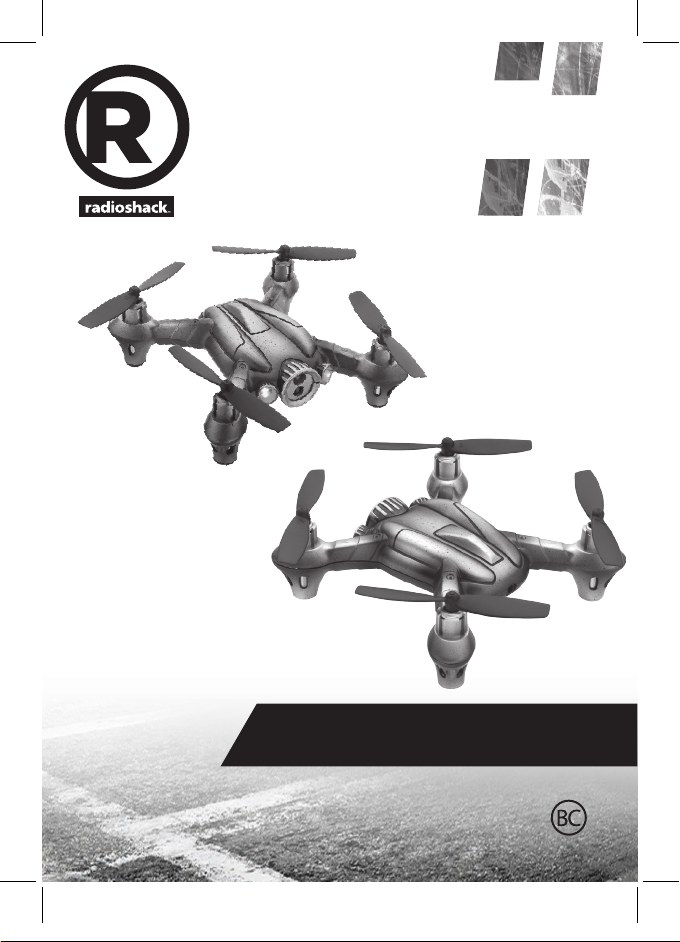
AGE 12+
6001381
USER’S GUIDE
6001381_PM_En.indd 1 8/13/2015 5:00:35 PM
Battle Drone

Contents
Features ................................................................................. 3
Package Contents ................................................................. 3
Specications ........................................................................ 3
Fly Safely ................................................................................ 3
Charge the Drone ..................................................................4
Lithium Batter y Notes .............................................................................. 4
Install Batteries in the Remote Control ............................... 5
Battery Notes .............................................................................................. 5
Pairing ..................................................................................... 8
Fly Your Drone........................................................................ 8
Trim Your Drone ......................................................................................... 8
Land Your Drone......................................................................................... 9
Perform Stunts ........................................................................................... 9
Dogght! ................................................................................9
Replace Damaged Propellers ............................................. 10
Troubleshooting .................................................................. 11
Drone does not respond ........................................................................ 11
Drone dicult to control ........................................................................11
Calibrate Your Drone ..................................................................... 11
FCC Information .................................................................. 12
Limited Warranty .................................................................13
6001381_PM_En.indd 2 8/13/2015 5:00:35 PM
CHOKING HAZARD!
Small parts. Not for children under 3 years.
2

We hope you enjoy your Battle Drone from RadioShack. Please read
this user’s guide before setting up and using your drone.
Features
• Drone Combat Mode
• Six-Axis Gyro
• Auto-stabilize feature
• USB charging
Package Contents
• Drone (2) • Remote Control (2)
• USB Charging Cable (2) • Spare Propellers (8)
• User’s Guide
Specifications
Power .......................................................................................................................
Drone ...........................................................3.7V lithium polymer batter y
Remote Control.............................................................4 × AAA batteries
Control Distance ............................................................................65 ft. (20m)
Specif ications are subject to change and improvement without
notice. Actual product may vary from the images found in this
document.
Fly Safely
• When ying outdoors, keep the drone away from power lines,
trees, water, and other obstacles.
• When ying indoors, keep the drone away from walls, air
conditioning, air vents, fans, breakable objects, and other
obstacles.
• Do not y the drone near or at other people or animals.
• Keep eyes, hands, hair, and loose clothing away from moving
propellers.
• Adult supervision is recommended at all times.
6001381_PM_En.indd 3 8/13/2015 5:00:35 PM
3

Charge the Drone
1. Set the drone's ON/OFF switch to OFF.
ON/OFF
CHG
LED
2. Connect the included USB charging cable to the drone's CHG
jack and a USB power source. The USB connector LED lights red
during charging, and turns o when charging is complete.
A full charge takes about 50 minutes, and gives you up to 5
minutes ight time.
3. After charging, unplug the charging cable.
CAUTION
• Use only the included USB charging cable to charge the drone's
batter y. Other cables may damage the drone.
• Always let the drone battery cool before recharging.
Lithium Battery Notes
Your drone uses a built-in lithium polymer battery for power. Follow
the instructions for charging.
• Do not charge longer than recommended. U nplug the charging cable
when the drone is charged.
• Do not puncture or crush. Do not disassemble.
• Do not dispose of lith ium batteries i n the trash.
• If the el ectrolyte in the cells should get on your skin, thoroughly wash
with soap and wate r. If in the eyes , rinse thoroughly wit h cool water.
Immediately seek medical attention.
• Do not attempt to charge or operate damaged toys.
6001381_PM_En.indd 4 8/13/2015 5:00:36 PM
4
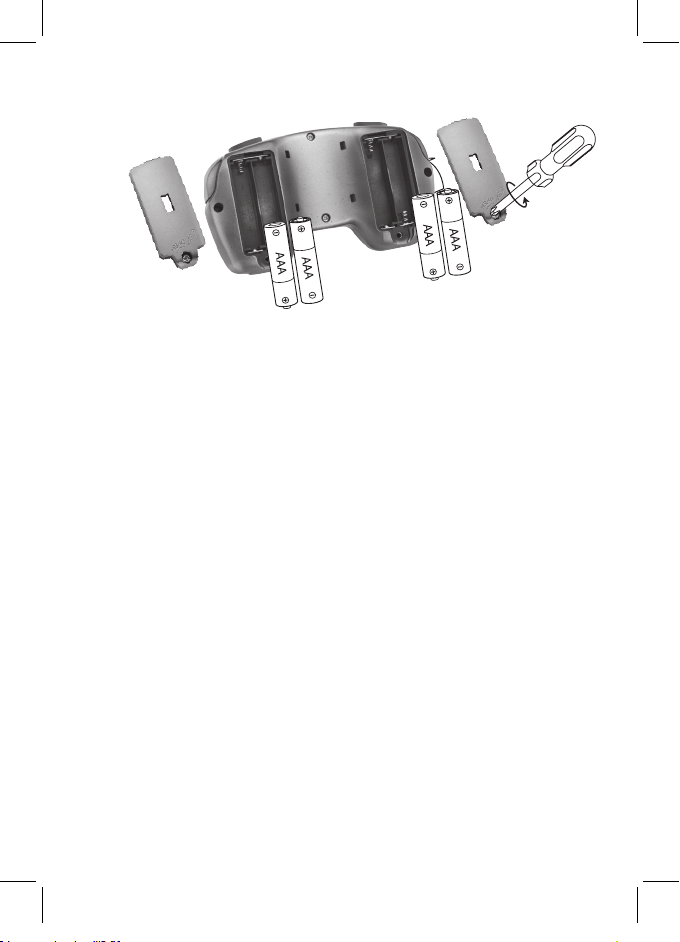
Install Batteries in the Remote Control
1. On the remote control, set the ON/OFF switch to OFF.
2. Use a screwdriver to open the twin battery compartments. Then
insert four AA A batteries (not included), matching the polarities
(+ and –) marked inside. Replace the cover.
Note: If the remote control’s LED ashes during use, the batteries
are low and should be replaced.
Battery Notes
• Dispose of old batteries promptly and properly. Do not burn or bur y them.
Use only fresh batteries of the required size and recom mended type.
• Do not mix old and new batteries, di erent types of batteries (standard,
alkaline, or rechargeable), or rechargeable batteries of dierent capacities.
• Remove batteries during longer storage perio ds. Batteries can leak
chemic als that can damage electroni c parts.
6001381_PM_En.indd 5 8/13/2015 5:00:37 PM
5
 Loading...