


Z A S T O N E
ZT-V900
IN S T R U C T IO N
M A N U A L
l

P r o fe s s io n a l
F M H a n d h e l d T r a n s c eiv e r
CONTENTS
P R E C A U T IO N S
...........................................................................
1
S a f e t y
.................................................................................................................
1
U n p a c k in g A n d C h e c k in g E q u i p m e n t
..............................................
2
S u p p l i e d A c c e s s o r ie s
..............................................................................
2
Ke y F e a tu re s
................................................................................
3
G E TT IN G A C Q U A IN T E D
..........................................................
4
C h a r g in g B a t t e r y
.......................................................................................
5
In s t a l lin g / R e m o v in g t h e B a t te r y P a c k
........................................
5
In s t a l l in g t h e A n e n n a
..............................................................................
6
I n s t a l l in g t h e B e l t C l i p
.........................................................................
6
I n s t a l l in g t h e O p t io n a l S p e a k e r /M i c r o p h o n e
........................
7
B asic Tra ns ce iv er M o d e s
.......................................................
8
F r e q u e n c y D i s pl a y M o d e ( V F O )
.......................................................
8
C h a n n e l O p e r a t in g M o d e ( M R )
.......................................................
8
Q u ic k O pe ra tin g
..........................................................................
8
Q uic k Fun ction O p e ra tin g
.....................................................
9
S e t S Q L e v e l
................................................................................................
9
S e t T r a n s m it t in g P o w e r
........................................................................
9
A c c e s s S c a n n i n g
.........................................................................................
9
S e t t i n g S t e p F r e q u e n c y
.......................................................................
1 0

S et t in g O f f se t D ir e c t i o n
..............................................................
1 0
S e ttin g Q T / D Q T S w i t c h
.............................................................
10
S el e ct Q T / D Q T F re q u en c y
.......................................................
1 0
Q T S ta n da r d F re q u e n c y T a b l e
...................................................
11
E nt er R a d io M o d e
.............................................................................
11
E nt er th e me n u m o d e , t h e s p ec if ic p l e ase r e f e r : V. M e n u
M o d e
.........................................................................................................
12
M e n u M o d e
..............................................................................................
1 2
M enu L i s t
................................................................................................
12
M e n u f u n c t i o n s a n d s e t t i n g
........................................................
1 4
A u to m atic P o w e r O f f (A P O )
........................................................
1 4
B a n k o f C h a n n el ( B A N K )
...............................................................
1 4
B att e ry S a v e r
......................................................................................
14
B us y C h an n el L o c k O u t (B C L O )
...............................................
15
K e y pad B e e p e r ( B E E P ) ....................................................................15
D is play th e D C V o l t a g e ( D C V L T )
..........................................
15
D ual W a t c h W h e n U s e F M R ad io ( R A - D W )
.......................
15
B a c kg r o un d L a m p C o n t r o l
...........................................................
15
T r an sc e iv e r L o ck M o d e ( L O C K )
.................................................
1 6
A N I C o de S w it c h ( A N I)
..................................................................
1 6
M o d es of C h a n n e l D isp l a y S e le c t iv e
......................................
1 6
A N I R e v er s e (A N I- R E )
..................................................................
16
O f f se t F r e q u e n c y for D up l e x (O F F S E T )
...........................
1 6

P r o fe s s i o n a l
F M H a n d h e l d T r a n s c e iv e r
T
P o w er O n D is p la y
..................................................
P o w e r -o n Pa s s w o r d
.............................................
R og e r T o n e
...............................................................
S can M e t h o d s (S C A N )
..........................................
T im e-o u t T im e r (T O T )
...........................................
T r a n sm it t in g In h ib it F u n c tio n
............................
V O X D e la y T im e ( V O X - D )
...............................
V O X S e n s it iv it y
.......................................................
C ha nn el S e ttin g
.................................................
S t o ra g e C h an n e l / F r e q u e nc y In f or m atio n
D ele t e M e m or y C h a n n e l s
...................................
C h a n n e l D is p l a y F u n c t io n
..................................
C h an n el In it ia liz in g
.................................................
FM Radio F u n c tio n
...........................................
T u rn o n th e r a d io
..................................................
FM R ad io M e m o ry C h a n n e l S t o r a g e
...........
FM R ad io M e m ory C h a n n e l D e le te
..............
Dual S ta nd by M o d e
..........................................
A NI F u n c tio n
.......................................................
S P E C IF IC A T IO NS
...............................................
W A R R A N T Y C A R D
...........................................
1 6
1 7
1 7
1 7
1 7
1 7
1 7
1 7
18
1 8
1 8
1 8
1 9
19
1 9
20
20
20
21
22
23
P r o f e s s io n a l
FM H a n d h e ld T r a n s c e iv e r
PRECAUTIO NS
S a f e ty
Please observe the following precautions to prevent the trans
ceiver damaged:
a This device emits Radio Frequency (RF) energy. Caution
should be observed when operating this device.
A Do not modify this transceiver unless instructed by this
manual.
A Never hold the antenna of the transceiver while transmit
ting.
A Never operate the transceiver with an earphone at high
volum e level, hearing experts advise again st continuous
high volum e operation.
A Never operate the transceiver while driving a vehicle, safe
driving requires your full attention.
A Turn off your transceiver while taking on fuel, or w hile park
in gasoline service station.
A Never expose the transceiver to rain, w et areas, or any
liquids, the transceiver may be damaged.
A Do not operate the transce iver near unshielded electrical
blasting caps or in an explosive atmosphere.
A Be careful when operating the transceiver for a continu
ously periods of time the body will become hot.
A Avoid the use of chem ical agents when cleaning, as they
can damag e the surface of the transceiver.
o

P r o f e s s io n a l
F M H a n d h e l d T r a n sc e iv er
▲ If an abnorm al odor or sm oke is detected com ing from the
transceiver, turn OFF the pow er imm ediately and remove
the ba ttery-pack from the transceiver. Contact a our se rv
ice station or your dealer.
U np a c k in g A n d C he c k in g E q u ip m en t
Carefully unpack the transceiver. We recommend: You iden
tify the items listed in the follow ing table before discarding the
packing material. If any item is missing or has been dam aged
during shipment, file a claim with the carrier immediately.
S u pp lied A c c es s o rie s
ITEM
QUANTITY
Rubber Antenna
1
Li-ion Battery Pack
1
Desktop C harger
1
Belt Clip
1
User’s Manual
1
Q

P r o f e s s io n a l
F M H a n d h e l d T r a n sc eiv e r
Key Features
» Full Frequency and 128 Memo ry Ch annels
» B u ilt-in CTC SS/DC S Function
» V O X Function
» F ta d io function, store up to 25 radio channels
>>Call End Prompting Function
>>Dual Display Function
» D u a l/S in g le Standby Switchable
» A N I Function
» P C Programm ing
Q

P r o f e s s i o n a l
F M H a n d h e l d T r a n s c eiv e r
GETTING ACQUAINTED
o

C h a r g in g B a tt e r y
Plug the battery or transceiver
with battery into charger, and
make sure the battery contact
with charging term inal. When
the charging light turn red,
charging has begin, and while
the charging light turn green,
charging has finished. Please
do not keep charging over 20
hours, please pull out the plug
while finished charging.
In s t a ll in g /R e m o v in g th e B a tt e r y P a c k
The average life of the supplied battery pack is 8 hours. Aver
age times are calculated using 5% transmit time, 5% receive
time, and 90% standby time.
e

P r o fe s s io n a l
F M H a n d h e l d T r a n sc eiv e r
In st a l l in g t h e A n e n n a
Screw the antenna into the connector
on the top of the transce iver by holding
the antenna at its base and turning it
clockwise until secure.
Note:
The antenna is neither a handle, a key
ring retainer, nor a speaker/microphone
attachment point. Using the antenna in
these ways may damage the antenna and
degrade your transceiver's performance.
In s t a l lin g t h e B e lt C l ip
If necessary, attach the belt clip using
cjj/ff* 1 the two supplied 3 x 8mm screws.
Note:
If the belt clip is not installed, it's mount
ing location may get hot during continuous
transmission or when left sitting in a hot
environment.
You must remove the belt clip before re-
fj j j moving the battery pack.
Q

P r o f e s s i o n a l
F M H a n d h e l d T r a n sc e iv er
In st a ll in g th e O p t io n a l S p e a k e r /M ic r o p h o n e
Outward apart the m oisture-proof rub
ber of the headph one mouth.
Insert the speaker/micro phone plugs
into the speaker/micro phone jacks.
Note:
The transceiver is not fully water resistant
while using the speaker/microphone.
Q

P r o f e s sio n a l
F M H a n d h e l d T r a n s c eiv e r
Basic Transceiver Modes
F re q u e n c y D is pl a y M o d e ( V F O )
In this mode, you can use [ ( T ) ] / [ [ T } ] key or knob to change
frequency, or use the numeric keypad to enter,
C h an n e l O p e r at in g M o d e ( M R )
In VFO mode, press [ (wm) ] key to enter the channel operating
mode, the LCD above num bers indicate the current working
channel. You cannot access this m ode unless you program
one m emory channel at least.
Quick Operating
1. Press [ £ 3 ] key, LCD “ F” is flashing, then press the number
keys 0 ~ 9 to enter the Quick Operating.
2. Press [ [X ] ] / [ (3D ] key to select operation.
3. Press any other key outside [LAM P]/ [MONI] to complete
the set.
Kev
Function
Selection
de fault
Func+1
Set SQ Level
0 -9 level OFF
Func+2
Set Transmitting
Power
1-3 (Low/Mid/High)
3
Func+3
Access Scanning
Func+4
Setting Step
Frequency
5K/6.25K/10K/
12.5K/25K/37.5K/50K/
100K
25K
Q

P r o f e s s i o n a l
F M H a n d h e l d T r an sc e iv er
Func+5
Setting Offset
Direction
No/+/-
No
Func+6
Setting QT / DQT
Switch
OFF
Func+7
Select QT / DQT
Freq uency
QT / DQT Frequency OFF
Func+8
Enter Radio
Mode
Radio Operating Mode
-♦-►T ransce iv er Operat
ing Mode
Trans
ceiver
Mode
Func+9
Setting Menu
Func+0
Channel Scan
ning, Delete, Add
Quick Function Operating
S e t S Q L ev el
• Select no signal, the background noise is elim inated
• The larger num ber you choose, the greater strength is re
quired when receive signal.
S e t T r a n s m it tin g P o w er
• 3:High Power 2:Mid Power 1:Low Power
A c c e s s S c a n n in g
• In VFO mode, enter the full frequency scanning
• In MR mode, enter the channel scanning
Q

P r o f e s s io n a l
F M H a n d h e l d T r a n s c e iv e r
S e tt in g S te p F r e q u en c y
• This function is not available in MR mode
• There are 8 step frequen cy modes 5K/6.25K/1 OK/12.5K/2
5K/37.5K /50K/100K
S e ttin g O f f s et D ir e c t io n
Simplex — ► + — ► -
• This function is only valid in VFO mode
S e tt in g QT / DQT S w it c h
• Press [ (Kg ]+[ (KT) ] to enter setting signal switch, press [
fT~| ]/ [ (jK ) ] to select, LCD indicate transmitting or receiv
ing signal type
• Then press [ (K g ]to comp lete the setting
S e l e c t QT / DQT F re q u e n c y
• Press [ (KT) ]+[ (KT) ] to set the QT/DQT switch, then you
can choose Q T/DQT frequency.
• Press [ [ T ] ]/ [ ( r j ] key, select the required QT/D QT fre
quency
• Then press [ (KT) ] to select Q T / DQT transm itting freq uen
cy, press the [ ( T ) ]/ [ ( V ] ] to select
• Press [ (K g ] to complete the setting
CD

P r o f e s s io n a l
F M H a n d h e l d T r a ns c e iv e r
Q T S t a n d a r d F r e q ue n c y T a b l e
67.0 85.4
107.2 136.5
165.5
186.2
210.7 254.1
69.3 88.5 110.9
141.3 167.9 189.9
218.1
71.9 91.5
114.8
146.2
171.3
192.8
225.7
74.4 94.8
118.8 151.4
173.8 196.6 229.1
77.0 97.4
123.0 156.7
177.3 199.5 233.6
79.7
100.0 127.3 159.8 179.9
203.5 241.8
82.5
103.5 131.8 162.2
183.5 206.5
250.3
There are 107 groups DCS for option, here list 83 groups as
below:
023 051 114
143
174
251 315 371
445 532
631 723
025 054
115
152
205 261 331 411 464
546
632
731
026 065 116 155 223
263 343 412 465
565
654
732
031
071
125
156 226 265 346
413 466 606 662 734
032 072 131 162
243
271
351
423 503 612 664
743
043 073 132
165
244
306 364
431 506 624 703 754
047 074 134 172
245 311
365
432
516 627 712
E nt e r R a d io M o de
• W hen the radio is turned on, the screen displays the cur
rent freq uency of the radio
• Press [ [ T ] ]/ [ Cj J ] to change the radio frequency, also
can be directly input it with keypad (Frequency range:
87,5 0 0-107.875M Hz)
• Press [ (?7£) ] + [ (~ft7] ] again to exit the radio
CD

P r o f e s s io n a l
FM H a n d h e ld T r a n s c e iv e r
E nte r th e m en u m o d e , t h e sp ec ific p l e a s e r e f e r : V.
M e nu M o d e
To switch the dual / single standby working mode, the specific
please refer: VII. Dual Standby Mode
Menu Mode
1. Press [ (Kg ], LCD “ F” is flashing, and press [ [SZT) ] to enter
the Menu Mode
2. Use [ [T J ]/ [ [ r j ] to select the item to be set
3. Press [ (K g ] to enter the Menu Setting, use [ ( T ) ]/ [ ( r j
] to select the content, and press [ (K g ] to com plete the
setting
4. Press [ (v/fi) ] to exit the M enu Mode
M e nu L ist
Menu
Item
Display and Description
Co ntent Setting
1
Automatic Power Off
OFF,1 ~15 Hours
2
Bank of Channel
BANK,NO BANK
3 Battery Saver
ON/OFF
4
Busy Channel Lock Out
ON/OFF
5 Keypad Beeper
ON/OFF
6
DC Voltage
Display the current
voltage
7
Dual Watch When Use FM
Radio(RA-DW)
ON/OFF
m

P r o fe s s io n a l
F M H a n d h e l d T r a n s c eiv e r
Menu
Item
Display and Description Co ntent Setting
8 Backlight control
OFF/KEY/CON T
9
Transceiver Lock Mode
K+S/PTT /KEY/ALL
10 ANI C ode Switch ON/OFF
11
Modes of Channel Display FREQ/A LPHA
12
ANI Reverse ON/OFF
13 Offset Frequency for Duplex
VHF
(00 .000-37.995MHz)
UHF
(00 .0 00 -69 .995MHz)
14 Power On Display
OFF/DC/MS G
15 Power-on Password
ON/OFF
16 Power-on Password Setting
Edited by Users
17 Roger Tone
ON/OFF
18 Scan Methods
TO/CO
19 Squelch Tail Elimination ON /OF F
20 Tim e-Out Tim er
OFF, 1 ~7 minutes
21 Transmitting Inhibit Function
ON/OFF
22 Hands-free VOX Function
ON /OF F
23
VOX Delay Time
1S,2S,3S,4S
24
VOX Sensitivity
1 -8
25 Voice Switch ON/OFF
26 W ide/Narrow Bank Selection NARR/W IDE
8

P r o f e s s io na l
F M H a n d h e l d T r a n s c eiv e r
Menu functions and setting
A u t o m a tic P o w e r Off(APO)
If the AP O function is turned on, the radio without any o p
eration or did not receive any signal, after the setting time
passes, APO will autom atically turn off the power
B a n k o f C h a n n e l (B A N K )
• If this function is on, the 128 channel will be divided into
8 groups
The Channel No. 1-16 will appear BANK 1
The Channel No. 17-32 will appear BANK 2
The Channel No. 33-48 will appear BANK 3
The Channel No. 49-64 will appear BANK 4
The Channel No. 65-80 will appear BANK 5
The Channel No. 81-96 will appear BANK 6
The Channel No. 97-112 will appear BANK 7
The Channel No. 113-128 will appear BANK 8
• When turn off this fun ction, will norm al display the corre
sponding 1-1 28 channel.
B a t t e r y S a v e r
• W hen the battery saver function is turned on, it will reduce
the power consumption if not receive a signal or no opera
tion (no keys are being pressed and no switches are being
turned).
03

P r o f es s io n a l
F M H a n d h e l d T r a ns c e iv e r
B u s y C h a n n e l L o c k O u t (BCLO)
• When receiving a signal, if the BCLO function is on, it will
forbid transmitting a signal in order to make sure the cha n
nel no interference.
K e y p ad B e e p e r ( B E E P )
• The beeps w hen you press a key on the keypad.
D is p la y th e D C V o lt a g e (DC V L T )
• The menu can check the current voltage
D u a l W a t c h W h en U se F M R a d io ( R A -D W )
• W hen the radio is used, and turns on the function, the LCD
left displays “DW”. If the transce iver receives a signal, it
will au tom atically switch FM radio OFF, the LCD upper right
“R” is flashing to receive a signal; 5 seconds after stop re
ceiving the signal, the FM radio function will automatically
switch ON again. W hen the DW function switches OFF, the
transce iver will not receive any incoming signal.
B a c k g r o u n d L am p C o n tr o l
• OFF: Turn off the background lamp, the keypad and LCD
display will not keep lighting w ithout any operation.
• AUTO: W hen you press any key, the background lamp and
LCD display will turn on and keep for 5 seconds.
• ON: W hen turn on the transceiver, the background lamp
and LCD display will keep lighting.
G

P r o f e s s io n a l
F M H a n d h e l d T r a n s c eiv e r
T r an s ce iv e r L o c k M o d e ( L O C K )
Press [ ] key for 2 seconds, you can lock the keys do
not want to use. There are 4 modes of transceiver lock.
• K+S: The keypad and up/down key to be locked
• PTT: Only lock the PTT key
• KEY: Only lock the keypad except up/down key
• AL L: Lock all the keys and cannot be operated
ANI C o d e S w itc h (ANI)
• If turn on the function, th e transceiver will display ID when
receiving.
M o d e s o f C h a n n e l D is pl a y S e l e c tiv e
ALP HA :D isp lay the channel name which is edited by your
self.
• FREQ:Display the frequency
ANI R e v e rs e (ANI-RE)
When turn on ANI function, it will transmit the ANI Reverse
ID after launching
O ff s e t F r eq u e nc y f o r D u p l e x (O F F S E T )
• Input an offset frequency directly from keypad
P ow er O n D is p la y
• OFF: Turn on normal, w ithout opening message.
• DC: Display the current DC voltage
m

P r o fe s s io n a l
FM H a n d h e ld T r a n s c e iv e r
• Display opening message
P o w e r -o n P a ss w o rd
• Please access Menu No. 15 to sw itch the Password Pro
tection ON/OFF. You have to access Menu No. 16 to input
4 num bers passw ord before using the function.
R o g e r T on e
• Turn ON/OFF the Roger Tone
S c a n M e t h o d s ( S C A N )
• T ime-O perated Scan
• Ca rrier-O perated Scan
T im e - o u t T im er ( T O T )
• W hen the transceiver continuous emission over the TOT
set time, it will automatically stop transmission. Up to the
limit time will make a warning beep sound.
T r a n sm it t i n g In h ib it F u n ct io n
• W hen the function is turned on, the current working fre
quency will not launch.
VOX D e la y T im e (V O X - D )
• If restore the receive m ode too quickly after launch, the
latest em ission will not be transmitted. In order to avoid the
situation, you can adjust the VO X delay time.
Q

P r o f e s s io n a l
F M H a n q h e ld T r an sc e iv e r
VOX S e n s itiv it y
• Voice grade is lower, the higher the sensitivity
Channel Setting
S to r a g e C h a n n e l / F r e q u e n c y I n fo r m a tio n
• In VFO mode, select the frequen cy and other information
(frequency offset, different frequency, QT / DQT, voice
encryption, voice com pression, voice switches, channel
bandwidth etc.)
• Press [ (KT] ] , LCD “F” is flashing
• Press [ [ aJ ]/ [ [ r j ) to select the mem ory channel num ber
for storing (when the mem ory channel number is flashing,
indicating that the m emory channel has stored.)
• Press [ ® ] to complete the storage
D el et e M e m o r y C h a n n e l s
• Select the mem ory channels to delete
• Turn off the radio
• Press [ (fTT| ] key switch on, the LCD display menu
• Press [ [ T ] ]/ [ (3D ] key to select MEMCLR, then press [
(FT) ] to confirm to delete the memory channel.
C h a n n e l D is p l a y F u n c t io n
When the function is turned on, the transceiver only display
the mem ory channel number, do not display frequency
• Press [ (fTT) ] to turn on the transceiver
'
I D

P r o f e s s io n a l
F M H a n d h e l d T r a ns c e iv e r
• Press [ (T J ]/ [ [ r j ] to select M-ONLY Menu, and press[
(Kg ] to com plete setting.
C h an n e l In it ia liz in g
If your tra nsceiver be malfunctioning, initialize transceiver
may solve the problem. Initializing will delete all memory
channels.
• Partial Initializing
Use to initialize all settings except the m emory channels
and m emory channel lockout.
1. Press [ (fK) ] to turn on the transceiver
2. Press [ [ T ] ]/ [ [V ] ] to select SETR ST Menu,
3. Press [ (K£) ] twice to com plete the setting
• Full Initialization
Use to initialize ail setting
1. Press [ (fK) ] to turn on the transceiver
2. Press [ ( V ) ]/ [ [ V ] ] to select [ALLRST] Menu
3. Press [ (K£) ] twice to complete the setting
FM Radio Function
T u rn on th e r a d io
• Press [ (KT| ] + [ (KT| ] or FM key, the radio is turned on.
Again press [ (KT) ] + [ (1K7| ] or FM key the radio is off.
m

P r o f e s s i o n a l
F M H a n d h e l d T r a n s c eiv e r
• Press [ [ X ] ]/ [ (X ) ] key to change the radio frequency,
also can be directly input the radio frequency with keypad.
Frequency range: 8 7.5 00 -107 .875MH z
F M R a d io M e m o r y C h a n n e l S to r a g e
• In VFO mode, select the desired radio frequency
• Press [ (7X) ] , LCD “F” is flashing and a memory channel
number appears
• Press [ ( X ] ]/ [ (X ) ] to select the memory channel num ber
fo r storing, when the channel number is flashing, indicating
that the channel has stored.
• Press [ (y/S) ] to complete the storage
F M R a d io M em o r y C h a n n e l D el et e
• Select the radio channel to be deleted, if you want to delete
the fifth radio channel, make the transceiver to enter the
fifth channel, and turn off.
• Press [ (fX ) ] to turn on, press [ ( X ) ] / [ ( X | ] to select the
menu "M EMCLR “. Then press [ (?X) ] , the LCD display
“RESET “. Again press [ (fX) ] to confirm and press any
other key to cancel.
Dual Standby Mode
1. Press [ (?X| ] + [TDR] to turn on the dual standby function,
press [ (fX ) ] + [TDR] again to turn off the function.
2. In dual standby mode, which means that the screen dis
play two working cha nnels at the same time; when turn off

P r o f e s s io n a l
F M H a n d h e l d T r a n s c eiv e r
it, the screen only display the current working channel.
3. In dual standby mode, if one of the channels receives a
signal, and the mark will point to the channel, indicating the
channel is currently being edited.
4. In dual standby mode, press PTT key, it will launch the cur
rently edited channel.
5. Press [TDR] to switch the currently being edited channel.
ANI Function
• By using the program ming software to edit the transceiver
ID.
• By [m enu 10] to turn on / off the ANI function. When the
ANI function is turned on, and press [PTT] will launch the
ID. W hen receiving other transceiver ID, it will display on
the LCD. At this time, any other key except [MO NI] can
clear the ID.
• By [menu 12] to turn on / off ANI reverse function, it can be
used to relay com munication.
m

P r o fe s s io n a l
F M H a n d h e l d T r a n sc eiv e r
SPECIFICATIONS
Frequency Range
VHF:136~174 MHz
UHF:400~470MHz
Memory C hannel 128
CTCSS/DCS 50 group CTCSS; 83*2 group DCS
Step
5KH z,10K Hz,12.5KHz,20KHz,25KH
z,30K Hz,50KH z,
Modulation Mode FM
Work Mode Sim plex
Antenna Im pedance 50 0
Voltage
DC7.4V
Ground Method
Negative Pole
Working Temperature 10°C~±55°C
Output Power 5W
Remanent Radiation <-60dB
Emission Current <0.8A
Modulation Limit <+5KHz
Modulation Sensitivity
2~20mV
Frequency Stability
±5ppm
Sensitivity
0.2uv
Audio Power
>0.5w
Audio Distortion >10%
Audio Respond
300~3000Hz
Bandwidth
<16KH z
P r o f es s io n a l
F M H a n d h e l d T r a ns c e iv e r
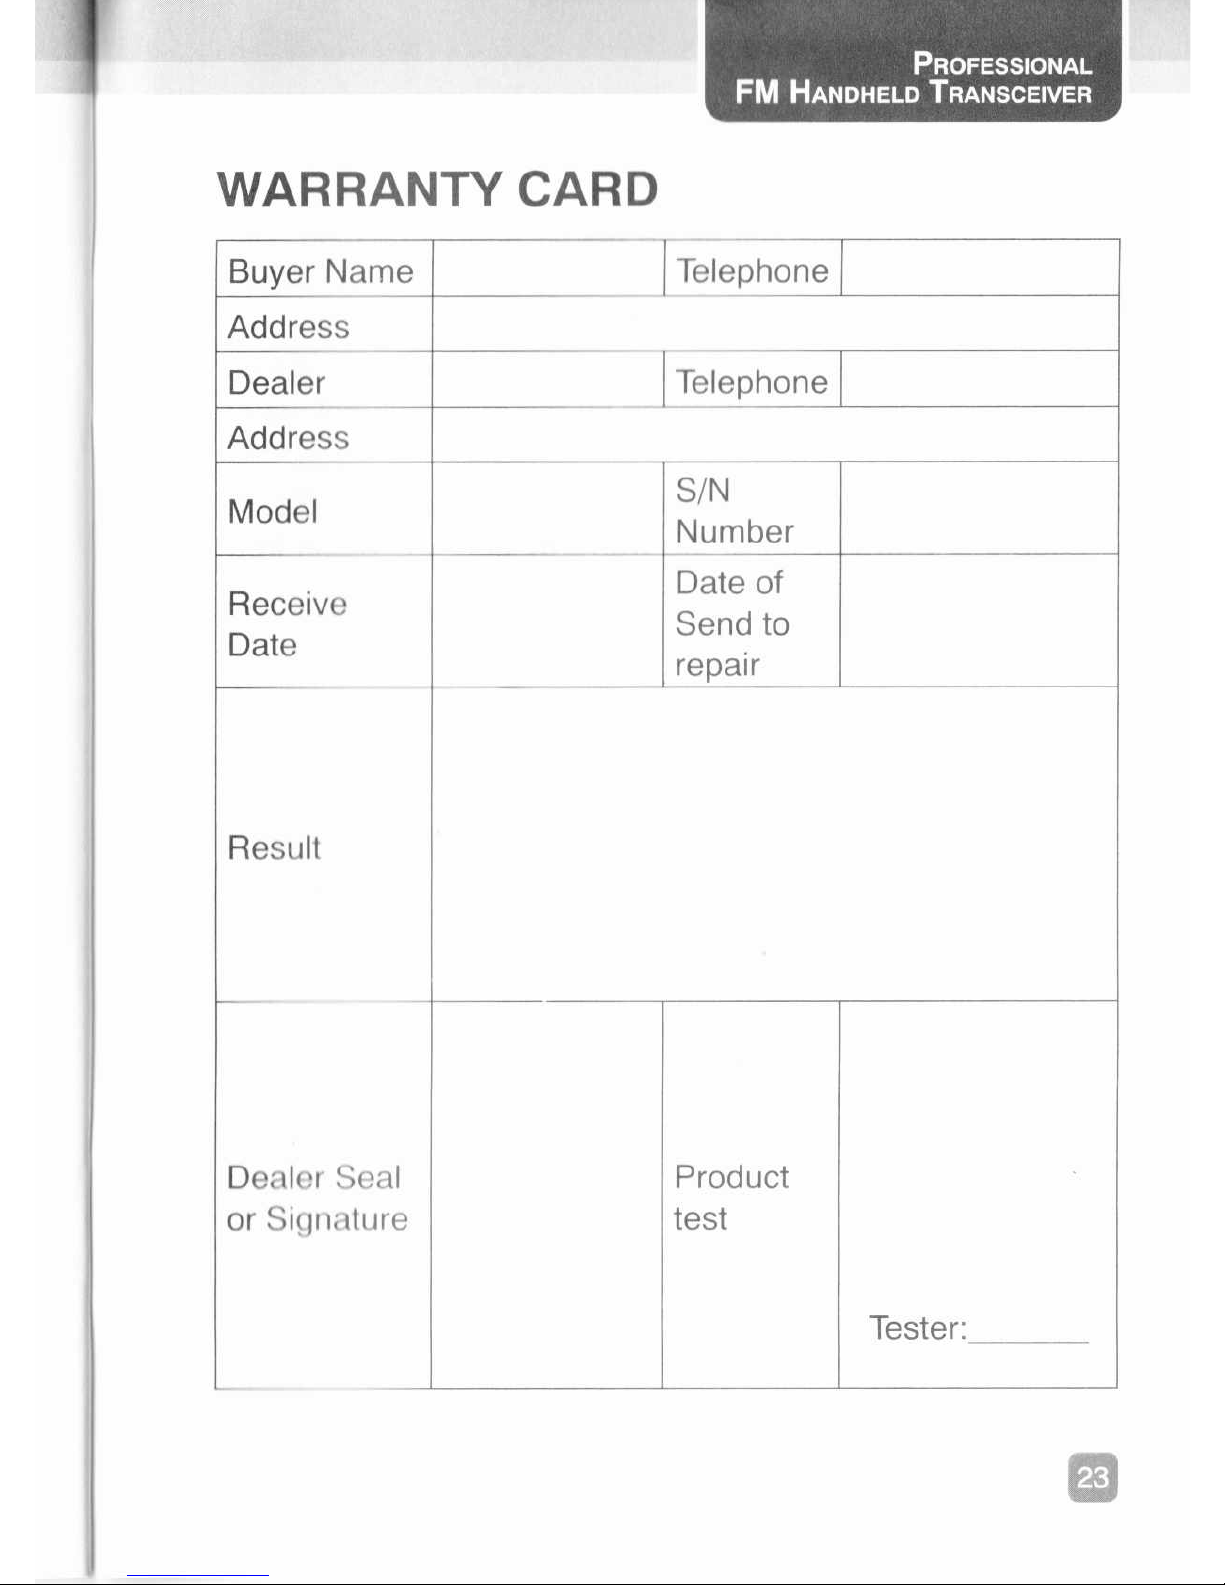
W ARRANTY CARD
Buyer Name Telephone
Address
Dealer Telephone
Address
Model
S/N
Number
Receive
Date
Date of
Send to
repair
Result
Dealer Seal
or Signature
Product
test
Tester:

P r o f e s s i o n a l
F M H a n d h e l d T r a n s c eiv e r
No te:
1. The product before sell all be tested and all passed. Use
this warranty card for one year warranty, out of the warranty
time repair will be asked charge.
2. The below condition are not in the free warranty: Natural
Disasters, misuse, the damage by the drop, influent water,
change the product.
3. The w arranty card will invalid ha ven’t write clearly. Please
keep this w arranty card, the w arranty time will begin from
the selling day.
m

C ^ Z A S T C D N E
tS±ll|BPBtaf4SWK&S)
SH EN ZH E N Z AS TON E
CO M M U NIC AT IO N TEC. CO.,LTD.
 Loading...