


User Manual
Console-Sized Gaming PC Case

User Manual
2Foreword
Dear User
Thank You for your interest in Sentry PC case. We hope you will enjoy using our product.
Sentry is a product directed to the tech-savvy customers and as such requires prior knowledge
and understanding of its principles, even before ordering parts for a computer assembled in it.
Sentry targets ATX (mITX/SFX) and PCI-E compliant components for their attainability, however not all
components (especially GPU’s) on the market follow the ATX and PCI-E specifications mechanical
references, making it impossible to fit all of them inside such small form factor chassis.
Please read the following instructions before your first attempt to build inside Sentry. If you are missing
any parts or have other issues with the case, please contact us at sentry@zaber.com.pl.
Sentry Team
User Manual
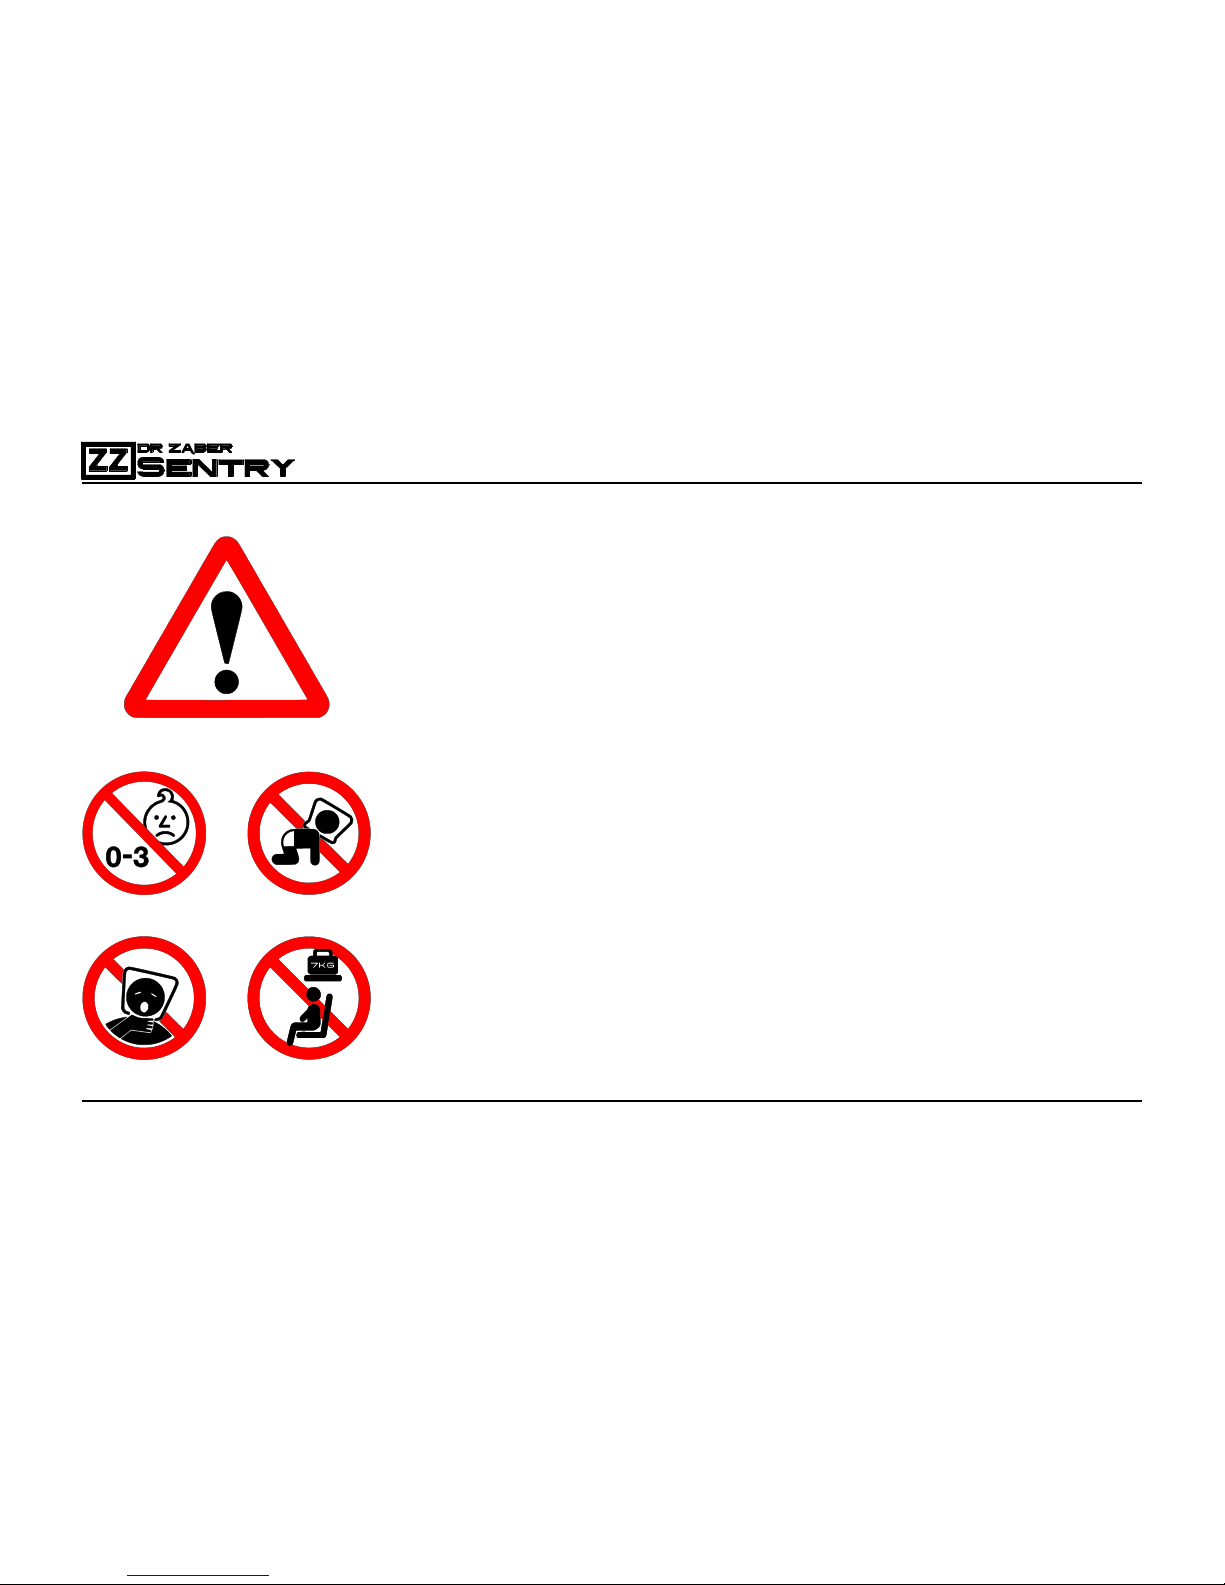
3Safety Warnings
Package contains small elements that are not safe for small
children and pets.
Package contains bags that pose risk of choking for small
children and pets.
Assemble the product and keep the leftover accessories
away from small children and pets
Assembled device including internal computer components
has significant weight reaching 7KG. Never position the
device where it poses a risk of falling on someone.
In transportation always put the bag with device on the
vehicle floor because in event of rapid breaking or collision
such heavy rigid object may become a deadly projectile.
Children should not carry this device in a backpack.

User Manual
4About the manual
Please follow this manual to avoid problems during your PC installation.
Installing parts in wrong order may force you to start over your build.
It is especially important if you plan on using All-In-One Liquid Cooling.
Important details for each step are marked with colours to be clearly visible.
Most of the images in this manual are vector graphics – you can see more
detail after zooming in on them.
Shapes of cables and other flexible elements are depicted in symbolic way.
Take note of the orientation of chassis in the drawings. Some steps require
orienting the case vertically for user-friendly installation of components.
If you encounter a situation when the parts do not seem to fit, do not try to force them to fit, as it poses
a risk of damaging the case or your computer components, which could void warranty for them as well.
Some of the elements of the case have complex shapes, but they are designed to fit together properly,
If they don’t, or instructions may not be clear enough, please contact us at sentry@zaber.com.pl.

User Manual
5Preparations
Before you proceed to start your build inside Sentry 2.0, make sure
your components work outside the case. In situation of a part being
faulty and not working out of the box, it will save your time.
Always ground yourself when working with electronic components.
Prepare some space on a table or desk before starting your build.
It is recommended to use some kind of soft surface for the build,
like a full desk mouse pad/anti-esd build mat or a blanket.
Make sure there aren’t any loose screws, any sharp elements or
small crystalline particles on the build surface, that could scratch
either the case or your table, before placing the case body on it.
Always make sure to keep loose screws in one place where you
have control over them. Magnetic tray may help you organise them.

User Manual
6Screws and small pieces
M3x6
x20
M3x6
x20
Feet
x4
Included in Sentry 2.0 package
6-32x6
x4
6-32x30
x4
washer
x4
Required in AIO Cooler package
6-32x6
x4
Required for 3.5” HDD Installation
OR
6-32x6
x4
washer
x4
6-32x6
x4
Required in PSU package
6-32x6
x4
OR
User Manual
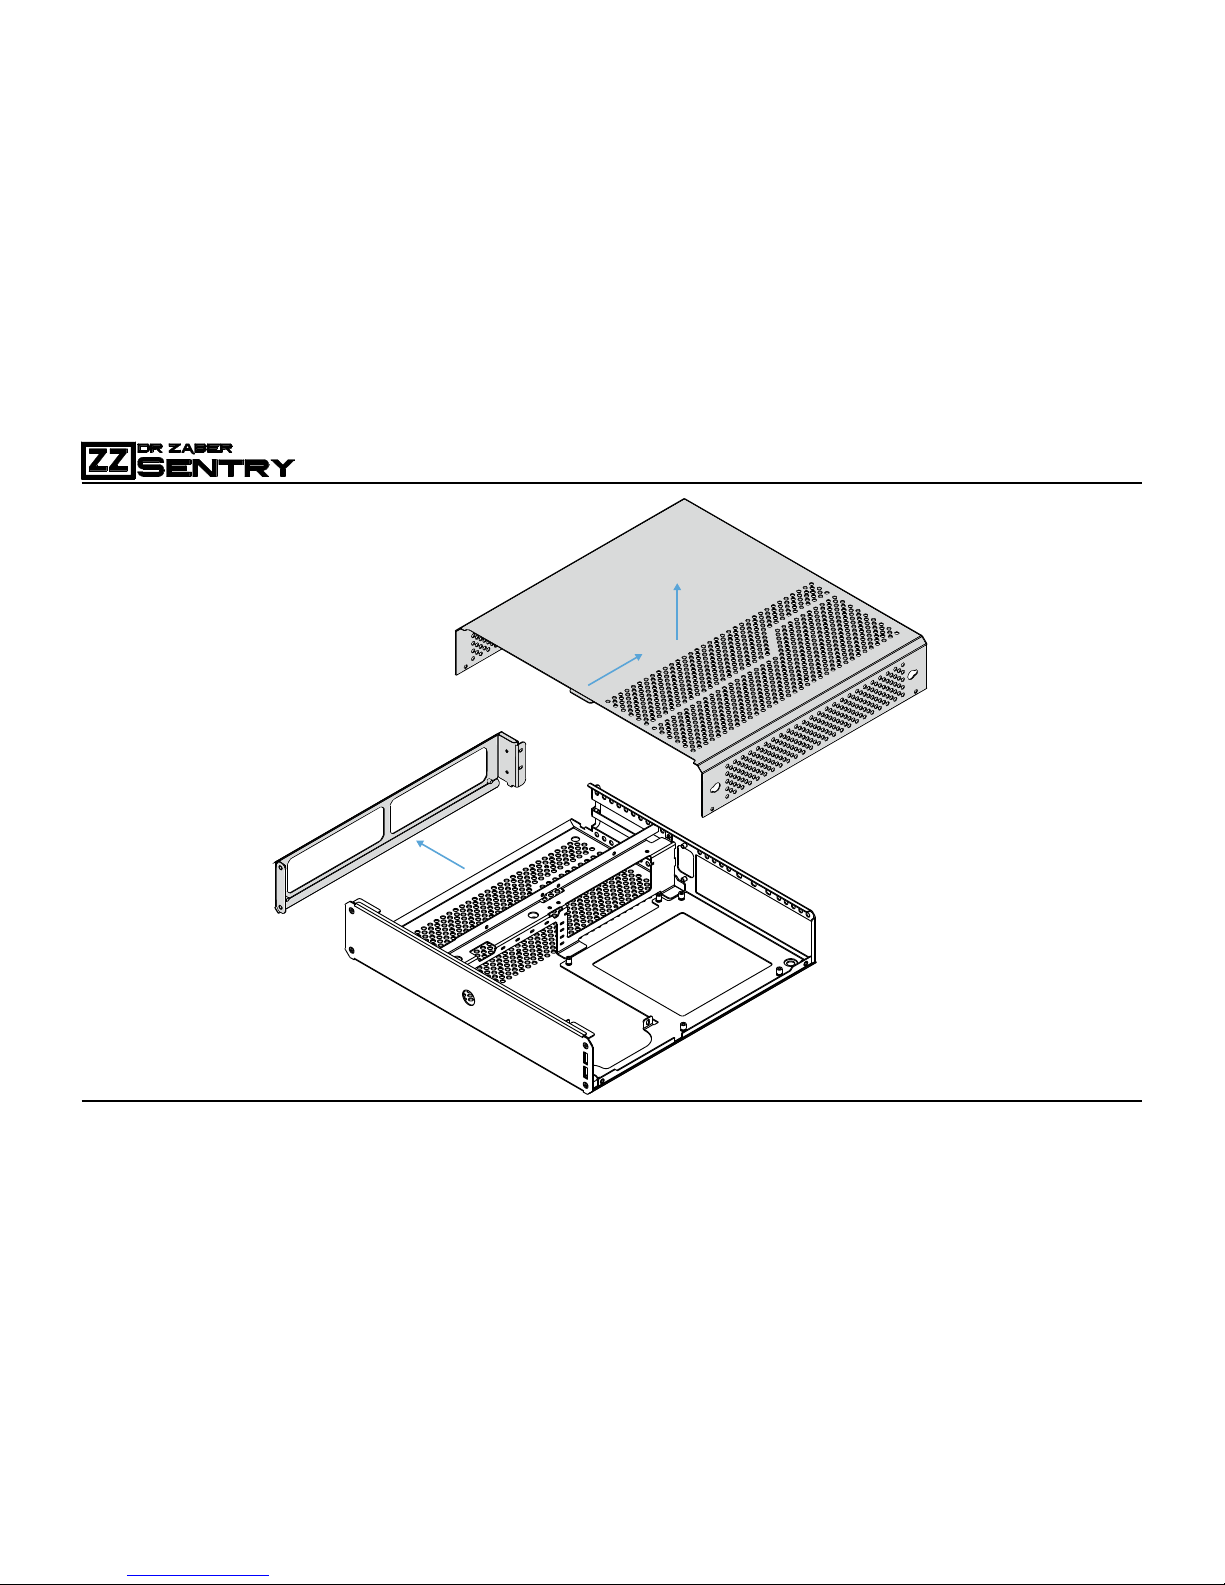
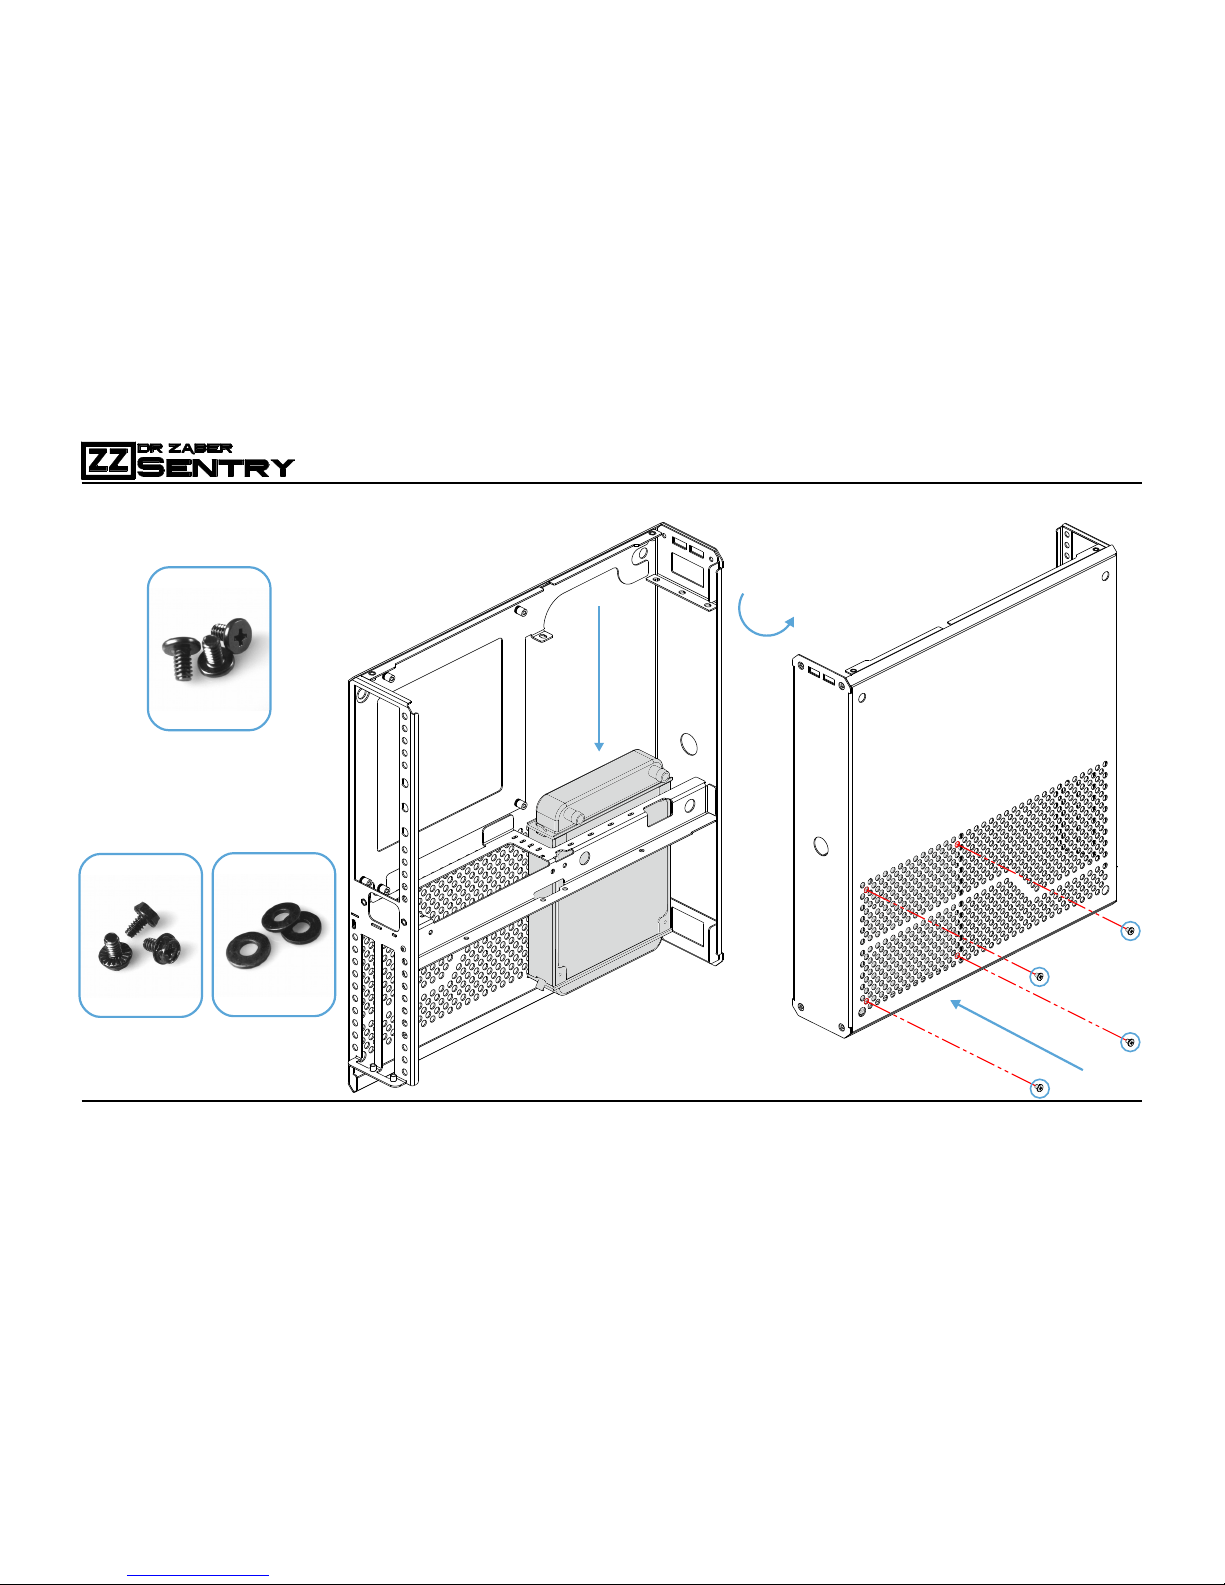
7Body Disassembly
1
2
3
User Manual
Sentry 2.0 AIO configuration makes cable management extremely
challenging and is recommended only to experienced PC builders.
If you plan on using 120 mm All-In-One closed-loop liquid cooling
inside your Sentry 2.0, please read the following instructions carefully.
It is recommended to use standard profile memory sticks when using
AIO in Sentry 2.0, as most of the space above them will be occupied by
cables moved there in order to make space for liquid cooling hoses.
Before you start, detach any mounting brackets from your AIO liquid
cooler CPU block. If your cooler is in factory condition, don’t remove
the cold plate protection just yet.
Wrap the CPU block with some soft material like a towel or packaging
foam and make sure it won’t fall off on its own. This will prevent it from
scratching anything around while you are focused on mounting other
components in the case.
It is important because the liquid cooler CPU block will be mounted on
the CPU as one of the last components in your build. If you can’t find a
safe way to wrap it, you can ask someone to hold it for you while you
are building your system, but it will take some time.
8AIO Build Preparations
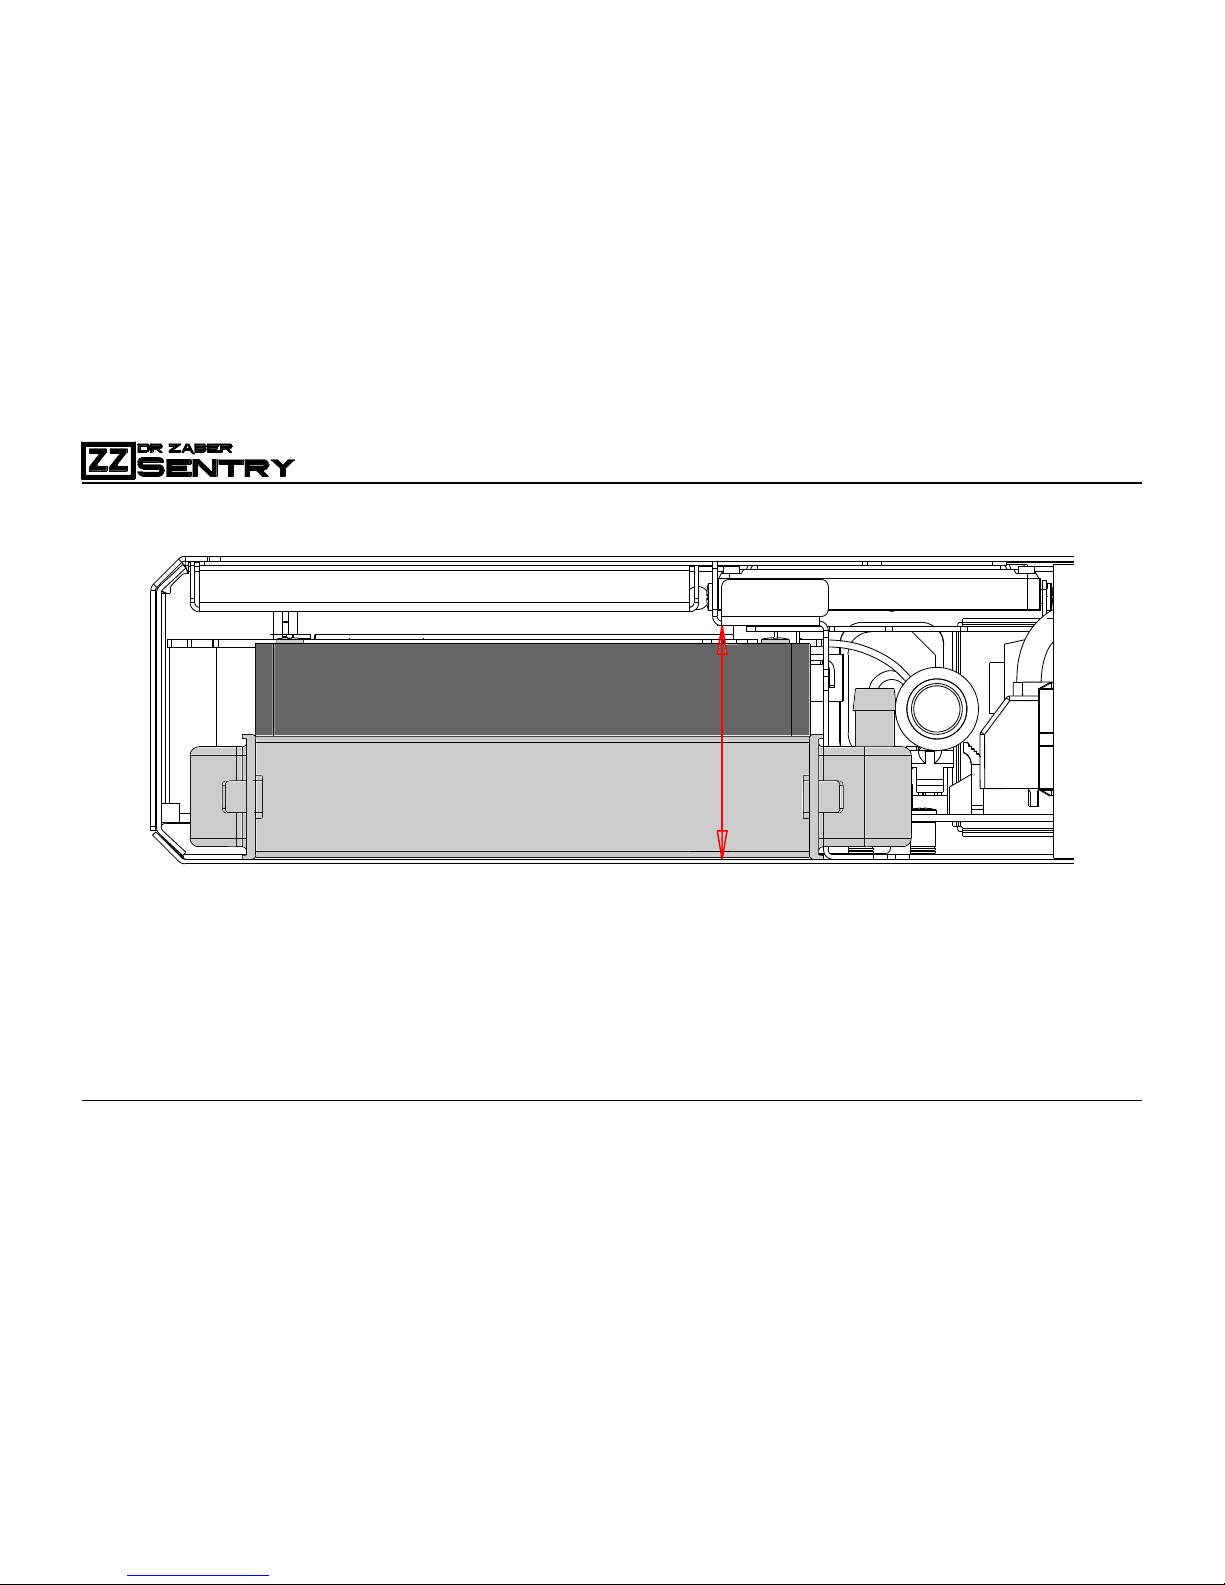
User Manual
9
AIO Package Compatibility
optional step – AIO CONFIG
Total space for 120 mm AIO Liquid Cooling radiator and fan package is 50 mm.
Recommended configurations:
- Standard 27 mm thick radiator + Slim 20 mm thick fan (total package thickness of 47 mm)
- Slim 22 mm thick radiator + Standard 25 mm thick fan (total package thickness of 47 mm)
Radiators thicker than 27 mm were not tested and are most likely incompatible due to tube bending
radius limitation. Tubes need to bend tightly in order to fit under the chassis cover.
Getting close to 50 mm of total package thickness will limit airflow between the fan and chassis cover.
50mm
FAN
RADIATOR
User Manual
10AIO Radiator installation
optional step – AIO CONFIG
1
3
2
Use washers if your M3.5 screws have an uneven bottom to prevent them from scratching powder
coating surface on the outside of chassis.
6-32x6
x4
6-32x6
x4
washer
x4
OR

User Manual
Power Switch Installation 11
1. Insert Switch into the front panel hole
(remove nut and o-ring before doing this)
2. Put the o-ring onto the thread of the switch from inside
3. Screw the nut onto the thread of the switch from inside
4. Press your thumb against the switch from the outside while
tightening the nut, to prevent switch rotation.
1
2
3
4

User Manual
Power Supply Installation 12
Make sure to attach all required cables if you are using modular PSU before installing it inside.
1
2
3
6-32x6
x3
 Loading...