

Yukon Advanced Optics 26125T, 26116T, 26126T, 26115T, Sentinel G2+ Operating Manual

DISTINGUISHING FEATURES OF THE SENTINEL G2+
• Gen.2+ tube employed
• Two-color range finding reticle or Mil-Dot reticle*
• High quality image and resolution
• High magnification, 3x or 4x
• Close observational range of focus - 5 meters
• Lightweight and extremely durable titanium body
• Built-in high-power PULSE non-hazardous IR illuminator with beam focus
• Incremental reticle brightness adjustment
• IPX4 rating against water intrusion
• Precision internal windage/elevation adjustment
• Ergonomic design
• Quick power-up
• Vertical positioning of the battery- ensures uninterrupted power supply when shooting
• Remote stabilized power supply
• ECLIPSE protective flip-up objective lens cover
• Weaver MIL-STD-1913 rail
• Protective carrying case
• Remote control with secure attachment
*In models 26125T and 26126T
Warning: Failure to follow the instructions and guidelines outlined in this instruction manual
can cause damage to the scope, and it will void any applicable warranty.
DESIGN AND APPLICATION
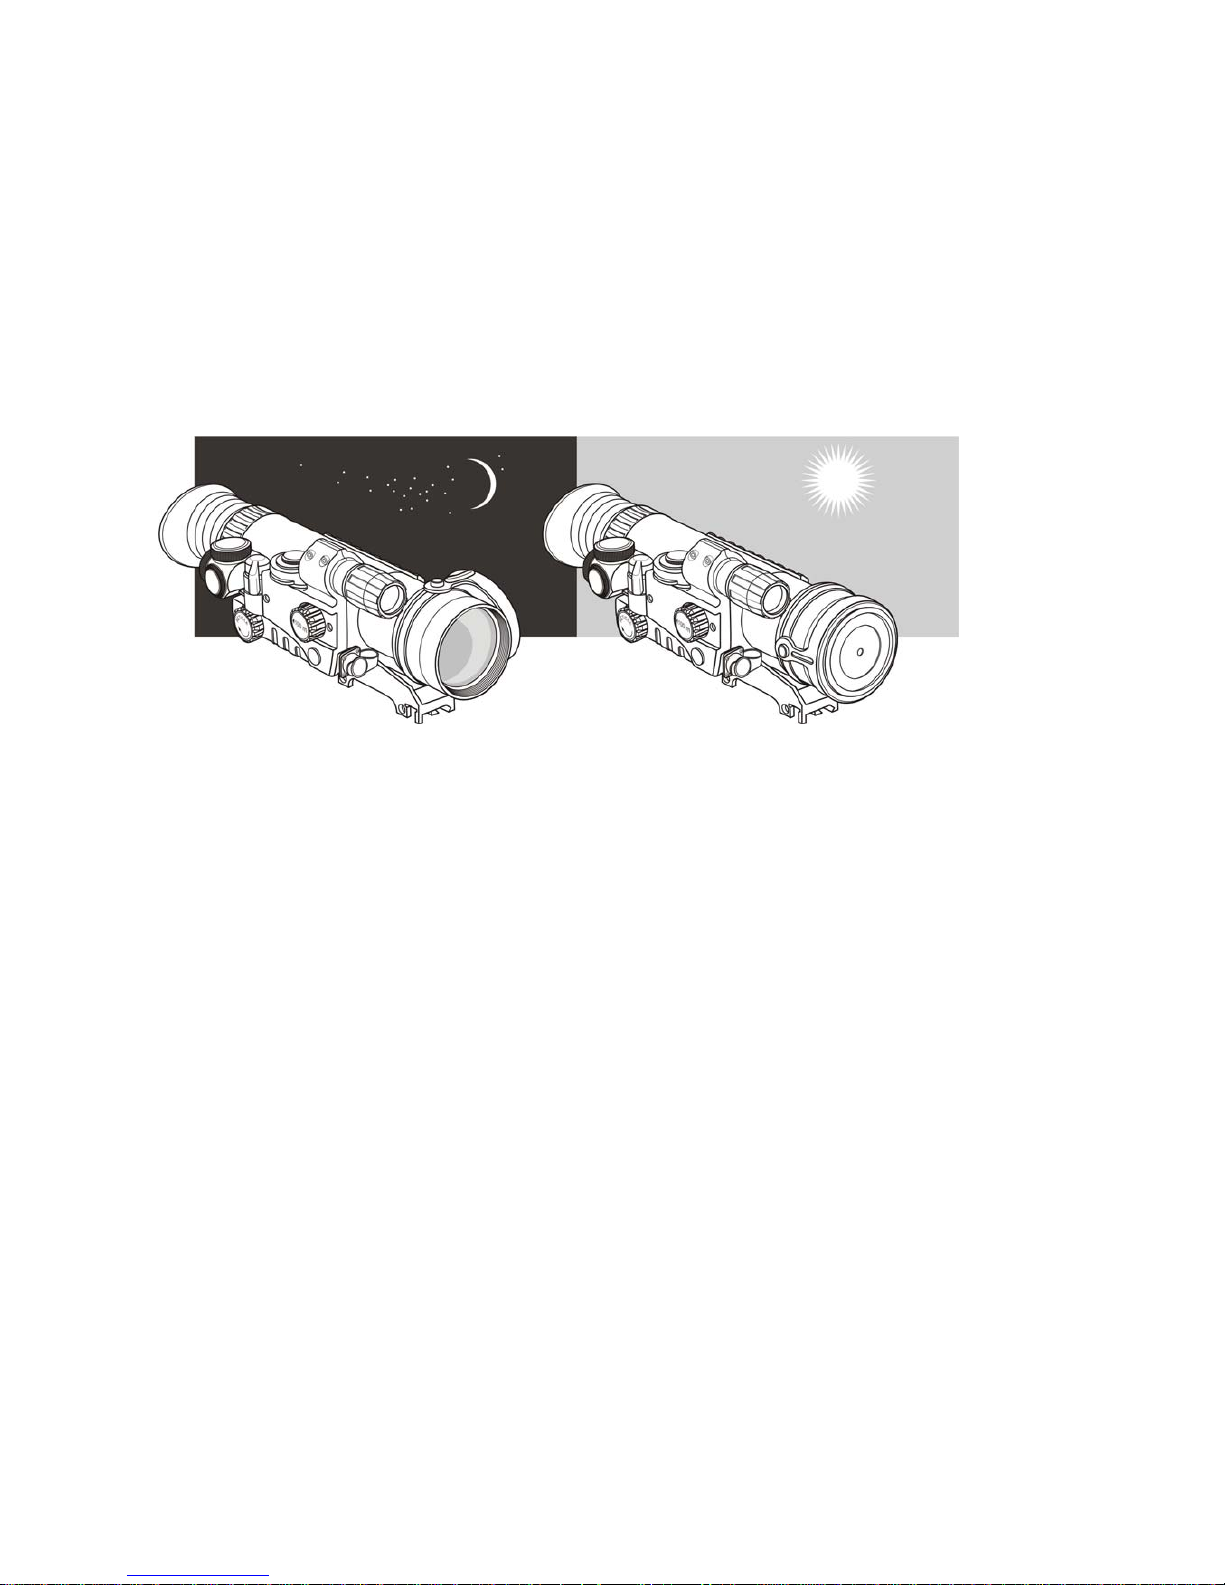
The Sentinel G2+ night vision riflescope is intended for observation and shooting at dusk or during
nighttime hours. It is a passive starlight device, and in most conditions does not require an artificial or
IR light source. The Sentinel G2+ uses a high performance Gen.2+ image intensifier tube and features
a focusable objective lens. The incorporated IR Illuminator enhances riflescope's viewing ability in
complete darkness or in moonless and starless environment. Power supply, with the voltage
stabilization, works up to 70 hours using 2 AA batteries. Low batteries do not affect aiming ability.
Additional remote stabilized power supply was designed stabilized power supply was designed for
optimized power consumption, which ensures a consistent aiming point in conditions of continuous
power draw or drop in temperature. The Sentinel G2+ is a universal night vision scope, which is ideal
for Night observation and hunting.
USING THE SENTINEL G2+
The Sentinel G2+ was designed to provide many years of reliable service. To ensure longevity and
performance, it is necessary to follow all procedures and guidelines outlined in this manual.
WARNING: The Sentinel G2+ is not recommended for use with cartridges producing recoil
rating higher than 6000 joules or calibers in excess of 9/.375. The manufacturer's warranty will
be voided if damage is caused by caliber cartridges greater than 9/.375, hand made cartridges
or shooting from a smooth-bore barrel.
• Do not remove the lens cap in a lit area if the scope has been activated or if the eyepiece is
emitting a green glow.
• Exposure to bright light can damage the image intensifier tube (IIT).
• The scope has an IPX4 water resistance rating. It is water resistant and can be used in inclement
weather conditions.
• Do not attempt to repair or disassemble the scope!
• Clean the scope's optical surfaces only if necessary, and use caution. Remove dust and sand by
blowing air across the optic surface, then apply lens cleaning fluid for multi layered optics onto
a soft cloth or tissue and wipe carefully.
• Do not pour any fluid, including alcohol, onto the lenses directly. The scope can be used in
temperatures ranging from -30 °С to +40 °С. However, when it is brought indoors from cold
temperatures, due to uneven heating of external and inner parts condensation may appear - wait
1-2 hours before it disappears.
• Consult a qualified gunsmith if there is difficulty attaching the scope firmly to a rifle or if there
is uncertainty about the right type of mount. The weapon mount can be deformed or destroyed
by shooting with a riflescope that is not mounted correctly.
• Regular maintenance of the scope will help keep the device free from malfunctions and
untimely wearing of parts and connectors.
Failure to observe these warnings will void the manufacturer's warranty
.
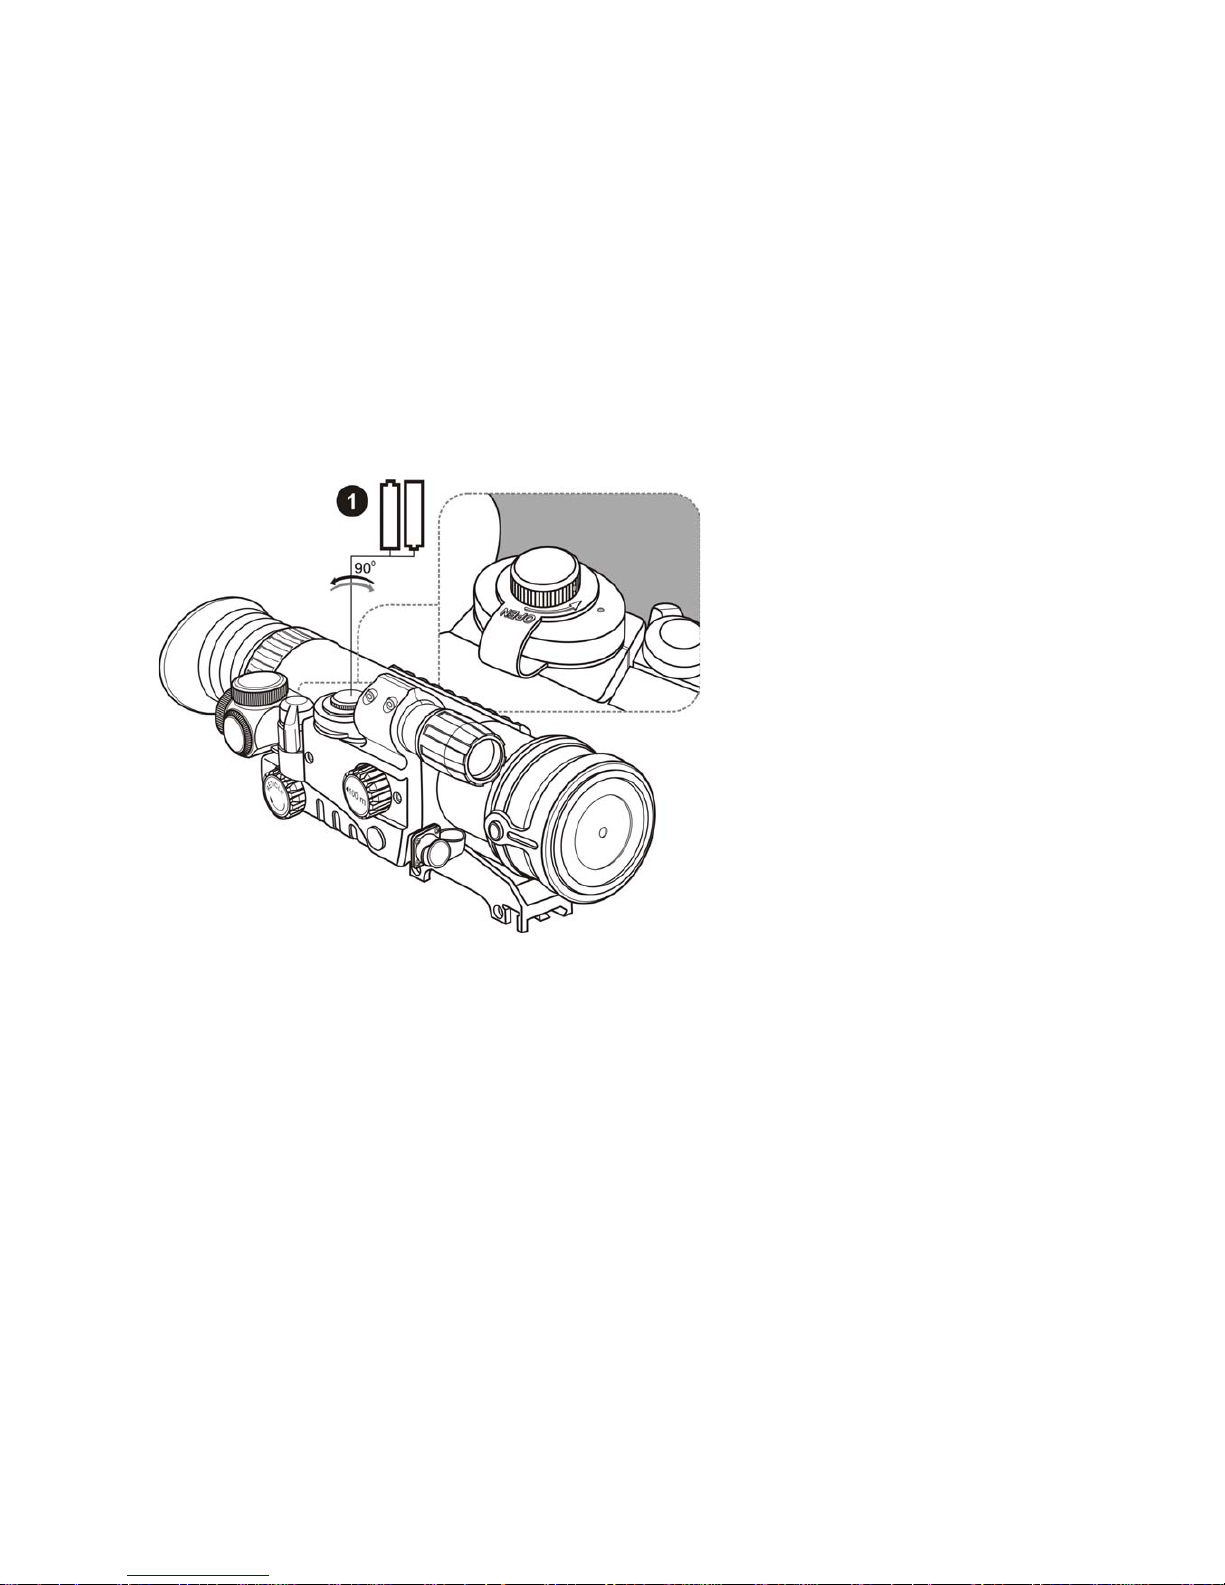
BATTERY INSTALLATION
• Turn the knob of the battery compartment cover 90º counterclockwise (1) to match the red dot
on the knob with the red dot on the battery compartment cover.
• Remove the cover by raising it by its lug.
• Slide in two АА batteries so that the “+” and “-” match the polarity on the inner side of the
cover; rechargeable AA batteries may be used.
• Close the cover of the battery compartment cover and turn the knob of the cover 90º
clockwise.
OPERATING THE SENTINEL G2+
WARNING: It is strongly recommended to test and operate the Sentinel G2+ in dark
conditions or at night time.
• Install the batteries according to the directions in the section entitled “BATTERY
INSTALLATION”.
• Enter a dark environment.
• Remove the objective lens cap by sliding it up on top of the objective lens (2).
• Activate the scope by turning the power switch to the “ON” position (3).
• Select the color of the reticle, green or red, by pushing the button (5) until its clicking position.
• Adjust the reticle brightness by rotating the switch (4).
• Please select an object of observation at a distance of approximately 100 meters (about 110
yards) away.
• Set up the objective focus ring knob (6) to be aligned with the mark "100".
• Focus on the selected object by rotating the eyepiece ring (7). If needed, turn on the IR
illuminator (8) by turning the switcher (3) to the “IR” position.
• Rotate the IR illuminator lens ring - by doing so it moves forwards and backwards - until the IR
illuminator beam is focused (picture quality turns worse if the luminance level is excessive). If
 Loading...