

Yukon Advanced Optics 26057T, 26068T, 26067T, 26058T, 26157T Use Manual
...
DISTINGUISHING FEATURES OF THE PHANTOM
• Five (three - if EMP66G-2 tube employed) readily available configurations of illuminated red-on-
green reticles that are able to be switched at a moment's notice
• Functions with one AA (1.5V) or CR-123 (3V) battery
• Accurate internal front lens focus adjustment
• Lightweight and highly durable; manufacturing employs carbon plastic and other modern
technologies
• High magnification, 3x or 4x
• Close observational range of 5 meters
• IPX6 rating against water intrusion
• Shockproof with the use of heavy recoil ammunition (.375 H&H, .416 Rigby, .50 cal.), up to 6000
joules
• Vertical positioning of the battery ensures an uninterrupted power supply when firing
• The image intensifier tube is protected against excessive light exposure
• Incremental reticle brightness adjustment
• The reticle will blink as a warning 15-30 minutes before the device shuts down automatically as a
low battery indicator
• Stabilized power supply for optimal consumption, ensuring no shift of the aiming point under a
continuous power draw or drop in temperature
• Fast start-up
• Ergonomic design; the adjustment controls are located on top
• Precision internal windage/elevation adjustment MOA per click
• Built-in high-power PULSE hazard free IR illuminator with beam focus
• Remote control with secure attachment
• Additional weaver MIL-STD-1913 rail for accessories
• Flip-up objective lens cover
• Stylish carrying case
• Optional accessories provide photo and video recording
The PHANTOM is a complex electro-optical device designed using innovative technology.
We strongly recommend reading and following all the instructions carefully before turning on the riflescope.
Not following the instructions and guidelines outlined in this instruction manual can cause
damage to the device, as well as voiding any applicable warranty.
OPERATING INSTRUCTIONS
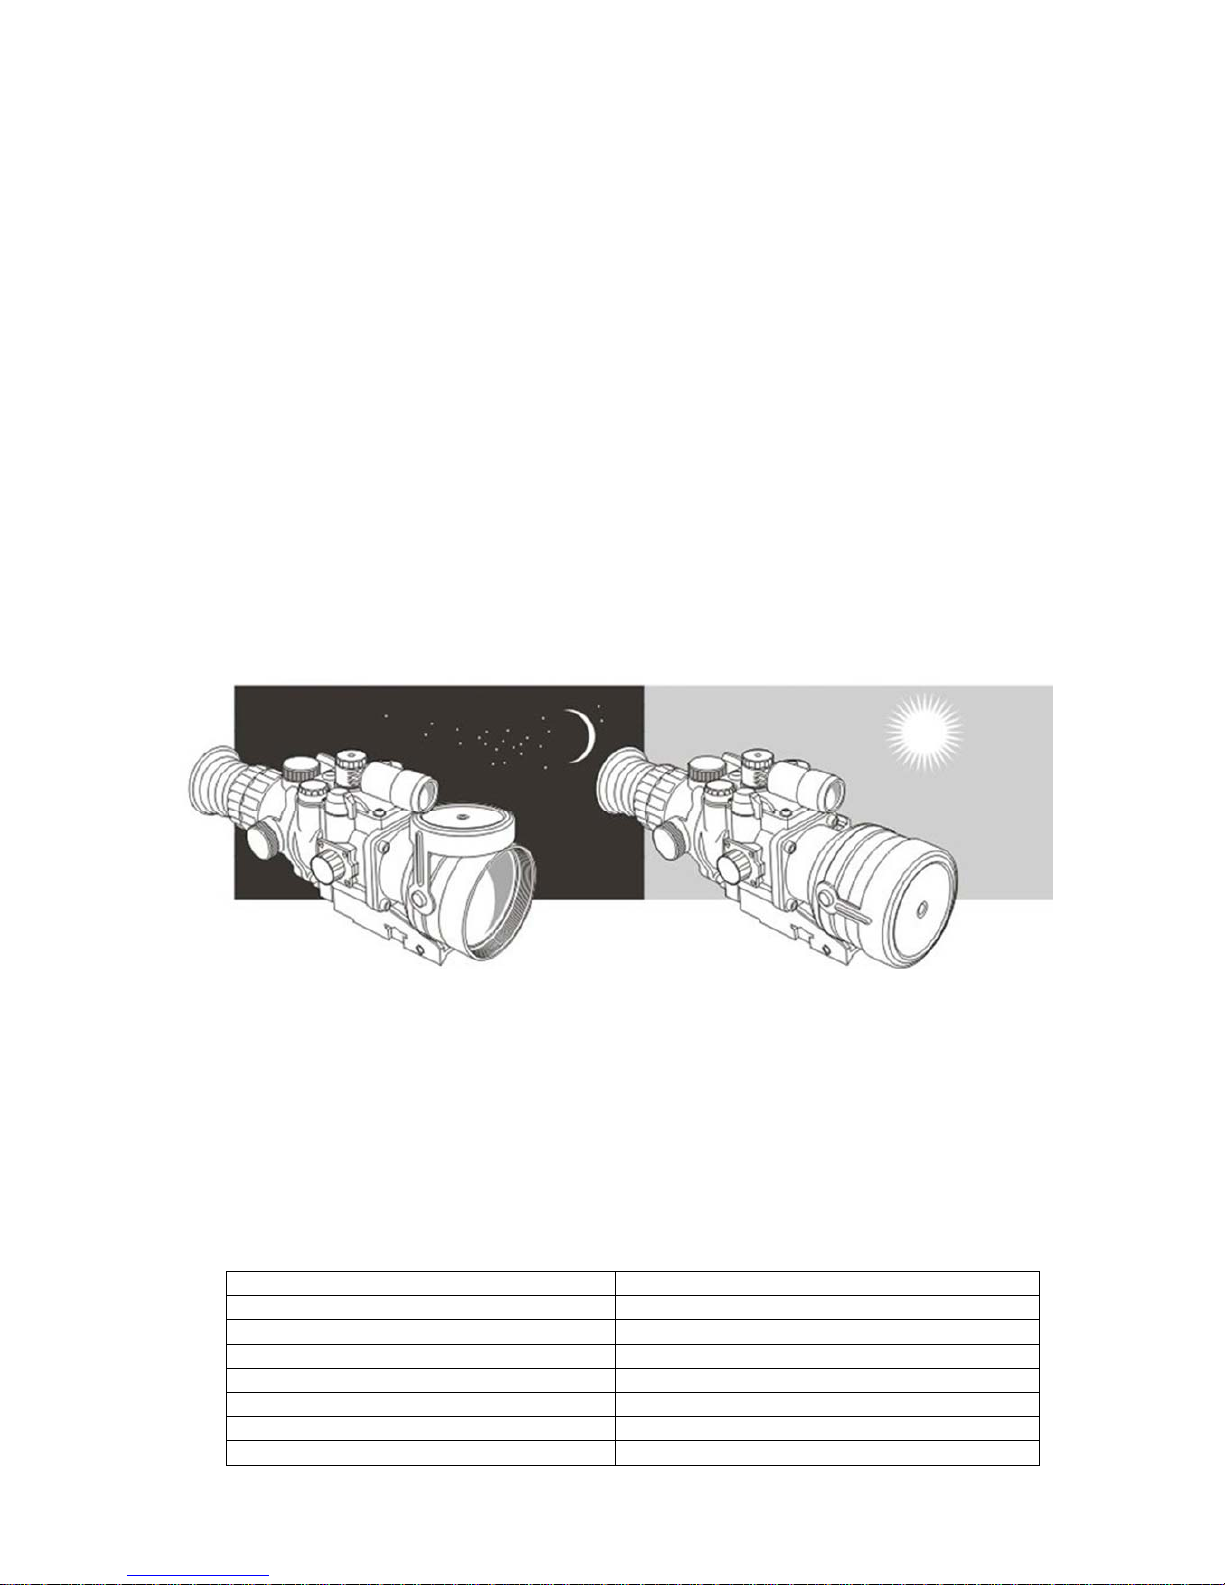
The PHANTOM night vision riflescope is intended for observation and hunting at dusk or during
nighttime hours. When operated in conditions without artificial sources of light, it is a passive device.
However, in environments of absolute darkness the built-in IR illuminator provides viewing ability.
The PHANTOM is a very capable night vision device, and equally serves the amateur or professional
for:
• Night observation and hunting
• Patrolling and safeguarding
• Search and rescue
GUIDELINES FOR OPERATION
The PHANTOM has been designed for extensive usage. To ensure longevity and performance, it is
necessary to adhere to the following:
• Under illuminated conditions measuring more than 1 lux (deep dusk), do not power on the
riflescope with the objective lens cap open and do not point the product towards a direct light
source! Daylight, vehicle headlights, flame, sun or similar light sources can irreversibly decrease
its performance.
• Some examples of common illuminated conditions:
Conditions Natural illumination in the field, lux
No moon, cloud cover 10-4 (0.0001)
Starry sky, no moon, clear 10-3 (0.001)
Quarter moon, clear 0.05
Full moon, clear 0.38≈0.4
Deep dusk 1.0
Dusk 10
Cloudy weather 500

• When using in bright conditions (early morning or late evening), do not leave the device on
with the objective lens cap open for more than 30 minutes. Continuous observation of bright
stationary objects can cause the electronic-optical converter to fade, leading to the appearance
of dark spots in the field of vision.
• Do not forget to turn off the scope after each use!
• Store with the lens cap on, in the accompanying carrying case.
• The scope has been reinforced with an IPX6 rating against water intrusion and can be used in
inclement weather; however, it is not intended for full submersion.
• Attempting to disassemble or repair the scope will void the warranty!
• Clean the scope's optical surfaces only if necessary, and use caution. First, remove (by blowing
or carefully wiping off) any dust or sand particles. Then proceed to clean by using a soft cotton
tissue and alcohol or a cleaning solution approved for use with multicoated lenses. Do not pour
the solution directly onto the lens!
• The scope can be used in operating temperatures, ranging from -30°C to +40°C. However, if it
has been brought indoors from cold temperatures, do not turn it on for 3 to 4 hours.
• If the riflescope is unable to mount onto the rifle securely, or if there are doubts about the
mounting system, see a qualified gunsmith. Using the weapon with a poorly mounted scope can
lead to inaccurate target shooting!
• To ensure reliable performance, it is recommended to carry out regular technical inspections of
the unit.
BATTERY INSTALLATION
• Unscrew the cap (1) of the battery compartment counter-clockwise.
• Install one AA (1.5V) or CR 123 (3V) battery, so that the (+) and (-) match the markings on the
body of the unit.
• Tighten the cap (1).
OPERATING THE PHANTOM
• Install the batteries according to the directions in the section entitled “BATTERY
INSTALLATION”.
• Enter a dark environment.
• Remove the objective lens cap by sliding it up on top of the objective lens (2).
• Turn on the unit by turning the selector switch (3) to the “ON” position; you will see the
screen of the electronic-optical converter light up green.
• The scope can also be checked in an illuminated area, but this is meant solely for testing the
device; the lens cap (2) must tightly cover the objective lens.
• To adjust the brightness of the red reticle, turn knob (4).
• To select one of the five (three - if EPM66G-2 tube employed) types of red reticles, press
button (5).
• Choose a removed stationary object to observe, at a distance of about 100 m.
• Turn the focusing knob (6) to “100”, it will settle into a notch.
• Observe the object through the scope and turn the diopter focus knob (7) until the image
appears crisp.
• If necessary, turn on the IR illuminator by turning the selector switch (3) to “IR” position.
• Turn the knob of the IR illuminator (8) until you get a focused IR spot.
• After making these adjustments, no further tuning of the diopter is required, regardless of
distance or other factors; perfect the image quality using only the knob for the objective lens (6)
and that for the IR illuminator (8).
 Loading...