

Yukon Advanced Optics 25025 User Manual
OVERVIEW
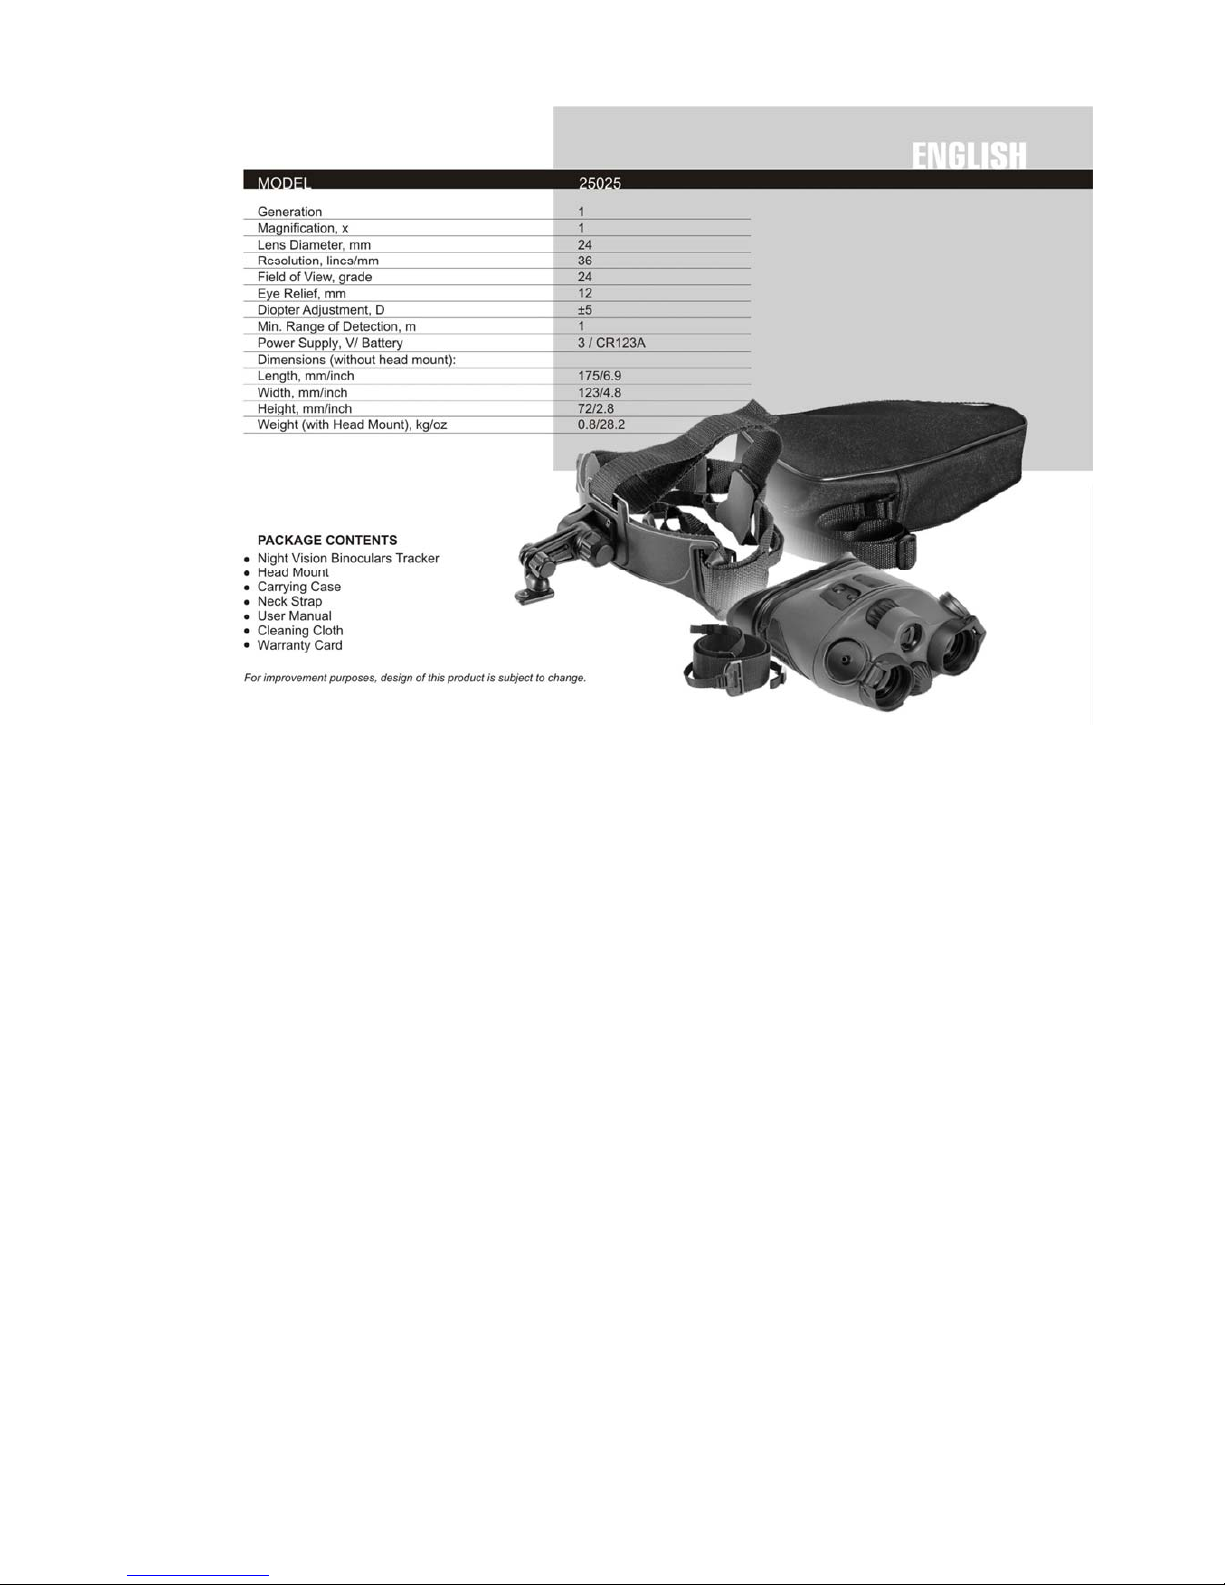
Tracker NV 1x24 Goggles include adapted night vision binocular NVB Tracker and a Head Mount.
The kit is designed for effective observation in partial and total darkness, and permits the user to
have his hands free. The binoculars consist of two independent image intensifying modules, placed
in a one-piece housing made of water-resistant plastic with special coating. Permanent interpupillary
distance increases the reliability of the unit. The Infrared Illuminator is necessary for effective
viewing in total darkness. The binoculars have the handy central focusing mechanism that allows the
picture and regulation of the eyepiece to be adjusted. A solid yet soft eyeshade protects eyes from
any side flashes. It masks green luminescence making the product safe. The Head Mount ensures
stable positioning of a night vision device in front of the user's eyes, even while in fast motion
(pacing, running, abrupt movements). The Head Mount is simple and convenient to use. All
adjustments, such as 90° raise of the unit, set the night vision device's position relative to the eyes.
“Forward-backward” and “right-left” directions are made by one hand. Minimal protrusion of the
suspension junction reduces fatigability and load on the user's neck if operated for long periods of
time.
The Head Mount combined with the Tracker NV 1x24 Binoculars are ideal for high-tech ranger
games, night hiking, and air-soft shooting.
Night vision goggles are completely self-contained and can work up to 40 hours from one 3V
(CR123A) battery at temperatures ranging from -20°C to +40°C.
Tracker NV 1x24 Goggles Uses:
• High-tech ranger games
• Night hiking
• General observation
• Hunting and tourism
• Search and rescue
• Maintenance and equipment service
Other operations, those requiring a hands-free NVB.
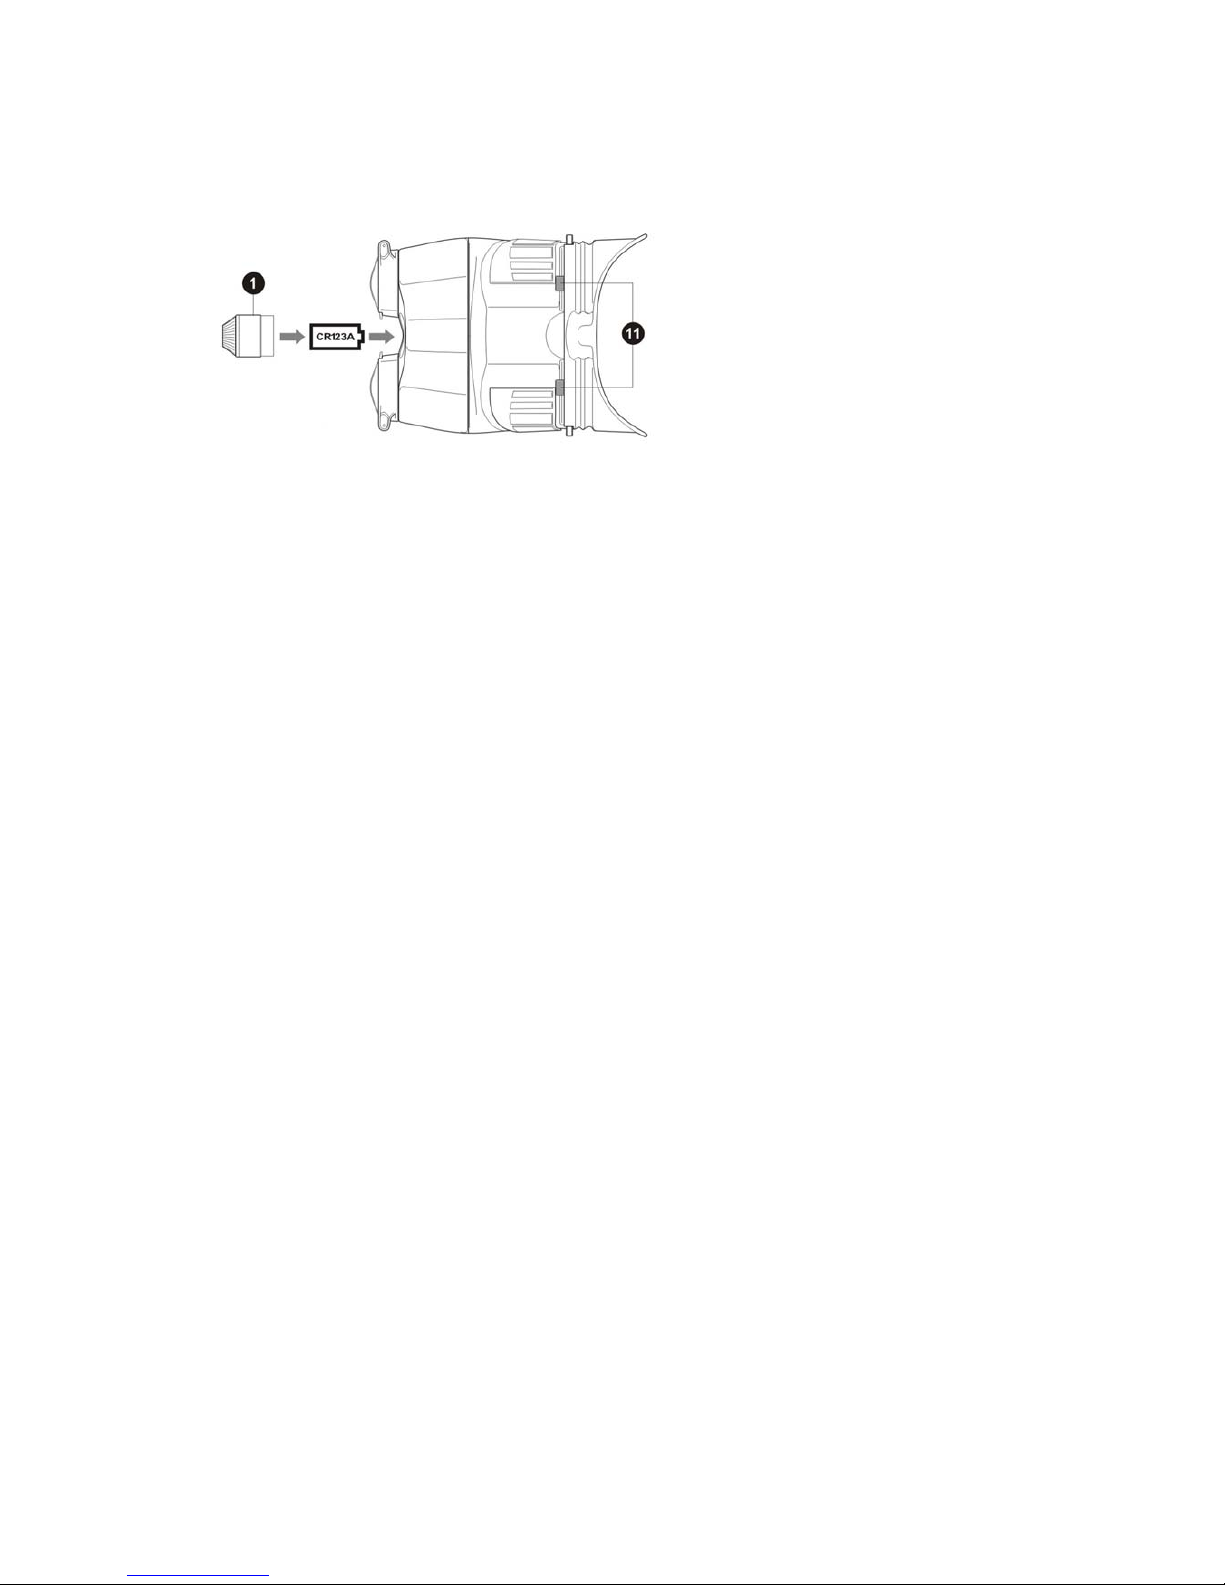
BATTERY INSTALLATION
Remove battery cover (1). Install battery CR123A, with the correct polarity. Replace the cover (1).
USE AND TESTING
• Adjust the size of the Head Mount to fit your head using the straps.
• Affix the binoculars to the adapter (2) - to do this match the flange of the adapter with the
hole next to the “ON” button and affix the Tracker binoculars to the adapter (2) using the
screw (3).
• Put the Head Mount with the binoculars attached on the head.
• To adjust the position of the unit relative to the eyes, loosen the knobs (4), (5) and move the
unit longitudinally, upwards and downwards adjusting its inclination angle.
• As you find the most comfortable position tighten the knobs (4), (5) to fix the setting.
• Enter a dark area. Open the lenses of the binoculars, pushing the caps (7) to the body,
switch on the binoculars, pushing button “ON” (8). A green indicator will give a signal that
unit is working.
• Checking the efficiency during the daytime is able only with closed caps. Warning: opening
of the caps in this case is forbidden.
• Turn on the IR, pushing button “IR” (9) if necessary. A red indicator will give a signal that
the unit is working.
• Direct the unit at the object, at the distance of 30 to 40 meters. Turn the central focusing
ring (10) and wire mechanic eyepieces (11), so you will be able to improve the quality of
image in both optic channels.
• Watch the object, using only the central focusing ring (10).
• To watch objects without the binoculars, flip the unit into an upright position by pressing
and holding the button (6).
• When you are finished using the unit, remove the binoculars from the head mount by simply
unfastening the screw counterclockwise (3). Turn off the unit with the button “ON” (8), and
replace the lens caps (7).
• Put the unit into the bag.
• Binoculars from this Kit can be used without a Head Mount. In this case put the neck belt
on it.
 Loading...