

Yujin Robot iCLEBO User Manual
Kobuki User Guide
Version 1.1.0
2017/03/15
1

Contents
Contents
About
Basic Usage
Charging
First Run
Software
Problems
Advanced Usage
Replacing Batteries
Updating Firmware
Linux
Windows
Serial Port Connectivity
Adding a Custom Sensor Array
Specifications
Safety Guideline
Functional
Hardware
Software
Anatomy
Top View
Bottom View
Control Panel
Connectors
Models & Drawings
Motors
Gyro
Power Adapter
Batteries
Serial Port
Firmware
Communication
Protocol Specification
Version Checking
Updating
Special Firmware Modes
Activating
Random Walker Mode
Arduino / Embedded Board Support Mode
ChangeLog
License
2

3

About
Introducing Korea’s first robotic turtle.
kobuki [
거북이
] n. turtle
Kobuki is robotically engineered to be long-lived, tough and fast. With high performance batteries,
Kobuki will tirelessly work alongside you through those long coffee-powered nights. He’ll also happily
burden himself with your modded array of sensors, actuators, laptops, embedded boards, portside
cannons and do it all at a speed that makes his real world cousins seem like … well, turtles.
Use him for serving 치맥 (chi-mek), chasing your neighbour’s kids or simply, to make your own robot
ideas become reality.
Kobuki is still young, don’t expect him to remain as he is . Kobuki’s development has already been
significantly influenced by the community and as he marches towards old age, we will continue to
work with the community and you to ensure he becomes better with time.
Sincerely,
Kobuki Team.
4
Basic Usage
Make sure be aware of the safety guidelines.
Charging
Connect the power adapter to Kobuki or dock Kobuki in the docking station. If Kobuki is turned on,
you will hear a short sound when charging starts and the LED will light up appropriately.
● Green : fully charged
● Blinking Green : charging
● Orange : low battery
Tip: the battery still charges if Kobuki is off, but you will not see the LED, nor hear sounds
First Run
You want to see Kobuki in action without further ado? Kobuki has a special random walker mode
embedded into the firmware which you can activate on start-up:
1. Turn on Kobuki.
2. Within the first 3 seconds press the B0 button and hold for 2 seconds.
3. LED2 will start blinking and Kobuki wander around.
Tip: this was introduced to the firmware in v1.1.0. In case your kobuki is not running this or a later version,
please refer to the section about updating the firmware.
Software
In order to gain access to all of Kobuki’ s features, you will need an external computing unit
(pc/laptop/tablet/embedded board) with software which communicates with Kobuki. Officially
supported systems include:
Build Your Own
Kobuki Driver
Use the Serial Protocol
Linux C++
Application
Use the Kobuki C++ Driver
Kobuki for
ROS
Use the Kobuki ROS World
Alternatively, you can get started with the Turtlebot 2 Platform which runs on a Kobuki base.
Info: other platforms have had experimental support at one stage or another (windows/arduino/android).
Problems
Reach out on the following channels:
5
● Kobuki User’s Mailing List: kobuki-users@yujinrobot.com
● ROS Community Answers: http://answers.ros.org/questions/tags%3Akobuki
● Yujin Sales Support: kobuki@yujinrobot.com
Note: Kobuki comes with a 1 year warranty. In case you bought Kobuki from another one of Yujin Robot’s
distributors, please contact them, otherwise email Yujin Sales Support.
Advanced Usage
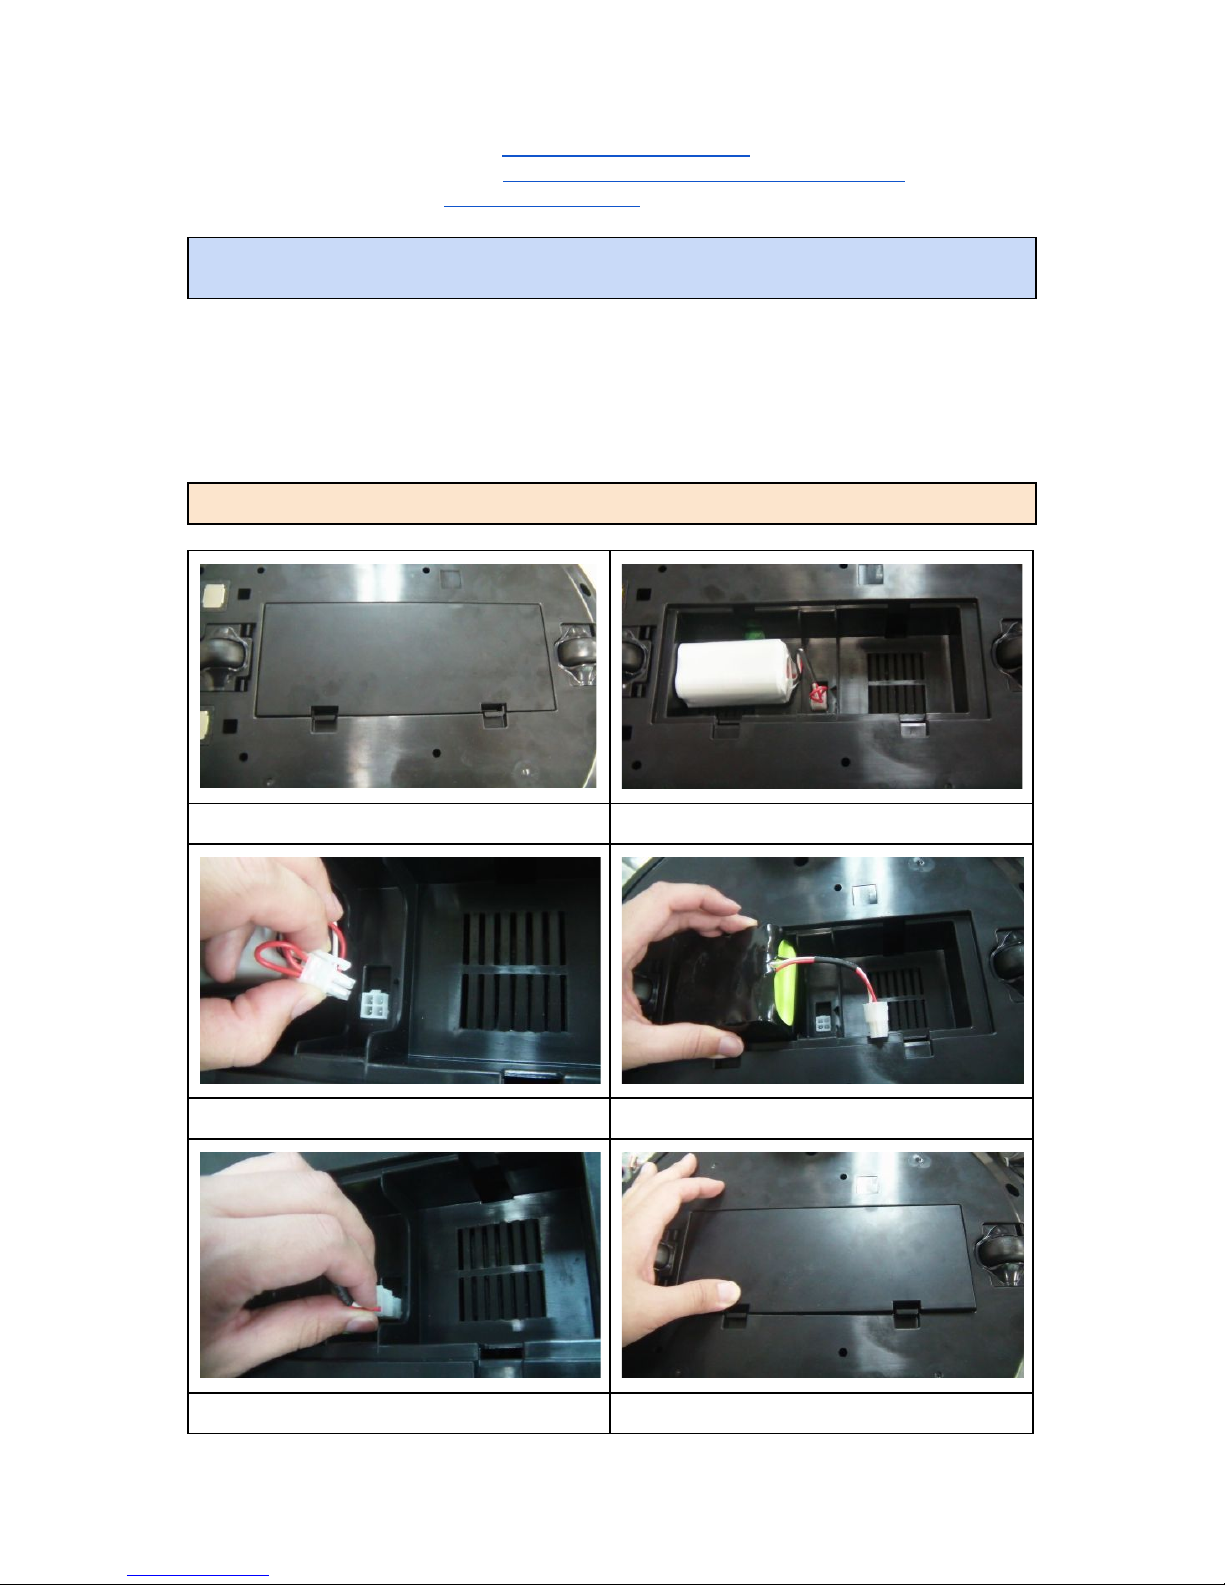
Replacing Batteries
Warning: the electronics does not support the use of multiple battery packs at the same time!
Flip the kobuki
Open the case
Unplug
Swap batteries
Replug
Replace the case
6
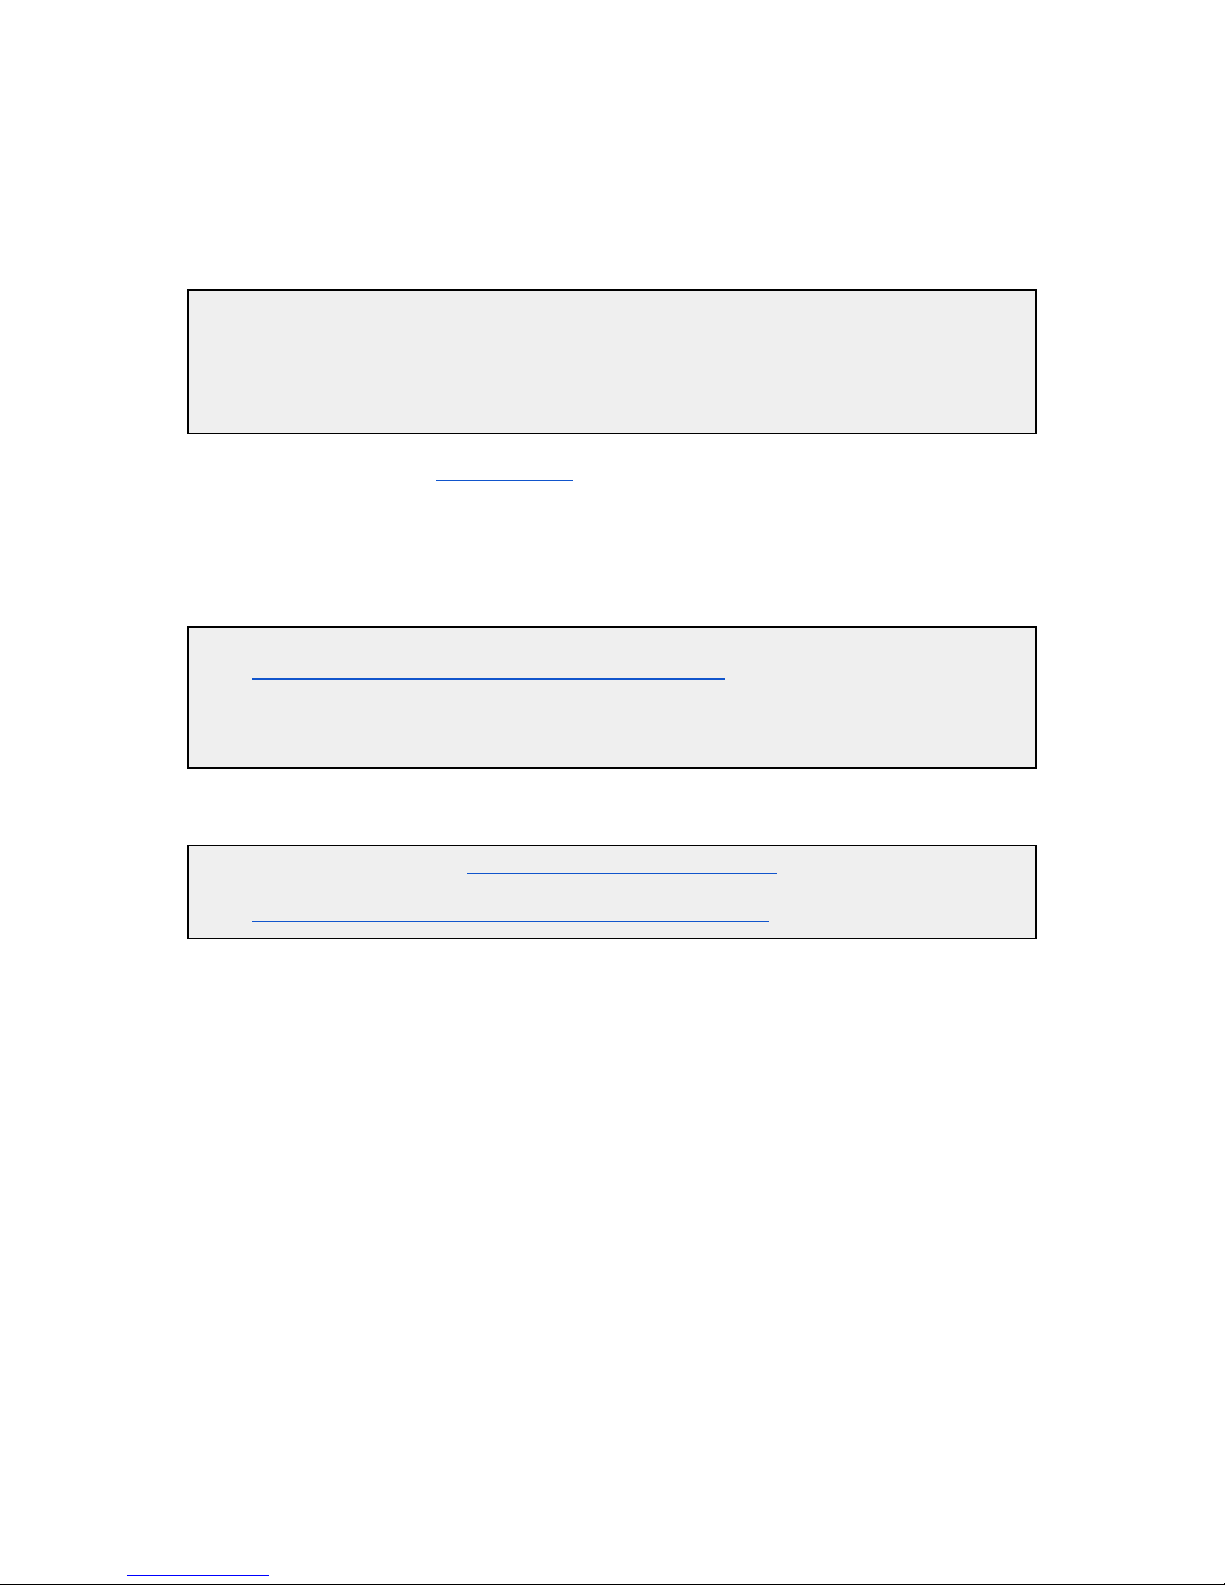
Updating Firmware
If you have a ROS installation, you can find the current version by running:
$ rosrun kobuki_driver version_info
# Version Info:
* Hardware Version: 1.0.4
* Firmware Version: 1.2.0
* Software Version: 0.7.7
* Unique Device ID: 97713968-842422349-1361404194
Alternatively you can compile version_info.cpp (no ROS) to create your own version checker.
Linux
The Flashing Utility
# Download & build the flashing utility
$ wget http://files.yujinrobot.com/kobuki/firmware/stm32flash-0.4.tar.gz
$ tar -xvzf stm32flash.tar.gz
$ cd stm32flash
$ make
Download the Firmware
# choose the firmware version from http://files.yujinrobot.com/kobuki/firmware
# e.g. latest
$ wget http://files.yujinrobot.com/kobuki/firmware/kobuki_firmware-latest.hex
Identify the ttyUSBx Port
If you have a udev rule installed, it will show up as /dev/kobuki, but if not, you can typically find it
under one of the ttyUSB ports, e.g. /dev/ttyUSB0. If you are not sure, type dmesg into a terminal,
unplug and replug the robot and type dmesg again. You should now be able to see which port is
assigned to the robot (more precisely the FTDI USB to serial converter).
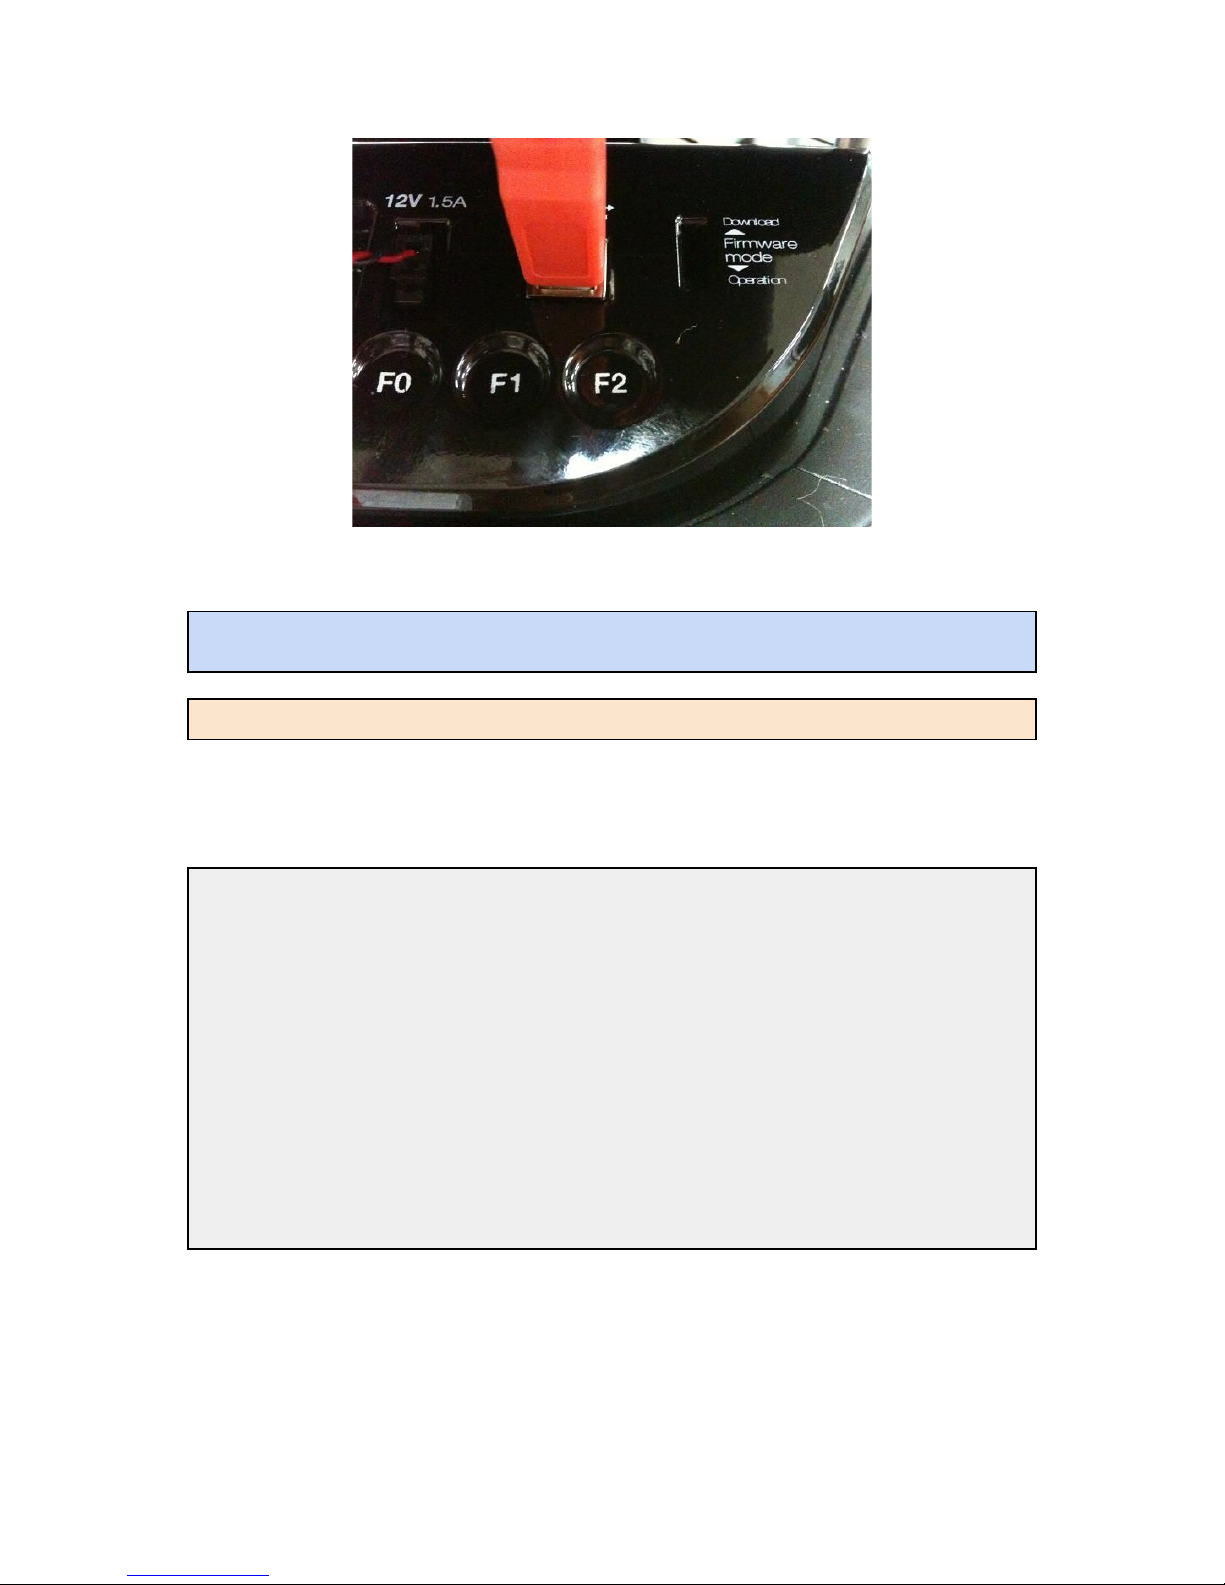
Switch to Download Mode
1. Connect the robot to your PC using the USB cable
2. Turn off the robot (switch on the side)
3. Switch from normal runtime mode to firmware download mode
This simply changes the type of data that is sent back and forth along the usb connection. You can do
this by moving the switch illustrated below into the ‘download’ (up) position. Note that this switch is
embedded into the robot cover so it isn’t easily thrown by accident – you may need thin plyers or
some similar tool. You can find the mode switch mechanism on the right side of the control panel see the image below.
7
Flashing
Note: The following instructions assume flashing of kobuki_firmware-latest.hex and port /dev/ttyUSB0.
Modify these if necessary.
Warning: you need to execute the flashing command IMMEDIATELY after turning the robot on!
1. Turn off the robot
2. Check that the switch is in download mode
3. Turn on the robot
$ ./stm32flash -b 115200 -w kobuki_firmware_firmware-latest.hex /dev/ttyUSB0
stm32flash 0.4
http://stm32flash.googlecode.com/
Using Parser : Intel HEX
Interface serial_posix: 115200 8E1
Version : 0x22
Option 1 : 0x00
Option 2 : 0x00
Device ID : 0x0414 (High-density)
- RAM : 64KiB (512b reserved by bootloader)
- Flash : 512KiB (sector size: 2x2048)
- Option RAM : 16b
- System RAM : 2KiB
Write to memory
Erasing memory
Wrote address 0x0800a3f0 (100.00%) Done.
Rebooting
● Turn off the robot power
● Flick the firmware switch back to ‘Operation’ mode.
● Turn on the robot power
● I’m happy, you should be too!
8
 Loading...