

YoSmart 5705 Users Manuanl
User Guide
YS5705-UC
In-wall Switch

Contents
Introduction············································· 1·················
Features··················································· 2···············
Product Requirements································ 2·················
Set Up In-wall ch································ ·· 3 Swit ·· ··················
Installation··································································7
Using YoLink App with In-wall Switch·································11
YoLink Control ················· ······ ················16··········· ·· ·····
Maintaining the ················ ······· In-wall Switch ··············· ··19
Specifications·································· ························ ·21
Troubleshooting ·················· ················· 22········· ··········· ··
C Service & Warranty ················· · 23ustomer ···················· · ·
Introduction
In-wall Switch, is a standard, single-p ole, wall light switch tha t can be controlled via your
iOS or Android devices. Along with the YoLink Ap p, connect the In-w all Switch to your
home network, then control your lights and create custom lighting automation from
anywhere, at anytime with an Internet connection.
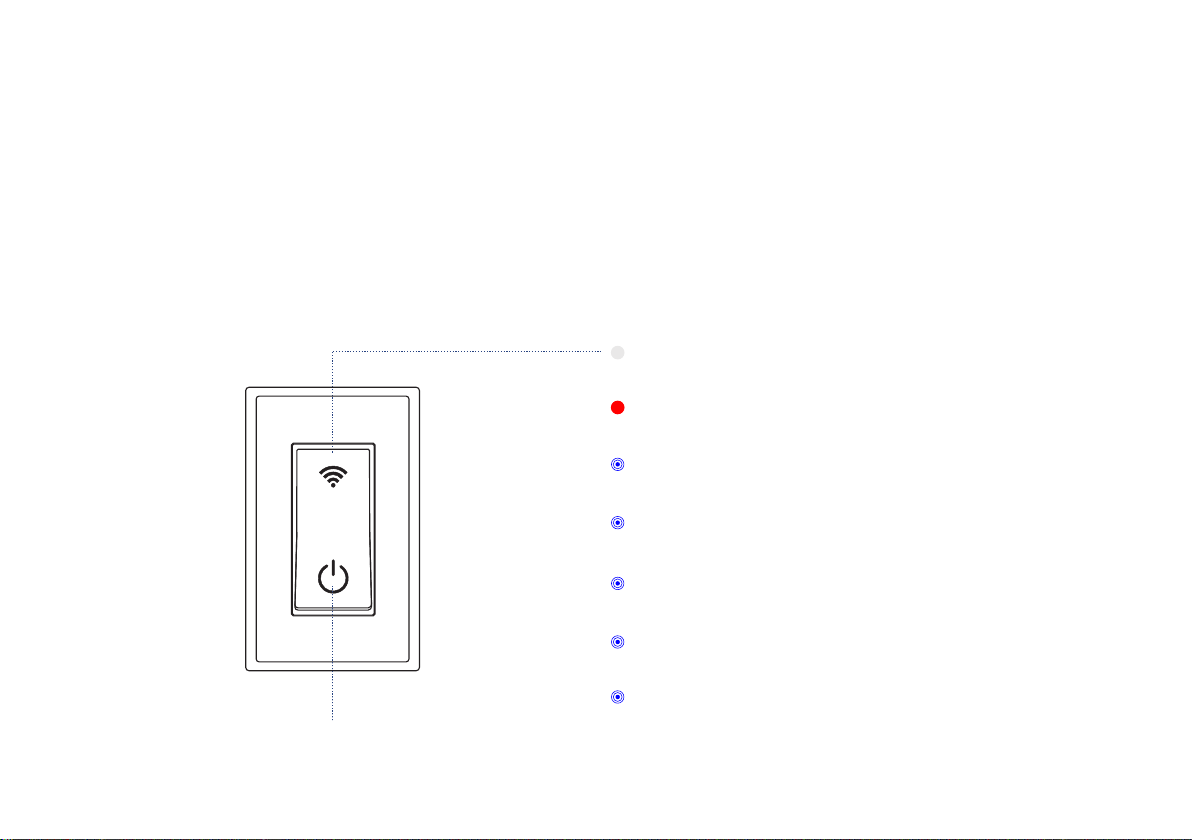
LED lights can show the current status of device. See the explanation below:
Whit e
The switch is on.
Red
The switch is off.
Blinking Blue
Co nne ct ing t o cl oud.
Fast B linking Blu e
Set up c onnection w ith devices .
Slow Blinking Blu e
Updating.
Irre gular Blink ing Blue
Remove connection with devices.
POWE R BUTTON
Irre gular Slow Bl inking Blue
Factory resetting.
1

Features
Control from anywhere - C ontrol your In-wall Switch remotely via YoLink App on your iOS
or Android device.
Timer & Sched ule - Automatic ally turn on or off light afte r o r a t a certain time .
Scene - One-click control. Tap the scene button to automatically turn on or off your In-wall
Switches and action of other devices.
Automation - Set up rules for “If this then that” function.
Voice Control - Use Alexa or Google Assistant to control your devices with voice commands.
YoLink Control - No internet is required, turn on or off your In-wall Switch when you set up your
switch with a sensor or remote controller.
Product Requirements
1. A YoLink Hub.
2. A smartphone or tablet running iOS 9 or higher; Android 4.4 or higher.
3. In-wall installation with hardwired connections.
4. Neutral wire required.
5. Single-pole light switch. The electrical box should be more than 2 inches deep.
2
Set Up In-wall Switch
Follow the steps below to set up your In-wall Switch via YoLink App.
Step 1: Set up YoLink App
Get the YoLink App from the Apple App Store or Google Play.
3
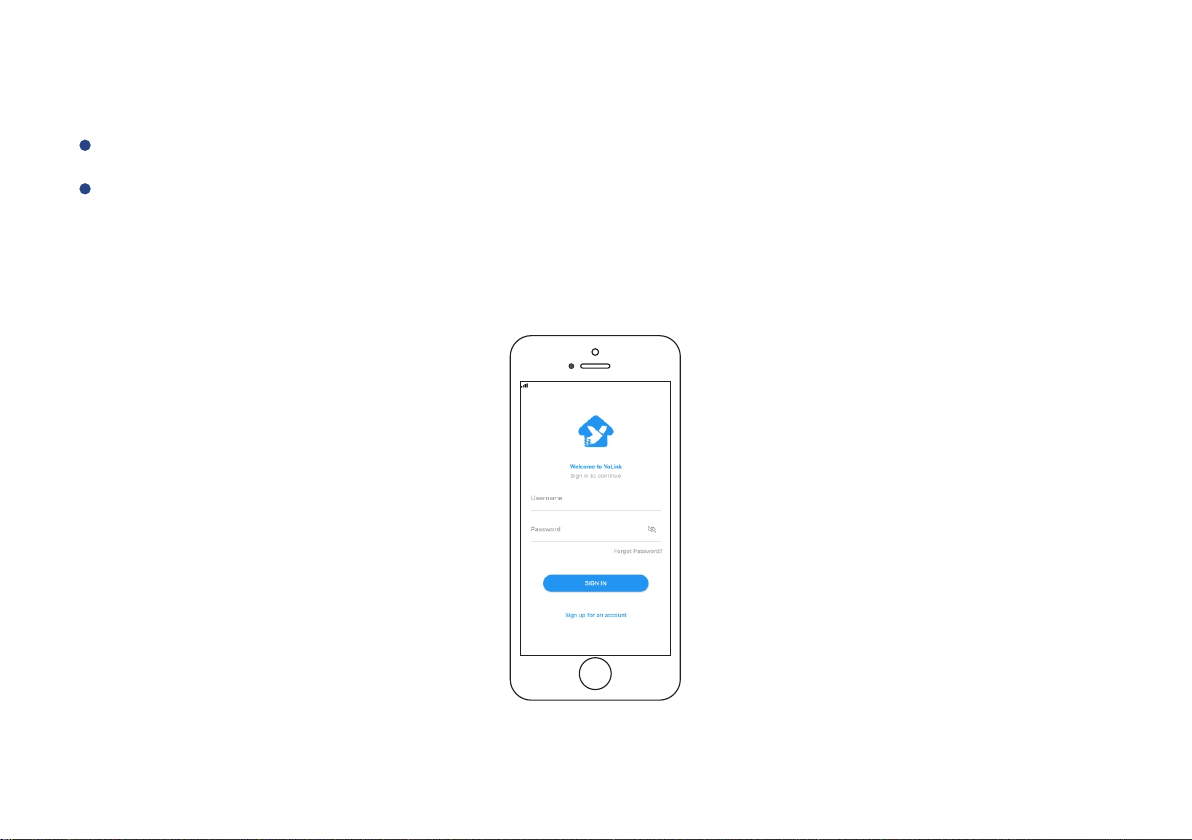
Step 2: Log in or sign up with YoLink account
Open the App. Use your YoLink account to log in.
If you d o n ’t ha v e a YoLink account, tap Sign u p for an account a nd fo l l o w the steps
to sign u p an account.
4
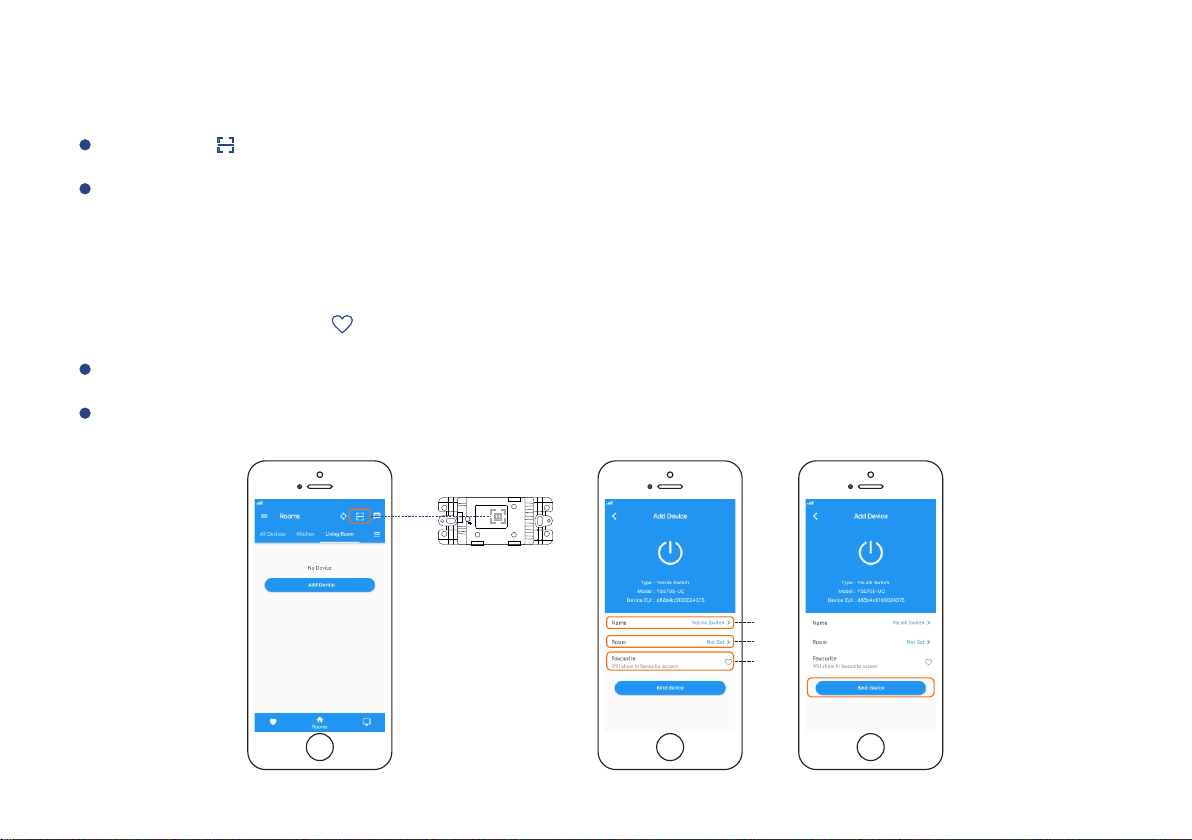
Step 3: Add device to YoLink App
Tap the “ ” in YoLink App. Scan the QR Code on the device.
You can customize the name, set the room, add to/remove from favourite.
a. Name - Name In-wall Switch.
b. Room - Choose a room for In-wall Switch.
c. Favourite - Click “ ” icon to add/remove from Favourite.
Tap the “Bind Device” to add the device to your YoLink account.
Follow the Installation to install the device, power it on. And the device is ready to go.
Neutral W ire
Load Live
a
b
c
5
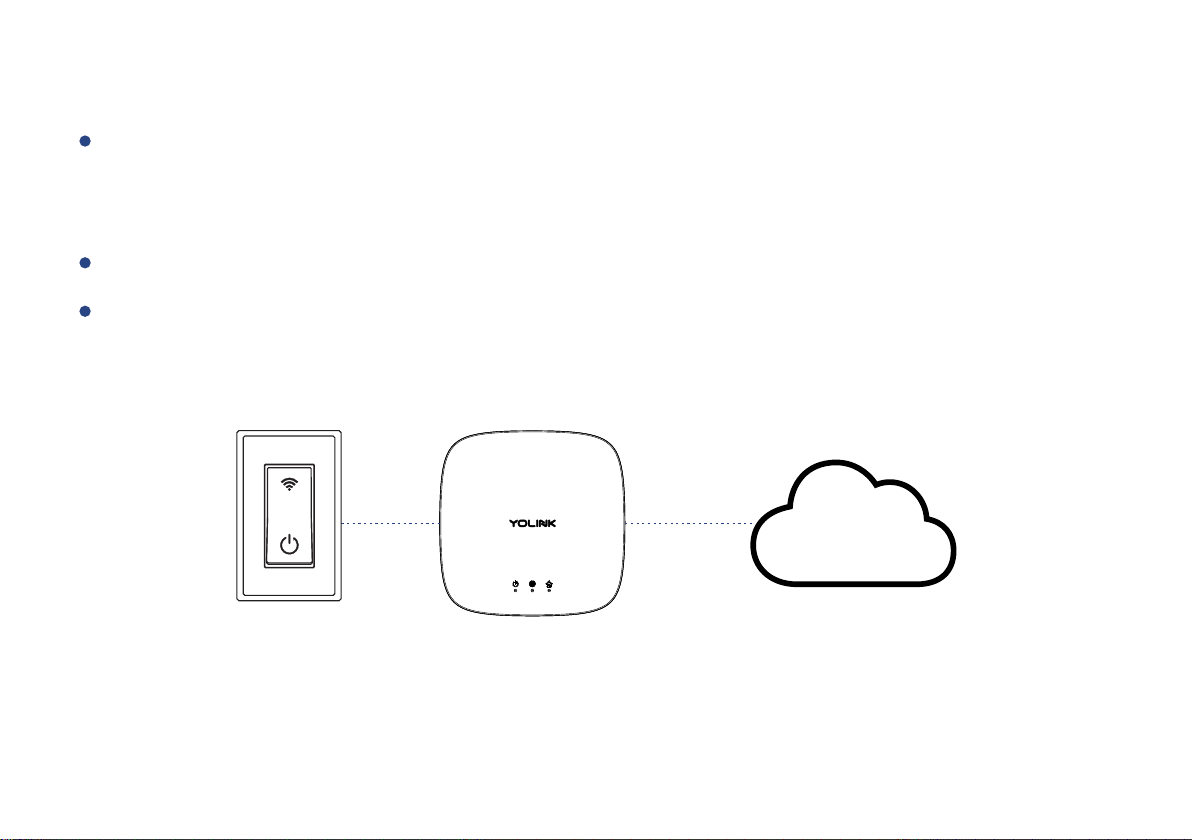
Step 4: Connect to the cloud
Power on the In-wall Switch and your device will connect to the cloud automatically.
Note
Follow the following page to install the device first.
Make sure you hub is connected to internet.
Internet
Cloud
6
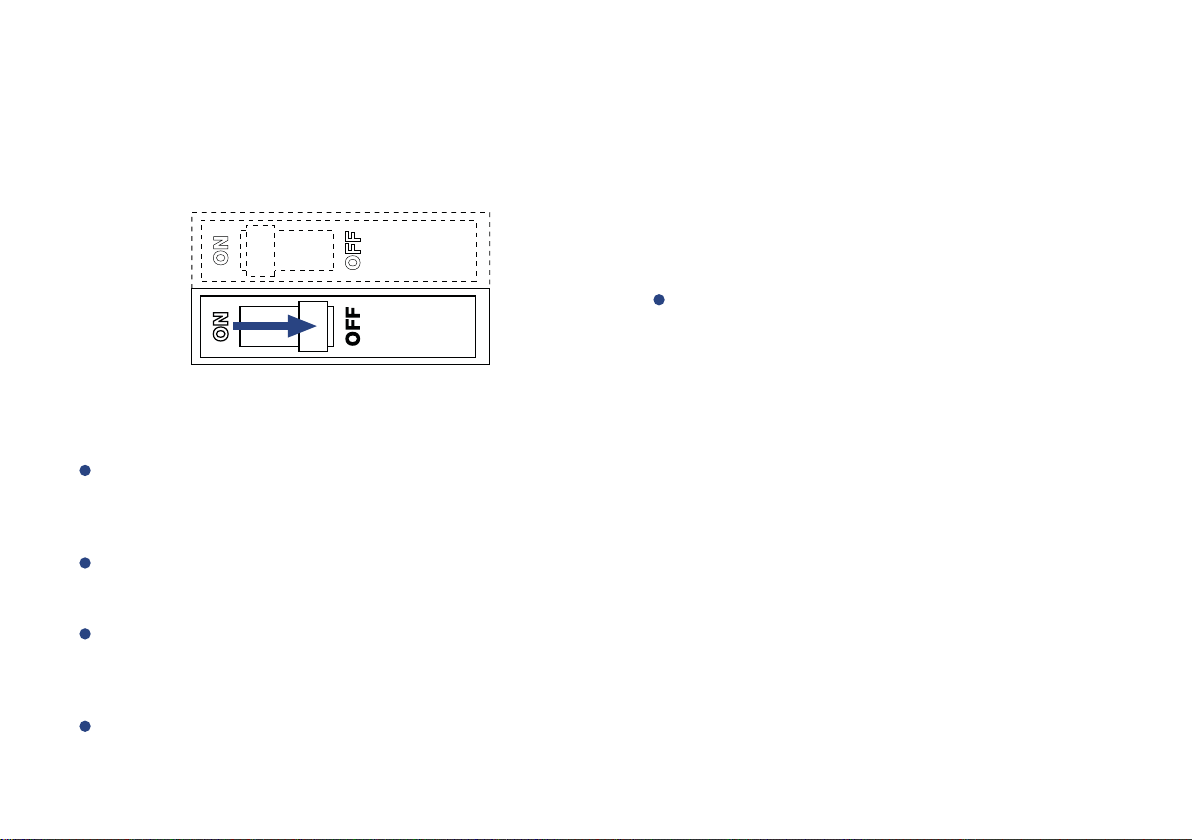
Installation
1. Turn off the power to the switch at the main circuit breaker or fuse panel.
WARNING: SHOCK HAZARD
May result in serio us injury or de ath.
Turn off power at circuit breaker or
fuse before installing .
Important
The fixture controlled by the in-wall switch must not exceed 960 watts (incandescent),
800w (10A) resistive or hp motor. The switch is designed only for u se with permanently
installed fixtures.
All wiring connections mu st be made after power down to av oid personal injury and/or
damage to the switch.
This device is intended for installation in accordance with the national electric code and
local regulations in the United States, or Canadian electrical code and local regulations
in Canada.
If you are unsure or uncomfortable about performing this installation, consult a qualified
electrician.
7
 Loading...