

Page 1

Brandywine Arbor
Assembly Manual
Page 2
Brandywine Arbor
Assembly Manual
Thank you for your purchase of this arbor.
This manual is designed to simplify the assembly process. Please read through the entire manual before
starting!
Take a deep breath and get at it; the satisfaction and enjoyment of this arbor is only a few minutes away. Have
fun!
You have purchased a product that consists of bulky pieces. With your purchase, you assume full
responsibility to have the necessary manpower available to assemble the product. You will need two ablebodied people for most of the assembly. You also agree that any damage that happens to the product during the
entire construction process is your responsibility, and neither the seller, nor the manufacturer, will be held
liable for any such damage.
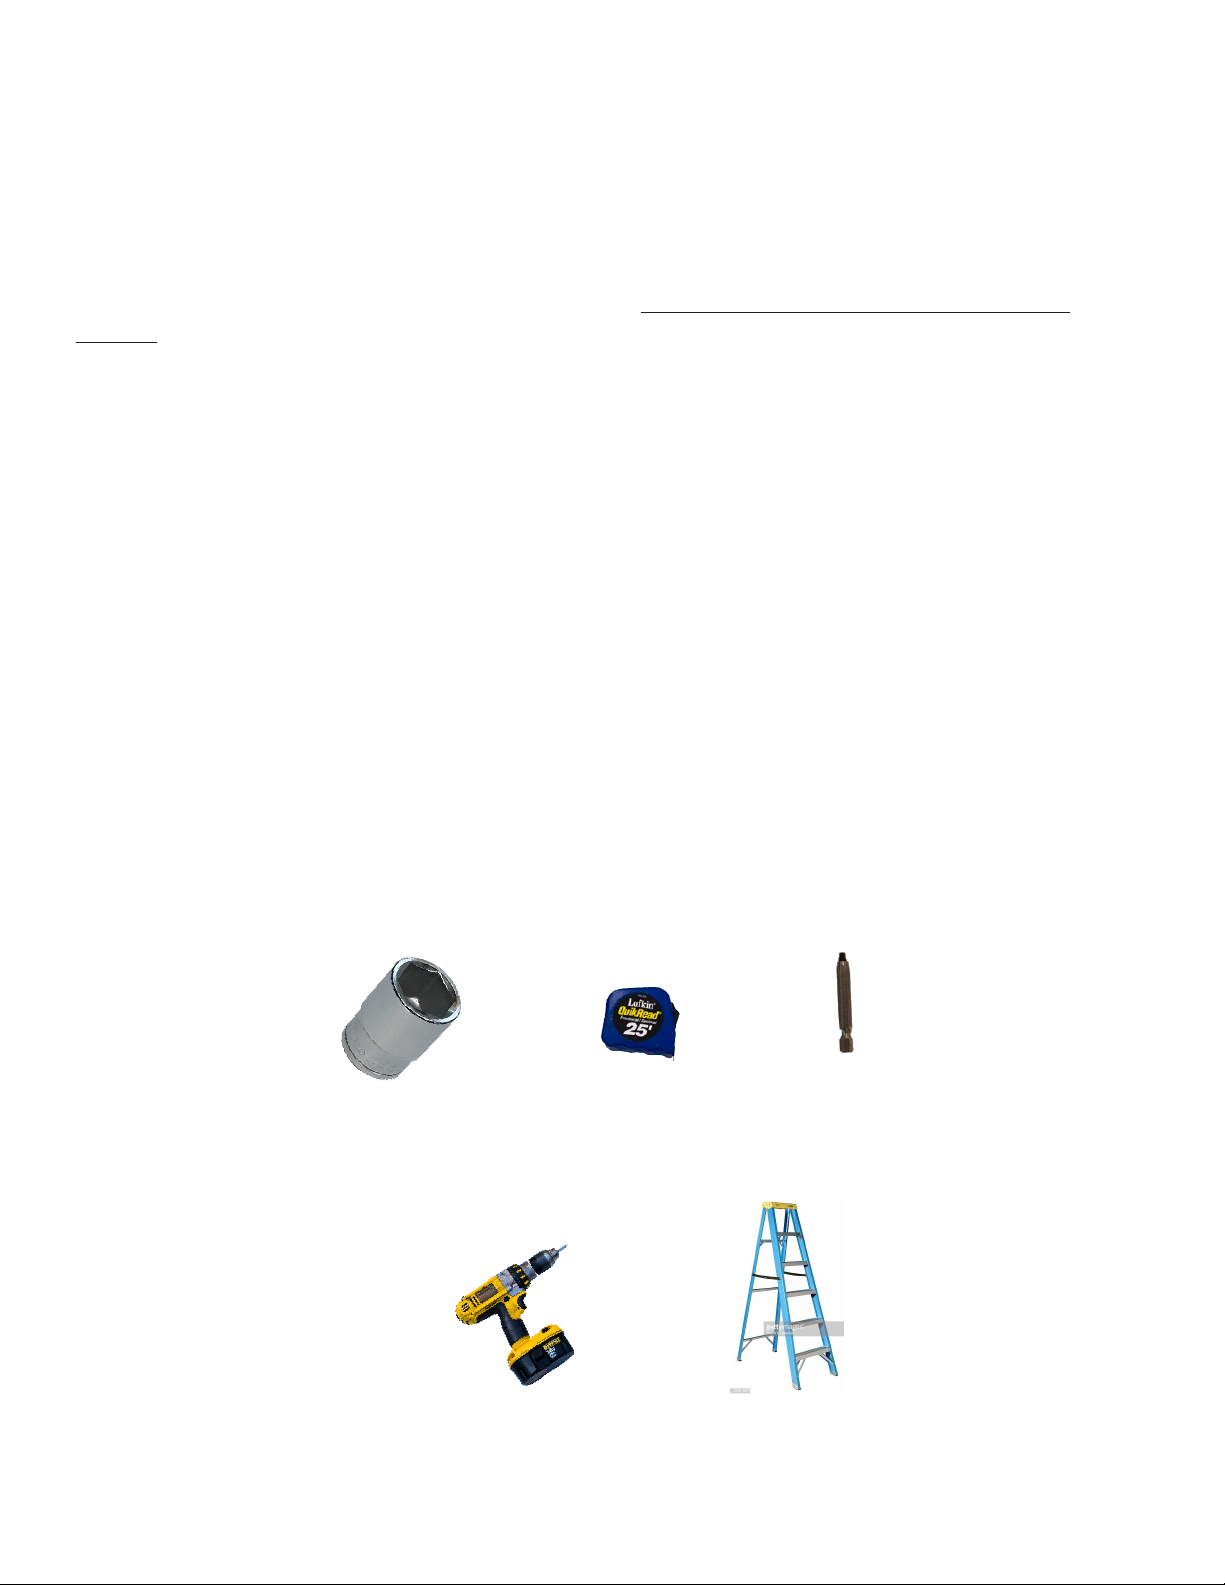
Tools Required for Job
1/2" Socket and
extension
Cordless
Drill
25’ Tape
Measure
#2 Square
Drive Tip
(included)
Step Ladder
Page 3
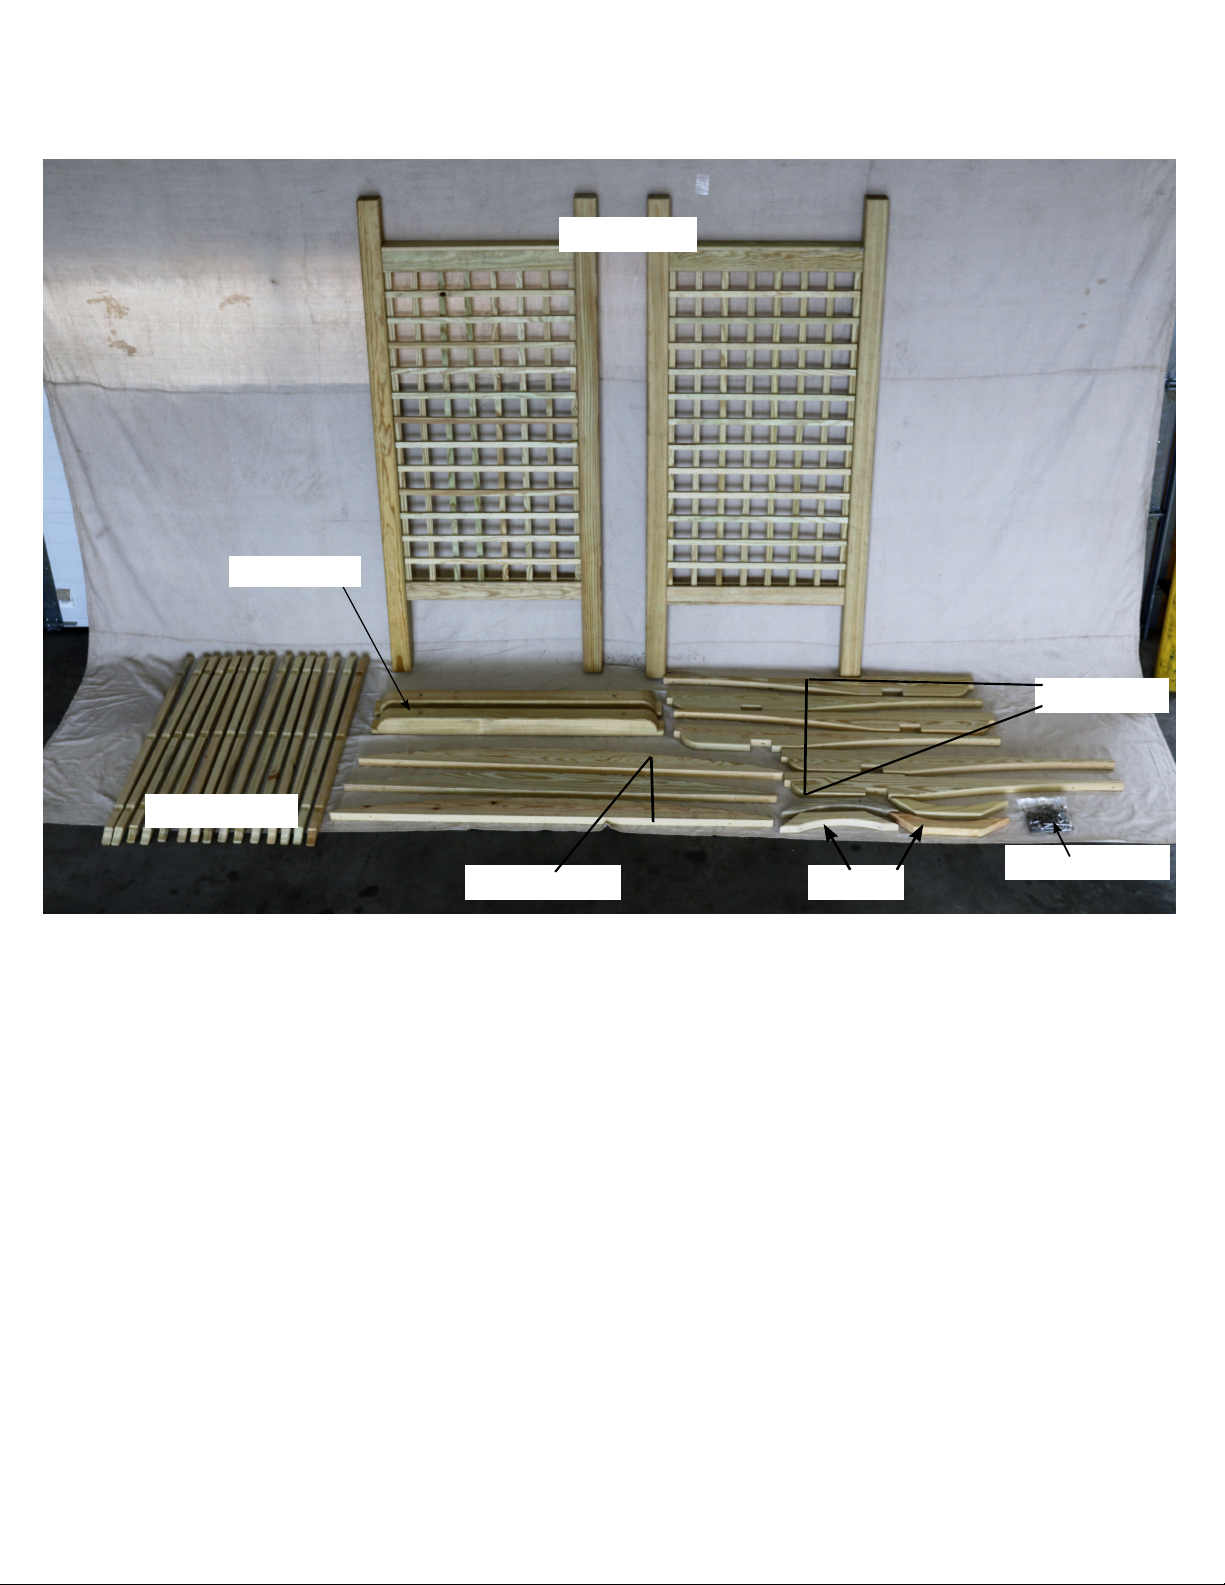
2 Top Plates
Parts List
2 Arbor sides
15 Crosspieces
3 Arch Centers
Also included in parts is 4 metal braces, not pictured.
6 Arch Ends
Hardware Pack
4 Braces
Page 4

Brandywine Arbor Assembly Manual
Step:1
Step:2
On a smooth, flat surface lay out arch ends and
centers as shown.
Step:3
Fasten arch ends to arch centers using 3"
screws provided. Use 2 screws on the top on
both ends.
*Notice how the joints are fit tight together*
Notice there are pre-drilled holes in two of the
arch ends. These holes are for the swing
bearing, make sure to match those arch ends.
Also make sure to put this arch in the center
of the arbor.
Step:4
On the top of the arch fasten with 3" screws
on both ends.
On the bottom of the arch fasten with 3"
screws on both ends.
4
Step:6Step:5
Assembled arch pieces should look like this.
Fasten one crosspiece to arches, aligning with
grooves in crosspiece and arch.
Page 5

B
randywine Arbor
Assembly Manual
Step:7
Step:8
Use 3" screws provided to fasten crosspieces
to arch.
Step:9
The completed top should look like this.
Fasten crosspieces at both ends and then in the
center before fastening the remaining crosspieces.
Step:10
Identify the arbor side.
Step:11
Notice top of arbor side and bottom of top
plate have corresponding letters. Match those
letters to each other.
Step:12
Magnified picture of the corresponding
letters.
5
Page 6

Brandywine Arbor Assembly Manual
Step:13
Step:14
Fasten top plate to arbor side using 4" lags
provided, aligning letter coded fastening
points. Be sure lag starts into the pilot hole on
the top of the 4x4 on the arbor side (repeat on
both arbor sides).
Step:15
Align notch on bottom of arch with top plate
on arbor side.
You are now ready to fasten the arbor top to
the sides. Your setup may look similar to
this. Lift arbor top into position, then fasten
as instructed in the following steps.
Step:16
Notice this alignment.
Step:17
Fasten arbor top to sides using 4" lags
provided.
6
Step:18
Fasten top using six lags, three at each end.
Notice pre-drilled counter-bore holes.
Page 7

Brandywine Arbor Assembly Manual
Step:19
Prior to fastening braces, be sure the arbor is
square.
Step: 20
Fasten braces to arbor using 3" screws
provided.
Step: 22Step: 21
Position the arbor at your desired location.
Then anchor the arbor to the ground using the
the four metal stakes provided.
Step: 23
If you purchased a swing with your arbor,
your next step is to install a bearing using the
lags that come with the swing.
These should be fastened to the center arch
using pre-drilled holes.
Your completed arbor should look like this.
Step: 24
If you purchased a swing with your arbor, this
is how your finished product should look.
7
 Loading...