


1
YH-T6 USER MANUAL
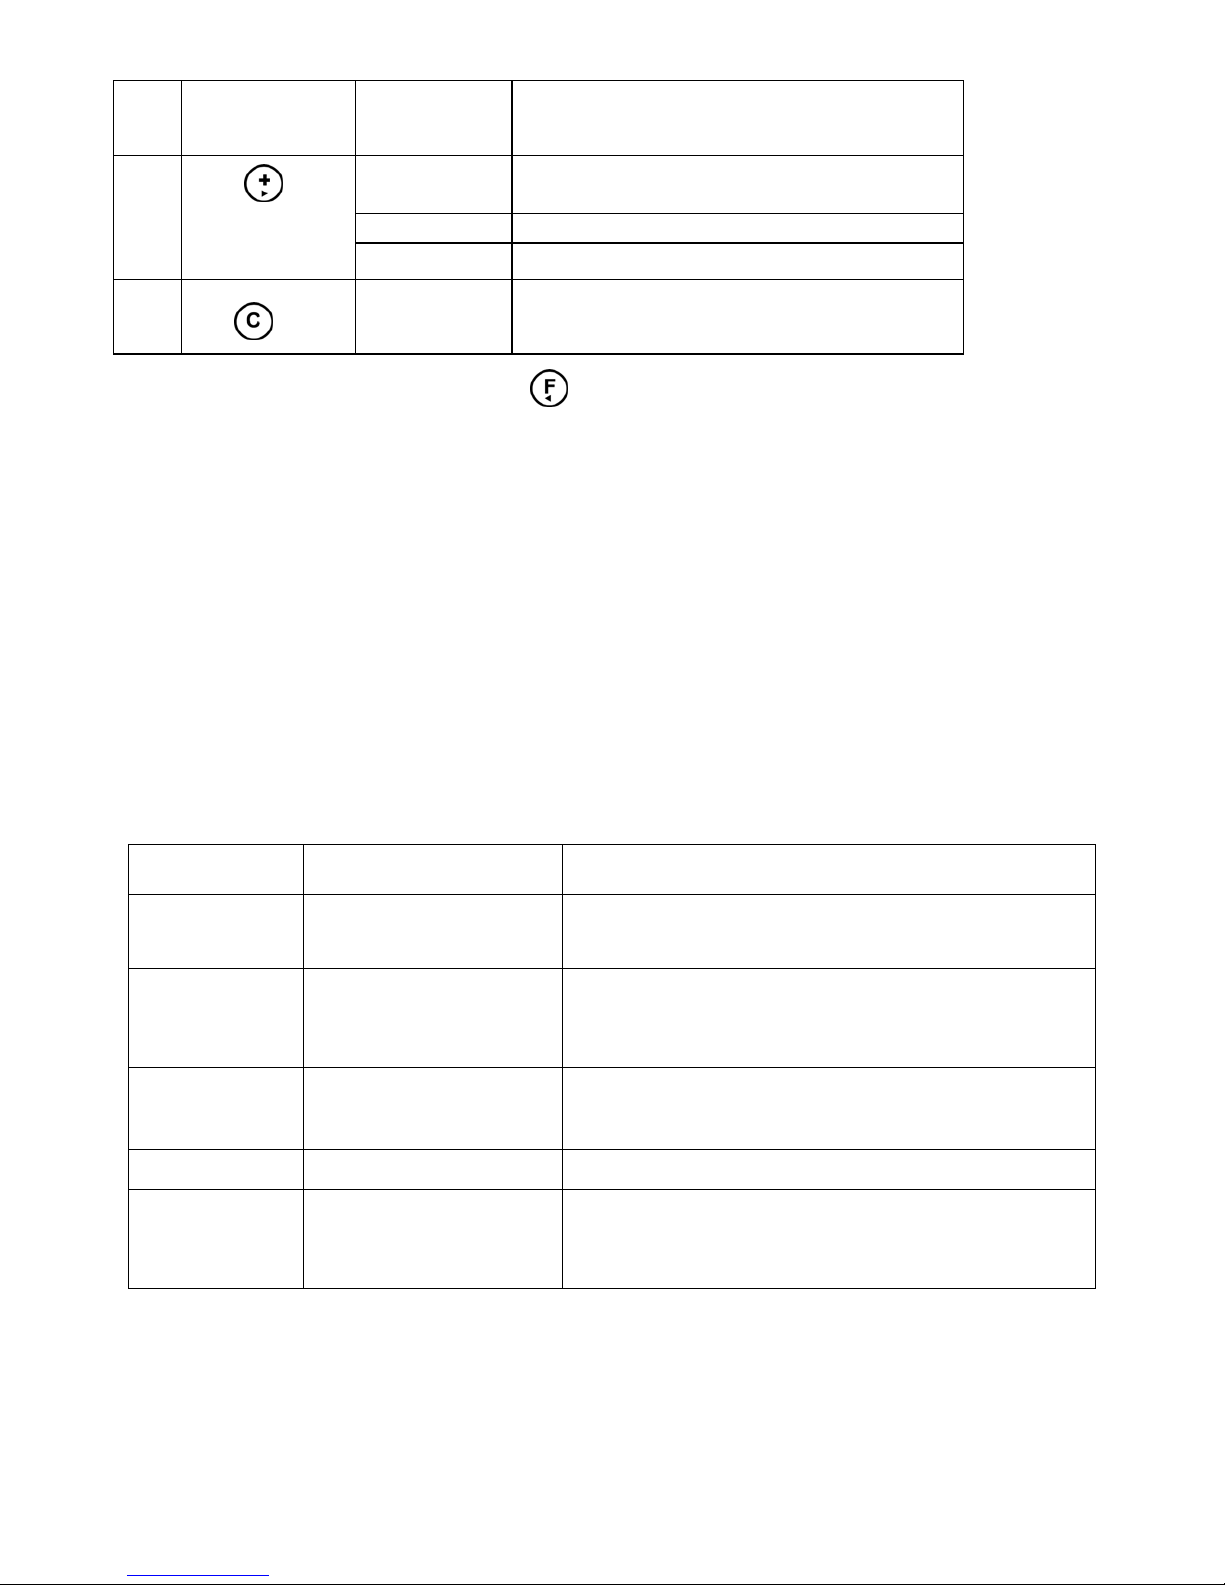
1. Function of the keys:
Switch key: It uses to press turn off under weighing mode and press turn on under power off mode
: Accumulative-clear key: It uses to exit under calibration mode
: Kg/lb switch key: It uses to move flash bit to left side under calibration mode
Accumulative-add key: It uses to move flash bit to right side under calibration mode
:Tare key: It uses to add the number on the flash bit under calibration mode or switch parameter.
: Zero key: It uses to confirm under calibration mode
2. Power on and off
1).Press around 3 seconds. it begins to self-inspect, then it enters to weighing mode.
(power-on to pre-heat 15-30 minutes) If you use rechargeable battery, first you also have to power on,
but remember to charge the battery fully when using the rechargeable battery at the first time.
2).After power on, if the indicator vibrates from z ero point, but it is still in auto zero range (±10% against full span),
it will come to zero automatically, then zero-point light is on; If it is out of auto zero range, you have to adjust the
zero point or re-calibrate.
3).Press around 3 seconds to exist the weighing mode.
3. Zero-setting operation:
If gross weight of the system is in manual zero range (±2% against full span), press to make the indicator
show zero, but if it has tare weight, the indicator can’t be zero.
4. Tare operation:
When gross weight is over zero and the system is stable, press to tare, the tare light is on; When the system
returns to zero point and still has tare weight, press to exit the net weighing mode, tare weight returns to zero
and tare light is off, the system returns to gross-weight weighing mode. The max accumulative weight is 999999
(decimal point excludes)
5. Accumulative-add, accumulative-display and accumulative-clear operation:
Step Operation Display Note
1
Load the
g
oods,
when it is stable,
press , “accu”
light is on
[******]
Display accumulative weight for around 2 seconds,
“accu” light is on. The max. accumulative wei
g
ht is
999999(decimal point excludes)
[t **]
Display accumulative times for around 2 seconds, it
means how many times you have accumulated.
The max. accumulative times are 99
Returns to
wei
g
hing mode,
“accu” light is off
[******]
Returns to wei
g
hing mode, “accu” light is off,
accumulation operation ends
2
Ready to
accumulative-add again
[ 0.00]
Make indicator return to zero or tare(Note: the data
with 2-bit decimal points is an example)
3
Load the
g
oods,
when the number
is stable,
accumulate again
[******] Display all accumulative wei
g
ht for around 2
seconds, “accu” light is on
[t **] Display accumulative times for around 2 seconds
[******] Returns to weighing mode, “accu” light is off
2
4
T
he indicator returns to
zero
[ 0.00]
Make the indicator return to zero
(Note: the data with 2-bit decimal points is an
example)
5
Press
(Note:
accumulative-displ
ay function)
[******] Display accumulative wei
g
ht for around 2
seconds, ”accu” light is on
[t **] Display accumulative times for around 2 seconds
[******] Return to weighing mode, “accu” light is off
6
Press
[C-Add] Clear all accumulative wei
g
hts and all weighing
times
6. Kg/lb switch: Under weighing mode, press to switch between kg & lb.
(NOTE: Once it switched, all the accumulative weight or times will return to zero.)
7. Power-saving mode:
When weighing data is stable, 3 minutes later it will enter power-saving mode, the indicator shows [ - ] and it
flashes from left to right.
8. Built-in rechargeable battery
Connect to AC power, whether the power is on or off, the weighing indicator begins to charge the battery. (When
power is off, the charging speed will be faster)
The charging time is around 24~28 hours. It can be used for 36 hours after fully charged (typically data).
9. Low-voltage alarm and cut off:
When the battery’s voltage is lower than around 3.3V, the indicator will show [bAttLo] every 30 seconds to mean
the voltage is low and there’s sound of moo for reminding.Customers shoud charge the battery immediately. If
continue to use,three miniutes later, the indiator will switch off automatically to protect the rechargeable battery.
10. Information introduction:
Information
displayed
Meanin
g
Solution
[Err 03] Overload
1. If the indicator has not been calibrated, you should do it;
2. Decrease the weight that loaded to normal range;
3. Re-set full span for the indicator
[Err 05] or
the exit of
self-inspection
when power is on
Indicator doesn’t connect
with load cell, or indicator
A/D part is damaged, or
load cell doesn’t work
Please check the connection between indicator and load
cell, or let the manufactory repair
[Err 11]
Calibration load error
1. Please confirm the correctness of actual load weight and
input
2.Recalibate after adjust the division
[ ---- ]
Indicator internal running Please kindly wait, don’t do any operation
[------]
Display the minus overflow
of weight
1. If it’s under the mode of 1b,please chan
g
e it back to be
kg display mode
2. Add more goods on the platform
11. Maintenance:
1).To guarantee the indicator’s cleaning and lifetime, the indicator shouldn’t be placed dir ectly under sunshi ne a nd
should be set in the plain space.
2).The indicator can’t be placed into the place where dust pollution and vibration are serious.
3).Load cell should connect with the indicator reliably, and the system should be well connected into ground. The
 Loading...