

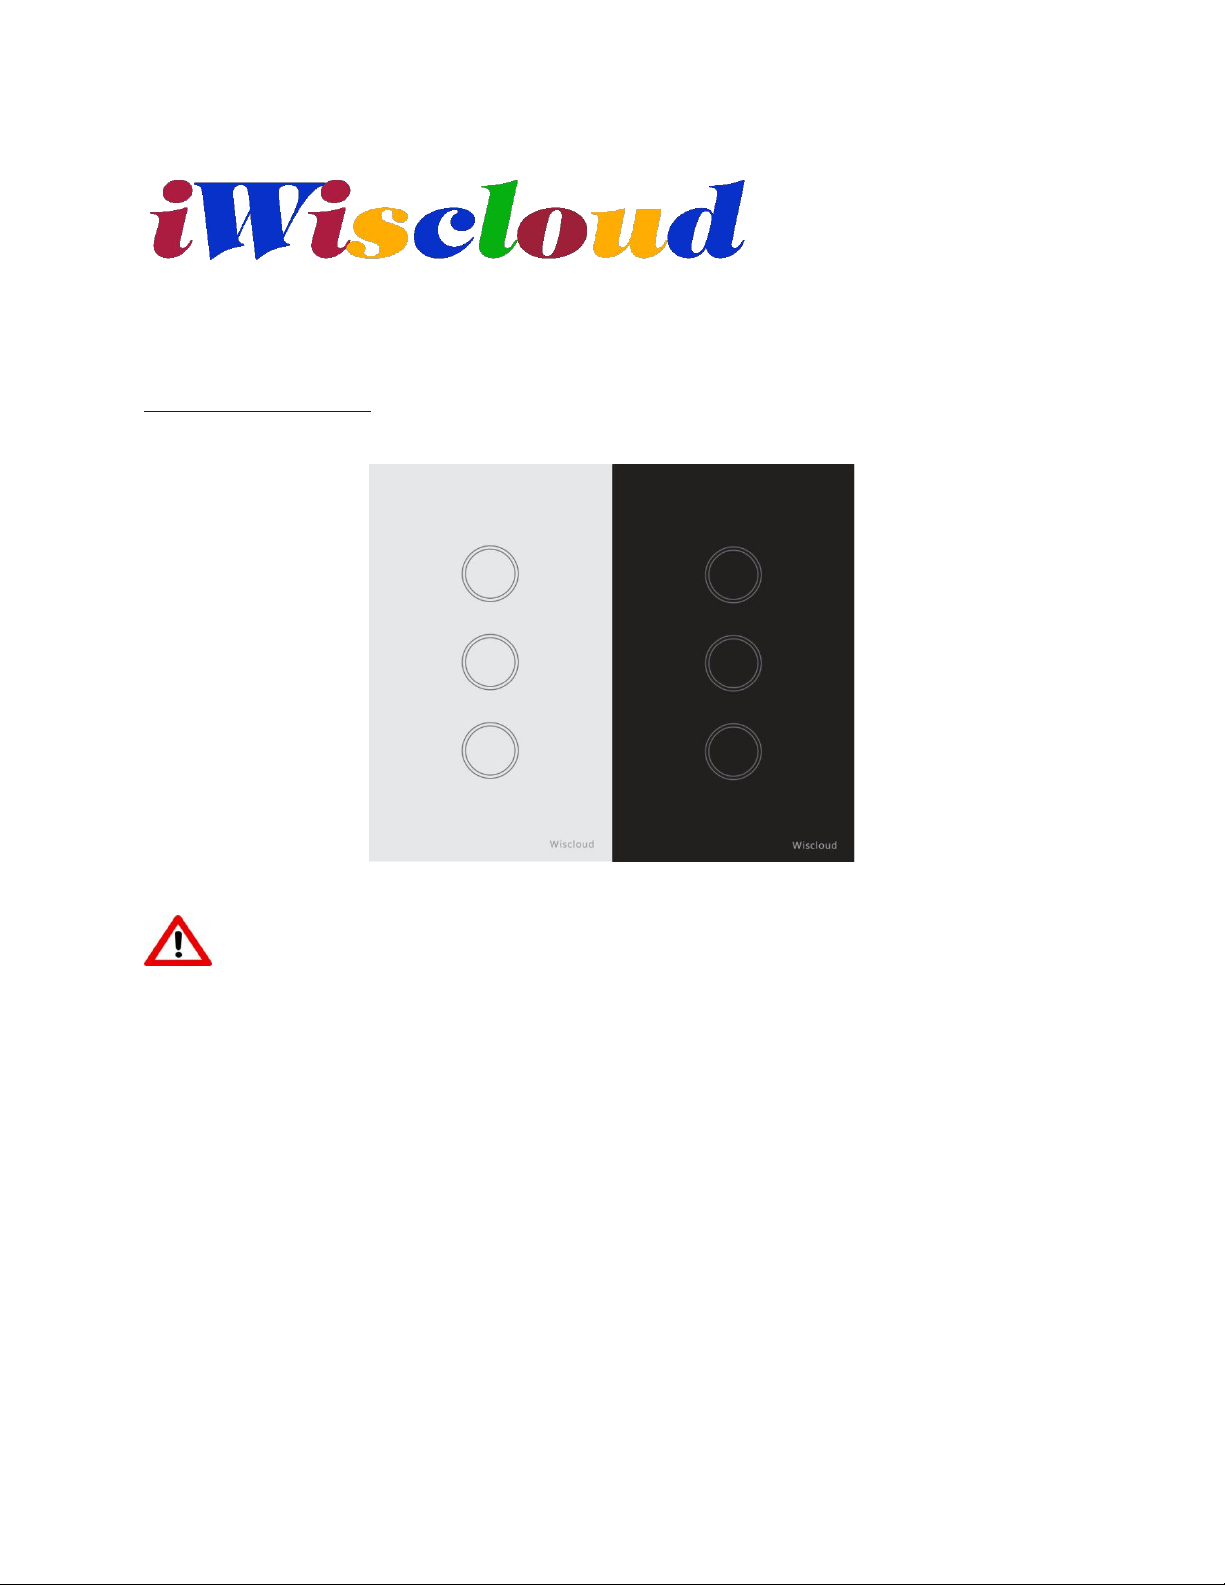
Smart Switch-US peration Manual
US Edition
http://en.iwiscloud.com
™
Warning:
Wiscloud smart light switch should be installed by qualified electrician and used in accordance with
appropriate codes and regulation.
Please do not attempt to dismantle this delicate product, willful manipulation might lead to electrical
failure. Warranty will be void if product is found to be tampered with.

Disclaimer:
1. Product Introduction
1.1.Key Features:
Simple installation, no re-wiring necessary
Intrinsic safety designed switch features spark-less, over-voltage, & over-heating
Tempered glass panel facade design
Stylish and safe
High reliability and stability
Insulation for “wet hands” operation
Reactive touch button sensor
iWiscloud smart switches automatically establish local out-of-band 2.4Ghz mesh control
Riding on proprietary Nebula protocol, our switch has self-learning programmable
One button press to control multiple switch outputs
Multi button to control one common output
One button press to activate multi-level floors switches
Deployed with iWiscloud Smart Home Control Center allows additional features.
Status feedback of smart switches
Control it remotely via smartphone or webpages
Build your own unique lighting profile
1.2.Product model summary
Model Category
Model no.
Relay used
No. of terminal
(gang)
Basic
Wis-SN-N1-B-R
Relay version
1-gang switch
Wis-SN-N2-B
2-gang switch
Wis-SN-N3-B
3-gang switch
Wis-SN-N1-B-BTA
BTA version
1-gang switch
Wis-SN-N2-B
2-gang switch
There might be discrepancies with this manual and the actual product received as our product is
constantly being improved upon. Please go to http://en.iwiscloud.com to download the latest
product manual. This product is only to be used as intended and any misuse will void the
warranty of the product.
Wiscloud is grateful for your choice to purchase our iWiscloud smart switch. For your safety and
maximizing our product capabilities, we would highly encourage you to study this operation
manual in details and safe keep for future reference.
This product had been designed and manufactured in accordance to strict International safety
standards and achieved 3C & CE certifications. (In the Midst of applying for FCC & LC
certifications)
prevention measures
network when deployed
functions that achieve

Wis-SN-N3-B
3-gang switch
Elite
To input
1-gang switch
To input
2-gang switch
To input
3-gang switch
To input
1-gang switch
To input
2-gang switch
To input
3-gang switch
Professional
To input
1-gang switch
To input
2-gang switch
To input
3-gang switch
To input
1-gang switch
To input
2-gang switch
To input
3-gang switch

1.3 Product functions
Function
Steps Ref
Description
Model
Basic
Elite
Pro
“Single gang”
pairing mode
2.1
Programming paired smart switch
(gang) terminal points
Note: Model limit no. of paired
terminals
(3)
(10)
(10)
“Electronic
status
feedback”
pairing mode
2.2
To reflect status feedback from
other paired terminal points.
“Reset pairing”
mode
2.3
To reset pairing instructions for
selected terminal
“Paired
feedback”
pairing mode
2.4
Status reporting pairing to
iWiscloud control centre or
Wisbox Mini on device functional
status, operating hours & energy
consumption (current & voltage)
x
“Trigger” mode
2.5
Momentary activation of the
switch relay. Commonly used for
doorbells like
“Repeater”
mode
2.7
Repeat received instructions to
other switches for range extension
“Factory reset”
mode
2.8
Return the smart switch to its
initial configuration
Sparkless
design
Arcless switch design, prevent
spark creation
Antiovervoltage
Overvoltage prevention
mechanism
Antioverheating
Overheating prevention
mechanism
The iWiscloud smart light switch has many functions to assist you in your everyday life. Please
refer to the summary table below on the different models and its respective functions.

1.4 Product Wiring Diagram
Three-gang switch terminal port
Red: Live
Blue: Neutral
Yellow Line: Load
LNL2
LNL1 (1)
L3 (2)
LNL1L2L3
One-gang switch terminal ports
Two-gang switch terminal ports
Three-gang switch terminal ports

1.5 Installation steps
1.6Product specifications
Operating voltage:
100-240VAC 50\60Hz (Relay)
100-125VAC 50\60Hz (BTA)
Load breakage capacity:
Overall 1500W (Relay)
Per gang point ≤200W (BTA)
Energy consumption:
<0.5W
Gang terminal touch-sensory
lifespan:
≥ 100,000 times at 220V operating voltage
Working Temperature:
-50°F to 140°F (-10℃ to 60℃)
Dimensions:
4.8 in * 2.9 in (122mm * 74mm)
Cover Material:
ABSNon-flammable material
Transmission frequency:
2.4GHz
Installation limitation:
It cannot be installed in a metal shield and

magnetic interference place

2 Operational function steps
iWiscloud smart switches have features that are activated by pressing and holding on gang
2.4 Paired feedback pairing (whole switch)
2.5 “Trigger” switch mode
2.6 Repeater mode
terminals for varying length of time. The following paragraphs describe each of these
features according.
2.1 Single gang pairing mode:
Begin by pressing and holding on to the to-be-paired button. Let go the button after the
first buzzer sound and the selected button should flash in blue. This would indicate it is
in single gang pairing mode. Next, press the stimulus (neighbor iWiscloud switch button
or Wisbox Mini smart light icon or iWiscloud smart home control center icon) that you
like to associate with the to-be-paired button. The “pairing” process is complete after
the to-be-paired button stop flashing. From then onwards, this button will be activated
whenever the associated stimulus is activated.
2.2 Electronic status feedback pairing
Press and hold onto any button on the switch for two buzzer sounds. While in this pairing
mode, all the buttons should sequentially flash in blue. Now, select the power consumption
button on iWiscloud Control Centre or Wisbox Mini to complete the pairing. From then,
this smart switch report electronic status to iWiscloud Control Centre or Wisbox Mini on
switch functional status, operating hours & energy consumption (current & voltage)
2.3 Reset pairing
To reset a particular button of this switch, simply press on to the “to-be-reset” button. Let
go after 3 buzzer sounds. The button should flash in blue for a couple of times to indicate all
earlier paired instructions are cleared.
Press and hold the any button for 4 buzzer sounds. After which the button will emit a blue
light. During this time press the desired buttons that you would like to associate with the
switch for paired feedback
Press and hold on to the desired button for 5 buzzer sounds. The button will flash in blue for
a while and deactivate itself. In this mode the button will function similar to a “doorbell”,
momentarily activating then deactivating.
To reset a trigger paired button, simply press and hold on the trigger button for another 5
buzzer sounds. The button should start flashing blue which indicates that the trigger
modehas been successfully reset. The button should then work normally, it will be active
when pressed and only deactivate when pressed again.
If the distance between two desired switches is too far apart that it prevents pairing
normally, you can use another switch in the middle of the two to act as a relay or repeater to
pair both the devices together. For example, you would like to pair switch A and C together
but due to the distance you are unable to do so. However, you can still pair switches A and
C together by having a third switch in-between A and C, Switch B to act as a relay for the
switches A and C. (Flat layer generally does not use this feature)

The switches are able to achieve this by attaching a specific id to the informationbeing sent
2.6.1 Within the same network, resuming between switches:
2.6.2 Resume within a network switch between different: (As shown)
2.7 Restore factory configuration
3 Product Checklist
Items
Quantity
Wiscloud smart switch (US edition)
1
Instruction Manual
1
Fastening screws
2
Warranty Card
1
Quality Control Certificate
1
4 Warranty coverage
A
B
C
to the relay so that the information will be sent correctly from A through B to C
Switch
If the switch A and switch C learning cannot achieve mutual control due to distance,
you can choose between the two as a signal relay switch, provided that the A and C
learning does not happen for total control. First, you must enter the master control mode
switch B (already completed study on total control mode without having to learn again);
press any way switch A buzzer sound 6 prompts to let go, meanwhile the blue light is
flashing, press the switch B any way, keep pressed until blue light stops blinking. Press
switch C again, you will hear the sound of the buzzer to let go. While the blue light is
flashing, press the switch B any way, all the way until the blue light stops. Proceed to
switch A, switch B and C to copy the successful ID, this time to start learning the
control of A and C switches.
If the switch A and switch C distance learning cannot achieve mutual control, you can
choose between a switch as a signal repeater, and provided that the switch A and C have
entered in the master control. The two switch ID are different; hold switch B, until the
sound of the buzzer 7 notifies you let go. The whole way the blue light is flashing, press
the switch in any way, the blue LED blinking stops. Any long press on switch B
holding down again, the sound of the buzzer 7 sounds to let go, meanwhile the light is
blinking blue, press switch C; at this time, it starts learning the control of A and C
switches.
To perform a factory reset, simply press any button and hold for 8 buzzer sounds. All buttons
on the switch will be reset to factory configuration.
Wiscloud Singapore PTE LTD provides the following International warranty coverage for
iWiscloud smart switch:

Warranty Period
18 months
Scope of Warranty
Electronic parts & sensory module
Warranty Service
Carry in - one to one product exchange
iWiscloud smart switch is warranted for the specified Warranty Period from the date
of original retail purchase (proof of receipt required) against defects in quality and
Abnormal usage includes (force majeure), but limited to, deliberate damaging,
Wear and tear damage includes, but not limited to, exterior surface defects due to
This warranty does not cover missing accessories or external parts of the product. Such
5 Company Information
6 Customer Support
materials under normal, non-commercial use. Abnormal usage caused damage is not
warranty covered. Wear and tear damage is also not warranty covered.
disassembling, dismantle, manipulating warranty sticker, power overloading, water
damaging or other man-made caused product damages.
natural environmental cause and mishandling.
claim should be made within 3 days from the date of original retail purchase with the
supplying agent.
For the avoidance of doubt, minor imperfections within design specifications and that do
not materially alter functionality of the product are not considered a defect under this
warranty
Wiscloud Technology PTE LTD (Singapore)
Address: 62 Ubi Road 1, Oxley Bizhub 2 #08-13, Singapore 408734
Website: http://en.iwiscloud.com
Email: support@iwiscloud.com
Wiscloud Singapore PTE LTD (Singapore) reserves its right in the terms and conditions
interpretation found within this operational manual.
US Customer Support: (909) 228-0080
E-Mail: support@iwiscloud.com
Manufacturer Phone: (400) 618-0679
URL: en.iwiscloud.com

This device complies with Part 15 of the FCC Rules. Operation is subject to the following two conditions: (1) This device may not
cause harmful interference, and (2) this device must accept any interference received, including interference that may cause
undesired operation.
Caution: Changes or modifications not expressly approved by the party responsible for compliance could void the user's authority to
operate the equipment.
NOTE: This equipment has been tested and found to comply with the limits for a Class B digital device, pursuant to part 15 of the FCC
Rules. These limits are designed to provide reasonable protection against harmful interference in a residential installation. This
equipment generates uses and can radiate radio frequency energy and, if not installed and used in accordanc e with the instructions,
may cause harmful interference to radio communications. However, there is no guarantee that interference will not occur in a
particular installation. If this equipment does cause harmful interference to radio or television reception, which can be determined by
turning the equipment off and on, the user is encouraged to try to correct the interference by one or more of the following measures:
--Reorient or relocate the receiving antenna.
--Increase the separation between the equipment and receiver.
--Connect the equipment into an outlet on a circuit different from that to which the receiver is connected.
--Consult the dealer or an experienced radio/TV technician for help.
 Loading...