

Page 1
Handbuch
Manual
Manuel
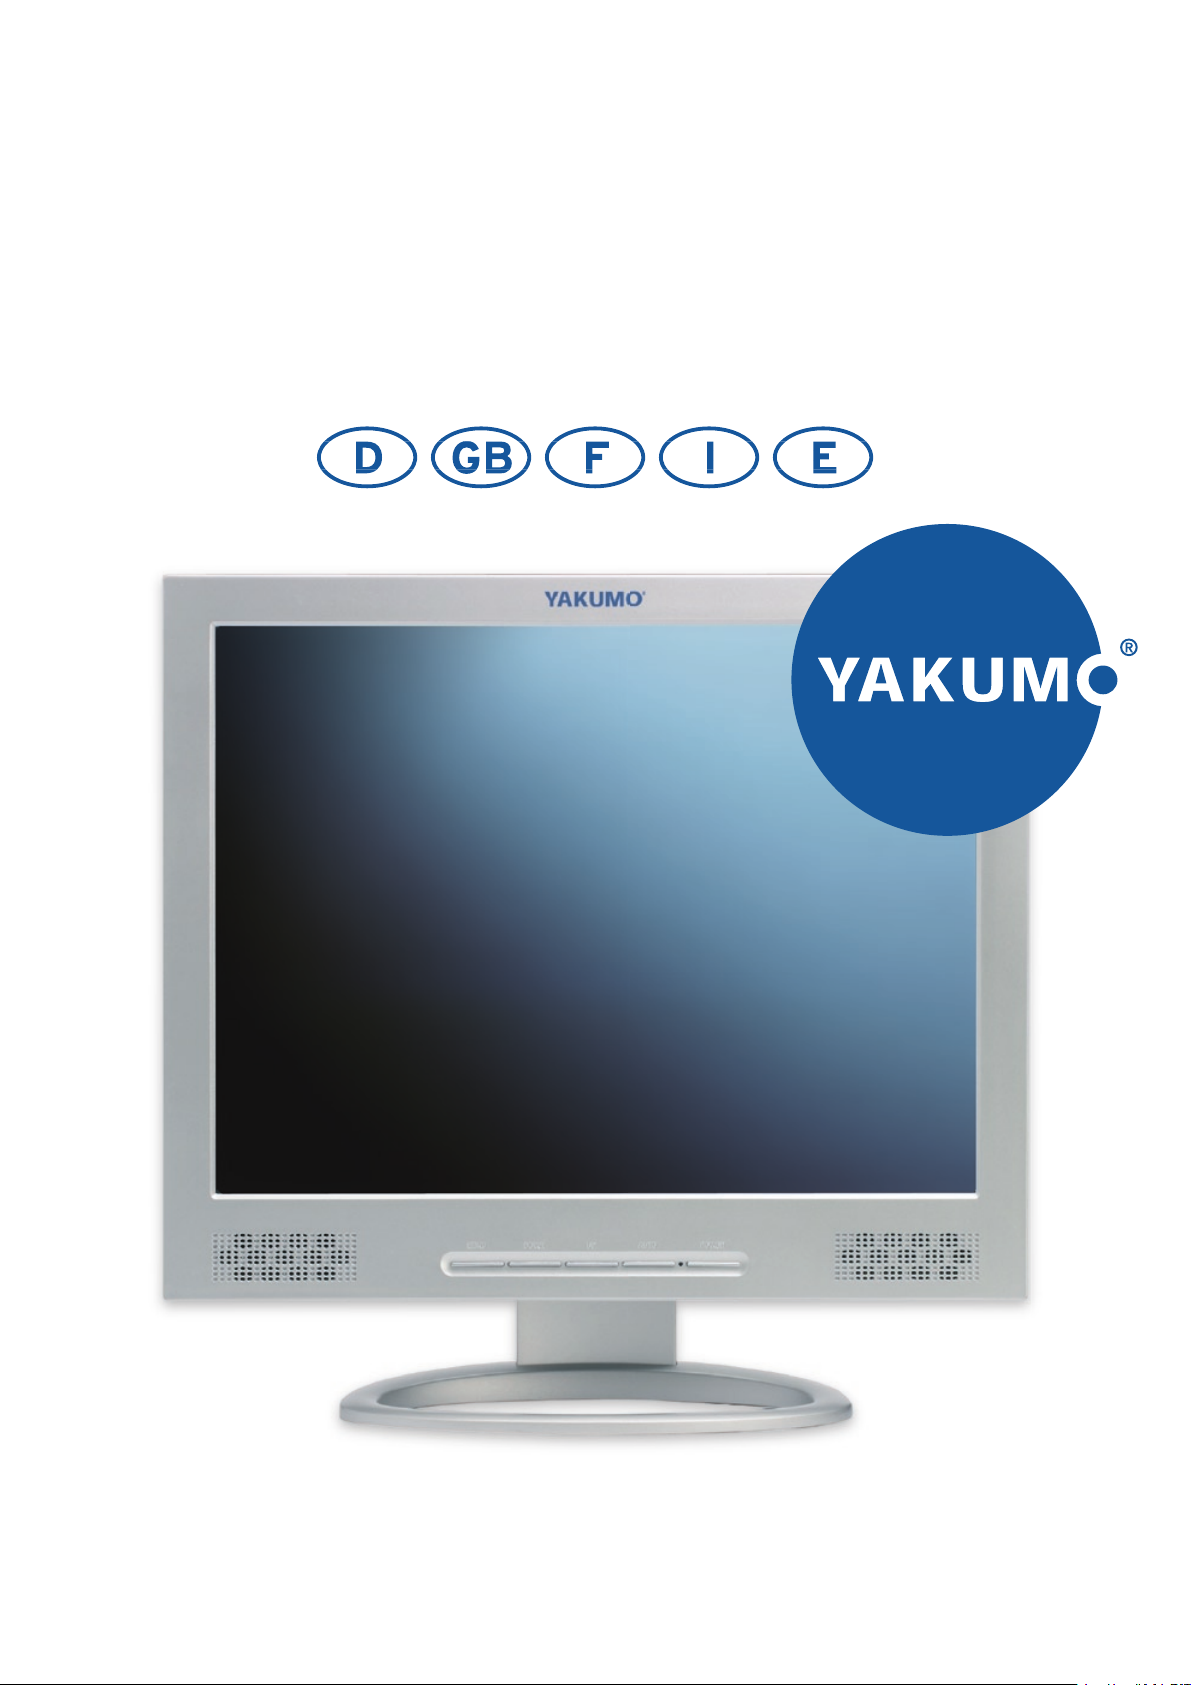
Yakumo TFT 15 SL
Flachbildschirm
Page 2
Page 3
Page 4
Page 5
Your monitor
Pedestal
AC Adapter
AC Power cord
Signal cable
Audio cable
This manual
Page 6

2.1 Install the pedestal
To attach the base to your monitor, please following the steps for
installation of the pedestal as below:
step 1 step 2 step 3
Page 7

1 2 2 3 4
MENU DOWN UP AUTO POWER
5
Page 8

4.1 SWITCHING THE MONITOR ON/OFF
This ON/OFF button is used for switching the monitor on and off.
Note: The ON/OFF switch does not disconnect the device from the
mains voltage. To completely disconnect the mains voltage.
Please remove the power plug from the socket.
4.2 POWER INDICATOR
This indicator lights up green when the monitor operates normally.
if the monitor is in power saving mode, this indicator change to orange.
when monitor is turn off, this indicator change the color to dark.
4.3 VOLUME
This feature adjust the DOWN button to decrease the volume and
UP button to increase the volume.
Important information on audio playback
To achieve optimum sound quality from the monitor speakers,
the audio cable should be connected to the Line-Out socket
(headphone socket) of the computer. If you connect the audio cable
to the Speaker-Out socket (soundcard) of the computer, Please set
the volume under Windows to range between 20% - 40% of the
maximum value to achieve optimum sound quality.
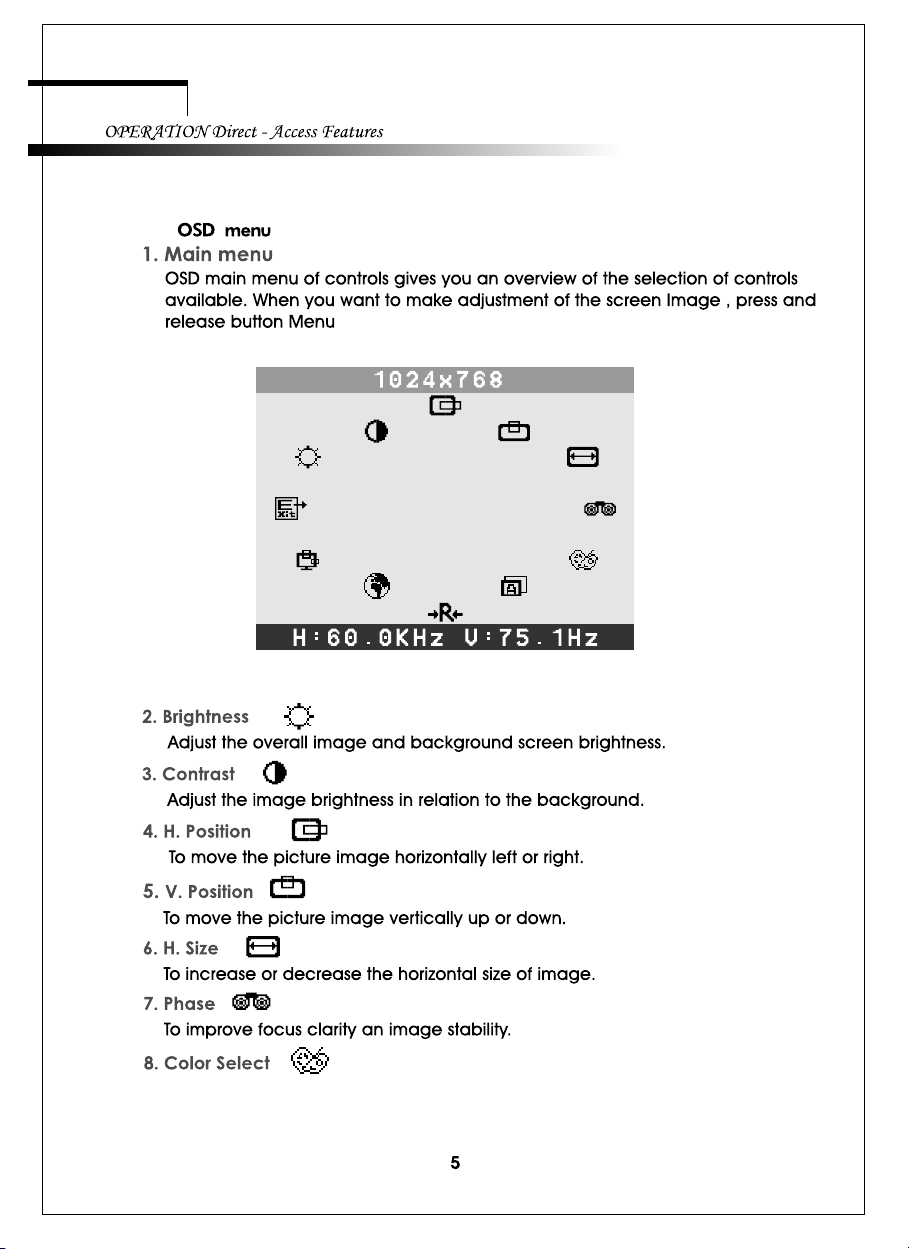
4.4 MENU FEATURES
The following features can all be accessed by using your monitor's on
screen menu system. Once are finished. Making adjustments to a feature,
selecting the exit icon to turn off the menu.
Please follow the procedure of selection and adjust an item using the OSD
system as below steps for main functions adjustment.
Step 1: Press the MENU button to activate the OSD menu.
The main menu appears on the screen with icons for the
setting functions.
Step 2: If necessary, use the DOWN or UP button to mark an
other icon.
Step 3: Press the MENU button to activate the highlighted icon.
Step 4: Use the DOWN or UP button to make the desired setting.
Step 5: Select the EXIT symbol to exit the OSD menu.
Step 6: Repeat step 2 through 5 to make further adjustments.
All changes are stored immediately
Page 9
4.5
BRIGHTNESS
Color Select Menu
Page 10

Page 11

4.6
Mode Resolution
Horizontal
Ver ti ca l
1 720 x 400 31.47 kHz 70 Hz
2 640 x 480 31.47 kHz 60 Hz
3 640 x 480 37.86 kHz 72.8 Hz
4 640 x 480 37.5 kHz 75 Hz
5 800 x 600 37.88 kHz 60.3 Hz
6 800 x 600 48.08 kHz 72.2 Hz
7 800 x 600 46.87 kHz 75 Hz
8 1024 x 768 48.36 kHz 60 Hz
9 1024 x 768 56.48 kHz 70.1 Hz
10 1024 x 768 60.02 kHz 75 Hz
11 1280x1024 63.98 kHz 60.02 Hz
12 1280x1024 80.0 kHz 75 Hz
User mode:15" item 1-10; 17" item 1-12.
Page 12

Technical Information
5.1
Page 13

5.2 Troubleshooting
Before calling for service, check the information in this section to see if you
can remedy any problems by yourself. If you need assistance, please call the
dealer where you purchased the LCD monitor.
There is no SCREEN image
The power cord is securely connected to the monitor, the adaptor, and
the wall outlet.
Check the signal cable connection between the monitor and the computer.
Adjust the brightness and contrast controls.
Monitor in power saving mode.
Display image is too large or too small
Use the OSD controls to adjust Auto Setup.
The colors are distorted
Signal cable properly connected.
Use OSD controls to adjust the color control setting.
The image is too light or too dark
Use OSD controls to adjust the brightness and contrast.
There is no sound or sound is low
Check the sound cable connection
Make sure the computer sound program is working
Adjust the volume on sound setting. Adjust your sound card or
computer volume setting.
Adjust the volume control keys on the monitor
Page 14
5.3 Visual Inspection
Even the normal pixels on the LCD
screen reach 99.99% or higher, there
may be 0.01% or less pixels showing
dark or light while displaying.
Page 15

 Loading...