

Page 1

HigHRolleR
CROSSBAR SPREADS
WHEEL STRAP
1X
rear Wheel tray
Wheel Grip
• Up to 2 HighRollers: 16” (41cm)
minimum crossbar spread
• More than 2 HighRollers: 18” (46cm)
minimum crossbar spread
• Maximum crossbar spread is 46”
(117cm)
BiG hoop
small hoop
adjuster KnoB
THUMBWHEEL 2X
red Button
WHEELTRAY BOLT
(LONGER)
1X
SNAP AROUND
3X
HEX KEY
1X
Baseplate
BASEPLATE COVER
2X
HEX BOLTS 2X
(optional MightyMount attachments)
SNAP AROUND (3X)
BASEPLATE BOLTS
(SHORTER)
2X
Page 2

Do you have - square - rounD - or oTher - crossbars?
SQUARE
ROUND
Loosen the tabs in the
SnapArounds by bending
them repeatedly.
• Attach 1
SnapAround on rear
bar for wheeltray.
• Attach 2
SnapArounds
on front bar for
baseplate.
• Attach 1
SnapAround on rear
bar for wheeltray.
• Attach 2
SnapArounds
on front bar for
baseplate.
Remove the
tabs with
scissors or
pliers.
HATCH INTERFERENCE:
HighRoller can face opposite direction
when there is hatch interference.
+
HATCH INTERFERENCE:
HighRoller can face opposite direction
when there is hatch interference.
+
MIGHTYMOUNTS:
• Attach 2 MightyMounts on the rear bar
OTHER
1033349G-2/21
and 1 on the front bar.
• If your MightyMounts require bar caps,
install them now. Metal bar caps should
be applied to back crossbar (front of bike
mount). Refer to this diagram in place of
your MightyMount instructions.
MightyMounts purchased separately
(refer to the YAKIMA Fit List for correct
MightyMounts for your vehicle).
UNIVERSAL
MIGHTYMOUNT
#03590
REAR OF VEHICLE
Follow the Universal MightyMount
instructions and refer to this instruction for
correct installation.
Page 3

Lift both hoops until they stop.
Remove baseplate cover. Press sides and lift to expose bolt holes.
Position mount anywhere
on crossbars.
Insert short
baseplate bolts
through bottom of
SnapArounds into
baseplate.
LOOSELY ATTACH
THUMBWHEELS.
If you position the front mount straddling a tower, the
wheel tray can attach to either side of the rear tower.
MightyMount users:
• Remove embedded nut
in thumbwheel.
• Push hex bolt into top of
knob until fully seated.
• Insert hexogaonal bolts
through thumbwheels
into baseplate.
• LOOSELY ATTACH
THUMBWHEELS.
Slide wheeltray bolt into
rear end of wheeltray.
1033349G-3/21
MightyMount users:
Remove embedded nut in
MightyMount.
Align bolt to hole...
SECURE WITH
HEX KEY.
Page 4

Tighten Thumb Wheels.
Replace baseplate covers.
(They should snap into place).
ATTACH WHEEL STRAP
• Insert one end of
strap into slot on far
side of Wheeltray.
• Leave other end free.
Move big hoop forward.
Slide wheel grip until it
aligns to your tire size.
Some downhill
tires may require
a higher setting.
Find the tire size of
your front wheel.
DO NOT USE MOUNT
WITH WHEELS
UNDER 20" (51cm)
Open wheel grip handle.
While holding small hoop,
press red button.
1033349G-4/21
The wheel grip
handle must align to
a number before it
will close.
Small hoop should lay flat.
Page 5

Lift bike and place front
wheel in front hoop.
Roll bicycle forward in front tray.
TIGHTEN
ADJUSTMENT KNOB.
Smaller hoop should
compress against tire. If
wheel moves, tighten more.
Lift small hoop to rest against tire.
CENTER TIRE IN WHEELGRIP.
See your lock
instructions for
installing lock. Loop
cable around frame
and insert silver post
into lock housing.
CLOSE THE STRAP.
• Insert strap end behind buckle.
• TIGHTEN strap by repeatedly lifting buckle.
• DO NOT OVERTIGHTEN.
Lock your HighRoller
between towers on
crossbar
when not in use.
CHECK TIRE FOR TIGHT FIT.
• If not tight, loosen strap.
• Adjust position of strap and strap
base until strap rests against rim.
• TIGHTEN strap again.
Pull the strap through wheel
spokes.
Do not let the strap
push against the
valve stem.
Keep strap centered
on small wheels.
1033349G-5/21
Page 6

UNLOAD BIKE: FRONT WHEEL
SUPPORT SMALL HOOP.
Press red button.
To release rear strap,
push tab in buckle.
SUPPORT BIKE.
Lay hoop flat.
Loosen
adjustment knob
until small hoop
is loosened.
Small hoop
will lower.
Roll back and lift bike out.
Lower both hoops when
not in use.
BEFORE DRIVING AWAY:
If there is
contact, check
wheel setting.
CHECK THE FRONT WHEEL.
If it is loose or it moves, be sure knob
is tight and wheel is centered!
CHECK THE REAR WHEEL.
Tighten the strap if needed.
DO NOT OVERTIGHTEN
THE STRAP!
CHECK FRONT WHEEL
ATTACHMENT TO
BICYCLE FORK.
CHECK THE HEX KEY AND THE
OBLONG KNOBS.
If they are loose, tighten them.
MAKE SURE YOUR
TIRES ARE FILLED
TO RECOMMENDED
PRESSURE FOUND ON
THE TIRE.
OFF-ROAD
DRIVING
is not
recommended
and could
result in
damage to
your vehicle
or your bike.
1033349G-6/21
Page 7
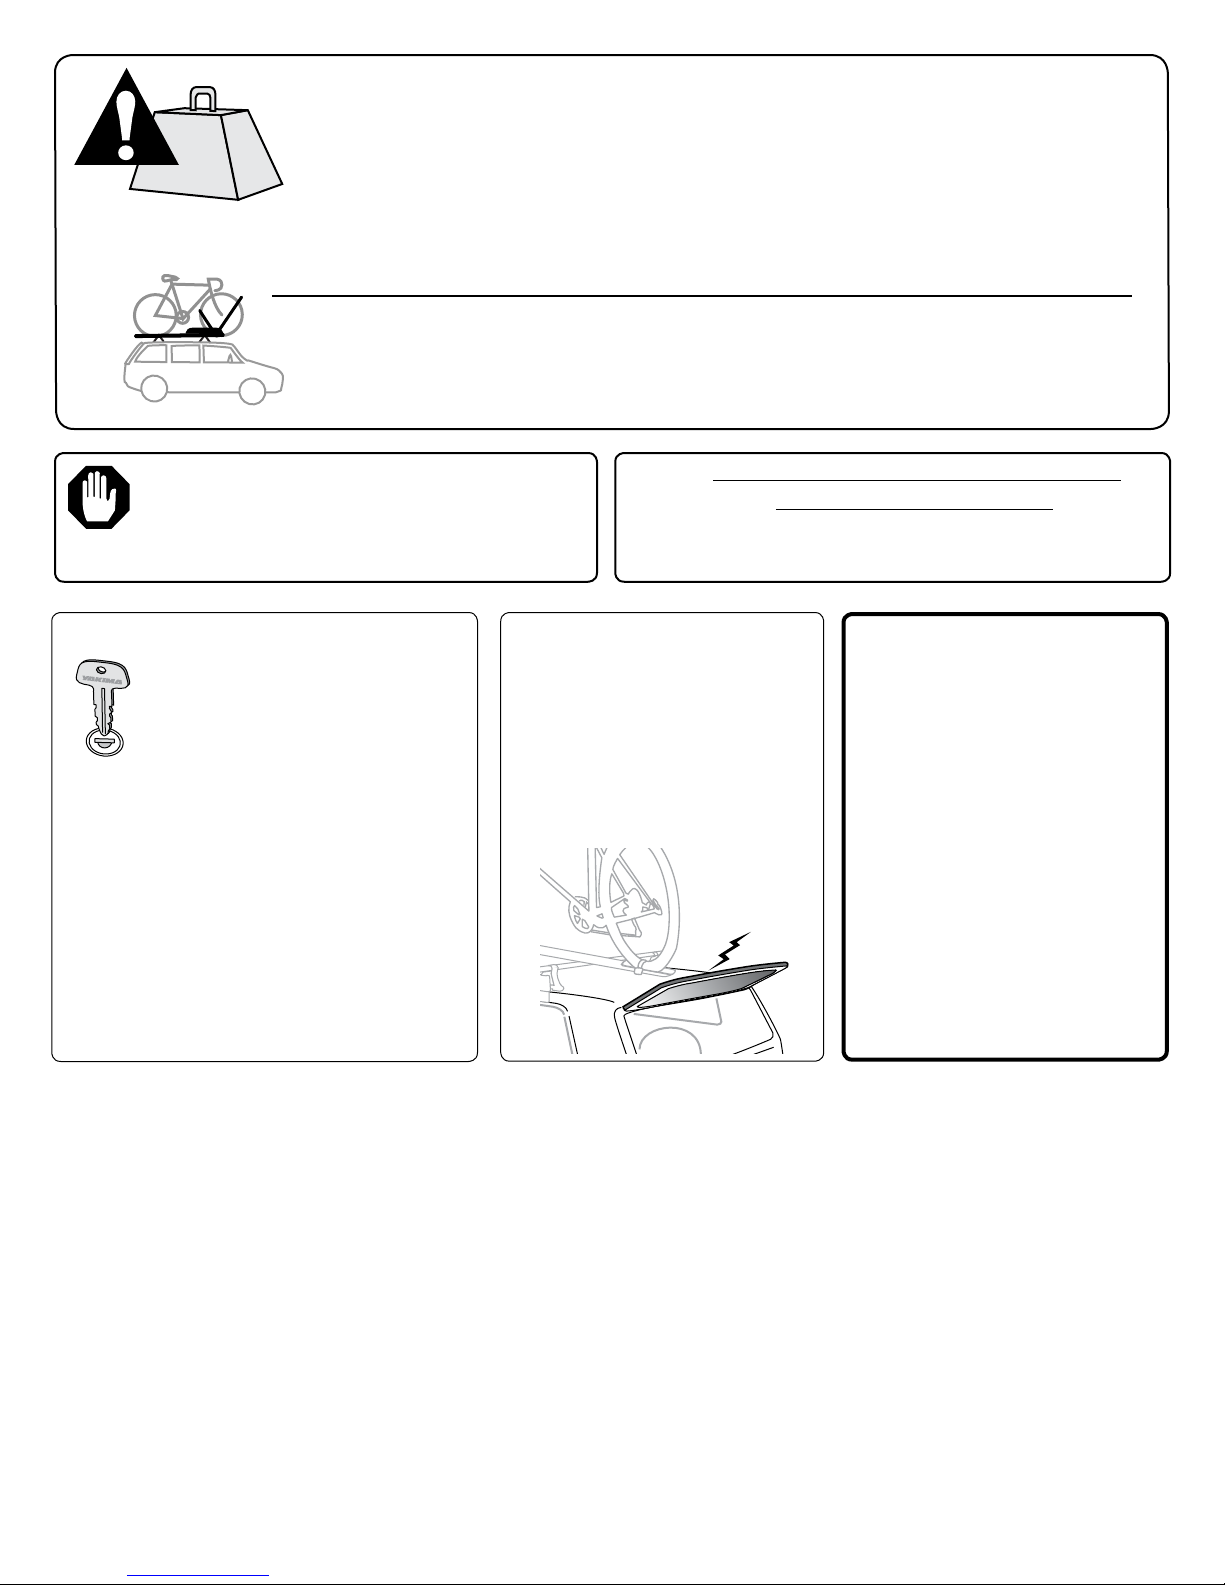
WEIGHT LIMITS
Follow the YAKIMA Fit List or your owner’s manual for
your rack’s weight limit. Do not exceed the factory
weight limit of your vehicle’s racks.
Maximum rack’s weight is 165 lbs. (75 kg) unless otherwise noted.
BIKE WEIGHT LIMIT:
MaxIMuM bIKe WeIghT Is 50 Lbs. (23 Kg).
DO NOT TRANSPORT BICYCLES WITH
ATTACHED BABY SEATS, PANNIERS, WHEEL
COVERS, FULL BIKE COVERS OR MOTORS.
YAKIMA ACCESSORY LOCKS
CAN LOCK THE MOUNTS TO
THE RACKS
(lock housings purchased
separately)
• There must be adequate clearance for
installing accessory locks.
• If the accessory lock housing comes
in contact with the vehicle, even after
loading the rack, do not install them.
IF YOU REMOVE YOUR CARRIER, FOLLOW
Follow safety checks in accessory
instructions before every installation.
REAR HATCH
Some longer loads may
prevent the rear hatch
from fully opening.
ALWAYS USE
CAUTION WHEN
OPENING YOUR HATCH.
INSTRUCTIONS TO INSTALL.
WARNING
BE SURE ALL HARDWARE
IS SECURED ACCORDING
TO INSTRUCTIONS.
ATTACHMENT
HARDWARE CAN LOOSEN
OVER TIME. CHECK
BEFORE EACH USE, AND
TIGHTEN IF NECESSARY.
 Loading...