

Page 1
Model: VIS449E
Colour 25m Long Range
IR Nightvision Camera
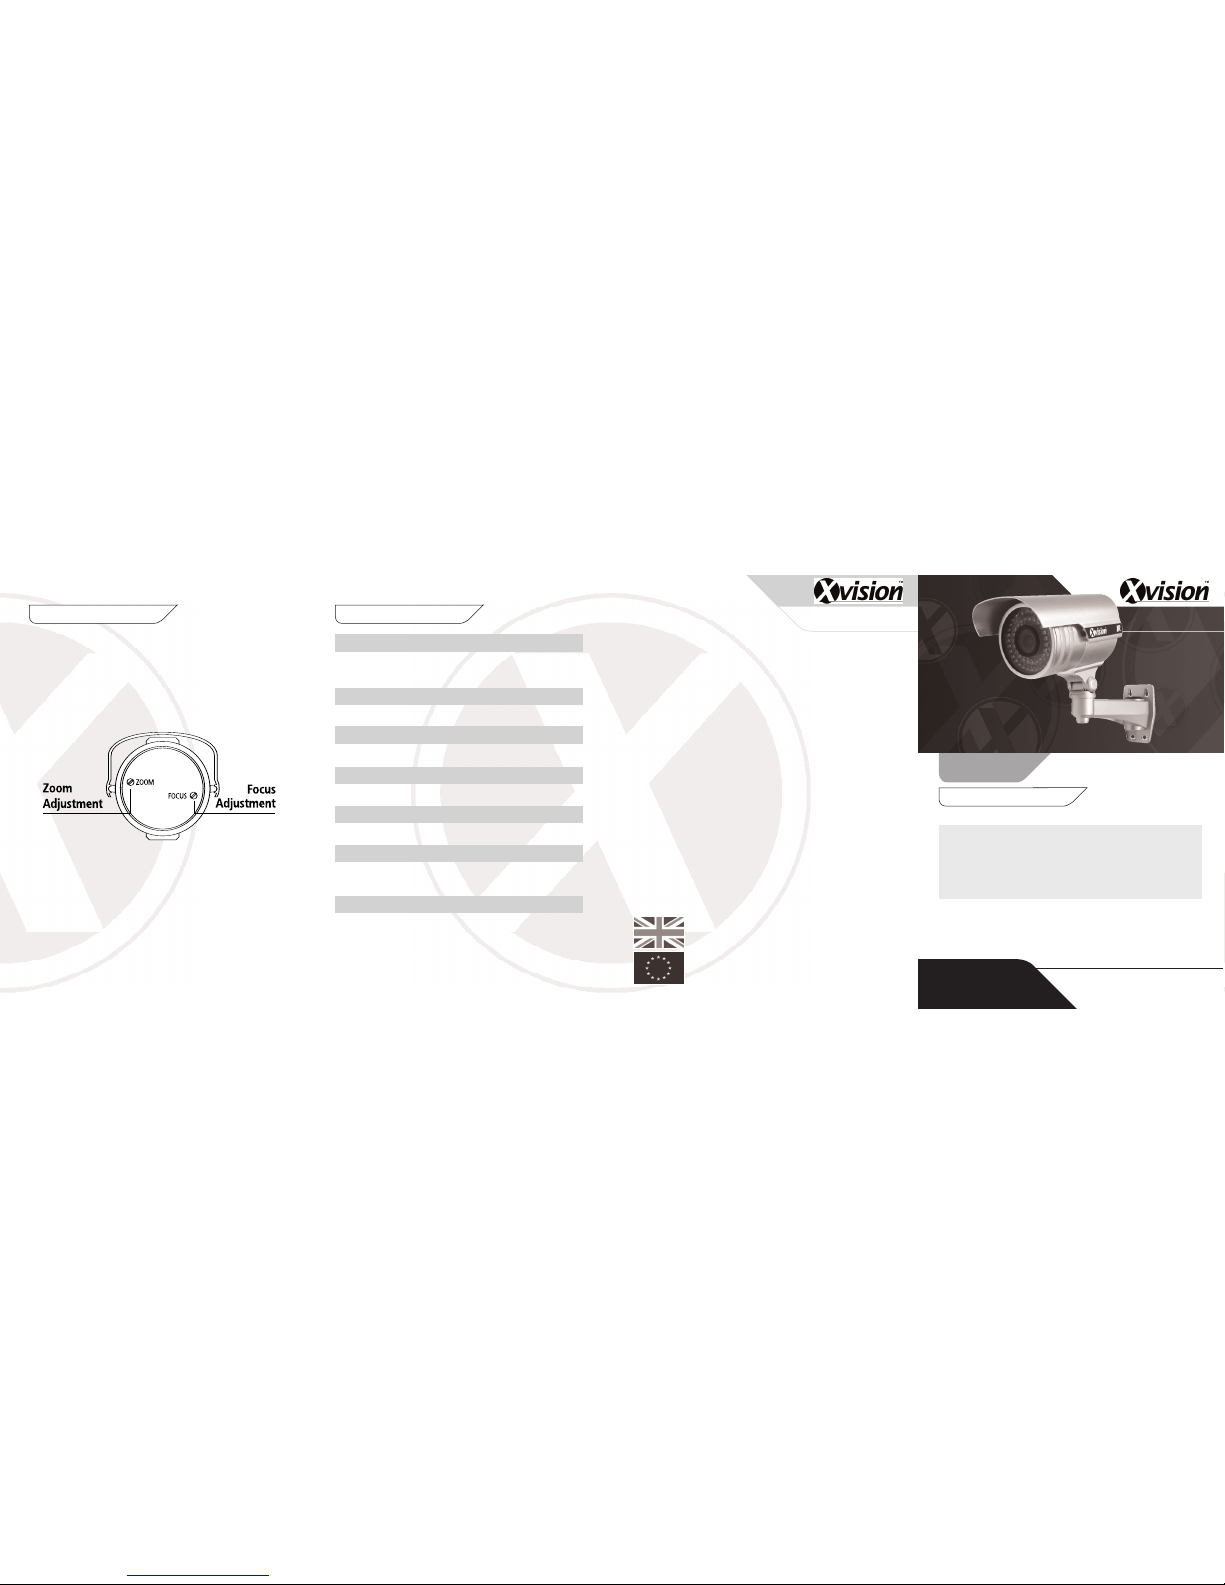
1. Zoom and Focus Adjustments can be made on the back panel of the
camera. Remove the rubber grommets to reveal the screw adjusters
(as shown below). Use a small flat head screwdriver to adjust both
zoom and focus to your required settings.
To ensure the camera remains weatherproof be sure to replace the
rubber grommets, non use of the rubber grommets will void the
product warranty.
CCTV
CCTV
Model:
VIS449E
Colour Long Range Varifocal IR
Cameras with 25 metres Nightvision
Manufactured exclusively for:
Xvision (Europe) Group,
Head Office: London, U.K.
Email: [email protected]
Web: www.x-vision.co.uk
TECHNICAL SUPPORT:
For Technical Support for any Xvision product please contact your local
distributor.
LIMITED WARRANTY:
This product is supplied with a limited 1 Year warranty.The Warranty
excludes products that have been misused, (including accidental
damage) and damage caused by normal wear and tear.In the unlikely
event that you encounter a problem with this product, it should be
returned to the place of purchase.
Should you require replacement LEDs please contact your local
distributor.
Before you begin
• Please unpack the box carefully and identify that all the parts are present.
• Do not cut the camera cables, this will void the warranty.
• Make sure you use only the recommended power supply.Damage caused to the camera by
incorrect voltage or wiring is not covered by the warranty.
The camera is suitable for indoor or outdoor use.Please bear in mind the following points when
choosing a mounting position.
•The camera must be positioned so that it will not point directly into the sun (sunrise and
sunset) or any bright light, as this may cause damage to the camera.
•Avoid viewing areas where half the area is in bright sunlight and the other half is dark,
such as in the shadow of a building.All types of cameras have difficulty in ‘seeing’ with
such a large lux level variation.
Specifications7. Controls
Model: VIS449E
Picture Type: Day/Night
(B/W & Colour)
Image Sensor: Sony 1/3” CCD
DSP: Xvision E1DN
Resolution: 480 TVL
Lens Viewing Angle: 30 to 64°
Infra Red Nightvision: 25 metres
Minimum Illumination: 0 Lux/ 0.1 Lux (IR On)
Audio: No
Operating Voltage: 12V DC 1500mA
Suggested Power Supply: 12V DC 3500mA Regulated
Mounting: Wall (Cable managed bracket
supplied)
Weatherproofing: Yes
Dimensions (ØxD): 84mm x 124mm
Page 2
Sony 1/3" CCD image sensor for 480 TVL resolution images and 0.1 lux
low light sensitivity
The VIS449E features Varifocal 4.0 to 9.0mm lens with 30° to 64°
viewing angle for super sharp images and easy selection of the
optimum viewing angle during installation.
Integrated Long Life Infra Red LEDs turn on automatically when the
camera switches to B/W mode and provide up to 25 metres
Nightvision.
3. Features
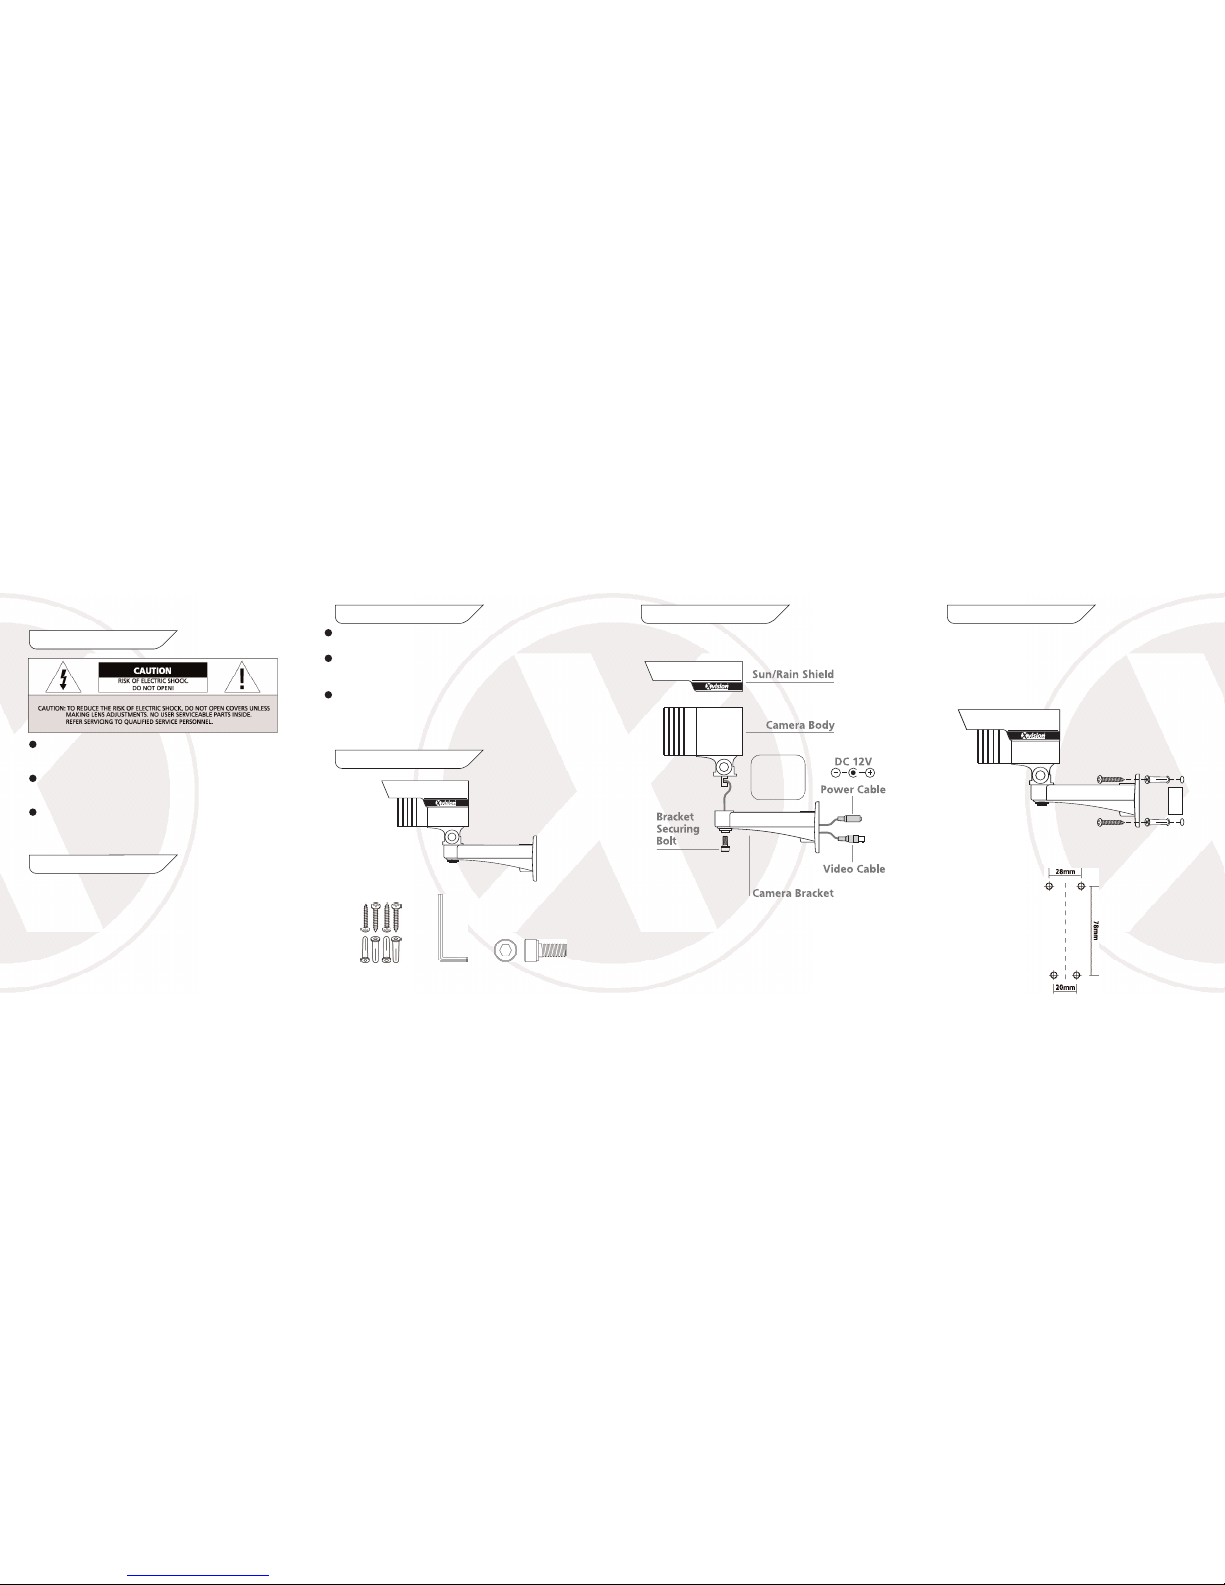
4. Contents
Thank you for purchasing this Xvision camera. Before operating this
product, please read this instruction manual carefully.
When in use please avoid direct contact with eyes and do not touch
the camera body as it can get very hot.
When installing the camera, please avoid pointing it directly at
paper or flammable materials.
Please avoid all direct contact with the tempered glass cover to
avoid contamination. If you need to clean the cover use cotton wool
balls dipped in alcohol or glass wipes.
The VIS449E colour long range IR camera is designed for high risk
applications. It offers very high resolution 480 TVL images from its Sony
1/3" CCD sensor and will provide images in complete darkness up to
25 metres and beyond 25 metres in light levels above 0.1 lux. It
features a Varifocal Lens and cable managed bracket and is designed
for internal or external use and can be wall mounted.
1. Safety Precautions
5. Product Assembly
2. Product Description
VIS449E Camera
Hex Wrench4x Fixing Screws
4x Wall Plugs
Hex Head Bolt
1. Make a hole in the wall approximately 30mm wide x 40mm deep.
2. Drill 4 holes and insert the wall plugs.
3. Feed the cables into the wall before fixing the camera using the
4 fixing screws
6. Installation
Fixing Holes Guide-
Not shown actual size
When attaching
the bracket to the
camera be careful
not to damage
the cable.
 Loading...