

Page 1
Warranty
The P-Rail is guaranteed to be free from manufacturing defects for one (1) year from the original date
of purchase.
Defective products will be repaired or replaced at Xtracycle’s discretion. To determine if a warranty
claim is valid you may be required to return the product to Xtracycle for inspection. Xtracycle is not
responsible for removal, installation or shipping costs. This warranty applies only to the original buyer
and is not transferable.
This warranty does not cover damage from use of this product outside of its intended range or that
resulting from modification or neglect. It also does not cover wear and tear resulting from the normal
use of the product.
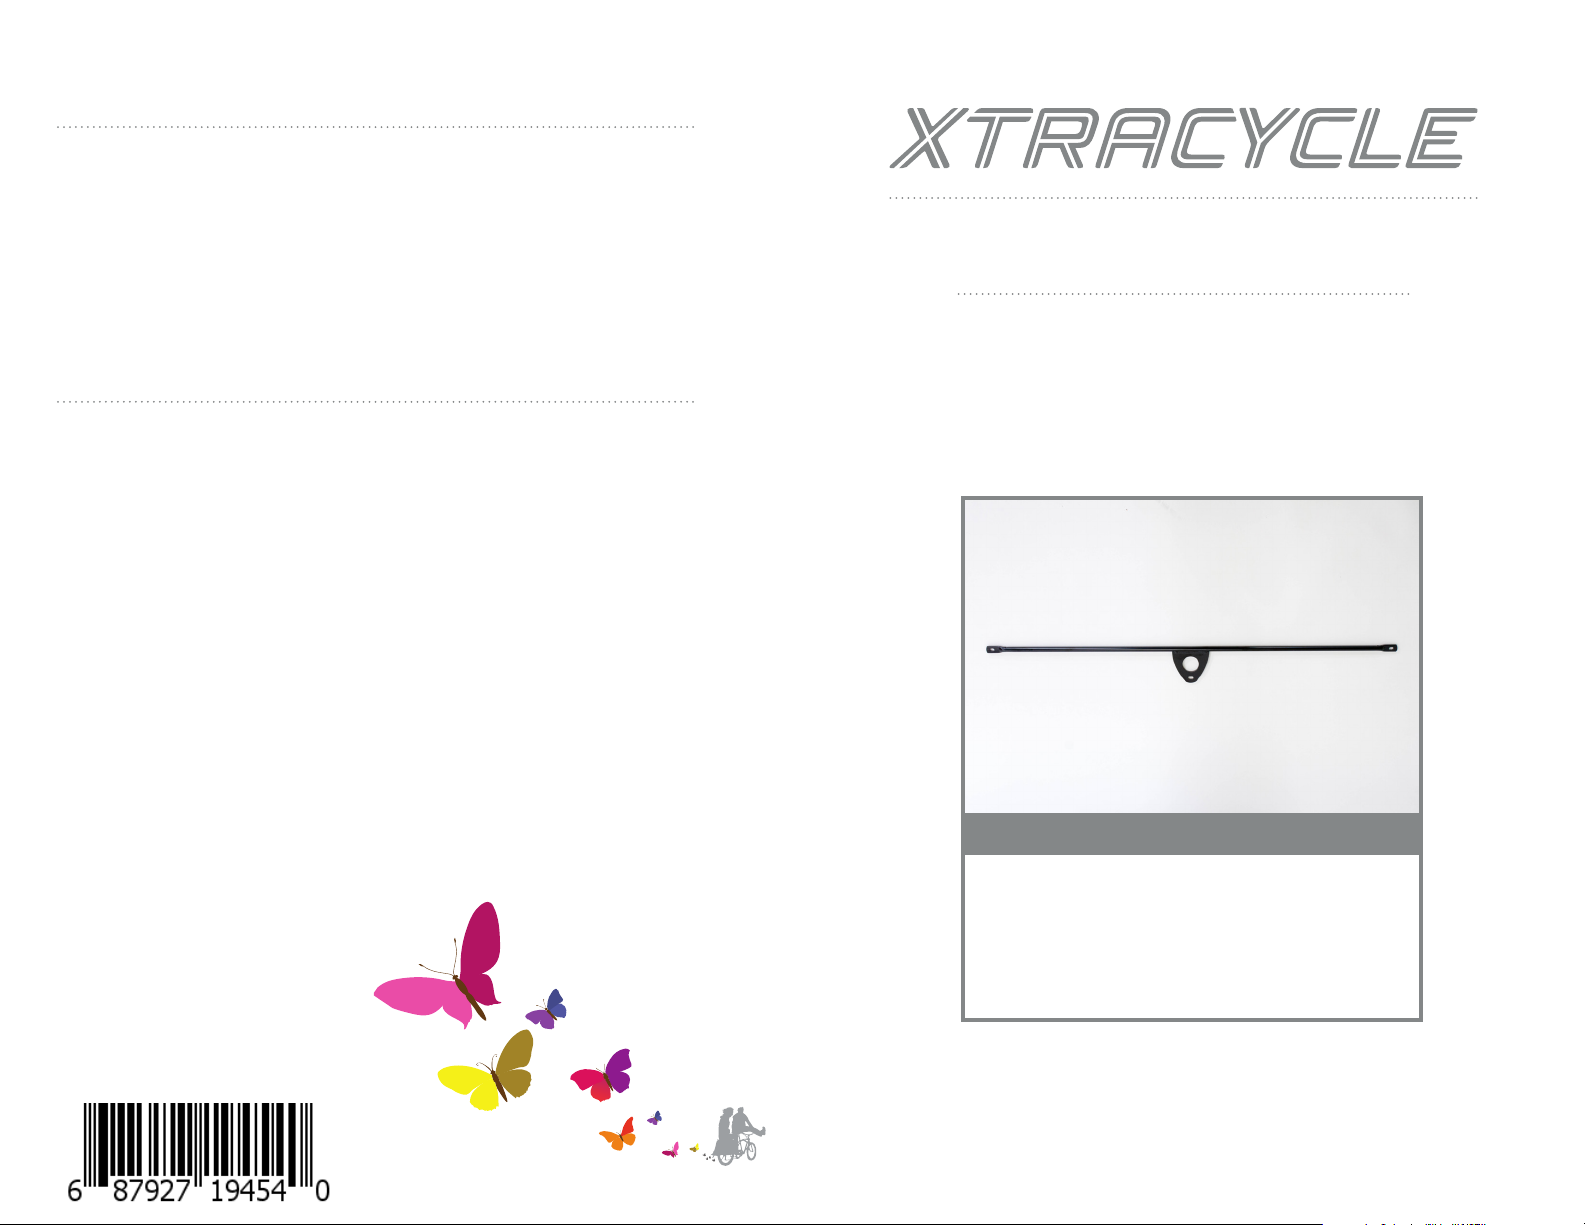
P-Rail
The easiest way to haul your panniers with you
on your Xtracycle.
Our mission:
To empower people with
transformational tools that
move the body and spirit.
www.xtracycle.com
P-Rail
3PN1000
What’s Included:
One P-Rail, Three M5 Bolts.
www.xtracycle.com
REV1
Page 2
STEP 1:
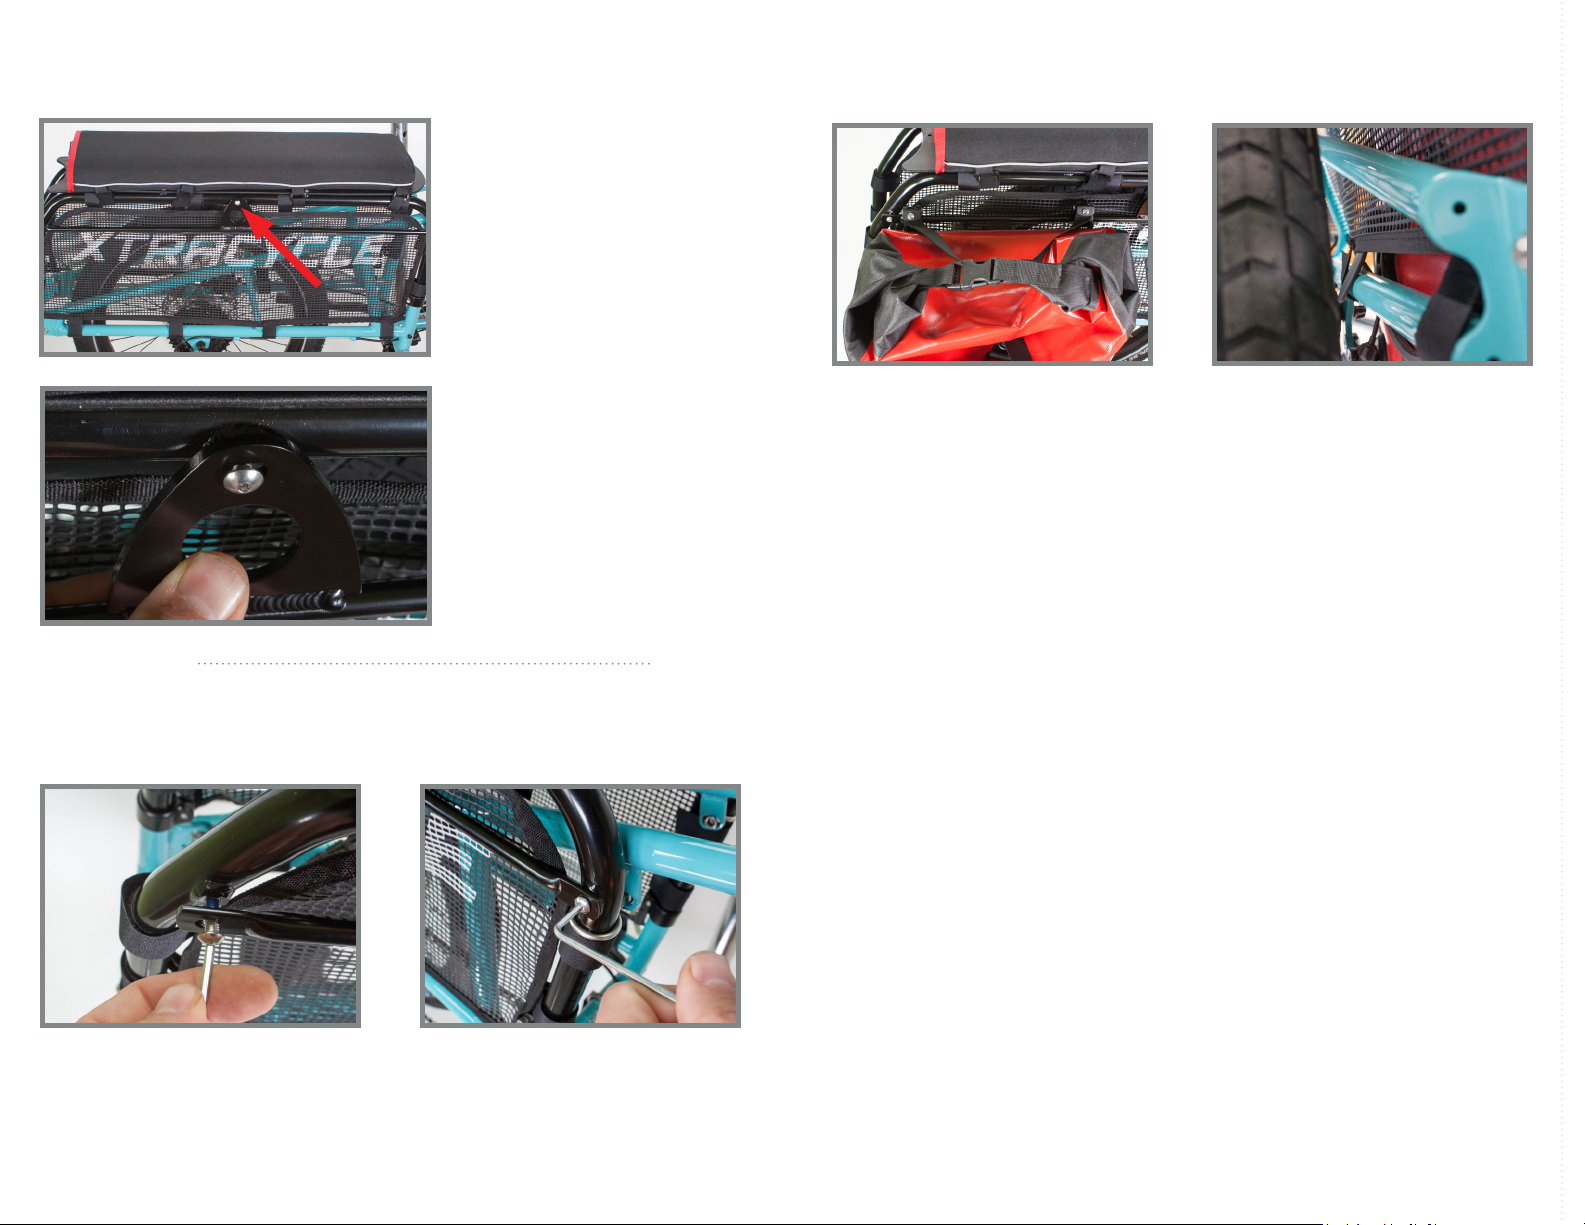
Mounting your panniers:
Loosely attach the center of
the P-Rail to the threaded hole
at the top of your Xtracycle’s
V-Rack, using an M5 bolt. The
rail should hang so that the
eyelets on the end line up with
the other two mounting points
on the V-Rack.
STEP 2:
Be sure to leave enough play
for the P-Rail to rotate and slide
freely.
Pannier hooks attach to the P-Rail in the same way that they mount to a
traditional bike rack. This works especially well for attachments that have a
safety catch built into the hook itself.
Most panniers have a secondary attachment, usually a hook or elastic strap,
designed to keep them from bouncing off. Because many variations exist, some
experimentation and improvisation may be necessary.
With simpler bags, a zip tie attached to the chain-stay or wheel skirt can
provide a good place to attach a hook. Ortlieb style bags that use a plastic
paddle to prevent flapping can often be adjusted to hook over the chainstay of
EdgeRunners.
Note: If you’re using a P-Rail in conjuction with U-Tubes, be sure to test the
bags that you intend to use before heading out on your first ride. Some bags
will hit the U-Tube, and this can interfere with mounting.
Step 2a: Loosely fasten one of the
eyelets to the V-Rack, using an M5
bolt. As before, leave enough play
for the rack to move around.
Step 2b: Install the third M5 bolt
on the other side of the rail. This
time tighten it all the way, then
proceed to tighten the other bolts.
 Loading...