

Page 1

XL-VIP-1918
1.8” Color Display Wifi Sip Phone
User
Ma
nual
Page 2
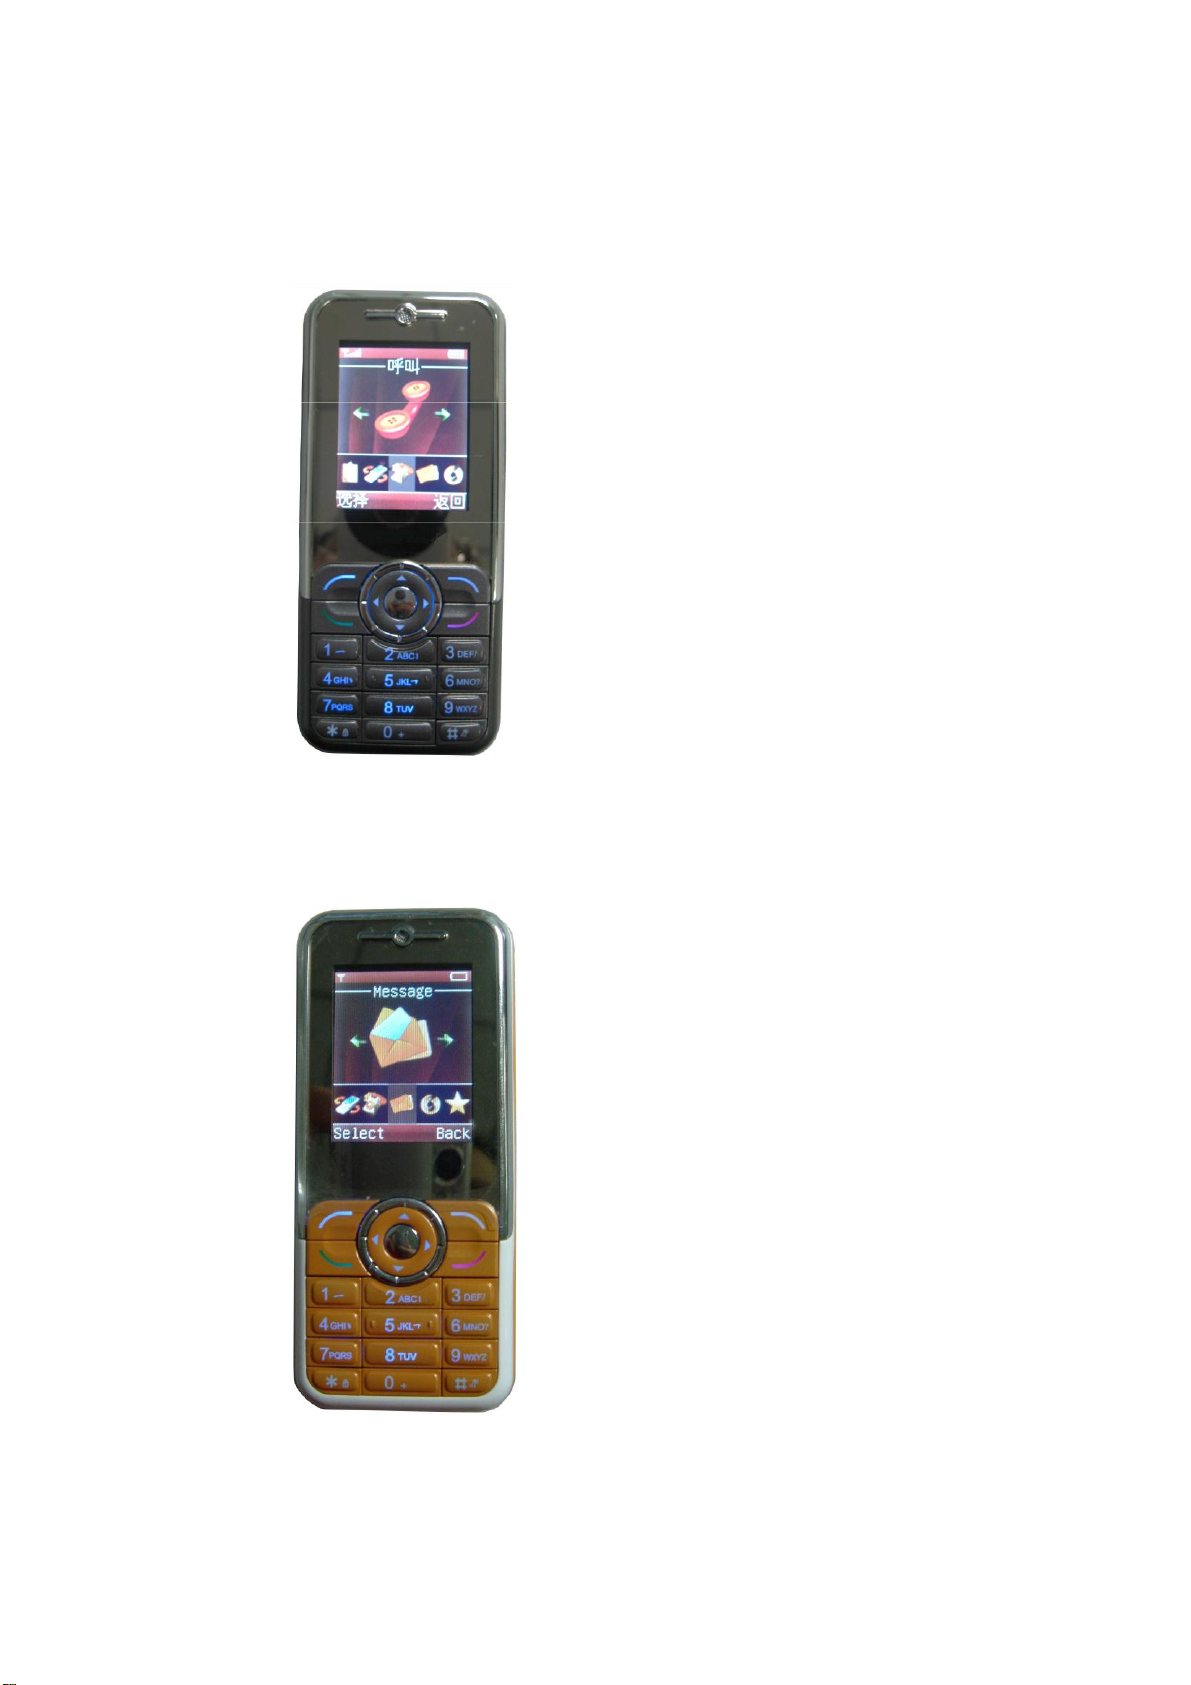
XL-VIP-1918 Wifi Sip phone Hardware Overview:
----------------------------- Black Color
--------------------------- Orange Color
Page 3

Catal
og
Safety Use of the XL-VIP-1918 Wifi Sip phone--------------------------------------------------------------------------------------- 2
Start--------------------------------------------------------------------------------------------------------------------------------------------- 3
Package Contents--------------------------------------------------------------------------------------------------------------------------- 3
Phone Specification------------------------------------------------------------------------------------------------------------------------ 3
Handset Description----------------------------------------------------------------------------------------------------------------------- 4
Key Pad define and text entry------------------------------------------------------------------------------------------------------------ 5
Write Text------------------------------------------------------------------------------------------------------------------------------------- 5
Fit Battery------------------------------------------------------------------------------------------------------------------------------------- 5
Charge Battery------------------------------------------------------------------------------------------------------------------------------- 6
Power on /off-------------------------------------------------------------------------------------------------------------------------------- 6
Keypad lock------------------------------------------------------------------------------------------------------------------------------------ 6
WLAN and VOIP Setting------------------------------------------------------------------------------------------------------------------- 7
Dial/Answer Call----------------------------------------------------------------------------------------------------------------------------- 8
Menu Function------------------------------------------------------------------------------------------------------------------------------ 9
Call---------------------------------------------------------------------------------------------------------------------------------------------- 9
Play-------------------------------------------------------------------------------------------------------------------------------------------- 10
Utilities----------------------------------------------------------------------------------------------------------------------------------------- 10
Setting------------------------------------------------------------------------------------------------------------------------------------------ 10
Status Summary------------------------------------------------------------------------------------------------------------------------------ 11
WLAN Scan-------------------------------------------------------------------------------------------------------------------------------------11
Basic Trouble Shooting----------------------------------------------------------------------------------------------------------------------12
Page 4

Safety Use of the XL-VIP-1918 Wifi Sip phone:
Read these simple guidelines. Not following them may be dangerous or illegal. Read the complete user guide for
further information.
SWITCH ON SAFELY
Do not switch the phone on when wireless phone use is prohibited or when it may cause interference or danger.
ROAD SAFETY COMES FIRST
Obey all local laws. Always keep your hands free to operate the vehicle while driving. Your first consideration while
driving should be road safety.
INTERFERENCE
All wireless phones may be susceptible to interference, which could affect performance.
SWITCH OFF IN HOSPITALS
Follow any restrictions. Switch the phone off near medical equipment.
SWITCH OFF IN AIRCRAFT
Follow any restrictions. Wireless devices can cause interference in aircraft.
SWITCH OFF WHEN REFUELING
Do not use the phone at a refueling point. Do not use near fuel or chemicals.
SWITCH OFF NEAR BLASTING
Follow any restrictions. Do not use the phone where blasting is in progress.
USE SENSIBLY
Use only in the normal position as explained in the product documentation. Do not touch the antenna
unnecessarily.
QUALIFIED SERVICE
Only qualified personnel may install or repair this product.
ENHANCEMENTS AND BATTERIES
Use only approved enhancements and batteries. Do not connect incompatible products.
WATER-RESISTANCE
Your phone is not water-resistant. Keep it dry.
BACK-UP COPIES
Remember to make back-up copies or keep a written record of all important information stored in your phone.
CONNECTING TO OTHER DEVICES
When connecting to any other device, read its user guide for detailed safety instructions. Do not connect
incompatible products.
Page 5

Dimension
100* 45* 18 mm
Weight
100g
Battery
Rechargeable battery, 3.7V, 850mAh
Adapter
Input AC 100-220V / output DC 5V 1A
Protocol
SIP v2,RFC3261/STUN、RTP
LCD
Color LCD 1.8”, 128*160
Package Contents
Wifi phone x1
Battery x1
USB line x1
Adapter x1
Quick guide x1
Certificate of approval x1
Phone Specification
START
NOTE:
The XL-VIP-1918’s standby time depends on the network conditions, phone usage and surrounding area. The
phone consumes more power under the following conditions:
1. Working in areas with poor wifi signals; Working outside the service coverage area;
working under high or low temperature environment;
2. When the phone frequently searches for network signal due to location changes
3. When users talk on the phone for long periods of time (+ - 3hrs)
4. The Alarm, Backlight or Vibration function is active
5. Ring or listening volume is set to maximum value
Page 6

Key
function
Left soft key
Select/done
Right soft key
Back/clear/exit
Answer key
Answer/dial
End key
Reject/end/back/power on/power off
Up
Up/increase
Down
Down/decrease
Left
Before/decrease
Right
Next/increase
OK
Same to the left soft key
Number key 1
Number 1 and symbols in common use“.”“-”“?”“@”“1”
Number key 2
Number 2 and characters ABC
Number key 3
Number 3 and characters DEF
Number key 4
Number 4 and characters GHI
Number key 5
Number 5 and characters JKL
Number key 6
Number 6 and characters MNO
Number key 7
Number 7 and characters PQRS
Number key 8
Number 8 and characters TUV
Number key 9
Number 9 and characters WXYZ
Number key 0
Number 0/+-*% and for blank
Symbol *
Symbol * / symbols
Symbol #
Symbol # /shift input
Handset Description
Page 7

Key Pad define and text e
ntry
Write Text
The number keys are not labeled with all the letters you can input. You may need to refer to the selected language to
check the letters that can be input with a key. The XL-VIP-1918 Sip Wifi phone support English and Simplified
Chinese INPUT.
English:
Press the number keys 1 to 9 continuously until the right character appear.
Press the key that character is labeled, once for the first character, twice for the second, so on and so forth.
If the letter you want is at the same key with the former letter, you can press the left or right key ,then enter the
new letter.
Press the key of number 1, you can input some interpunctions you frequently use.
Select “clear” to delete the character before the cursor appears.
Fit Battery
Open the battery cover, set the battery into the storehouse, then close the cover.
Page 8

Charge
Battery
1. Connect the usb line to the usb interface of PC, or connect the usb line to the Power charger, and process the
circuit. After this operation, the charging status will be shown on the screen of the phone. It’s recommended that
you pull out the charger when making a call.
Power on /off
Power on
Press the End key for 2 seconds, the phone start to respond and power on. You need to setup the
phone first, if you have finished setting, the phone will search for the set WLAN automatically.
Setting needed Standby mode
Power off
Press the End key for 2 seconds, the phone will start to respond and power off.
Keypad lock
Activation: at standby mode, press * key first, and then # key
Unlock: press the * key first, and then # key
Password to unlock “Settings” menu
Password for “Settings” menu is “000000” or “123456” or “20080808” or “12345678” or “666666” or “888888”
Page 9

WLAN and VOIP Setti
ng
This product support IEEE802.11b/g and SIP protocol, the default setting is without SIP information. In order to
configure the phone, you should obtain Sip account information from your ITSP beforehand.
Example 1 --- Wifi Network Configuration:
SSID: WIFIAP
Security type: WEP-open
Password/Text: WIFI ( or Hex key: 1016A386E)
Example 2 --- Sip Account Configuration:
SIP server(domain): 87.108.26.31 (or maybe in the form of : sip.voip-provider.com)
User name (SIP phone number):123456
SIP phone number: 123456 (phone number could be the same to user name, depends on your server. )
Password: 1234
A: Search Available WLAN
1 At standby mode, press the right soft key or OK key to enter the main menu.
2 Select 4 setting>2 WLAN setting>2 WLAN search, press right soft key or OK key to start WLAN searching.
3 After searching, there will be a list to show you the available APs, with security type and signal strength. Select the
one with highest Signal strength (if this AP is permitted to use), press right soft key or OK key to setting.
Note: The security type of the selected AP is shown on the AP list. You may use WEP-OPEN type or any others by
following the indication
B: Connect WLAN
1. Set the SSID name first, (the default name is the one you have just selected,the name is consistent to AP
currently), press right soft key or OK key to enter change menu.
2. Select 2 security type>2 WEP-OPEN〉1 WEP Key index〉1 WEP Key 1,press right soft key or OK key and enter the
WEP-OPEN menu again. If the security type is “Open”, go to Step 4 directly.
3. Select 2 key / pass〉1 passphrase/2 hex Key, press right soft key or OK key enter the enter key(hex)mode, key of
the SSID is the one of the AP you have just selected., then press the right soft key or OK key enter change menu
again.
or
Page 10

4. Select 3 IP setting>1 use DHCP (If the WLAN you selected support DHCP server), press right soft key or OK key to
enter change menu again. You can also select static IP, follow the indications, enter the IP address, net mask、
gateway, DNS address in turn. And back to change menu after the setup.
5. Select 4 save and use, press right soft key or OK key to enter the save and use menu.
6. Select 1 do not use, press right soft key or OK key enter WLAN Setting menu again, finish
WLAN setting.
C: SIP Server Regis
tration
1.Wifi phone number setting
You should obtain Sip account information from your ITSP before you configure the phone.
Select 3 VOIP setting> change> VOIP identify> SIP number, press right soft key or OK key , input SIP phone number,
press right soft key or OK key and enter the VOIP change menu again.
2.SIP domain setting
Select 3 VOIP setting> change> VOIP identify> SIP domain, press right soft key or OK key ,input SIP server address,
press right soft key or OK key and enter the VOIP change menu again.
or
3.SIP server authentification
Select VOIP authentification>SIP user name/ password, then press right soft key or OK key and enter the VOIP
change menu.
and
4.SIP Server Setting
Select VOIP server> SIP server address/SIP proxy address, press right soft key or OK key and enter the VOIP chan
ge
menu.
or
Note:
1. Regularly your Sip Server will support STUN, and you don’t need to set stun in your handset to register to a Sip
server. But if your server doesn’t support STUN, you can find some open STUN resource through the internet,
and configure it to the handset.
2. The default port of the XL-VIP-1918 is 5060, If you want to change it, you can add a”: “ after your sip server
address, and add the port number after the “:”
Page 11

NOTE: Voice mail is NOT available with this edition
Dial/Answer Call
1. Enter the integrity number, or you can search the number from the phonebook;
2. Press the Answer key to call the number, you can press the side keys or right/left key to set the volume of the
speaker and mic
3. Press Answer key to answer a call, to reject a call press the End key.
Menu Function
You can press right soft key to enter the main menu at standby mode, then choose the function you want. Press left
key “back” you will back to the higher level menu. Press the End key you will back to the standby mode.
Not all menu functions or option items are described here.
Call
Phonebook
Select Menu>Call>Phonebook, You can save names and phone numbers in the phone memory. The internal contact
list can store up to 200 names.
You can also use the following options in the Phonebook menu:
Phone numbers----- classify the number and store
Special ring----- select the special ring for the entry
Edit name----- edit name for the entry
Delete entry----- delete entry from phonebook
Find name and number from phonebook
1 Scroll down in the standby mode, select Menu>Call>Phonebook>Find name .
2 Enter the first letters of the name. Scroll to the name that you want.
Page 12

You can press # to switch the input method.
Dial
Select Menu>Call >Dial, you can enter the number you want and call it then.
Recent Calls
Select Menu>Call>Recent calls, The phone stores up 10 recent Missed/Received/Dialed/ phone numbers. And it
stores up approximate talking time of all call.
Speed numbers
Select Menu>Call >Speed numbers
M
essage
Create
Select Menu>Message>Create, then edit a new message here and sent it out.
Inbox
Select Menu>Message>Inbox, you can check the messages you have received. The Inbox can store 20 messages at
most.
Outbox
Select Menu>Message>Outbox, you can check the messages you have sent. This inbox can store 20 messages at
most.
Draft
s
Select Menu>Message>Drafts, you can check the messages you have stored up before sent. This inbox can store 20
messages at most.
Note: The phone support SMS function, but you will be able to send messages only if the Server support SMS.
Play
You can play the melody、key tones and system tones internal here.
Select Menu>Play, select the entry you want, press right soft key “select” to play.
Utiliti
es
Stop watch
Page 13

Select Menu>Utilities>Stop Watch, press right soft key to activate the stop watch and start to time.
Calculator
Select Menu>Utilities>Calculator, Press keys 0 to 9 to insert digits and # to insert a decimal point. Press * to
select algorithm, and right soft key to get result.
Note: This calculator has limited accuracy and is designed for simple calculations.
Calendar
Select Menu>Utilities> Calendar, press up/down/right/left key to look over.
Settin
g
You can change the phone settings in this menu.
Phone
Volume
setting
setting
Select Menu>Setting>Phone setting>Volume setting, you can set the volume of receiver, ring, keypad.
Alert/Ring
Select Menu>Setting>Phone setting> Alert/Ring, you can select special ring, or s set the phone to vibrate when
you receive a call
Speake
rphon
e
Select Menu>Setting>Phone setting>Speakerphone, you can set it on or off.
Screen/Key
s
Select Menu>Setting>Phone setting> Screen/Keys, you can set contrast, backlight, key repeat, key click volume
here.
Language
Select Menu>Setting>Phone setting> Language, to select the menu language you want (including English,
Korean and Chinese) .
Telephone tones
Select Menu>Setting>Phone setting> Telephone tones, select telephone tones mode.
Edit greeting
Select Menu>Setting>Phone setting> Edit greeting, you can edit greeting information for your phone.
WLAN Setting and VOIP Setting
See page 7 for details
Security Typ
e
Select Setting>WLAN Setting>WLAN/IP Setting>Change>Security Type, this phone support Open, WEP, WPA2,
WPA-PSK, WPS security types. Choose the different type for different WLAN.
T ime/Dat
e
Select Menu>Setting>Time/date, set the time and date of your phone here. You can also select a different
mode of the time/date format.
Upgrade Server Addr
ess
Page 14

Question
Solution
Why can’t I switch on?
1. check if the battery is insert correctly.
2. check if the battery is full of power. Connect the
handset to PC or the Battery charger
Why there is no signal?
1. check if you have any available AP to use.
2. check if you have the permission to use the AP.
3. check if your AP settings is correct.
Why can’t I make a call?
1. Check if your phone is registered to the server successfully.
2. Check if you have setup the WLAN correctly
3 Check if the number you dialed is available.
Why my phone doesn’t upgrade auto ?
1. The firmware is already the latest version
2. The upgrading server address is not updated.
Why my phone doesn’t roam ?
1. The phone roams only between the APs with same SSID and
password, you may check if you sets up the Same SSID and password
to your phone correctly.
Select Menu>Setting> Upgrade Server Address, enter the updated server address in the blank, when you start to
upgrade, the system will connect automatically.
Firmware Upg
rad
e
Select Menu>Setting> Firmware Upgrade, the system will check for the new files and updates automatically.
Erase All
Select Menu>Setting> Erase All, to reset the phone to factory settings.
Remote Acc
ess
Select Menu>Setting> Remote Access, you can enable or disable the remote access.
Status Summary
This handset provide user shortcut to check the settings , there will be a detailed list after you setup your phone.
Note: You can only check the status here, if you want change your settings, go back to the setting menu.
WLAN Scan
You can scan the WLAN quickly here
.
Basic Trouble Shooting
Page 15

 Loading...