

Page 1
Page 0 of 400
Page 2

Content
1 Brief Introduction ························································ 3
1.1 System Requirements ····················································· 3
1.2 Agreements: ·································································· 3
2 Install and Uninstall ······················································ 3
2.1 Install ··········································································· 3
2.2 Uninstall ······································································· 6
3 Software Running························································· 7
3.1 Running and Login ························································· 7
3.2 Software Interface Introduction ·········································· 9
4 Device Management ···················································· 10
4.1 Device Tree Configuration ··············································· 11
4.2 Group Tree Configuration ················································ 16
5 Image Preview ··························································· 19
5.1 Preview by Non- cruise in Turn ········································· 19
5.2 Preview by Cruise in Turn ··············································· 20
5.3 Preview Control ···························································· 20
5.4 Sound Control ······························································ 20
5.5 Other Functions: ··························································· 21
6 PTZ Control ····························································· 21
6.1 PTZ Control ································································· 21
6.2 Track ·········································································· 21
6.3 Preset Point Setting ······················································· 21
6.4 Cruise ········································································· 22
6.5 Screen Adjustment ························································ 22
7 Recording and Playback··············································· 22
7.1 Client Local Recording ··················································· 22
7.2 Remote Playback ·························································· 23
7.3 Local Playback ····························································· 26
Page 1 of 401
Page 3

8 Server-side Configuration ············································· 26
8.1 System Information Configuration ····································· 28
8.2 Channel Information Configuration ···································· 29
8.3 Alarm Information Configuration ······································· 30
8.4 User Management Configuration ······································ 31
8.5 Recording Defnce·························································· 32
8.6 Video Detection Configuration ·········································· 33
8.7 Other Configuration ······················································· 34
9 Client Configuration ··················································· 35
9.1 Local Configuration ························································ 35
9.2 Recording Configuration ················································· 36
9.3 Alarm Link ··································································· 37
10 Log ······································································· 37
Page 2 of 402
Page 4

1 Brief Introduction
1.1 System Requirements
Operating System: window 2000 and above
CPU:Inter Pentium 4 2.4G and above
Internal Memory: 512M and above
Display: Support 1024*768 and higher resolution
Video Card: Support direct draw acceleration and start
1.2 Agreements:
In order to simplify the descriptions in this manual, some
descriptions are described as follows:
Client software is described as software
DVR, DVS are collectively referred to as device
Click is left mouse button click
Double-click is left mouse button double-click
Right mouse single-click is right mouse button click
2 Install and Uninstall
2.1 Install
Double-click “DVRClientSetup.exe” procedure,
click “OK” button,
Page 3 of 403
Page 5
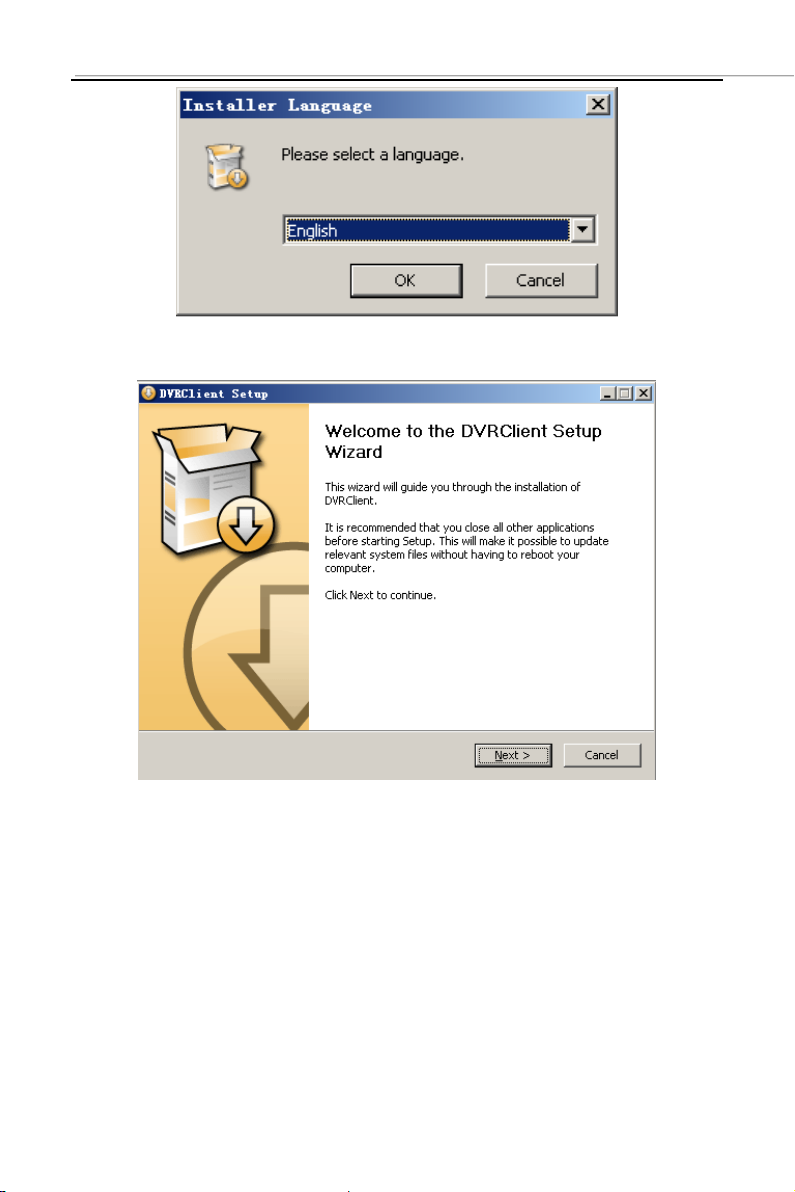
Click “Next” button,
Page 4 of 404
Page 6
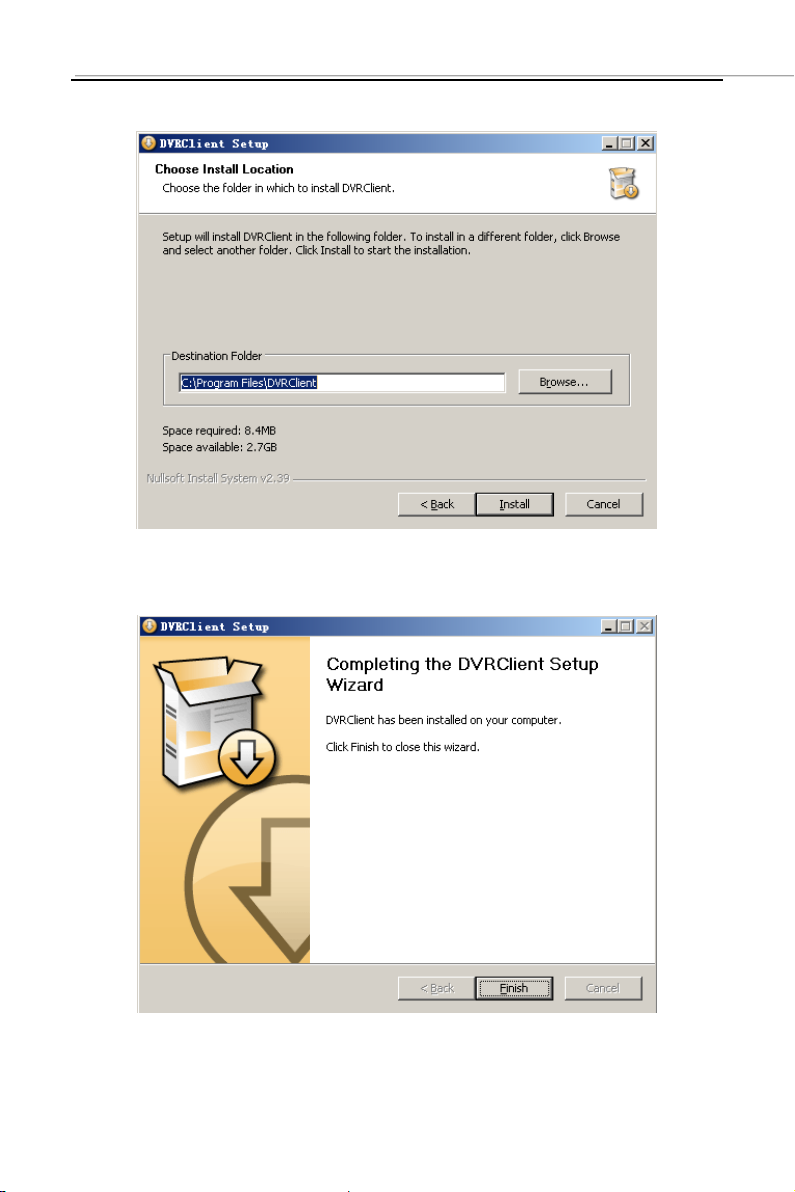
Click “Install”
Click “Finish”. Successfully install.
Page 5 of 405
Page 7
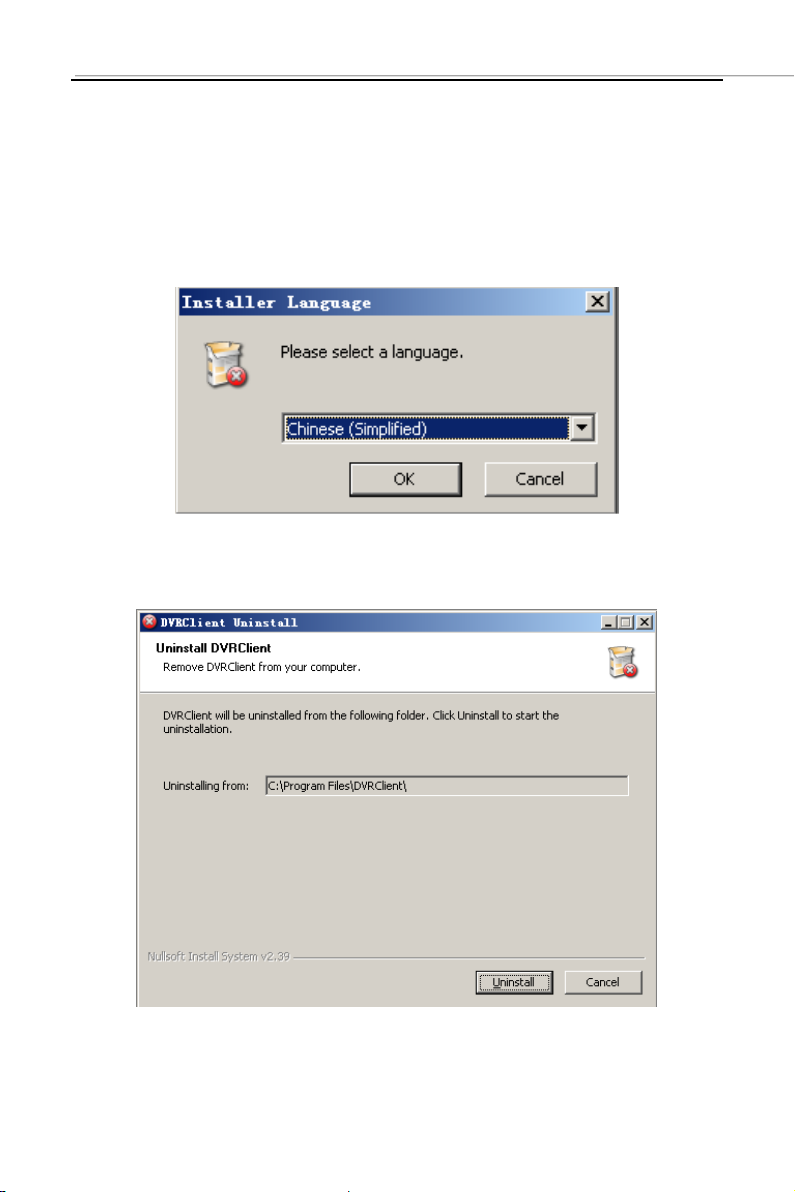
2.2 Uninstall
Click “Start” “Procedure” “DVRclient” “Uninstall” in the
lower left corner of the computer.
Click “OK” button.
Click "Uninstall" button.
Click “Close” button. Uninstallation is complete.
Page 6 of 406
Page 8

3 Software Running
3.1 Running and Login
3.1.1 Run the Software
Double-click the “DVRclient” shortcut to run the software.
3.1.2 Register Super User
When using the software for the first time, you need to register a
super-user. A dialogue box will be displayed as follow:
Input user name, user password and confirm password. The
password is at least 6 digits and must match with the confirm
password, and then click “OK”.
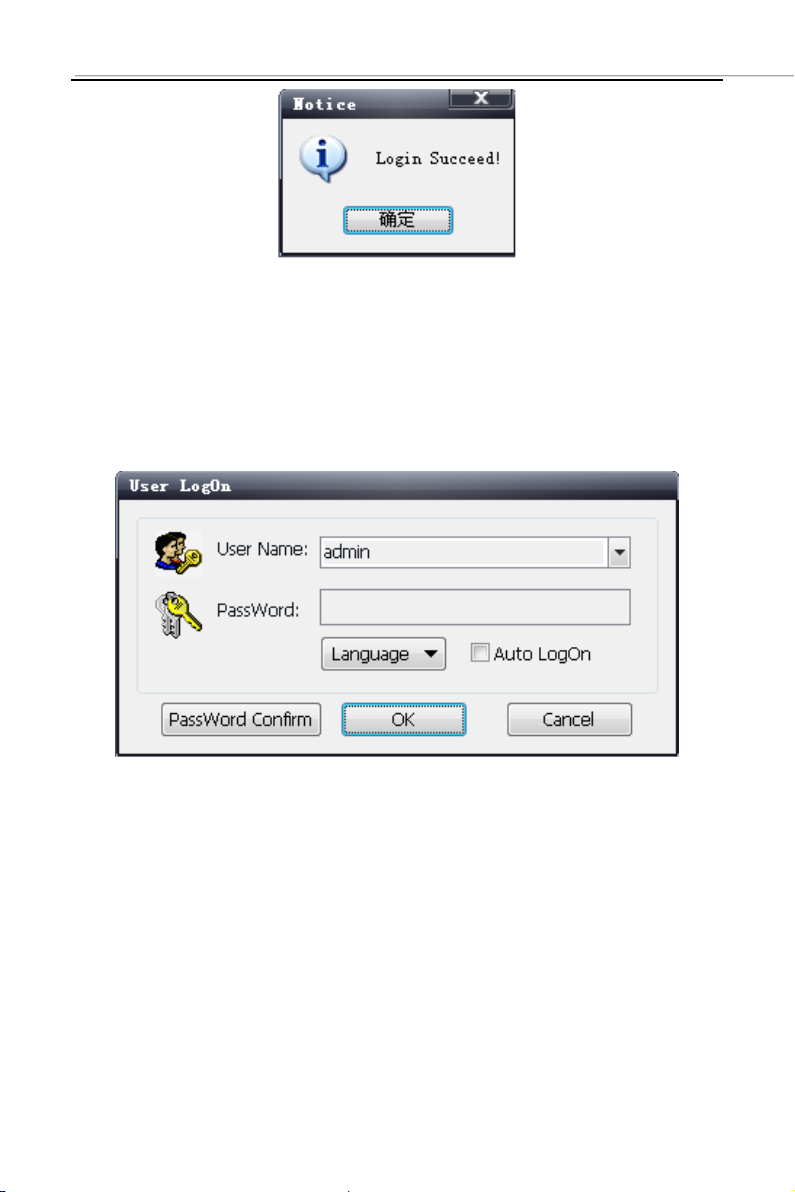
A dialogue box will pop-up if the registration is successful.
Page 7 of 407
Page 9
3.1.3 Login
Choosing the user name and inputting the password and then
clicking “OK”, you will enter the procedure. Ticking off “Auto logon”,
the login window will not appear next time.
Page 8 of 408
Page 10

3.2 Software Interface Introduction
1
②
③
⑤
④ ⑦ ⑥
①
Software Interface Instruction
① System Button Bar: You can lock the interface, minimize
the window to the task bar and close the procedure.
② Tab Bar: Includes each functional module of the software
Preview: You can preview the device in real time.
Playback: Remote playback and local video playback.
Configuration: Device management, remote device
configuration and local parameter setting
Log: Local and remote log search.
Map: E-map
③ Device Tree: Display each device and group which is used to
Page 9 of 409
Page 11

add management.
④ Preview Display Window: Preview display window of each
device channel in real time.
⑤ PTZ Control Window: You can control the PTZ and adjust
the image.
⑥ Preview Control Bar: Controls preview stop, client recording,
screenshot, switching screen mode, full screen display, rotation
training, etc..
⑦ Alarm Information List: Displays the short line information
of the device and other alarm information
4 Device Management
Before operating by using the software, you need to operate
adding and configuration on the device. Click “Configuration” on
the tab bar and enter the configuration mode.
Click “Device Manage” on the left navigation bar and you can
enter the device management interface.
Page 10 of 4010
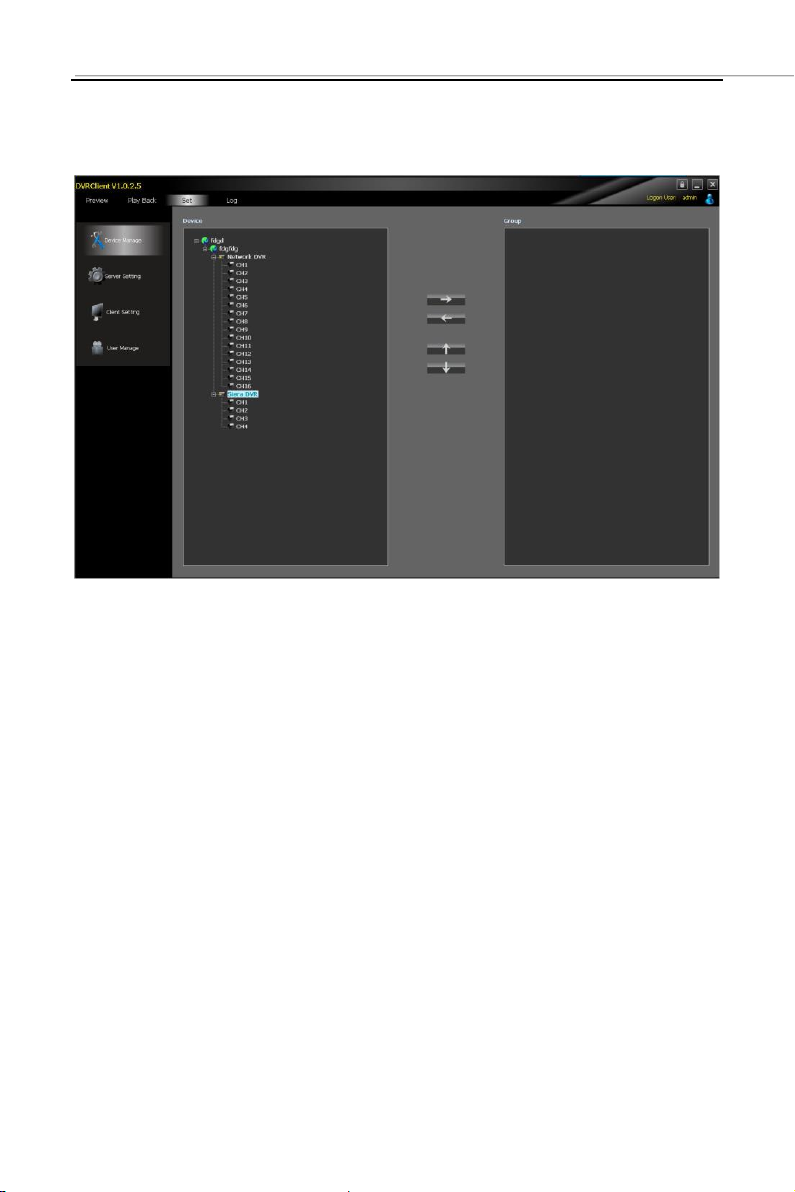
Page 12

① ② ③
④
Interface Instruction:
① Navigation Bar
② Device Tree
③ Group Control
④ Group Tree
4.1 Device Tree Configuration
When the software runs at the first time, the list tree is empty by
default. Right-clicking any blank area on the list tree, you can add
area.
Page 11 of 4011
Page 13

Fill in the name on the area name bar and click “OK”, you can add
an area to the list tree. As the area added is the first area, there is
no superior area in this area, so the superior area name bar is
empty.
When adding the area is complete, right-clicking the nodal point of
the area, you can add sub-area and device.
Right-click the area added and pop-up the area management
menu.
Choose “Add Sub-area”, you can add sub-area.
Choose “Delete Area”, the selected area will be deleted.
Note: If there are other areas, devices and channels under the
delete area, the delete operation will not only delete the selected area
but also delete all the areas, devices or channels under this area; if
there is any channel which is previewing or recording under this area,
a warning message will send out.
Page 12 of 4012
Page 14

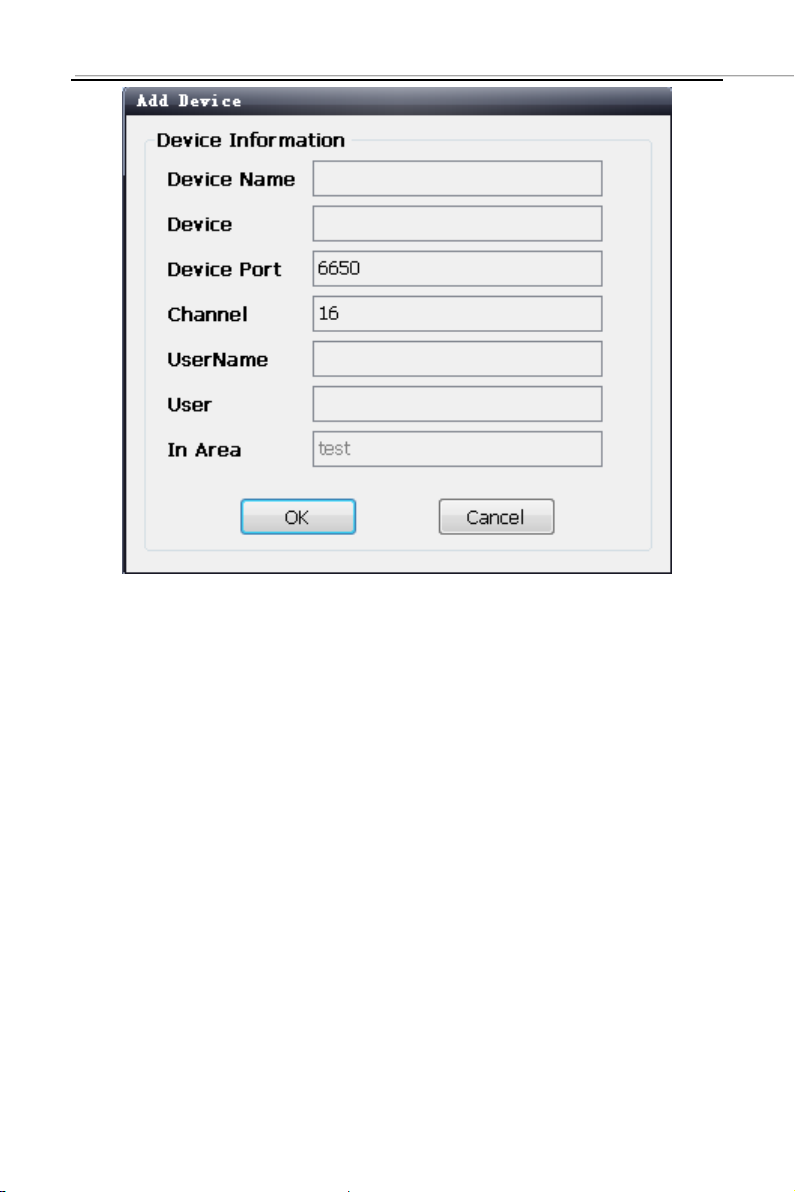
4.1.1 Add Device Manually
Option
Instruction
Device Name
The device name added can be user-defined
Device Address
The IP or domain address of the device
Device Port
The number of the device port
Channel Number
Please fill in the channel number of the
device according to the actual situation
User Name
The registered user name of the device
User Password
The user name and password of the device
Area
The area name where the device exists
Right-click the area added, pop-up the area management menu,
and choose “Add Device”.
Page 13 of 4013
Page 15
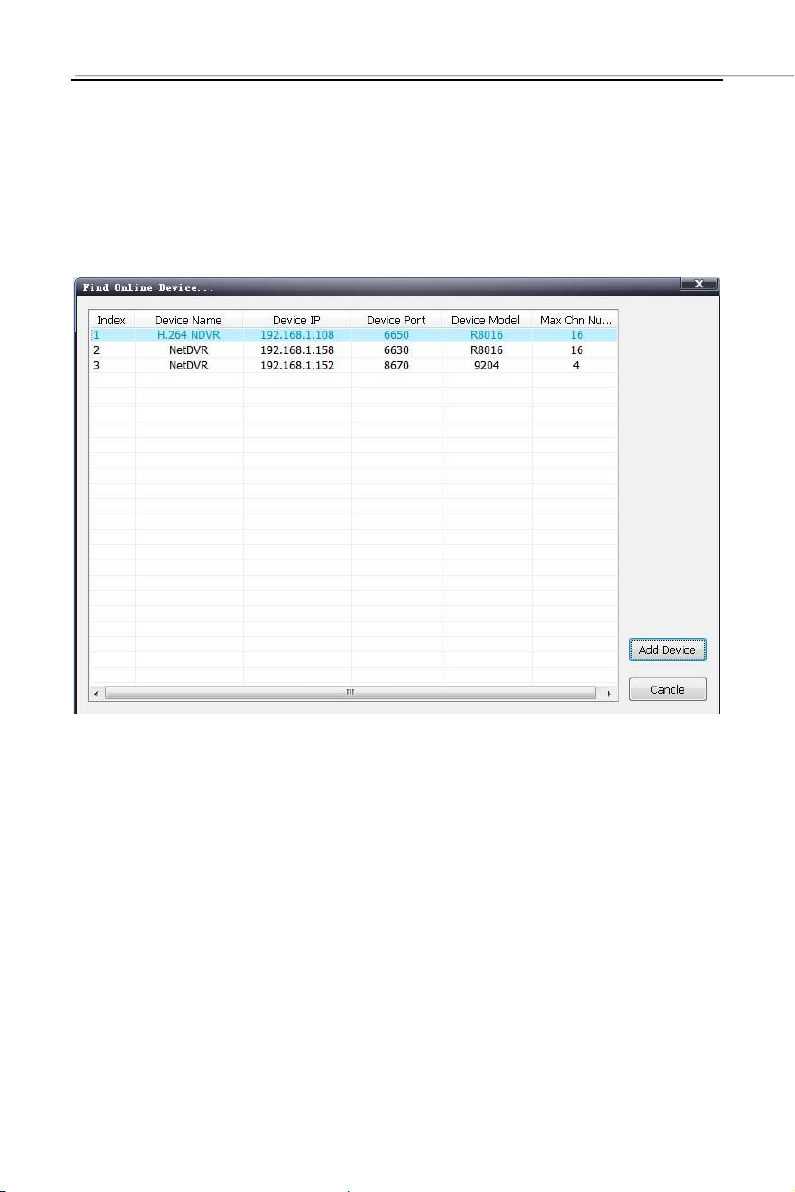
4.1.2 Search the Online Device within the LANs
Right-click in any area/ nodal point of the sub-area, click
“Search Device” on the menu item, search the online device
with the same LANs.
Choose one device, click “Add Device”
Page 14 of 4014
Page 16
Modify the device name in the pop-up device information box
so that the device name will not appear repeatedly.
Fill in the user name and password of the device which will
login and click “OK”.
Then add other devices continuously.
Page 15 of 4015
Page 17
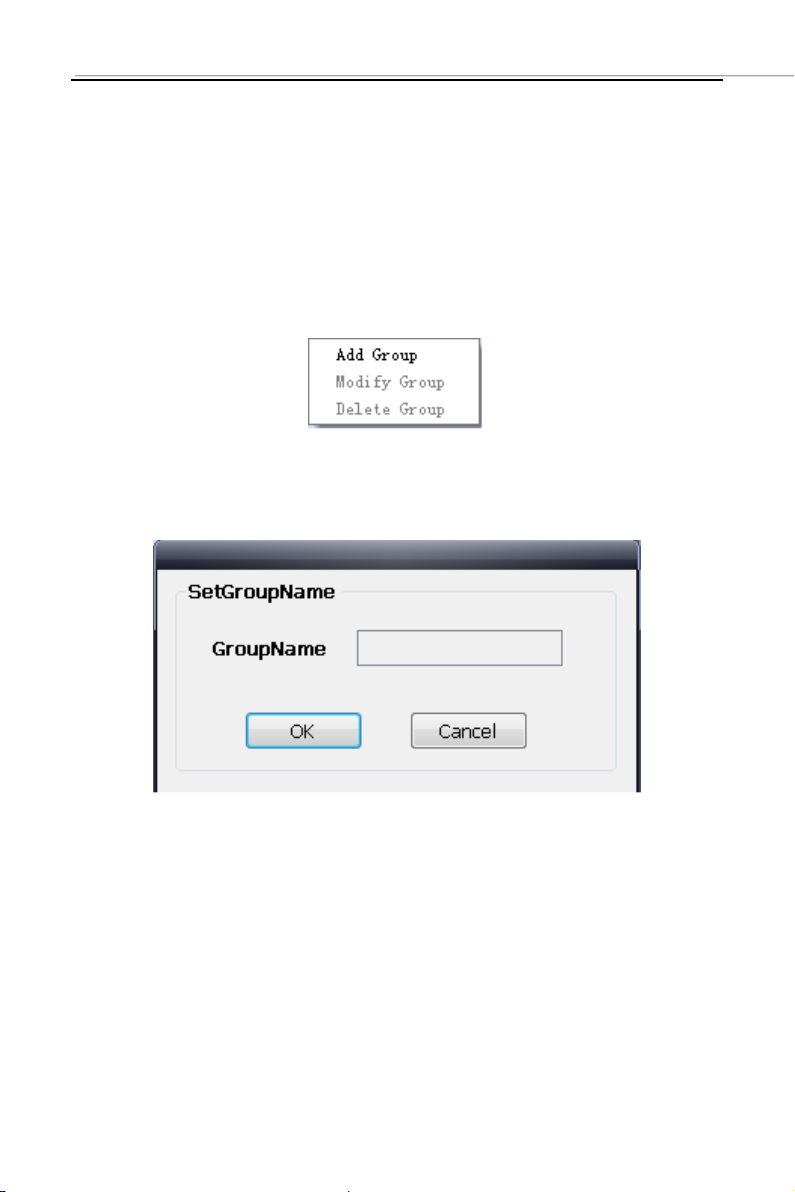
4.2 Group Tree Configuration
If there is no any nodal point on the group tree, you need to
add the nodal point first.
Right-click the display group management menu on the blank
area of the group bar, click “Add Group”.
Fill in the group name, click “OK” to add group.
Page 16 of 4016
Page 18
After successfully adding the group, you can add the nodal
point of the channel on the list tree to the selected group.
Select the nodal point of the channel on the list tree; clicking
“Add” on the configurable button bar of the device configuration
window will add the selected channel to the selected group of
the group tree. The channel name will display in the form of
“Device Channel Name”. After a channel added successfully,
the list tree will select the nodal point of the next channel
automatically.
Select the device on the list tree; clicking “Add” on the
configurable button bar of the device configuration window will
add all the channels of the selected device to the selected
group. After add all the channels of device successfully, select
Page 17 of 4017
Page 19

the window and then select the next nodal point of the device
of the list tree.
Use the “Up” and “Down” button on the configurable button bar
of the device configuration window to adjust the order of the
nodal point of the channel under the group.
Select the nodal point of the channel on the group tree; clicking
“Delete” button on the configurable button bar of the device
configuration window will delete the selected channel from the
group. After the channel is deleted, the group tree will select
the next channel of the group automatically.
Select the nodal point of the group on the group tree, click
“Delete” button on the configurable button bar of the device
configuration window to display warning message dialog box.
Click “OK”, then the nodal points of all the channels of the
selected group will be deleted.
Note: A group cannot add a same channel repeatedly, but can be
added to different groups at the same time.
Page 18 of 4018
Page 20
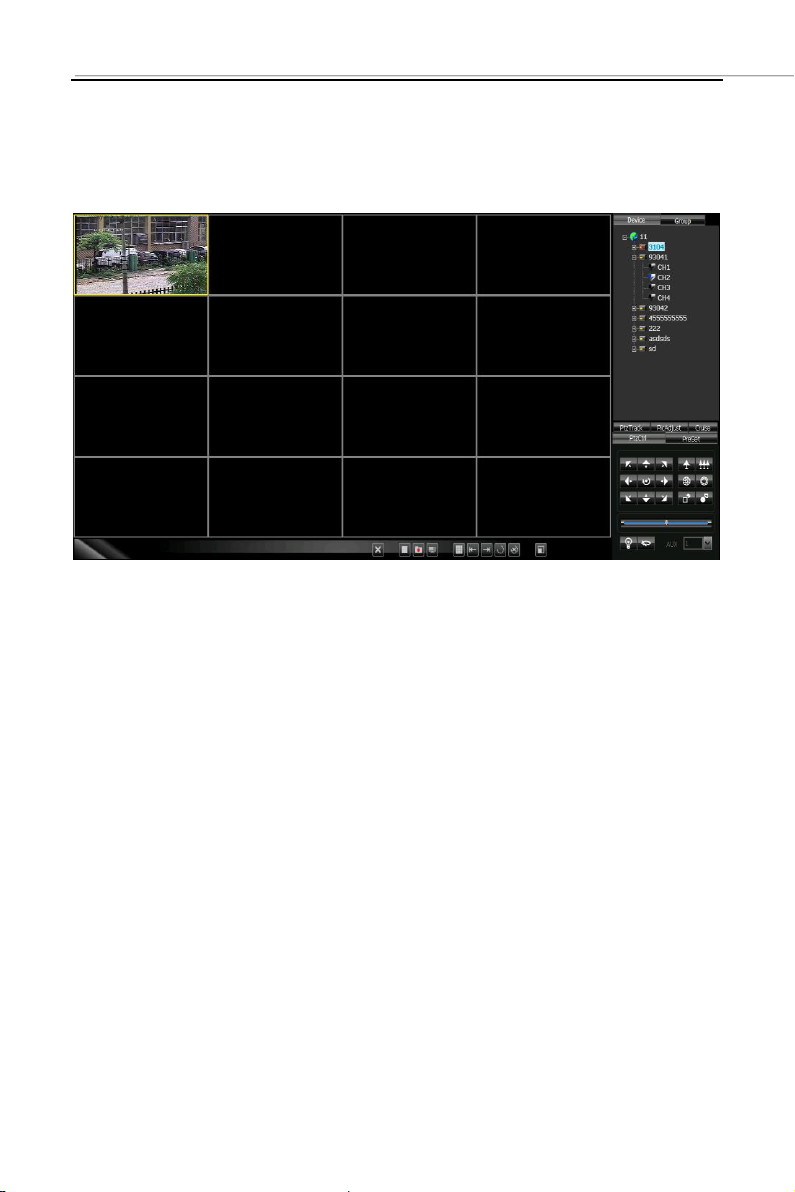
5 Image Preview
5.1 Preview by Non- cruise in Turn
Double-click to Start Preview: Clicking a play window on the
play panel, the frame of the selected window will become light
blue. Double-click a channel on the device list or group; this
channel will play on this window.
Drag to Start Preview: Drag a channel on the device list or
group to any play window, this channel will play on this window
and it will be under selected status.
Stop Preview: Right-clicking play window, the menu appears,
click “Stop Preview” or click “Stop” button on the preview
control bar.
Page 19 of 4019
Page 21

5.2 Preview by Cruise in Turn
Drag the nodal point of the device or the group directly to the
play window to start playing by cruise in turn.
Whether start cruise in turn and time of cruise in turn are set on
the client setting page.
5.3 Preview Control
Stop: Stop the preview of the current selected window.
Recording: Click the recording button and start the client
recording of the current selected play window, click again to
stop recording.
Screenshot: Save the screenshot of the current selected play
window.
5.4 Sound Control
Right-click on the play window, pop-up the play menu;
choosing “Turn on Sound”, the audio preview of this window
will be opened. Right-clicking and choosing “Turn off Sound”
will close the preview.
Note: The software can only open the audio of one window at the
same time. If turning on the sound of the next window, the audio of the
last window will be turned off automatically.
Page 20 of 4020
Page 22

5.5 Other Functions:
Double-click to Enlarge: Under the multi-screen mode,
double-clicking the play window will enlarge the window;
clicking again will return.
Screen Mode: Can switch multi-screen mode.
Full Screen: Hide part of the program in order to maximize
the panel of the play window.
Last Page, Next Page: Displays the remaining windows under
the current window mode. There are 64 preview windows
totally. One page displays each time. The number of the
window on each page depends on the screen mode.
6 PTZ Control
6.1 PTZ Control
Controls the auxiliary functions including the PTZ rotation
direction, speed, aperture, focal length, focus, light and
windshield wiper etc.
6.2 Track
Set and control the PTZ track
6.3 Preset Point Setting
Set PTZ preset point
Page 21 of 4021
Page 23

6.4 Cruise
Set the PTZ cruise point and path
6.5 Screen Adjustment
Set the screen brightness, contrast ratio, chromaticity and
saturation
7 Recording and Playback
7.1 Client Local Recording
Client recording includes manual client recording and plan
recording
Client Manual Recording: Click recording on the preview
control bar will start recording.
Plan Recording: Set the plan recording time on the client
configuration page.
Set the path and package size of all the client recording on the
client setting page.
Page 22 of 4022
Page 24

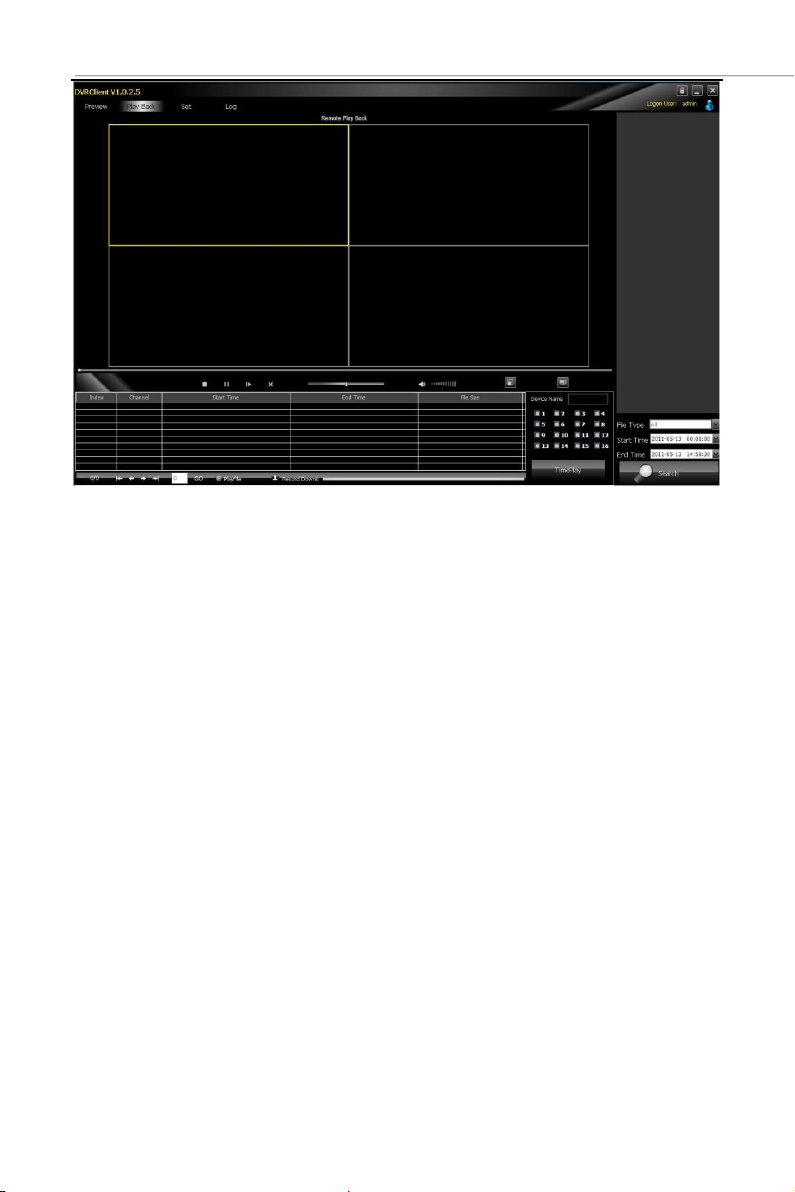
7.2 Remote Playback
Clicking the “Playback” button on the software tab bar,
choosing “Remote Playback”, you will enter the remote
playback interface.
7.2.1 Remote Video File Search
Selecting the device to be searched from the right device tree,
and selecting the channel to be searched on the below search
panel, then choosing the recording type and start time, clicking
“File Search”, the file search result will appear. On the right of
the search result, you can control page turning and jumping.
Page 23 of 4023
Page 25
7.2.2 Remote File Playback
Select the window which will play playback file. Selecting file in
the search result, double-clicking or clicking the “File Playback”
on the right, the file will start to playback.
Choosing the search condition, clicking “Playback by Time”,
the video can playback by time.
Page 24 of 4024
Page 26

Note: Maximum support 4 channels when playback by time.
When switching to playback from the start time, all the playback
windows will be stopped and it will start playing back again.
7.2.3 Remote File Download
Selecting file in the search result, clicking the “File Download”
on the right, the file will start downloading. The progress bar
will appear below.
Page 25 of 4025
Page 27

7.2.4 Playback Control
Selecting the window to be controlled, the playback control bar
will display the current progress and rate of the current video.
Drag, pause, stop, screenshot, mute, rate control can be
operated on the selected playback file. Clicking “Stop All” will
stop all the playback windows.
7.3 Local Playback
Clicking the “Play Back” button on the software tab bar,
choosing “Local Playback”, you will enter the local playback
interface. Search playback and control are consistent with the
remote playback operation. Local playback file cannot
download and the file type is not optional.
8 Server-side Configuration
Click “Configuration”-“Server-side Configuration” and enter the
server-side configuration interface.
Select the page to be configured on the right device tree. After
modifying the configuration, click 【save】on the page will save
the parameters.
Page 26 of 4026
Page 28

Page 27 of 4027
Page 29

8.1 System Information Configuration
Page 28 of 4028
Page 30

8.2 Channel Information Configuration
Page 29 of 4029
Page 31

8.3 Alarm Information Configuration
Page 30 of 4030
Page 32
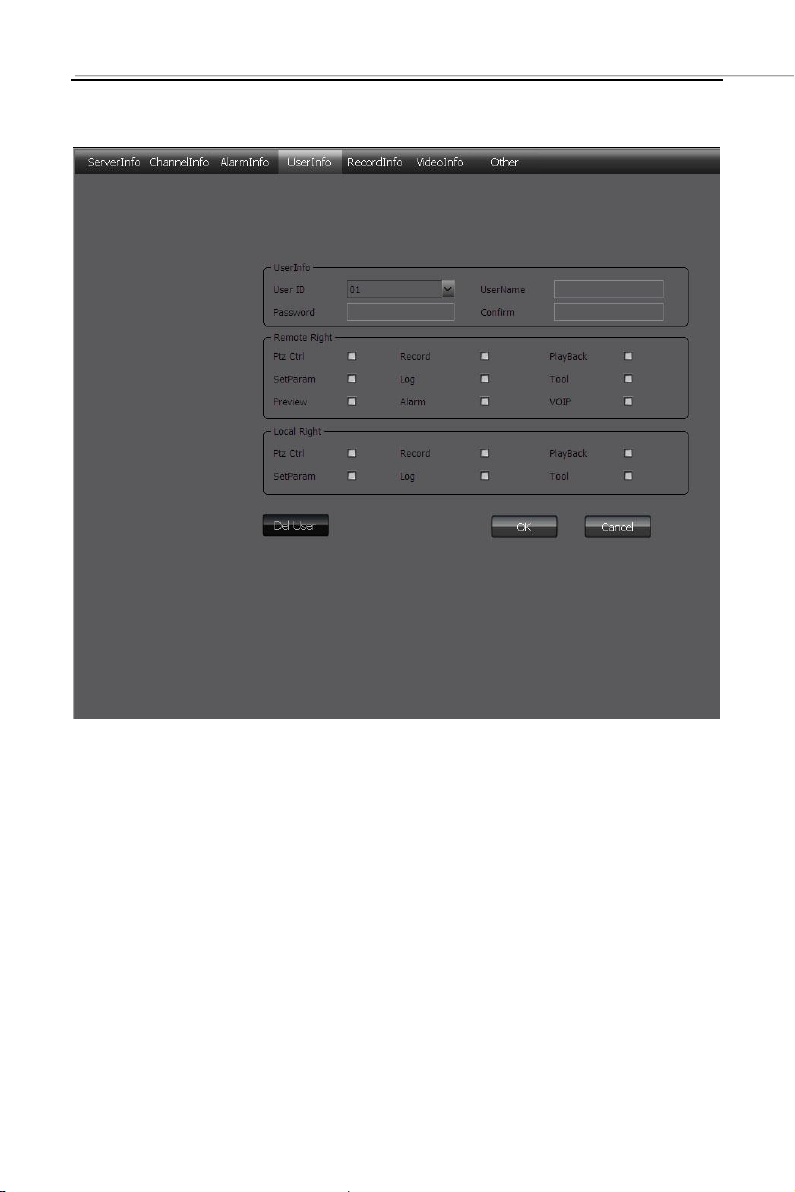
8.4 User Management Configuration
Page 31 of 4031
Page 33
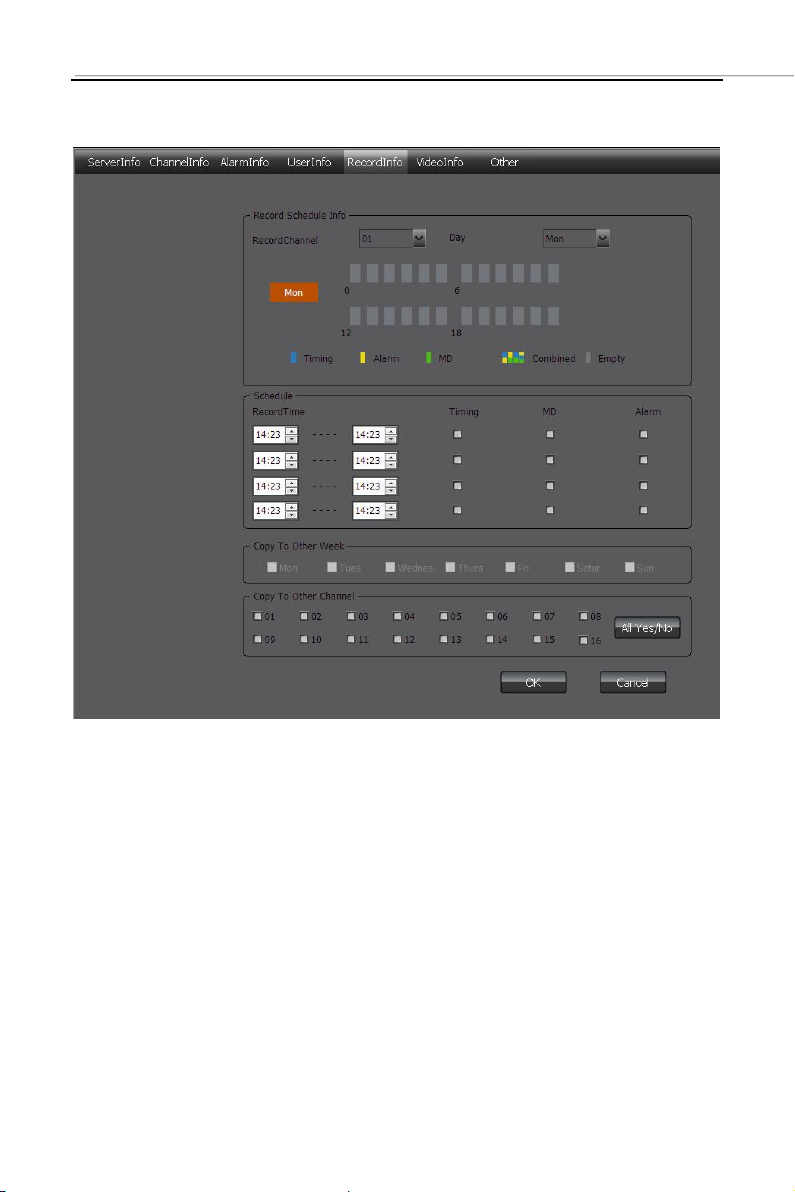
8.5 Recording Defnce
Page 32 of 4032
Page 34
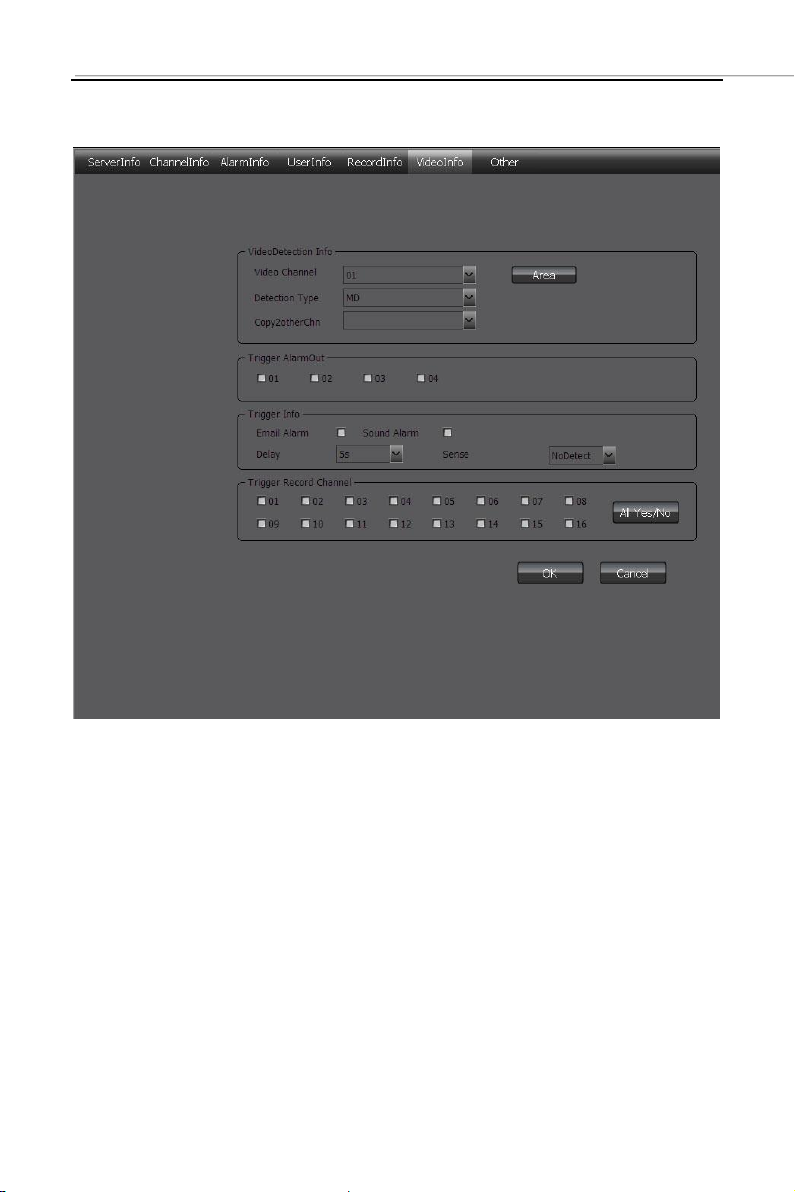
8.6 Video Detection Configuration
Page 33 of 4033
Page 35
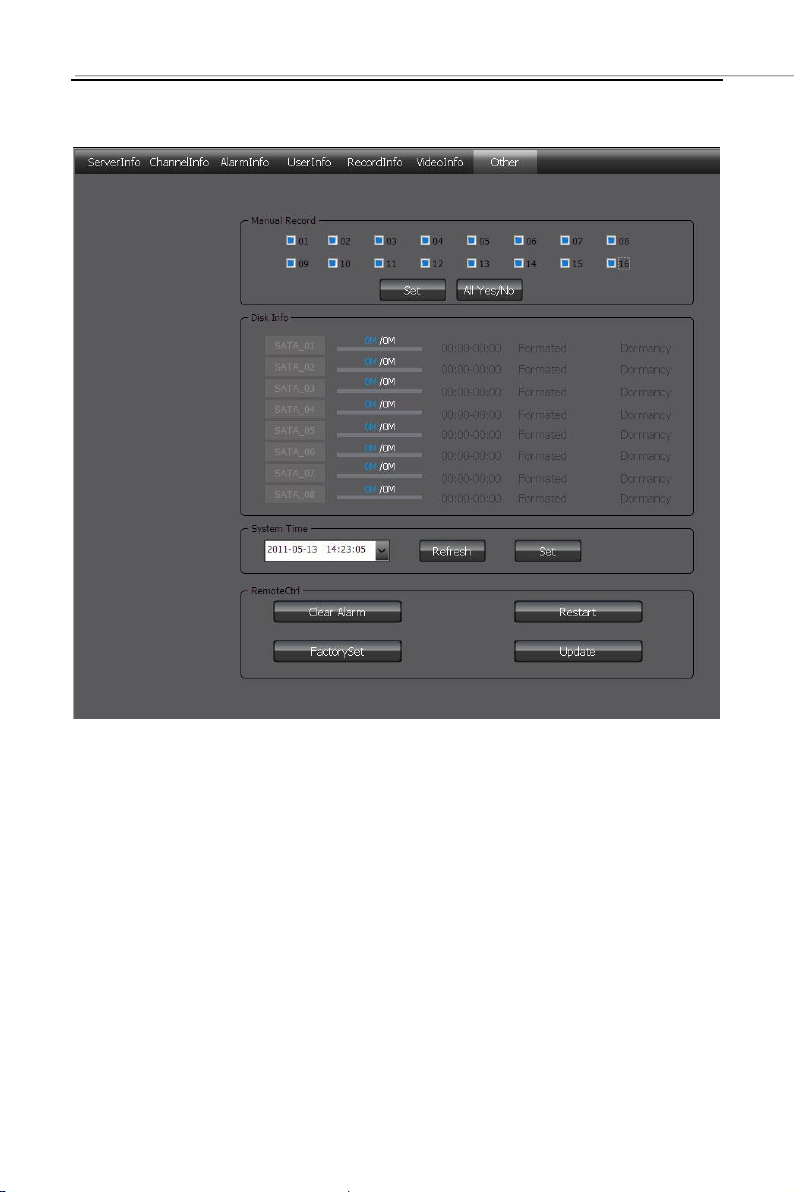
8.7 Other Configuration
Page 34 of 4034
Page 36
9 Client Configuration
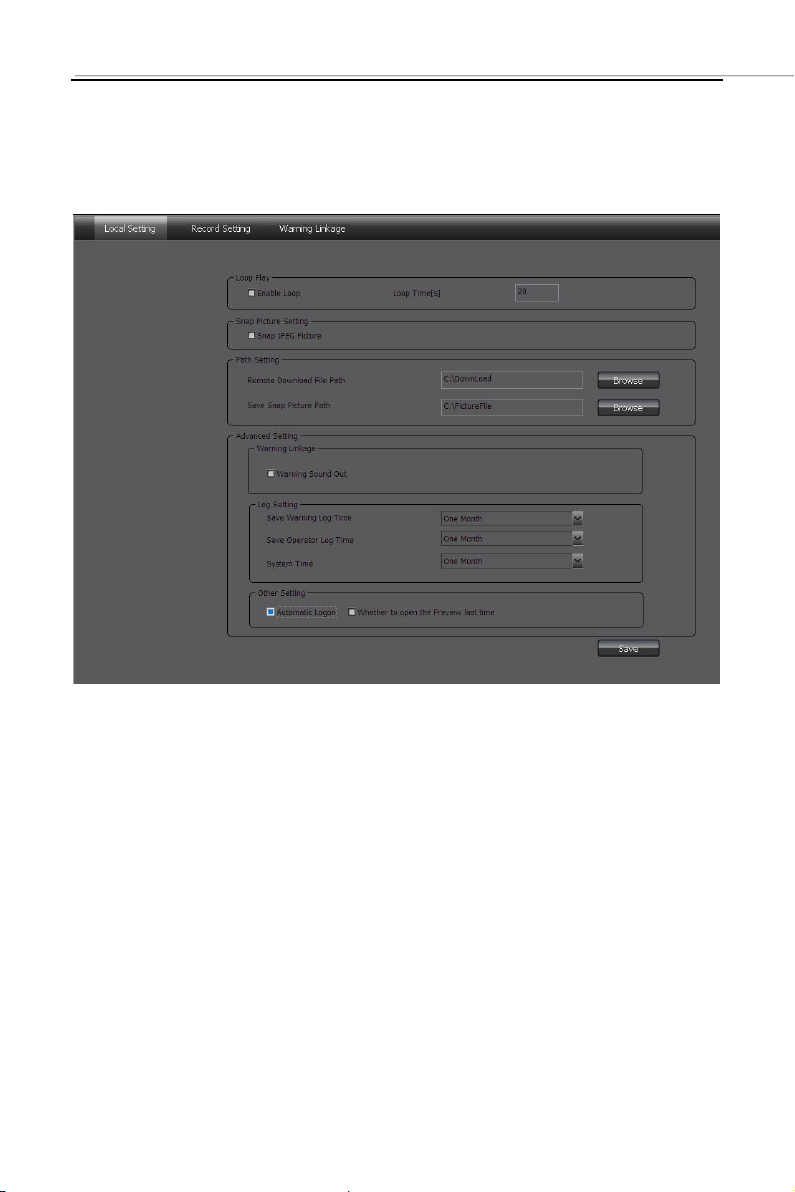
9.1 Local Configuration
Local configuration can configure cruise in turn, screenshot,
storage path, client alarm configuration, log maintenance and
auto-logon option.
Page 35 of 4035
Page 37
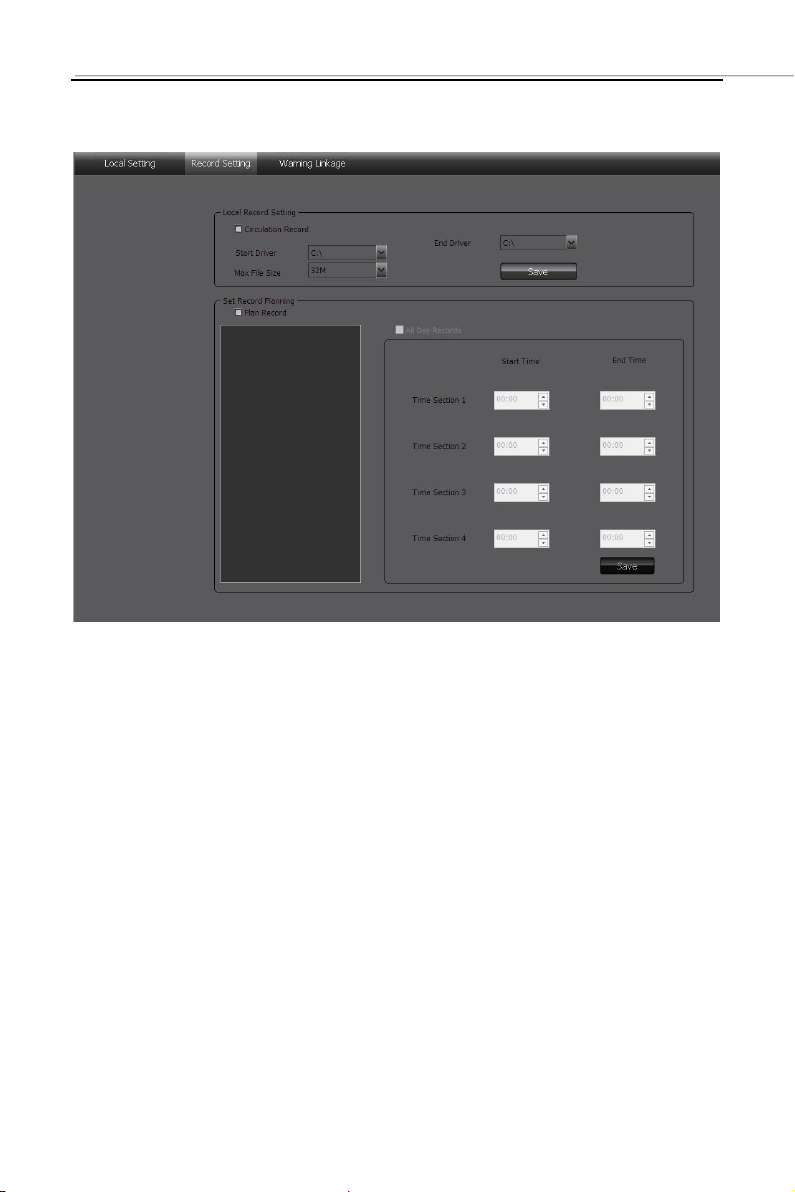
9.2 Recording Configuration
Note: The local recording configuration Parameters will come
into effect only when the client is restarted after they are
saved.
The prerequisite of plan recording is that there must be
preview bit stream.
9.2.1 Video Storage Path
Set start and stop drive, set video save path, set the size of file
package. Can limit the maximum size of a single file.
Page 36 of 4036
Page 38
9.2.2 Plan Recording
Tick off “Plan Recording” to start plan recording.
Select the channel which will plan recording from the left device
tree and set the time bucket of recording on the right and then
click save.
9.3 Alarm Link
Set the options of client alarm link.
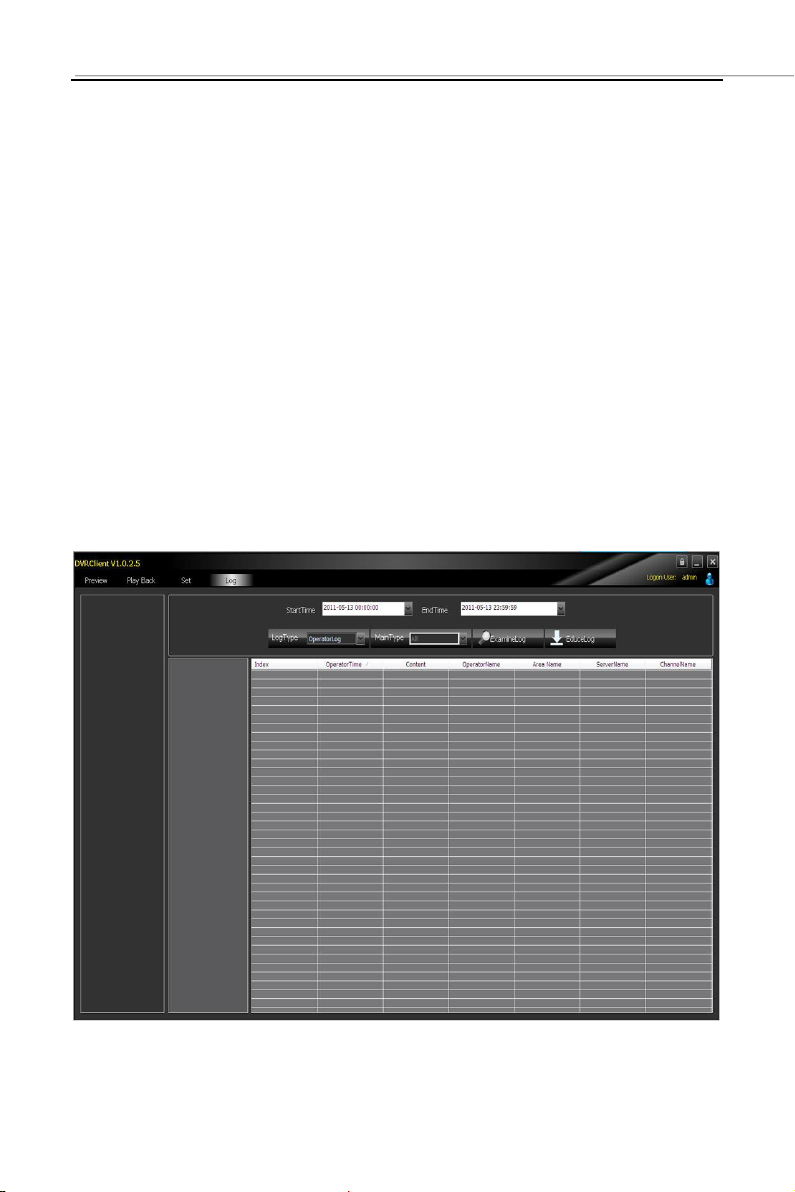
10 Log
Operation Log: Search the client operation log.
Page 37 of 4037
Page 39

Alarm Log: Search the client alarm log.
Total HDD capacity (M)
Recording
time (hour)
HDD space consumption per hour(M/hour)×channel number
=
System Log: Search the client system log.
Remote Log: Search the remote device log, you need to
select the device on the left list tree.
Attachment 1: HDD Capacity Calculation
Install the digital video recorder for the first time, please make sure
whether the HDD is installed inside the host.
1. The Own Capacity of the HDD
For the capacity of single HDD, the digital video recorder chooses the
capacity of above 160G. In order to obtain better stability, we recommend
the HDD with 250G ~ 1TG capacity.
2. The selection of the Total Capacity
The calculation formula of HDD capacity is as follow:
Total HDD capacity (M) = channel number × required time (hour) ×
HDD space consumption per hour (M/hour).
Similarly, we can get the calculation formula of recording time:
The digital video recorder adopts H.264 compression technology
whose own dynamic range is rather large, therefore, the calculation of
HDD capacity needs to count the valuation of the file size generated per
hour by each channel according to the bit stream.
For example: single-channel recording takes up HDD space
200M/hour. When using 4 channel digital video recorder to record, it
Page 38 of 4038
Page 40

requires continuous recording one month (30 days) and 24 hours one day.
The required HDD space is as follow:
4 channels × 30 days × 24 hours × 200M/hour = 576G,
Then it normally needs to install 1 750G HDD or 2 320G HDDs.
Page 39 of 4039
 Loading...