


User Manual
BL 303
Models:
BL 602
BL 2002
BL 3001
BL 6001
BL 30K1

Index
GLASS PROTECTION 3
ERRORE. IL SEGNALIBRO NON È DEFINITO.
INSTALLATION 6
KEYBOARD 6
START 7
DATE AND TIME SETTINGS 7
USER CALIBRATION 7
CALIBRATION PROCEDURE: 7
UNIT SETTING 8
UNIT SELECTION 8
DEFAULT UNIT SETTINGS 8
ZERO 8
TARE 8
MEASURE 8
COUNTER FUNCTION 9
RS-232 SETTINGS 9
ITEM SETTINGS 9
BATTERY 10
TROUBLESHOOTING: 10
DATASHEETS 10
DISPOSAL OF ELECTRONIC DEVICES 11
2

BL 303
Glass protection
3

BL 602
1
2
3
4
5
6
7
8
4

BL 2002 – BL 3001 – BL 6001
5

Installation
On / Off
Hold for 3 seconds to start Calibration procedure
Unit selection
Print data (RS 232 printer / PC)
Tare
Zero
Counter function, set unit in %, ‰, PCS, B/G
Stability indicator
measure
Zero
Unit
Capacity
Place the balance and, using the adjustable feet and the bubble on the back, adjust the inclination.
The scale MUST be leveled.
Protect the balance from drafts, so do not install near windows or air conditioners;
Protect the balance from vibrations;
Working temperature: 10°C – 40°C;
Working Humidity: 40% - 85%.;
Installation and removal of the scale must be done with the machine switched off;
Do not use the scale upside down;
After switch On, wait at least 30 minutes warming up before the first weighing;
For assistance, contact your dealer or an authorized service center.
Keyboard
6

Start
Place the scale, and using the bubble on the backside for level It.
Press On / Off to turn on the scale. Following a countdown, marked also by the beep, you will see the
software version, the capacity of the scale, and then you enter the measurement mode.
Wait at least 30 minutes to warm up before the first use.
Date and Time settings
Switch on the balance. Keep pressed for 3 seconds for date and time settings menu: “rtc-set”.
First value requested is the year: the display shows “Year **”:
Use the following buttons to modify the blinking value:
set the value,
scroll to the next value
confirm.
Successively are required:
1. Month Month
2. Day Day
3. Hour Hour
4. Minute Min
User Calibration
Each balance is calibrated in the laboratory by technicians using certified sample masses.
Provided with all models there is a sample mass useful to test the functionality of the instrument.
Calibration procedure:
o Turn on the balance and wait at least 30 min. of warmup
o Keep pressed button for 3 seconds,
the display shows first “Cal 0”, “-------“, and then it shows the sample mass [g]
requested for the calibration. *
o Place the sample mass on the plate.
o Display first shows “-------“, than the weight measurement.
Calibration is complete.
* With the button is possible to change this value, choosing one of the allowed for that model (Tab 1)
7

Tab 1
Allowed calibration weights [g] for each
model
BL 303
100 – 200 - 300
BL 602
200 – 400 - 600
BL 2002
1000 – 2000
BL 3001
1000 – 2000 - 3000
BL 6001
2000 – 4000 - 6000
BL 30K1
10000 – 20000 - 30000
Examples:
If the display shows the blinking value: 2000, put
on the plate a certificated sample mass of 2000g.
If the display shows the blinking value: 100, put
on the plate a certificated sample mass of 100g.
N°
Unit
Symbol
Conversion
1
grammo
g
1
2
Carat
ct
0,1999694 g
3
Avorirdupois Pound
lb
453,59237 g
4
Avorirdupois Ounce
oz
28,349523 g
5
Troy Ounce
ozt
31,103477 g
6
Avoirdupois Dram
dr
1,7718451 g
7
Grain
GN
0,0647989 g
8
Penny weight
dwt
1,5551738 g
9
Momme
mom
3,749996 g
10
Hong KONG JEWELRY TAEL
K.tl
37,429002 g
11
Taiwan Tael
T.tl
37,49995 g
12
Hong Kong tael
H.tl
37,799375 g
13
Singapore tael
S.tl
37,799366 g
14
Tola t 11,663804 g
15
Mesghai
M
4,6083162 g
16
Tical
cl
16,3293 g
17
Kilogram
Kg
1000 g
18
British Gravitational System
B/G
19
PCS
20
%
21
‰
Unit setting
Unit selection
Press button to select the desired unit.
Default unit settings
Default unit selected is gram [g].
To change the default unit,turn on the balance, and
keep pressed button for 3 seconds.
Display shows on the right the unit selected, and
On if the unit is enabled, Off if It is disabled.
to scroll units.
to switch On/ Off
Setting Off, that Unit will not be selectable in the measurment mode.
To choose a new default unit, scroll the units and when is reached the desired one, press button .
Zero
With no weight on the scales, press the button to take the 0.00 reading on the display. The ZERO function is only
effective if the value shown is less than 4% of total capacity. If the value is greater than 4%, the load is regarded as a tare.
Tare
After placing the tare on the scales, press the button to reset the value displayed to 0.00. The load used for Tara has
to be subtracted by the overall capacity weighing.
Measure
Place the sample on the plate.
Wait for the stable indicator on the left of the display before taking the measurement.
8

Counter Function
a
0= 9600
1= 19200
---
---
b
0= print in continuos
1= print when stable
2= press to print
---
c
0= ---
1= print the date
---
--- d 0= ---
1= print the item *
---
---
e
0= PC Mode
1= special paper
2= continuos paper
3= micro-printer
f 0 ---
---
--- g 0
---
---
---
8888888
(a)
(b)
(c)
(d)
(e)
(f)
(g)
modify the value,
switch to the next position
Set one of these units: PCS, % or ‰, and press button.
Display shows “S – 5”: 5 is the number of required pieces for the sampling, or the % to associate with the reference sample.
With the button, select the desired value between these: 5, 10,50, 100, 500 e 1000.
Place samples on the plate and press button.
Now It is ready for count all your samples.
RS-232 Settings
Connect the Rs-232 printe on the backside of the scale.
Keep pressed button for 3 seconds, the display shows first “rS—Set”, 8888888..
According with the following table, set the correct values:
Confirm with button.
Item settings
Is possible to set an “Item”, that will be printed with the other values, for example the serial number.To do that, keep
pressed button for 3 seconds. Display shows first “ItemSet”, than “1234567”. Modify the string using following key:
set the value,
switch to next value
confirm.
9
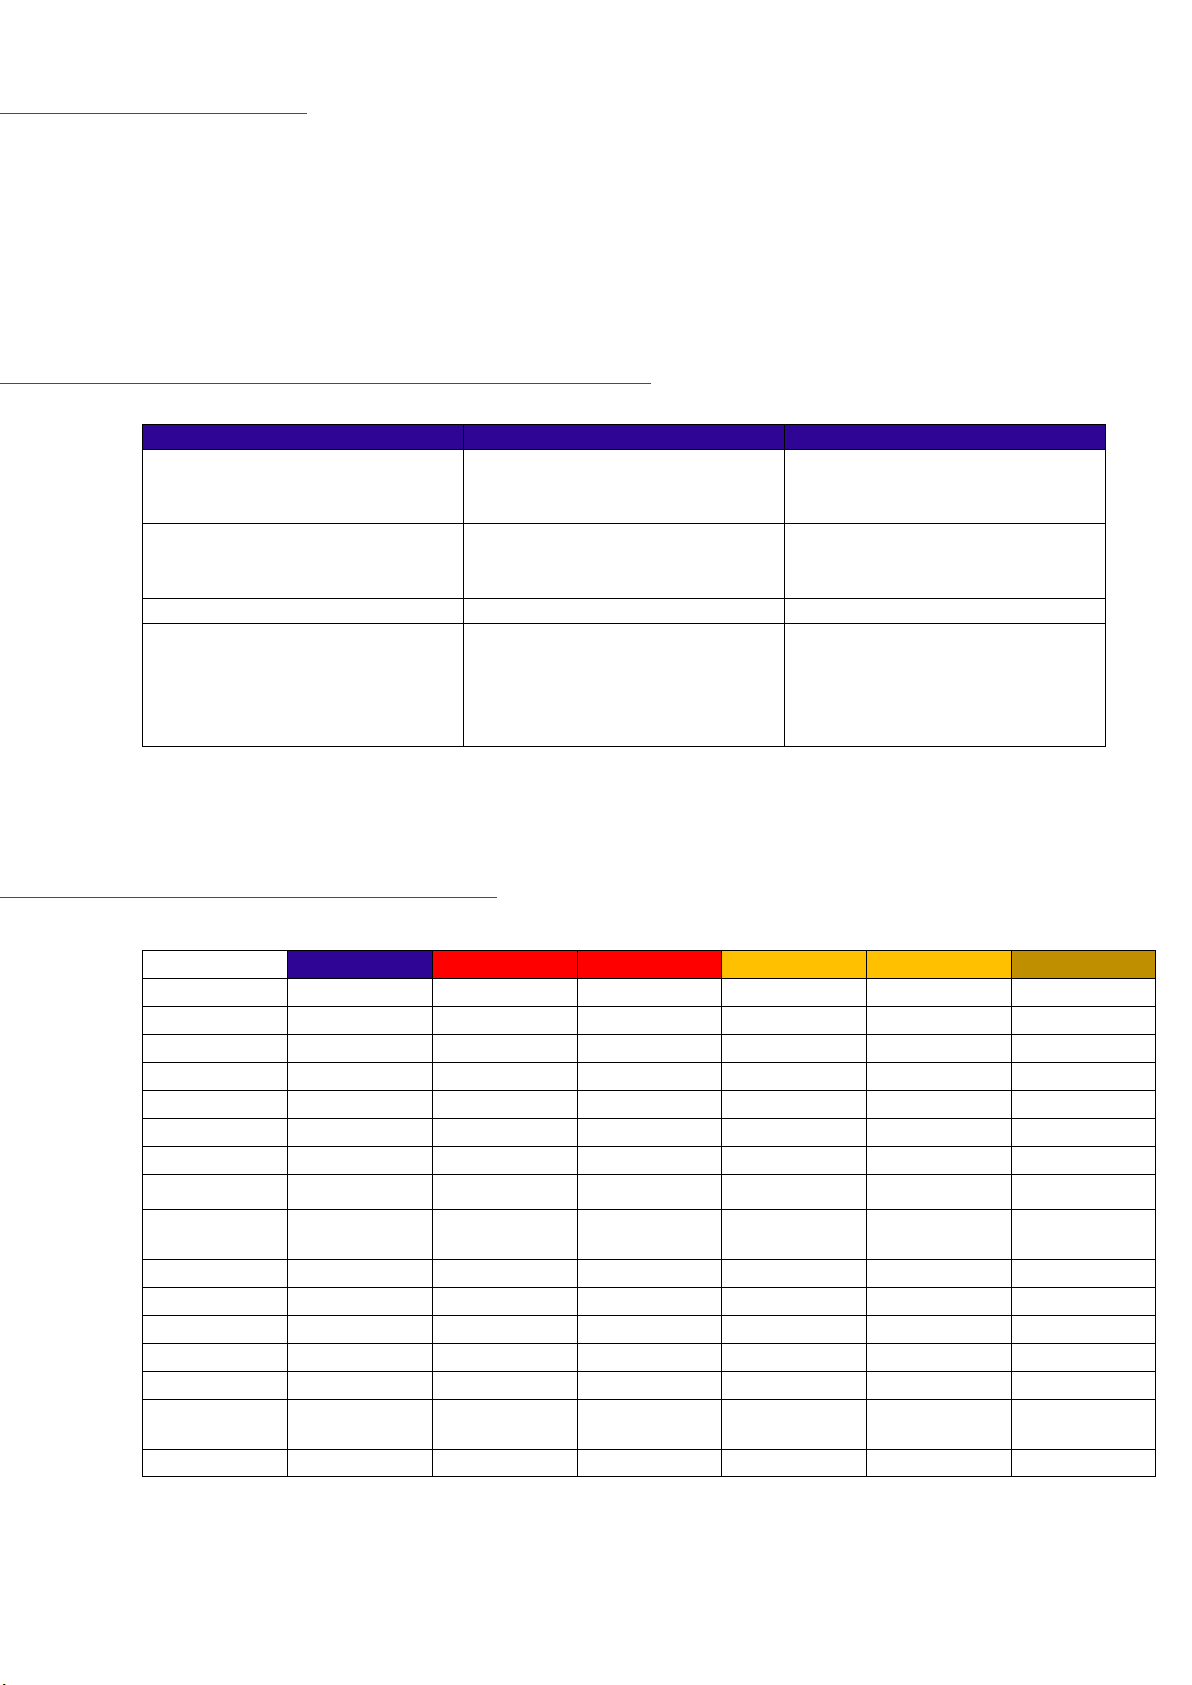
Battery
Description
Solution
Does not turn on
No power
Connect the power supply.
Verify the power supply status and
connection.
Reading error.
Does not calibrate.
Wrong calibration.
Wrong work conditions.
Recalibrate the scale.
Look for the right work conditions
(pag3).
It switch off
Low batteries
Connect the power supply
“Over”
Sample is heavier than the capacity
supported.
Check the sample.
Check if the plate interferes with the
safety screws present above and
below the instrument, in
correspondence of the load cell.
Models
BL 303
BL 602
BL 2002
BL 3001
BL 6001
BL 30K1
Cod
27000513
27000323
27000313
27000113
27000123
27000133
Capacity
300 g
600 g
2000 g
3000 g
6000 g
30 000 g
Division
0,001 g
0,01 g
0,01 g
0,1 g
0,1 g
0,1 g
Repeatability
0,001 g
0,01 g
0,01 g
0,1 g
0,1 g
0,2 g
Linearity
± 0,003
± 0,03
± 0,02
± 0,2
± 0, 2
± 0, 2
Sensor
Strain gage
Strain gage
Strain gage
Strain gage
Strain gage
Strain gage
Calibration
External
External
External
External
External
External
Pan size
Ø 118
Ø 118
188 x 148
188 x 148
188 x 148
330*260*80
Dimensions
(L*l*H)
292 x 218 x
227
292 x 218 x
227
292 x 218 x 80
292 x 218 x 80
292 x 218 x 80
330*260*83
Weight
3,1 Kg
3,1 Kg
2,8 Kg
2,8 Kg
2,8 Kg
6 Kg
Units
Yes
Yes
Yes
Yes
Yes
Yes
%
Yes
Yes
Yes
Yes
Yes
Yes
RS 232
Yes
Yes
Yes
Yes
Yes
Yes
PCS Counter
Yes
Yes
Yes
Yes
Yes
Yes
Rechargeable
batteries
Yes
Yes
Yes
Yes
Yes
Yes
Dust cover
Optional
Optional
Yes
Yes
Yes
No
The scales mount a rechargeable battery.
To recharge the battery use the power supply included in the packaging, and plug it into the jack on the backside of the
balance.
Is possible to use always the balance with the power supply connected.
Troubleshooting:
Datasheets
10

Disposal of electronic devices
Ver. 1.0_ENG_21/04/2015
The electrical and electronic equipment marked with this symbol cannot be disposed of in public landfills.
According to the UE Directive 2002/96/EC, the European users of electrical and electronic equipment can
return it to the dealer or manufacturer upon purchase of a new one.
The illegal disposal of electrical and electronic equipment is punished with an administrative fine.
11
 Loading...