

Page 1
Xorcom Ltd.
Misgav Industrial Park, POB 60
D.N. Misgav 20179, Israel
Tel: +972-4-9951999
info@xorcom.com
LCD Functions in the XE Series IP-PBX
User Guide
Overview ....................................................................................................................................................... 2
Functionality Supported by the Touch Panel ................................................................................................ 2
IP Address ..................................................................................................................................................... 2
Discovery of Assigned IP Address ............................................................................................................. 2
Manual Configuration of the IP Address ................................................................................................... 3
Matching Extension Numbers to Ports ......................................................................................................... 4
Overview ................................................................................................................................................... 4
Methods for Identifying the Ports ............................................................................................................ 4
The Identification Process ......................................................................................................................... 4
Restore to Factory Default Option ................................................................................................................ 5
Overview ................................................................................................................................................... 5
Booting from the Dedicated Internal Flash Drive ..................................................................................... 5
Adding a New PBX Version to the Internal Flash Drive ............................................................................. 5
Menu Tree for LCD Panel .............................................................................................................................. 6
Page 2
XE Series LCD Functionality: User Guide Page 2 of 6
Xorcom Ltd.
Misgav Industrial Park, POB 60
D.N. Misgav 20174, Israel
Tel: +972-4-9951999
info@xorcom.com
Overview
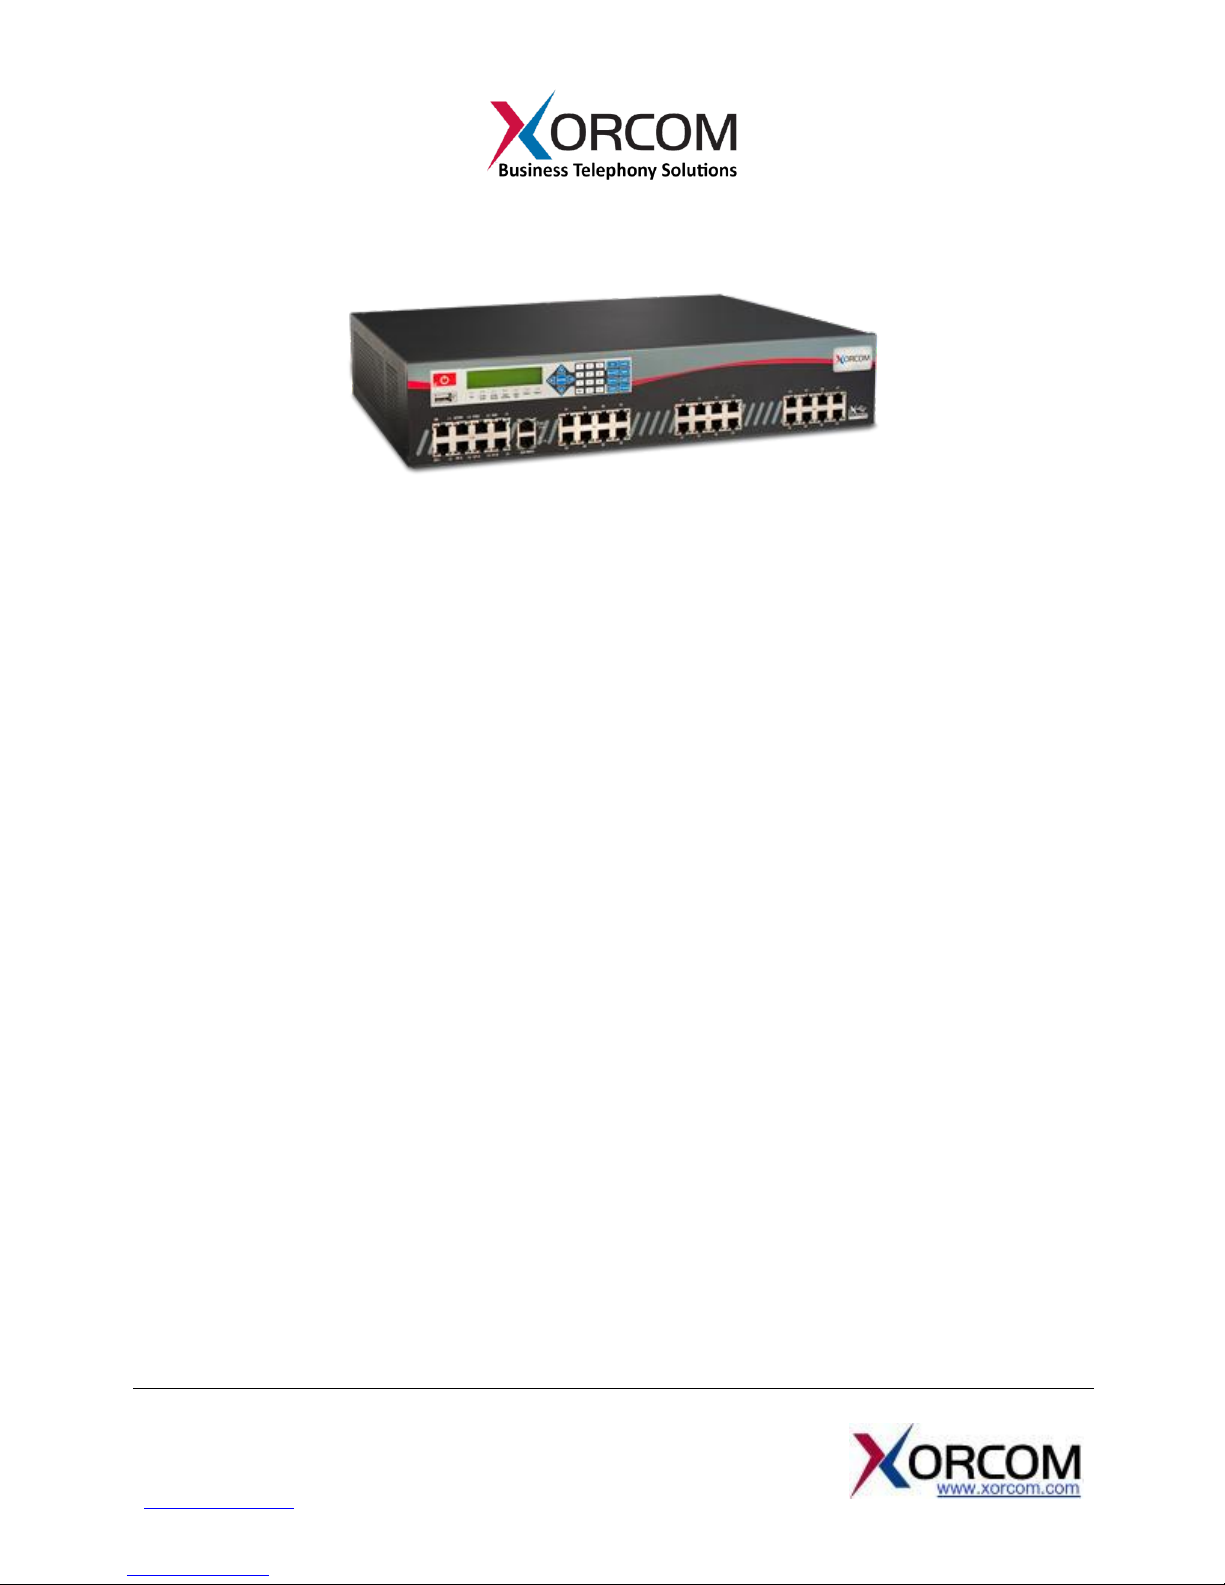
The XE series of Xorcom’s IP-PBX appliances features a multi-function Liquid Crystal Display, or “LCD”,
touch panel. This feature allows the system administrator to perform several of the most common
administrative functions directly on the front panel of the PBX, without having to attach a keyboard and
monitor.
Functionality Supported by the Touch Panel
While the touch panel does not provide the entire range of controls supported by the Graphical User
Interface, or “GUI”, which is accessed via a monitor, it is considerably more efficient for specific tasks:
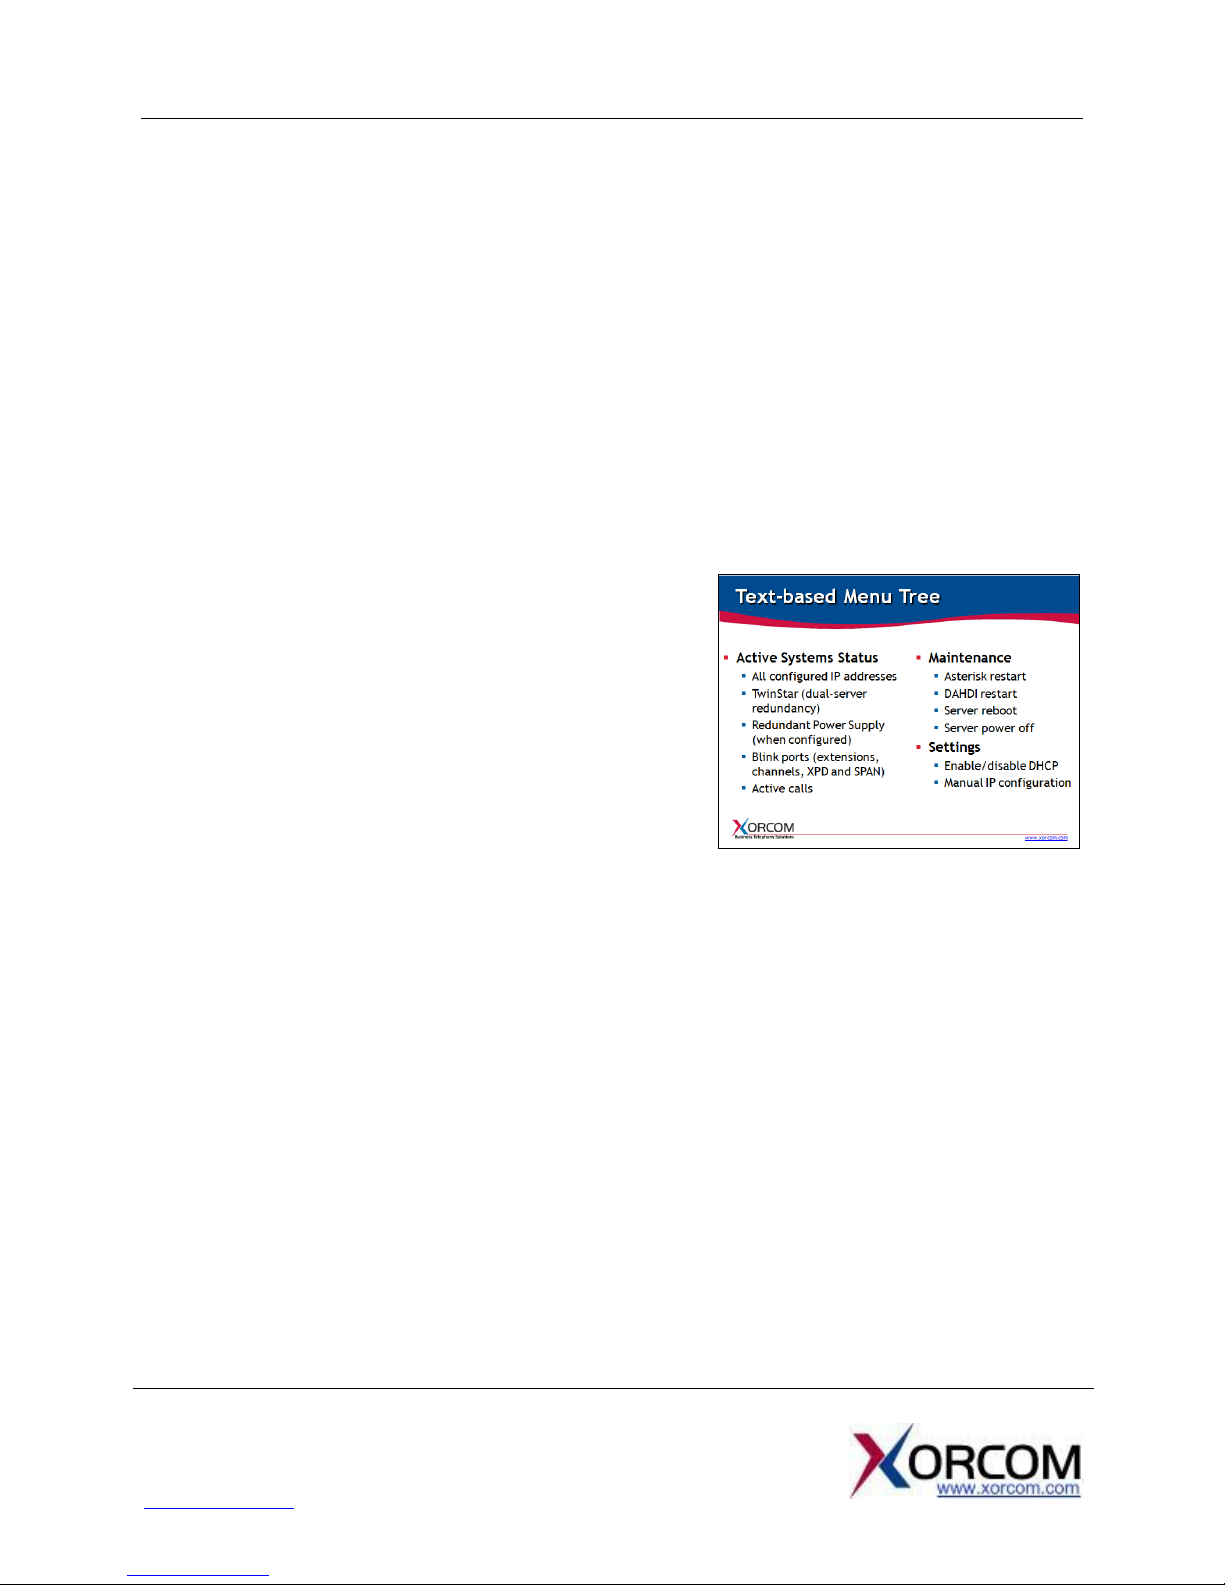
The touch panel uses a text-based menu tree to facilitate monitoring, maintenance and troubleshooting
of the entire telephony system. For example, the touch panel supports:
Obtaining system status information, such as the
appliance’s IP address, status of DRBD (that’s “Distributed
Replicated Block Device”) used in TwinStar
configurations, status of the Xorcom Redundant Power
Supply device, and the number of current (or active) calls.
Maintenance tasks, such as easy location of a specific
port / module / Astribank by channel number, extension
number (for FXS ports), or span number; restarting
Asterisk, DAHDI or even rebooting the appliance itself,
and creating or restoring a Rapid Recovery image on or from the internal flash drive.
Configuration of system settings, such as manual configuration of the IP address and enabling or
disabling the DHCP (“Dynamic Host Configuration Protocol”).
IP Address
Discovery of Assigned IP Address
By default, all Xorcom IP-PBX models are configured from the factory with DHCP enabled. After
connecting your appliance to the network you’ll want to discover the IP address that has been defined
for it automatically by your DHCP server. Thanks to the LCD panel, you can now do this directly on the
unit, without an external monitor and keyboard.
Power on the server to begin the initialization process, which takes about one minute. Once the
XORCOM text appears on the display, the initialization is complete.
Page 3

XE Series LCD Functionality: User Guide Page 3 of 6
Xorcom Ltd.
Misgav Industrial Park, POB 60
D.N. Misgav 20174, Israel
Tel: +972-4-9951999
info@xorcom.com
Press the “Enter” button to reach the menu, and then press “Enter” again to choose the “Status” option.
Press “Enter” again to choose “System Info”, and then one more time for “IP Address”. Press the down
directional arrow to see the current IP address value.
Now that you have the appliance’s IP address, you can access the PBX from your desktop monitor, using
the GUI application.
Manual Configuration of the IP Address
Manual configuration of the IP address is also supported. After initialization (once XORCOM appears on
the LCD screen), press “Enter” to access the menu. Press the down arrow twice to reach the “Settings”
option, and then press “Enter” to choose it. Navigate to the “Manual Net” option and press “Enter”.
From this point you can change all settings. Use the number keys to input the gateway address. Use the
star (*) key to symbolize the “dot” or “period” (.).
Once you have finished the manual configuration, choose “Yes” to save the settings.
Page 4

XE Series LCD Functionality: User Guide Page 4 of 6
Xorcom Ltd.
Misgav Industrial Park, POB 60
D.N. Misgav 20174, Israel
Tel: +972-4-9951999
info@xorcom.com
Matching Extension Numbers to Ports
Overview
Another great application supported by the touch panel on the Xorcom XE Series is the ability to match
telephone extension numbers with physical FXS ports. This feature is very useful when attaching your
telephone cables for the first time. It is also quite helpful during troubleshooting.
Methods for Identifying the Ports
The tree-view menu on the screen supports four methods for identifying the physical port:
1. Extension: the telephone’s extension number
2. Channel: the DAHDI channel number
3. XPD: the DAHDI XPD number
4. SPAN: the DAHDI SPAN number
Make sure to have your numbers ready before starting the identification process.
The Identification Process
To start the identification process, access the Menu on the server’s touch panel by pressing the “Enter”
key. Press “Enter” to choose “Status”, use the down arrow to navigate to “PBX Info” and press “Enter”.
Finally, press “Enter” to choose “Blink Port”. This function will cause the Light Emitting Diodes (LEDs) to
blink for a few seconds once you input the identifier. From this point on the menu you’ll see the four
methods for identifying the physical port: extension number, channel number, XPD and SPAN. For
example, to match using the extension number, choose the “Extension” option by pressing “Enter”. Use
the number pad to input the relevant extension number, pressing “Enter” to submit. As a result, you’ll
notice that the red and green LEDs are blinking on the associated port for approximately 5 seconds.
Once you’ve identified a port, simply attach the corresponding cable to it.
Page 5

XE Series LCD Functionality: User Guide Page 5 of 6
Xorcom Ltd.
Misgav Industrial Park, POB 60
D.N. Misgav 20174, Israel
Tel: +972-4-9951999
info@xorcom.com
Restore to Factory Default Option
Overview
The XE series of Xorcom IP-PBX appliances supports a front
panel USB port, as well as USB ports on the rear panel (two
on the XE2000, four on the XE3000). In addition, there is a
dedicated internal flash drive which, by default, is not
activated. This internal flash drive provides “restore to
factory default” functionality.
Under normal operation, when you switch on the Xorcom
server the display panel indicates “LOADING…”. After about
a minute of system initialization, the display text changes to
“XORCOM”. Your PBX is now operational, having booted from the server’s hard drive. Note that if you
have inserted a Xorcom Rapid Recovery disk-on-key in either the front panel or rear panel USB ports
prior to switching on the power, the system will boot from “it” first. This is as per the boot up sequence
that is defined in the factory default BIOS settings.
Booting from the Dedicated Internal Flash Drive
In order to access and activate the internal flash drive and restore the PBX to factory default, you need
to connect a keyboard and monitor to the server. Then, within 5 seconds of switching on the server’s
power switch, you need to press the ENTER button on the front panel. The Liquid Crystal Display will
show the “LOADING FROM INTERNAL FLASH” text and the LEDs will flash.
On the monitor you connected to the server, the Rapid Recovery utility will be displayed. Choose
“Restore the system from a backup”. The naming convention for the factory default version from
Xorcom is FD-[serial-number]. Choose that file by pressing Enter. Reboot the server and your PBX, now
running the factory default version, is ready to go.
Adding a New PBX Version to the Internal Flash Drive
If you have made changes to the factory default, such as adding your own software, and are confident
that you want the updated version to be available as a fallback, you can add your version to the factory
default on the internal flash drive. Use the same method described for accessing the internal flash drive
– that is, within five seconds of powering on the server make sure to press the ENTER button on the
front panel. When the Rapid Recovery utility comes up on the screen, choose the “Backup the system”
option from the main menu, and provide a name for the backup file. The backup creation process will
take a few minutes. Once it is complete, you will get notification on the screen.
Page 6

XE Series LCD Functionality: User Guide Page 6 of 6
Xorcom Ltd.
Misgav Industrial Park, POB 60
D.N. Misgav 20174, Israel
Tel: +972-4-9951999
info@xorcom.com
Menu Tree for LCD Panel
1. Status
1.1. System Info
1.1.1. IP address
1.1.2. HW status (not implemented yet!)
1.2. PBX Info
1.2.1. Blink port
1.2.2. Active calls (number of currently active calls)
1.3. TwinStar Stat (Current Status of DRBD connection (Primary or Secondary))
1.4. RPS Status (Status of RPS units)
2. Maintenance
2.1. Asterisk restart
2.2. Dahdi restart
2.3. Reboot
2.4. Poweroff
3. Settings
3.1. DHCP (enable DHCP per Ethernet interface)
3.2. Manual Net (define IP settings manually: gateway, DNS1, DNS2, IP and the network mask for
each available Ethernet interface)
 Loading...