

Xiyuan XY-B02 User Manual

XY-B02 Bikelight User Guide !
1. XY-B02 Features!
Built in GPS / GPRS!
Web Based Tracking and Replay!
Call Alert for Anti-Theft Feature!
On AUTOMATICALLY with motion!
Ultra Bright LED’s!
2200 mAh Rechargeable Li-ion Battery!
Hardware Specifications:!
Storage Temp: -40 to 85°C!
! Operating Temp: -10 to 55°C
GPS: U-BLOX G6010-ST, 50 channel
Antennae: Internal
Frequency: L1 1575.42 MHz
Position Accuracy: <5m
Sensitivity:
Tracking: –161 dBm
Cold starts: –148 dBm
Hot starts: –156 dBm
Cold start: <27s
Warm Start: <5s
Hot Start: 1s
A-GPS: AssistNow Online and AssistNow Offline services,
OMA SUPL compliant
GPRS: MTK 6260D
Quad band; 850/900/1800/1900 MHz
GPRS Class 12
Antennae: Internal
Power: Rechargeable, 2200 mAh, Lithium-Ion Battery
Built-in Vibration/motion sensing
!
!
by Shenzhen Xiyuan Electronic Technology Co., Ltd
www.moralwinhk.com
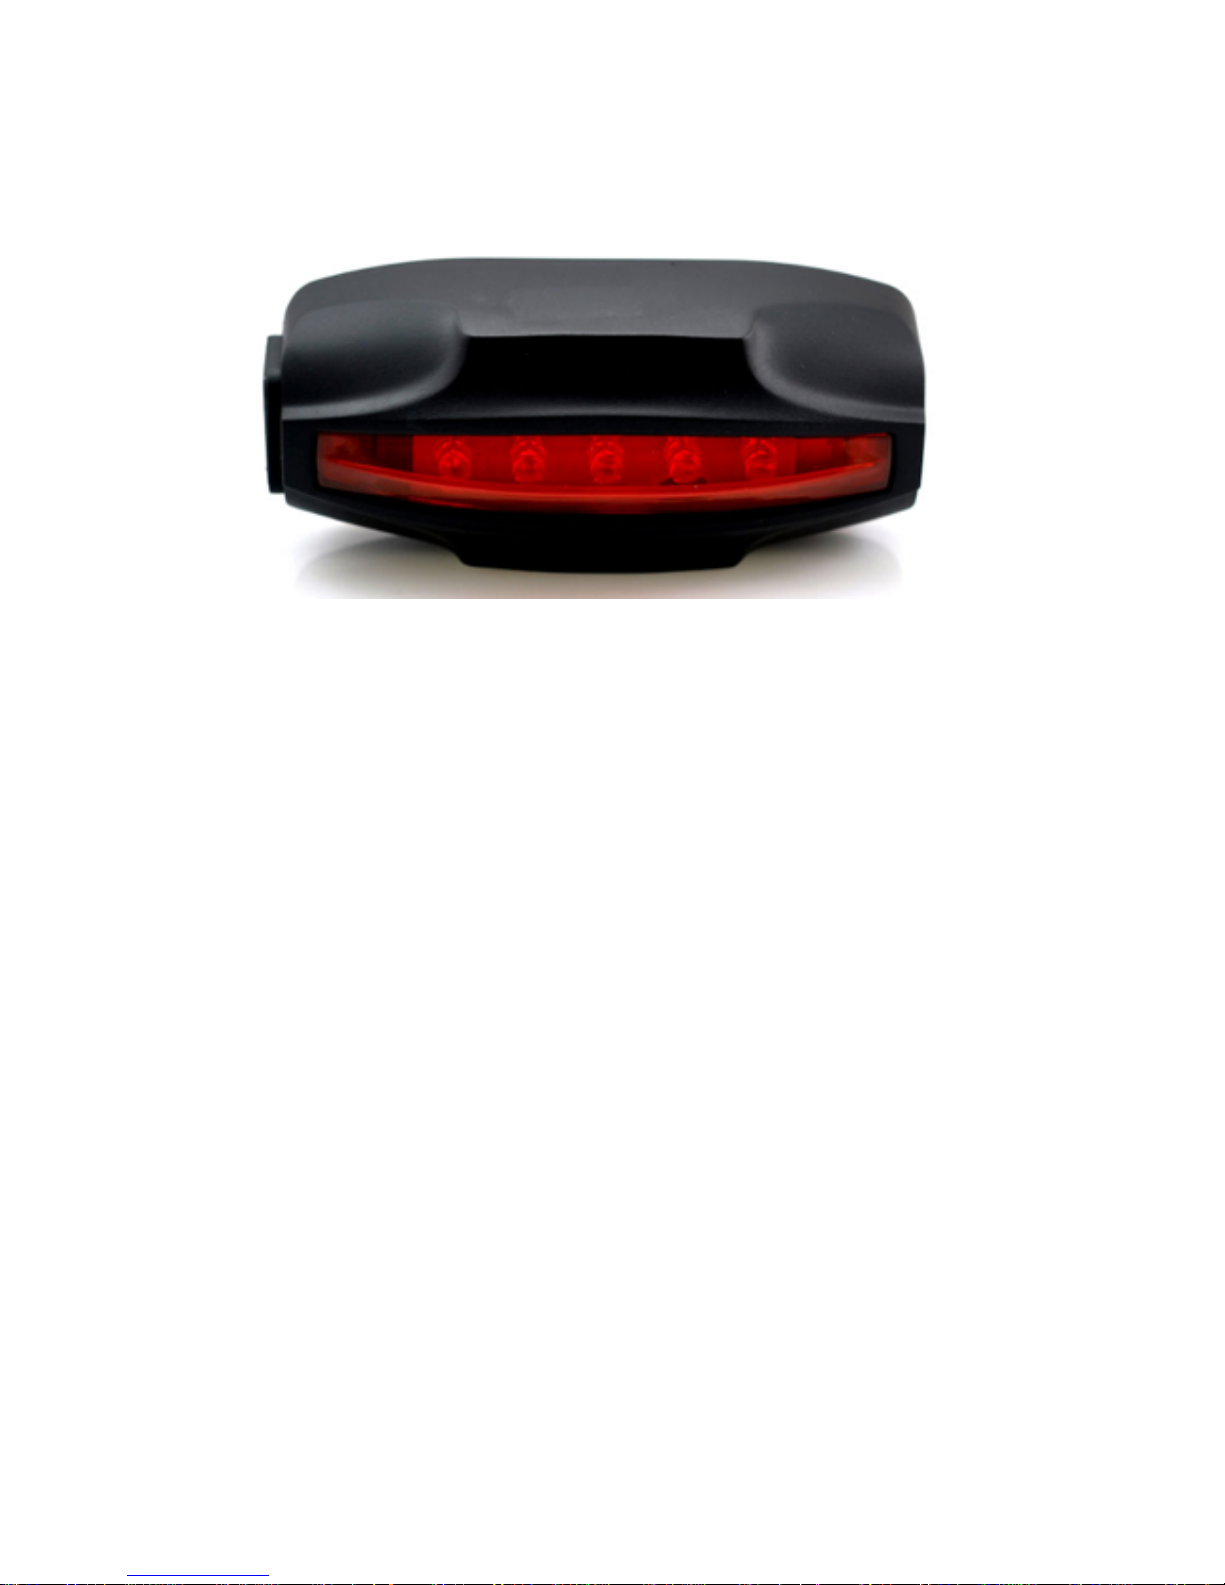
2. Product Image!
!
!
3. Operation"
3.1 Button Operation for GPS function!
This On button is at the back of the device!
a. GPS On: Press On button and hold for 3 seconds. The green
indicating light will start flashing and green light turns to on for
15 seconds
GPS Off: Send SMS 6400 to the device
b. LED Light Always On: Press On button 1 time
LED Light Flashing: Press On button 2 times
LED Light Off: Press On button 3 times
4. Installation Manual
4.1 SIM Card Pre-installation, specification note
a. GSM Sim Only
b. SIM card should have its GPRS function enabled.
c. SMS request will function only if Caller ID function is enabled.
d. If SIM card is locked via PIN, please unlock SIM.
!
!
!
!

!
!
4.2 SIM Card Installations and Removal
a. Insert SIM card into the SIM slot, metal face up, clipped
corner to the right.
b. Red LED light will start flashing. Green light and Blue light will
be flashing for couple seconds and then turns to steady green on
for about 10 seconds
c. Call the device SIM number and it is supposed to get through
without answer.
!
!
!
!
5. Operation Commands Guide
!
5.1 Set APN: (VERY IMPORTANT AND MUST BE DONE
1ST) For the device to send data to the server, this
command MUST be enabled.
!
SMS: *apn*AXXX*BXXX*CXXX* This command sets the
telecom Access Point Name. BXXX refers to user name, CXXX
refers to password.
!
If there is no user name and password required, send as
*apn*AXXX*
!
If there is user name but no password required, send as
*apn*AXXX* BXXX*
!
!
APN information can be checked on local telecom website.
!
You will receive the following text: "Notice: APN is set to XXX.
User name: XX. Password: XX”
!
!
5.2 Registering the “Master” Controller
SMS to the device: *master*123456*+1XXXXXXXXXXXX*,
(For instance, master controller phone number is

+1XXXXXXXXXXXX. +1 refers to the country code.
XXXXXXXXXXXX is the cellphone number. Please make sure
country code is included, and digit 0 is not needed before cell
phone number)
!
!
Device Response: "Notice: Cell Phone # xxxxxxxxxx is set to
master controller, the password is 123456.” (The device has a
default password of “123456” to initially program in your PDA/
Phone.
!
NOTE: The device will ONLY listen and respond to instructions
from this number unless you choose to turn on the multi
controller function and open the device to any cell phone number
(see NO.13 for details).
!
!
!
5.3 Emergency takeover function:
With the proper password, any phone number could takeover of
full functionality under emergency situation.
SMS: *master*123456*+1XXXXXXXXXXX * (For instance,
master controller phone number is +1XXXXXXXXXXX. +1 refers
to the country code. XXXXXXXXXXXX is the cellphone number.
Please make sure country code is included, and 0 is not needed
before cell phone number)
!
You will receive back a text that says: "Notice: Master controller
change is successful for +1XXXXXXXXXXX, the new master
controller is +1XXXXXXXXXXXX."
!
!
5.4 Changing the Password:
SMS: *password*654321* (654321 refers to new
password)
You will receive the following text: "Notice: The password
change is successful for +1XXXXXXXXXX. The new password is
654321."
!
!
!
!
 Loading...