

Page 1
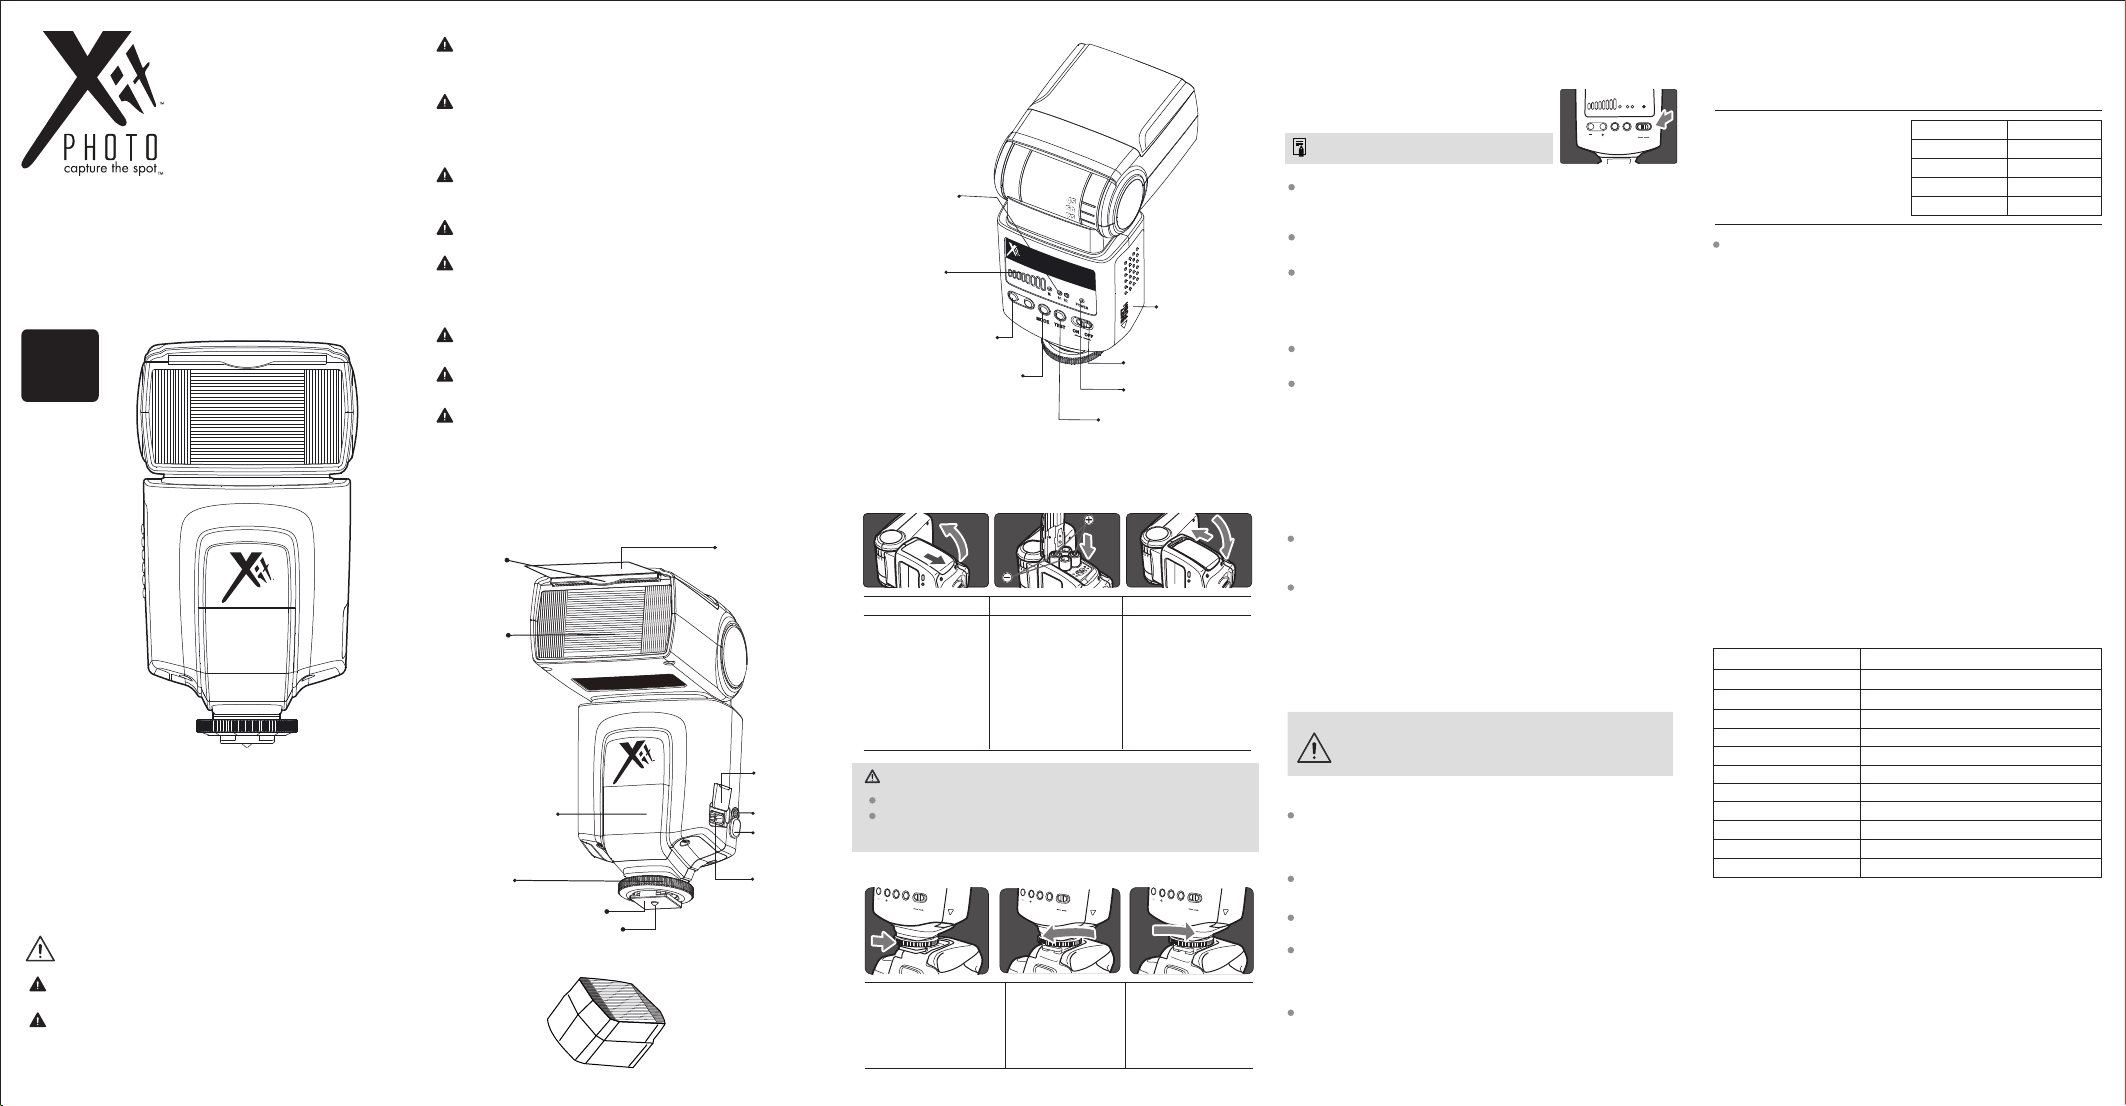
For a test flash, press the test button. After use, press the ON/OFF to OFF to
power off.
MOOD
TEST
ON
OFF
MOOD
TEST
ON
OFF
MOOD
TEST
ON
OFF
Universal Professional
Digital Flash
Item # XTUNVFL5
Universal Professional
Digital Flash
wide angle bounce diffuser & adapter
designed for
Nikon
Canon
Pentax
Sony
FOREWORD
Thank you for purchasing Xit PHOTO product.
Before use, please read this user manual carefully in order to ensure
your safety. Keep it properly for reference in future.
WARNING
Always keep this product from rain or damp in order to prevent
fire or electric shock.
The flash unit contains high voltage electric parts, do not try to
open or repair the flash unit. If you touch the high-voltage circuit
inside this product, electric shock may occur. Return it back to
the nominated repair service station.
If the unit is extruded,fallen,suffered from strong impact and thus its
inside is exposed, stop using immediately so as to prevent electric
shock leading from touching the inside electric components.
Do not fire the flash direct to the eye at short distance(especially baby’s
eye), or it may damage the eye.When taking flash picture toward baby,
it is recommended to keep the flash unit at least 1 meter(3.3feet) away
from the subject. Or use diffuser or bounce the light to soften its intensity.
Always keep the battery or anything easy to be gulped out of children's
reach. In case of gulping due to carelessness,please contact a doctor
immediately .
When there is caustic liquid leakage inside, it is necessary to wear
gloves to take out the batter.
Do not use the flash unit in the flammable gas, chemical or such liquids.
These materials may be ensitive to the flash from the unit in some circumstance. It may cause fire or electromagnetic interference.
Please pay attention to the warning marks in the shooting surroundings.
Do not leave or store the flash unit in temperature over 40 C(such like
。
in the automobile), or it may damage the electronic components.
The flash unit isn’t water resistant.
Please keep it away from rain or humidity.
If the flash unit is idle for long, please take out all batteries and keep
the flash unit in dry area.
NOMENCLATURE
Ⅰ.
Built-in Wide Panel Reflection Board
Flash Head
Socket Cover
Optic Control Sensor
Lock Ring
Hot Shoe Stand
Dedicated Hot Shoe Contact
Flash diffuser
PC Sync Socket
Socket Cover
Charging
Socket
Mode Select Indicator
(M、S1、S2)
Output Level
Indicator
Flash Power Level Button
Mode Select Button
INSTALLATION
Ⅱ.
Battery Cover
Power Switch
Charging Indicator
Test Button
1. Battery Installation
Open the battery cover
Slide the battery cover
along the arrow
direction and then open
it by thumb.
Attention:
Take care of the hot battery when changing them after continuous flashes.
Take out the battery when idle in case the battery leakage damages the
flash unit.
Insert batteries
Install the batteries
according to the direction
indicated by the sicker in
the battery holder and
make sure the + and –
battery contact are
correctly inserted at the
battery compartment.
Close the battery cover
Slide the battery cover
along the arrow direction
and slide it back in place.
The battery cover will be
locked when there is a
“click” sound.
2.Mounting XTUNVFL5 on the camera
Twist the lock ring anticlockwise to loosen it to the
highest point. Slide the
mounting foot of XTUNVFL5
into the hotshoe of camera.
Twist the lock ring
clockwise to tighten it.
To remove the flash,
loosen the fixed knob and
slide it out of the hotshoe
of camera.
USING XTUNVFL5
Ⅲ.
1. Power management
S2
POWER
M
S1
ON
OFF
TEST
After use, press the ON/OFF to OFF to power off.
Switch to the ON, the flash will start charging (the charging indicator is
dim).After several seconds, the charging indicator turns red and XTUNVFL5
is ready to shoot.
If the red charging indicator lamp flickers in every 1s, it indicates low
battery. In such case, the power will turn off automatically and you
need to replace the batteries.
MODE
2.Power Control
The flash unit has 8 steps of power output control which indicated by 8
pieces of LED lamp for different level.
Press “+” to make power higher and they are 1/128,1/64,1/32,1/16,
1/8,1/4,1/2,1/1. Otherwise, press “-” to make power lower.
3.M Mode
Press the MODE key to M Mode. In this mode ,you can set XTUNVFL5 onto
your camera hotshoe or speedlite trigger hotshoe to trigger the flash unit.
When shooting,adjust the flash power and press the camera shutter,the
flash light will flash under the camera synchronous signal.
4.S1 Mode
Press the MODE key to S1 Mode. The mode is applicable for slave flash
in order to create many lighting effects. It is respectively applicable for
manual flash environment.
When the flash is S1 mode, it will fire synchronously when the master
flash fires, comparable with the effect by the use of radio trigger.
5.S2 Mode
Press the MODE key to S2 Mode. The mode is applicable for slave flash
in order to create many lighting effects.The flash unit won’t flash synchronously with the first flash but the second flash from the master flash,
which is the second flash synchronization.
Note
:
The optic light sensor will stop functioning under M Mode.
The hotshoe’s trigger function will stop under S1 and S2 Mode.
6.Sync Trigger Function
The speedlite and camera will trigger synchronously by using a PC sync
cord to connect the sync terminals of the camera and the speedlite together.
7.Power-saving Function
To save battery power, the flash will enter stand-by state in about 30
minutes of idle use. Press any button to wake it up.
In S1/S2 mode, the flash will enter stand-by state in about 60 minutes
of idle use. Press any button to wake it up.
In power-saving mode, the charging indicator flickers in every 3 seconds.
Other indicators are turned off.
8.Protection Function
Protection in continuous flashes
To prevent the flash head from getting too hot and damage, please do
not flash over 20 times when in power level 1/2,1/1. Please cool down
the flash unit for at least 10 minutes. The over-temperature protection
function will be activated if you continue to flash after 20 times. In this
state the charging time will turn to 10-25s. Please cool down the flash
unit around 10 minutes and it will turn to normal state.
Number
20
40
80
160
Number of flashes that will activate
over-temperature protection:
Power Level
1/1,1/2
1/4,1/8
1/16,1/32
1/64,1/128
Systematic over-temperature protection
When the inner circuit is over-heating, which indicates over use of the
flash unit, the inner circuit will shut down power automatically. The flash
unit will turn to normal state after the inner circuit is cooled down.
ADVANCED APPLICATION
Ⅳ.
1.Bounce Lighting
Bounce flash means to take photos by bouncing the light off wall or
ceiling to soften the light on the subject, and the shadow shade out,
to get more desired picture.
2.Use Reflection Board to Take Photos
Pull out the refection board and built-in wide panel from the flash head
at the same time and then push the built-in wide panel back.
In such case, if this product is being used to take photos, it will produce
a highlighted point on the eyes of the subject and thus make the eyes
charming (catch lights). This function can reach optimal effect when
the flash head is up 90°.
3.Use Wide-angle Diffuser
Pull out the built-in wide panel to enlarge flash lighting range, so as to
get more softened and natural lighting effect.
SPECIFICATIONS
Ⅴ.
Guide number
Flash mode
Vertical rotation angle
Horizontal rotation angle
Power
Lighting times
Recycle time
Light quantity output control
Color temperature
Flash duration
Dimensions
Net weight
Accessories:Flash light ...........
Flash diffuser ......
33 ( m ISO 100 )
M,S1,S2
0~90 degrees
0~270 degrees
4xAAsice batteries(Alkaline or Ni-MH are usable)
100-1500 times (AA alkaline batteries used)
approx 0.1-5s(AA alkaline batteries used)
with 1/8-stop increment
5600K+200K
-
1/300s~1/20000s
190*75*55mm
286g
Protecting bag ......
(1)
User manual ........
(1)
(1)
(1)
 Loading...