

Xineron XIN-MPC-0110, XIN-MPC-0110W Quick Installation Manual
Quick Installation Guide
Please read this manual thoroughly before use, and keep it handy for future reference.
HD Mini Cube
Network Camera

2
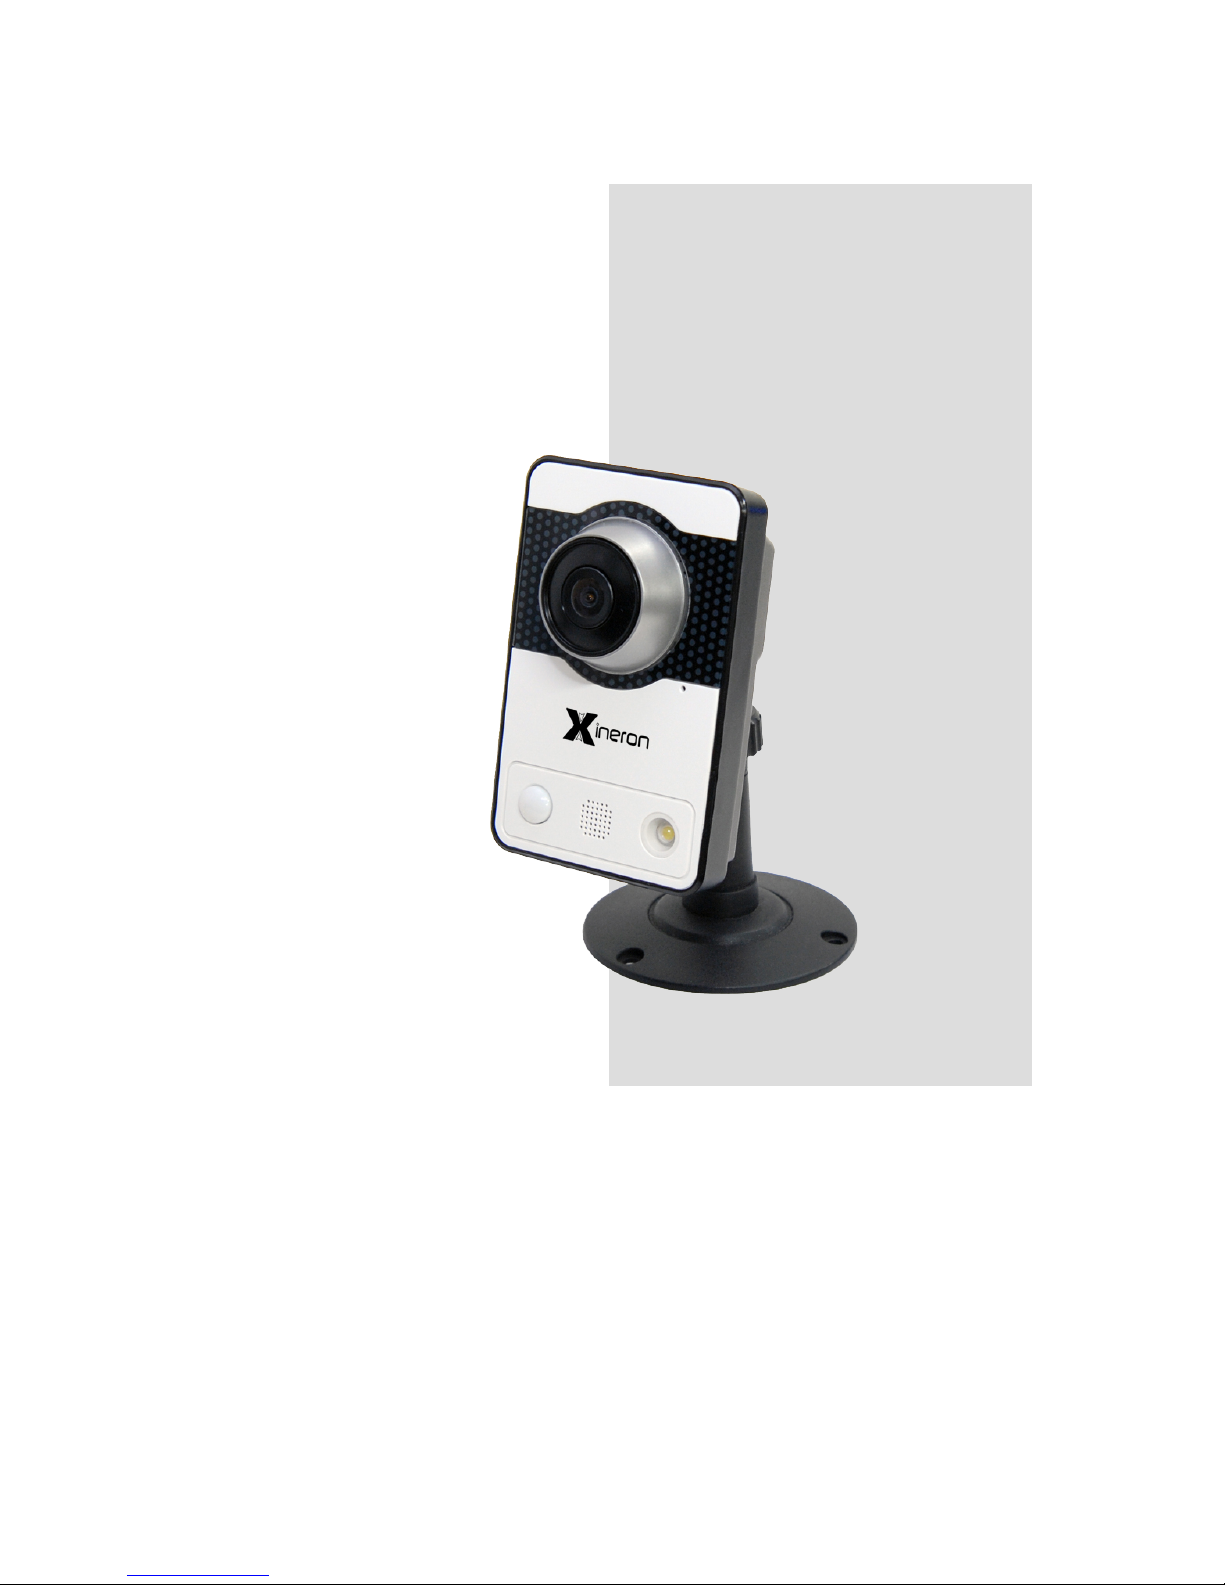
1. Description
The Network Camera supports the network service for a sensor image with progressive scan, which
can be monitored on a real-time screen regardless of distances and locations. By using its dedicated
program, many users are able to have an access to the Network Camera at once or a single user can
monitor various network cameras at the same time. It also enables users to play, store and retrieve a
monitoring image by using a PC. All the settings and real-time monitoring screens are also provided
through an access to the web.
The Network Camera is fully featured for security surveillance and remote monitoring needs. It is
based on the DSP compression chip, and makes it available on the network as real-time, full frame
rate Motion JPEG and H.264 (or MPEG-4) video streams.
Network Camera
Features
XIN-MPC-0110
H.264, MPEG4 and MJPEG
Wired and Wireless interface
Micro-SD
XIN-MPC-0110W
H.264, MPEG4 and MJPEG
Wired interface
Micro-SD
PoE(Power over Ethernet)
Illumination LED
PIR Sensor
Audio
3
• Installation Steps
Follow these steps to install the network camera on your local network (LAN):
1. Check the package contents against the list below.
2. Connect the Network Camera. See page 5.
3. Set an IP address. See page 6.
4. Set the password. See page 9.
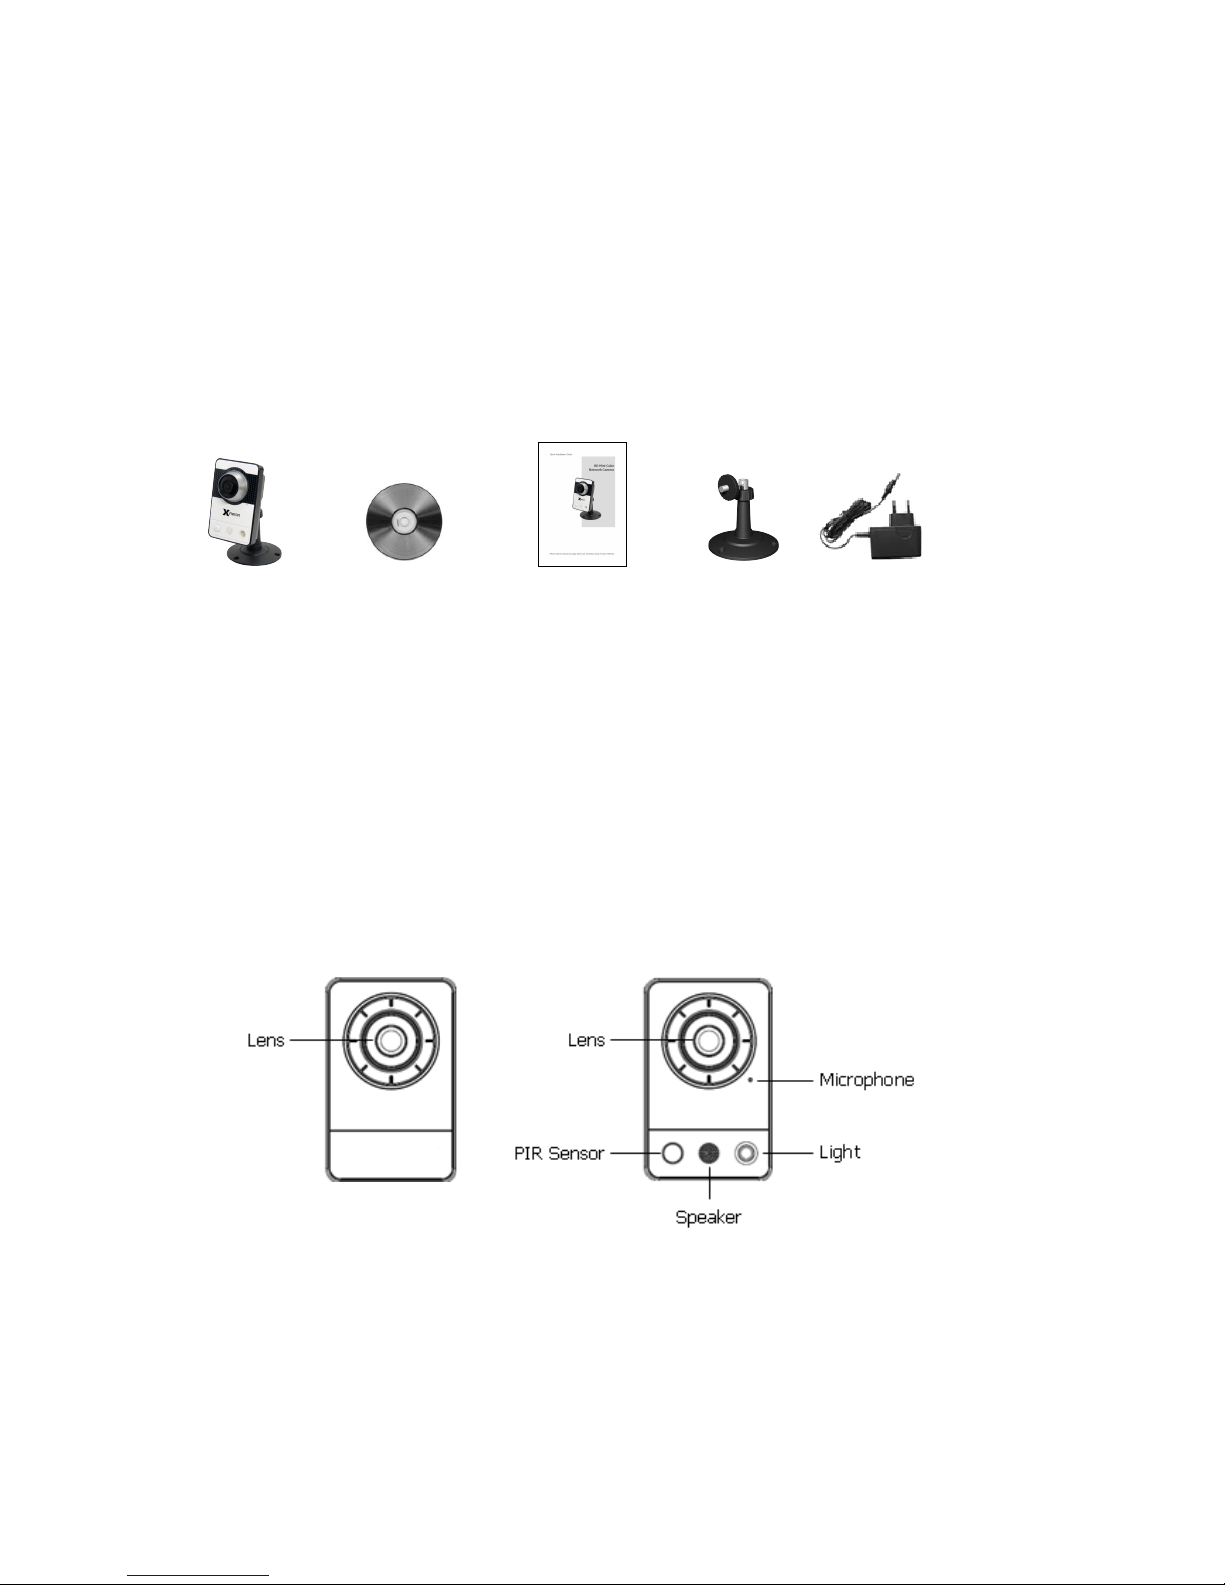
• Package Component
The system comes with the following components:
Cube Camera Installation CD Installation Guide Stand Adaptor
Note: Check your package to make sure that you received the complete system, including all
components shown above.
• Front View
[XIN-MPC-0110] [XIN-MPC-0110W]
4
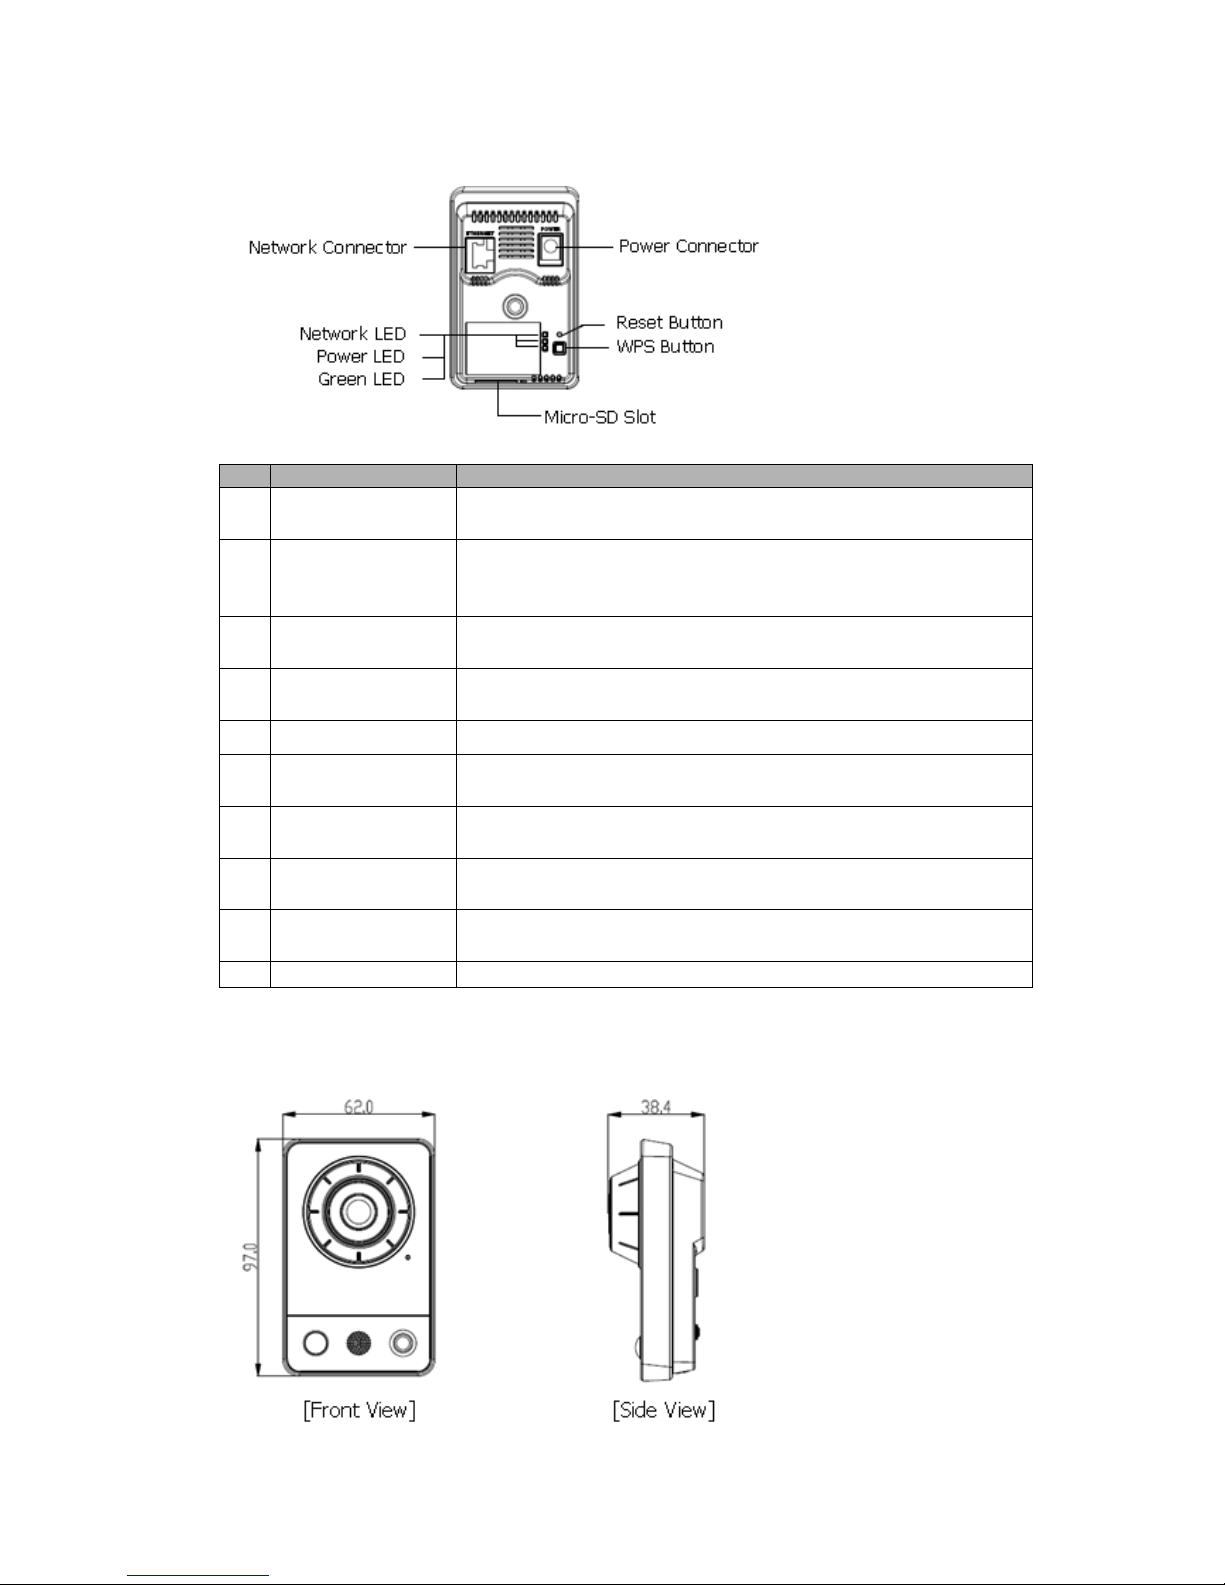
• Rear View
NO
Name
Description
1
PIR Sensor
XIN-MPC-0110/XIN-MPC-0110W is equipped with a PIR Sensor that has a
maximum range of 5 meters for detecting movement in the dark.
2
Microphone/Speaker
XIN-MPC-0110/XIN-MPC-0110W is equipped with a Microphone and
Speaker. Two-way audio support allows for remote users to listen in on
an area and communicate with visitors or intruders.
3
Light
XIN-MPC-0110/XIN-MPC-0110W is equipped with White LED that
illuminates the scene.
4
Network Connector
Ethernet, RJ-45 port compatible with 10/100Mbps having PoE functionality.
Modular Jack
5
Power Connector
For connection of the 5V power adapter (included).
6
Reset Button
Press and hold the Reset Button for one second using a paper clip or thin
object. Wait for the camera to reboot.
7
WPS Button
WPS(Wi-Fi Protected Setup) Button, it finds and connects a wireless AP
device automatically.
8
Network LED (Green)
Steady for connection to a 100Mbit/s network. Flashes for network
activity.
9
Power LED (Green)
Steady green for normal operation or booting.
Flashes green during firmware upgrade.
10
Status LED (Red)
Steady red for failed upgrade or booting.
! Camera Dimension
Dimensions Unit: mm
 Loading...