

Ximeta NetDisk NDC10-120, NetDisk Mini MNC10-80, NetDisk Mini MNU10-40, NetDisk Mini MNU10-80, NetDisk NDC10-160 User Manual
...
NetDisk User Manual
NetDisk User Manual
Mac OS X 10.3 (Panther)
NetDisk, NetDisk Mini & NetDisk Office
Powered by Technology
www.XIMETA.com

NetDisk® User Manual Network Direct Attached Storage / NDAS®
XIMETA, Inc.
15251 Alton Parkway
Irvine, CA 92618
United States of America
(949) 753-7900
Software Release Statement
NetDisk User Manual for Mac OS X 10.3, Software Version 1, Released 2004, Made in the
U.S.A.
Trademark Statement
NetDisk®, NDAS® and XIMETA™ are trademarks of XIMETA, Inc., registered in the U.S.A
and other countries. All other trademarks are the property of their respective owners.
Copyright Statement
Copyright © 2003 – 2004 XIMETA, Inc. All rights reserved world. Reproduction, translation,
transformation or adaptation in any manner without prior written permission of XIMETA, Inc.
is strictly prohibited.
License Statement
The software described in this document is furnished under a license agreement. The software may be used only in accordance with the terms of the license agreement
Warranty Statement
XIMETA, Inc. reserves the right to revise this publication and to make changes to the content
hereof without the obligation of XIMETA, Inc. to notify any person of such revision or
changes. XIMETA, Inc. provides this publication “as is” without warranty of any kind, either
express or implied, including but not limited to the implied warranties of merchantability or
fitness for a particular purpose.
XIMETA, Inc 2 www.XIMETA.com

NetDisk® User Manual Network Direct Attached Storage / NDAS®
Table of Contents
1 Introduction ····················································································································· 4
1.1 User Manual ·········································································································4
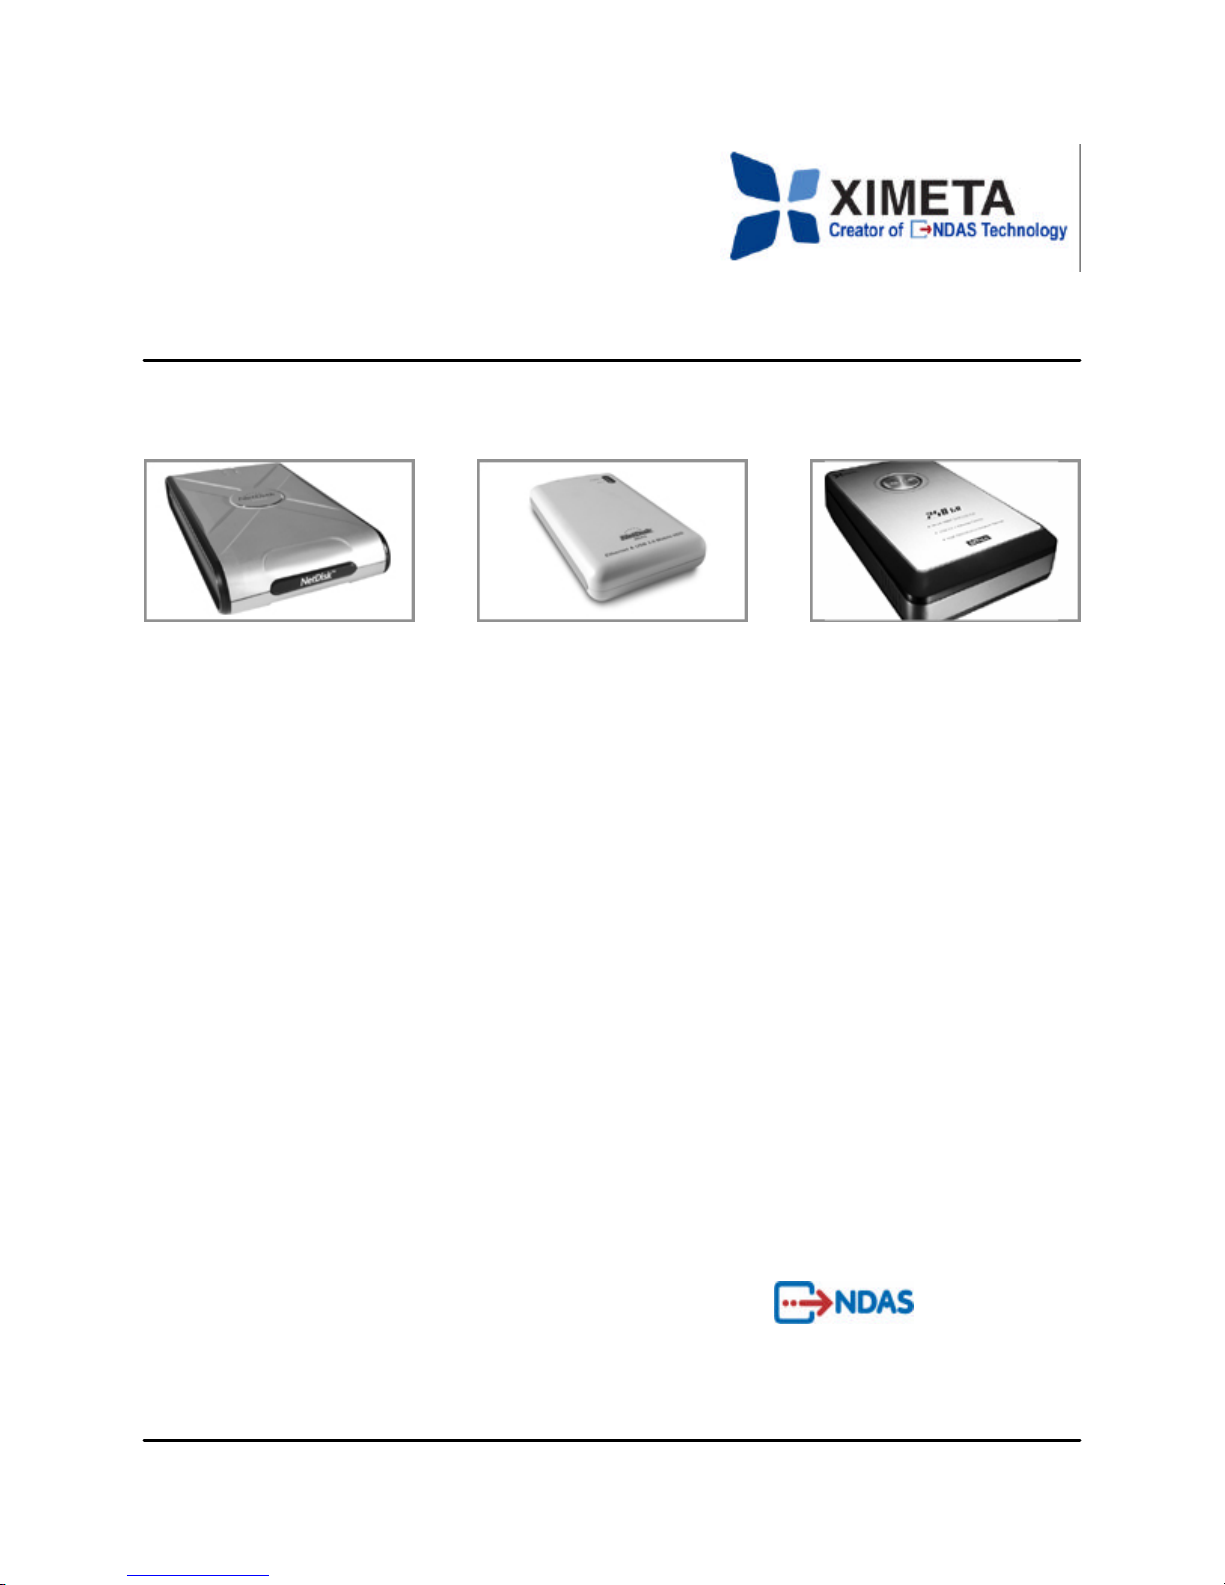
1.2 NetDisk / NetDisk Mini / NetDisk Office Models Covered By This User Manual ……… 4
1.3 Package Contents ·································································································4
1.4 System Requirements ···························································································5
1.5 NetDisk Setup Overview ·······················································································5
2 Cable Installation ·············································································································6
2.1 NDAS Mode ··········································································································6
2.2 USB Mode ············································································································7
3 NetDisk Software Installation ··························································································8
4 Add / Register NetDisk ··································································································· 11
5 Using NetDisk Admin ······································································································ 12
6 Using NetDisk ················································································································· 13
6.1 Read Only and Read / Write Mode ······································································· 13
6.2 Changing Read Only or Read / Write Mode ··························································· 13
7 Using NetDisk in a Mixed Environment ·········································································· 15
7.1 Mixed Environment with Mac and Windows ···························································· 15
8 Uninstalling NetDisk ······································································································· 16
9 FAQ ···························································································································· 17
10 Regulatory Statements ·································································································· 18
11 Product Warranty ·········································································································· 19
12 Additional Information and Assistance ········································································· 23
XIMETA, Inc 3 www.XIMETA.com
NetDisk® User Manual Network Direct Attached Storage / NDAS®
Chapter 1 Introduction
Congratulations on your purchase of NetDisk / NetDisk Mini / NetDisk Office.
- Network storage via Ethernet made possible through NDAS technology!
1.1 User Manual
This User Manual is intended to help you install the NetDisk product(s) quickly and easily onto
your Personal Computer or Ethernet Network and begin using it immediately.
1.2 NetDisk / NetDisk Mini / NetDisk Office Models Covered By This User Manual
NetDisk
• NDU10-80
• NDU10-120
• NDU10-160
• NDU10-250
• NDC10-80
• NDC10-120
• NDC10-160
• NDC10-250
NetDisk Mini
• MNU10-40
• MNU10-80
• MNC10-40
• MNC10-80
NetDisk Office
• NOU10-120
• NOC10-120
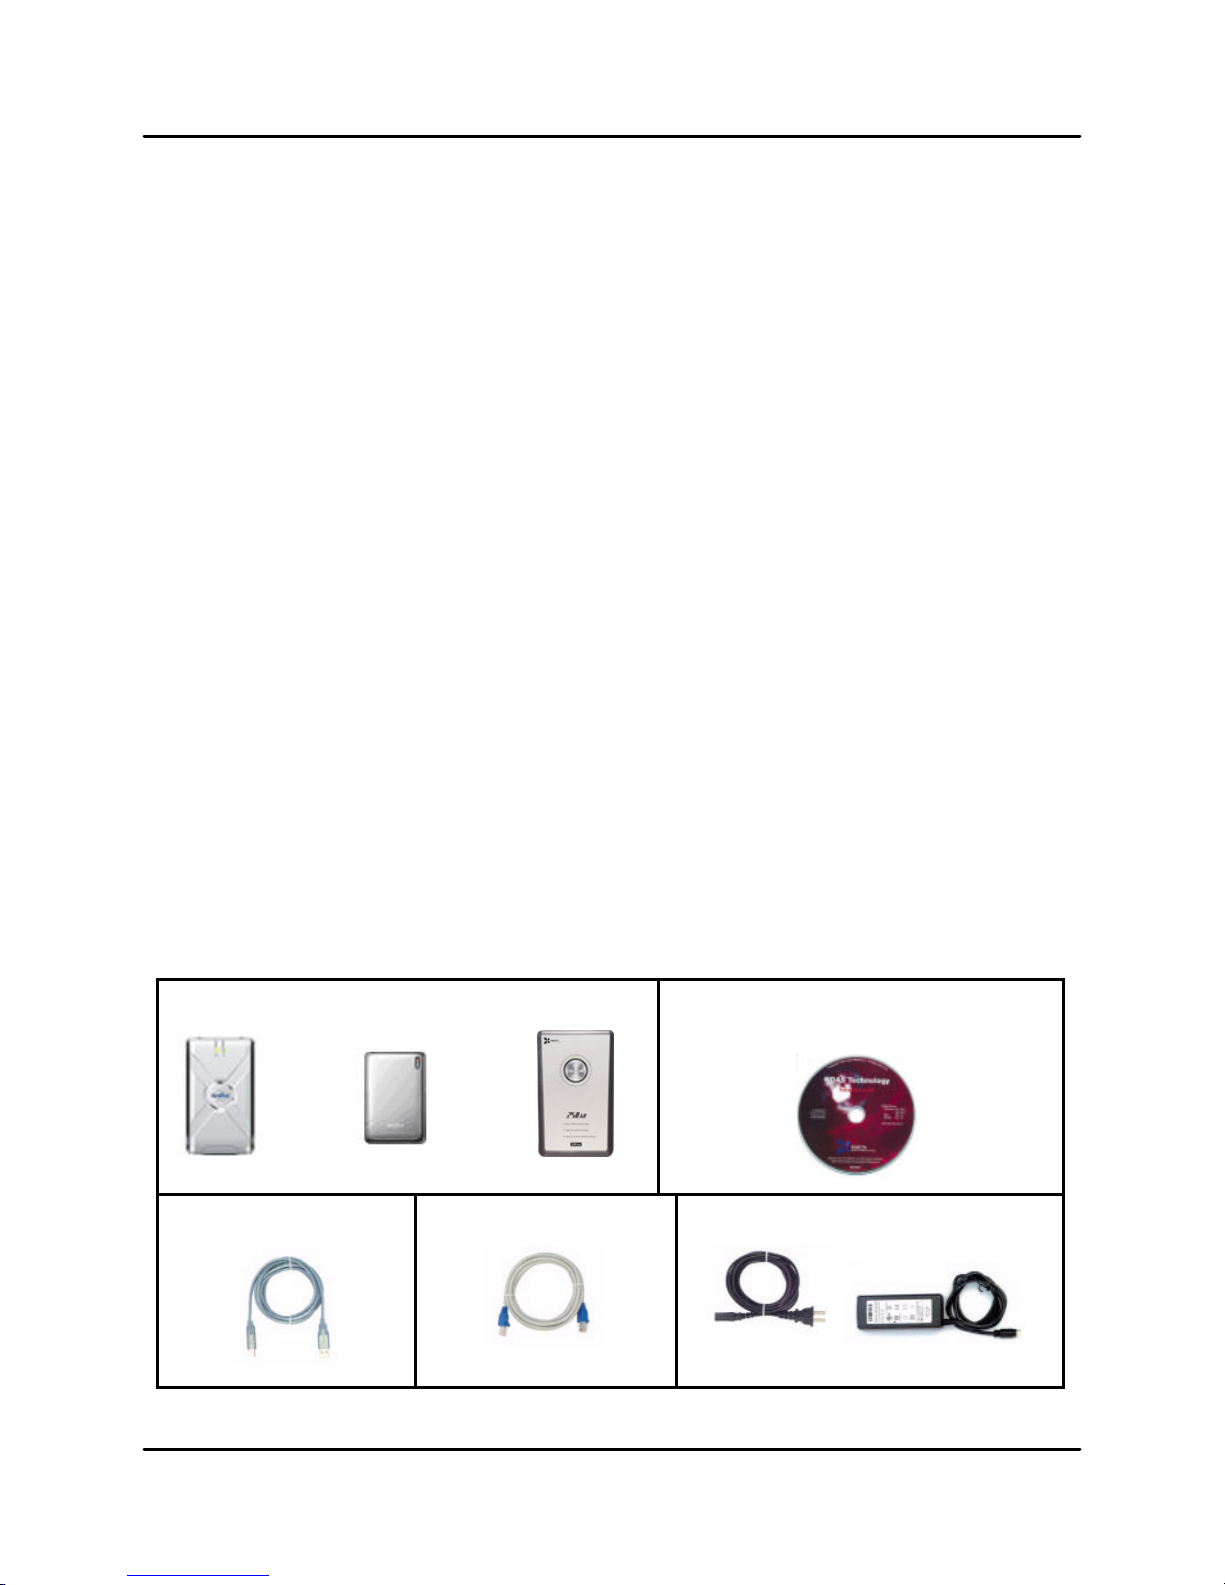
1.3 Package Contents
The following items are included in the NetDisk / NetDisk Mini / NetDisk Office packages:
NetDisk NetDisk Mini NetDisk Office
Software Installation CD
or or
Ethernet Cable
XIMETA, Inc 4 www.XIMETA.com
USB Cable
Power Adapter and Power Cord
NetDisk® User Manual Network Direct Attached Storage / NDAS®
1.4 System Requirements
Mac® OS X
• Mac OS X 10.3 or greater
• 128 MB RAM (256 MB recommended)
• USB 1.1 Port (USB 2.0 recommended)
• CD-ROM drive for installation
• 100Base-T full duplex switch for NDAS mode (for NetDisk and NetDisk Mini Only)
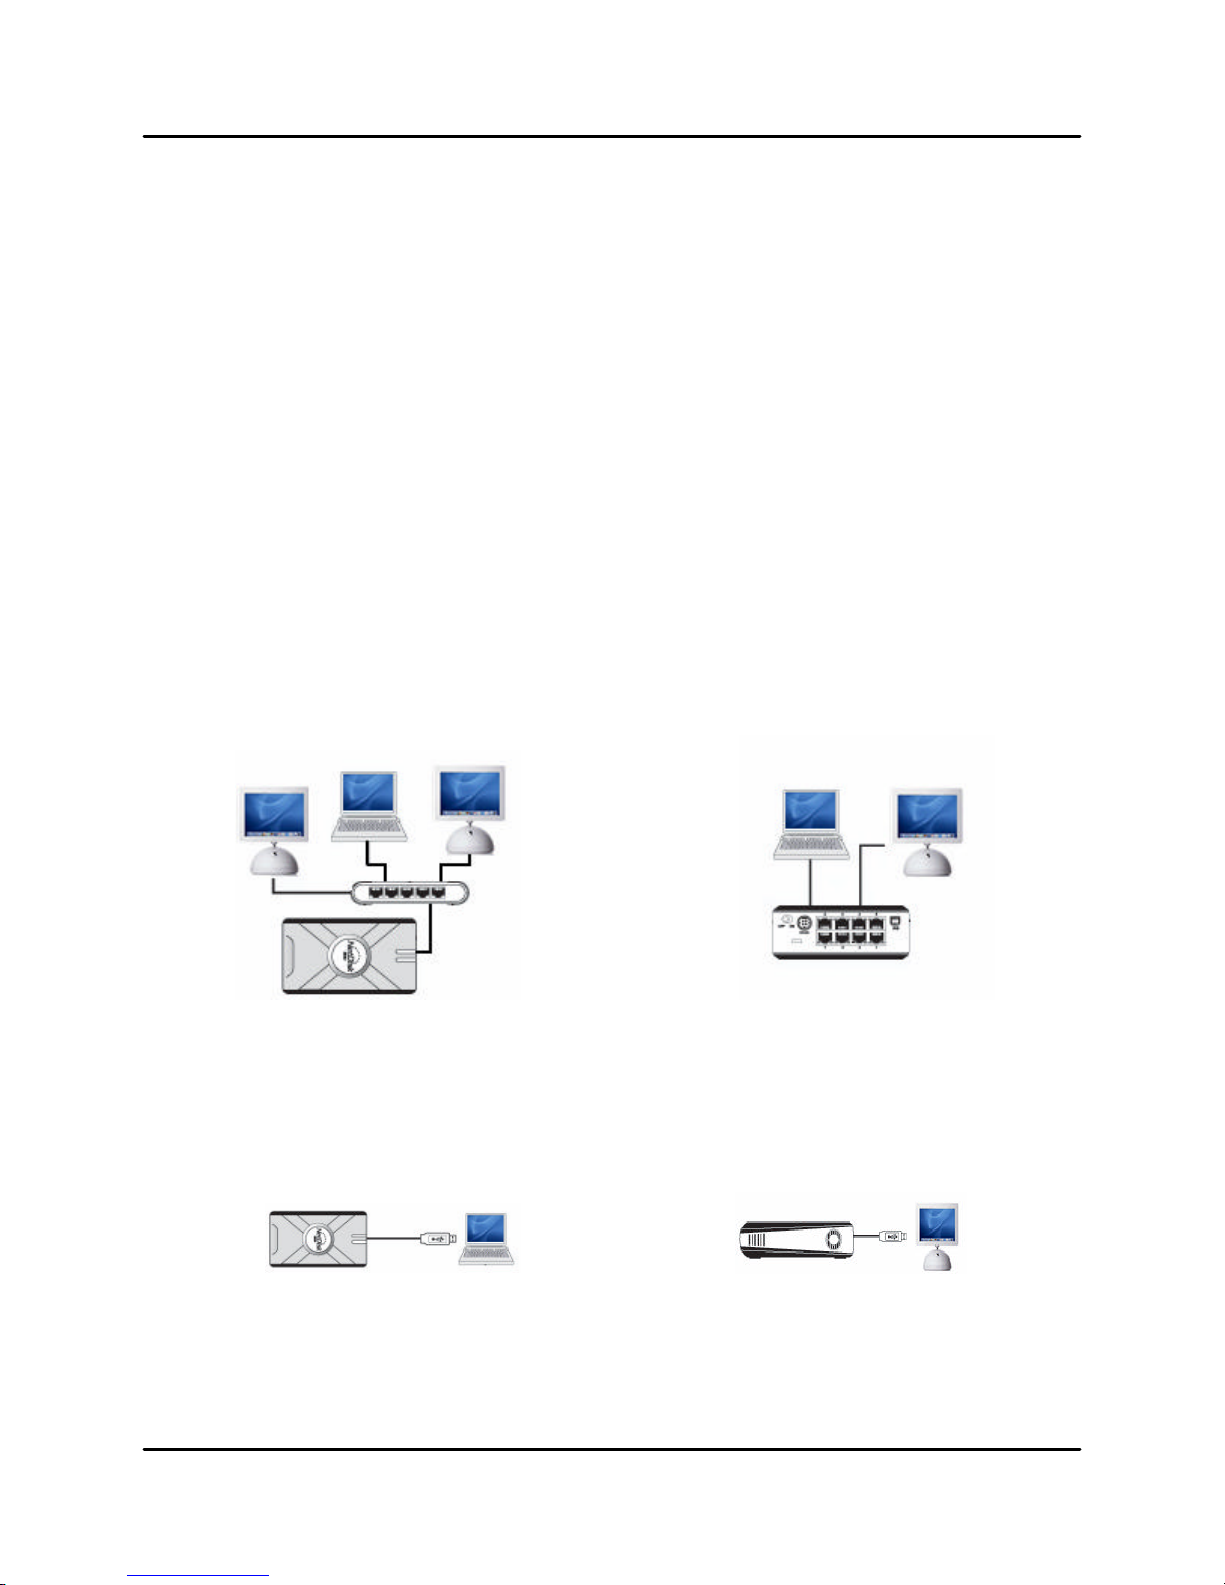
1.5 NetDisk Setup Overview
NDAS Mode
In NDAS Mode, NetDisk / NetDisk Mini / NetDisk office is directly attached to a 100MBps /
Full Duplex Fast Ethernet Switch or Wireless Access Point (Wireless Access Point applies
to NetDisk and NetDisk Mini only). Each user on the network can use NetDisk / NetDisk
Mini / NetDisk Office as if it was a local disk drive.
NetDisk / NetDisk Mini NetDisk Office
USB 2.0 Mode
In USB 2.0 Mode, NetDisk / NetDisk Mini / NetDisk Office is directly attached to a computer’s USB Port.
NetDisk / NetDisk Mini NetDisk Office
XIMETA, Inc 5 www.XIMETA.com

NetDisk® User Manual Network Direct Attached Storage / NDAS®
Chapter 2 Cable Installation
Warning
• Do not connect USB cable and Ethernet cable at the same time.
2.1 NDAS Mode
NetDisk and NetDisk Mini
1. If your NetDisk has dip switches on the rear panel, flip both dip switches down.
2. Connect the included Ethernet cable from the Ethernet port on NetDisk to a switch
(100 Base -T).
Wireless users: Connect NetDisk to your wireless router or access point
with included Ethernet cable.
3. Make sure the power connector is firmly attached to the NetDisk and connect the
power adapter to a power source.
4. If your NetDisk has an On/Off switch, slide the On/Off Switch to ON position.
NetDisk Office
1. Connect your Local Area Network (LAN) cable to one of the eight NetDisk Office
Switch ports. This connection provides network access from your LAN or router to
the NetDisk Office.
2. Connect the included Ethernet cable from one of the Switch ports on NetDisk Office to your computer.
Wireless users: Connect NetDisk to your wireless router or access point
with included Ethernet cable.
2. Make sure the power connector is firmly attached to the NetDisk and connect the
power adapter to a power source.
4. Slide the On/Off Switch to ON position.
XIMETA, Inc 6 www.XIMETA.com

NetDisk® User Manual Network Direct Attached Storage / NDAS®
2.2 USB Mode
NetDisk and NetDisk Office
1. If your NetDisk has dip switches on the rear panel, flip both dip switches up.
2. Connect the included USB cable from USB port on NetDisk to your computer’s
USB port.
3. Make sure the power connector is connected firmly to the NetDisk and connect the
power adaptor to a power source.
4. If your NetDisk has an On/Off switch, slide the On/Off Switch to ON position.
NetDisk Mini
Without external power
1. Connect the included USB cable from the USB port on NetDisk Mini to your
computer’s USB port(s). To ensure continuous power flow please connect
both connectors with your host computer.
2. Slide the On/Off switch to OFF position.
With external power
1. Connect the included USB cable from the USB port on NetDisk Mini to your
computer’s USB port(s). Only one cable is required to be connected with your
host computer when using an external power source. It does not matter which
connector you choose to connect.
2. Slide the On/Off switch to ON position.
XIMETA, Inc 7 www.XIMETA.com
 Loading...