

Ximeta NDAS User Manual
NetDisk Wireless
NetDisk Wireless
Access Point Router
Access Point Router
User Manual
User Manual
Powered by
Powered by
TM
TM
Technology
Technology
www.XIMETA.com

NetDisk™ Wireless User Manual Network Direct Attached Storage / NDAS™
XIMETA, Inc.
15251 Alton Parkway
Irvine, CA 92618
United States of America
(949) 753 -7900
Software Release Statement
NetDisk Wireless™ Access Point Router User Manual, released in 2004, made in the U.S.A.
Trademark Statement
NetDisk™, NDAS™ and XIMETA™ are trademarks of XIMETA, Inc., registered in the U.S.A and
other countries. All other trademarks are the property of their respective owners.
Copyright Statement
Copyright © 2003 – 2004 XIMETA, Inc. All rights reserved world. Reproduction, translation,
transformation or adaptation in any manner without prior written permission of XIMETA, Inc. is strictly
prohibited.
License Statement
The software described in this document is furnished under a license agreement. The software may
be used only in accordance with the terms of the license agreement
Warranty Statement
XIMETA, Inc. reserves the right to revise this publication and to make changes to the content hereof
without the obligation of XIMETA, Inc. to notify any person of such revision or changes. XIMETA, Inc.
provides this publication “as is” without warranty of any kind, either express or implied, including but
not limited to the implied warranties of merchantability or fitness for a particular purpose
XIMETA, Inc 2 www.XIMETA.com

NetDisk™ Wireless User Manual Network Direct Attached Storage / NDAS™
Table of Contents
Chapter 1. Introduction to NetDisk Wireless Access Point Router ............................................5
1-1. NetDisk Wireless Features .............................................................................................. 6
1-2. Specifications ................................................................................................................7
1-3. External Appearance .......................................................................................................8
1-3-1. Status LED Descriptions ...........................................................................................8
1-3-2. Back Panel of NetDisk Wireless................................................................................9
Chapter 2. Installation of NetDisk Wireless ................................................................................ 10
2-1. Check the materials and requirements before the installation ...................................... 10
2-1-1. Check the packing materials ................................................................................... 10
2-1-2. System Requirements ............................................................................................ 10
2-2. DSL/Cable Connection between NetDisk Wireless and Equipment ............................... 10
2-2-1. Connecting NetDisk Wireless and DSL/Cable Modem ............................................. 10
2-2-2. Checking the Network Connection .......................................................................... 11
2-3. (LAN) Network Setup of Internal PCs connected to NetDisk Wireless .......................... 12
2-3-1. Connecting from Wireless PCs ............................................................................... 12
Chapter 3. Advanced Setup of NetDisk Wireless ....................................................................... 13
3-1. Configuring Networked PCs.......................................................................................... 14
3-2. LAN Setup (Internal)...................................................................................................... 16
3-2-1. Setup for Static IP Addresses at Internal PCs .......................................................... 17
3-3. WAN Setup (External) ................................................................................................... 18
3-3-1. Setup for Dynamic IP Address (Default) .................................................................. 19
3-3-2. Setup for Static IP Address..................................................................................... 19
3-3-3. Setup for PPPoE.................................................................................................... 20
3-3-4. Setup for MAC (Hardware) Address ........................................................................ 20
3-4. Wireless Basic Setup .................................................................................................... 21
3-4-1. WEP Encryption Setup ........................................................................................... 22
3-4-2. WEP Key Generator............................................................................................... 22
3-4-3. Advanced Setup for Wireless NIC (Network Interface Card)...................................... 24
3-5. W-LAN Access Control ................................................................................................. 25
3-5-1. Blocking / Allowing External Services based on MAC (Hardware) Address................. 25
3-6. Virtual Server (Operate your computer as WEB / FTP Server) ...................................... 26
3-6-1. Port Forwarding ..................................................................................................... 26
3-6-2. IP Forwarding........................................................................................................ 27
3-6-3. DMZ Server ........................................................................................................... 27
3-7. Routing ........................................................................................................................ 28
3-8. NetDisk Wireless System.............................................................................................. 29
3-8-1. Equipment Setup ................................................................................................... 29
3-8-2. Changing the Password .......................................................................................... 30
3-8-3. Wake on LAN........................................................................................................ 31
3-8-4. Rebooting the System............................................................................................ 31
3-8-5. Software and Firmware Upgrades ........................................................................... 32
XIMETA, Inc 3 www.XIMETA.com

NetDisk™ Wireless User Manual Network Direct Attached Storage / NDAS™
3-9. Checking NetDisk Wireless Status .............................................................................. 33
3-10. Resetting Factory Defaults ........................................................................................ 33
Chapter 4. NetDisk Software Installation .................................................................................. 34
4-1. For Windows XP and Windows 2000 ........................................................................... 34
4-2. NetDisk Administrator ................................................................................................. 34
Chapter 5. NetDisk Registration ............................................................................................... 35
5-1. Add / Register a New NetDisk ...................................................................................... 35
5-2. Using NetDisk ............................................................................................................. 36
5-3. Sharing NetDisk .......................................................................................................... 36
Chapter 6. NetDisk Status and Mode Indicator ......................................................................... 37
6-1. Changing Read / Write or Read Only Mode ................................................................. 37
Chapter 7. Introduction to NetDisk Administrator Tool Menu .................................................. 38
Chapter 8. NetDisk Functions .................................................................................................. 38
Chapter 9. Uninstalling NetDisk ............................................................................................... 39
Chapter 10. Regulatory Statements ......................................................................................... 40
Chapter 11. Product Warranty .................................................................................................. 41
Chapter 12. Registration and Technical Assistance ................................................................. 45
XIMETA, Inc 4 www.XIMETA.com

NetDisk™ Wireless User Manual Network Direct Attached Storage / NDAS™
Chapter 1. Introduction to NetDisk Wireless Access Point Router
Congratulations on the purchase of your NetDisk Wireless!
This product combines the functions of a wireless access point, router, switch and Network
Direct Attached Storage.
♦ The wireless access point function provides a wireless broadcast of your
network for up to 254 PCs with NIC (network interface card).
♦ The wireless router enables you to share your ISP Internet connection
with multiple PCs in your home or office.
♦ The network switch allows you to connect wired devices like a printer to
your network and share that device. PCs without wireless NICs may
also join the network by connecting directly to the switch.
♦ The NetDisk (Network Direct Attached Storage) provides a central
location for storing and sharing files over your network. NetDisk
Wireless can also be used as backup storage for your PCs irreplaceable
data.
XIMETA, Inc 5 www.XIMETA.com

NetDisk™ Wireless User Manual Network Direct Attached Storage / NDAS™
1-1. NetDisk Wireless Features
Compatible Internet Service
NetDisk Wireless supports most external DSL / Cable modems. It does not support internal
(PCMCIA) modems. NetDisk provides wireless PCMCIA card and USB adapters for separate
purchase.
Wireless Access Point Router — Key Features:
♦ Wired and Wireless 802.11b / 802.11g Access Point
♦ Wired 100Mbps, Wireless 54Mbps Data Throughput
♦ IP sharing for up to 254 PC systems through wired and wireless connection.
♦ Port Forwarding, IP Forwarding, DMZ Server
♦ DHCP Server
♦ VPN Pass-Through (IPSEC / PPTP)
♦ Non-Standard FTP Port
NetDisk — Key Features:
♦ Use NetDisk Wireless like a local drive on your PC.
♦ Drag and drop files to NetDisk.
♦ Copy and paste data to NetDisk.
♦ Make and delete folders.
♦ Share files and folders across your entire network.
XIMETA, Inc 6 www.XIMETA.com

NetDisk™ Wireless User Manual Network Direct Attached Storage / NDAS™
1-2. Specifications
NetDisk Wireless
Supported
Standards
Application Level
Protocol
Transmission Speed
IEEE802.3 10/100 BaseTX
IEEE802.11b, IEEE802.11g
CSMA/CD, CSMA/CA, DSSS for 2.4 GHz ISM band
WAN 10/100Mbps
LAN 10/100Mbps Switch
WLAN 11Mbps/54Mbps
Operating
Conditions
Ports
Cable
Working Temperature
Working Humidity
Storage Temperature
Storage Humidity
Voltage
Certification MIC Class A, FCC, CE
One (1) — 10/100 Mbps RJ-45 for WAN
Three (3) — 10/100 Mbps RJ-45 for LAN
10BaseT:UTP/STP Category 3 or 5
100BaseTx:UTP/STP Category 5
0°C ~ 40°C
10% ~ 85%
-20°C ~ 80°C
5% ~ 90%
DC 12V to 1.0mA
XIMETA, Inc 7 www.XIMETA.com

NetDisk™ Wireless User Manual Network Direct Attached Storage / NDAS™
1-3. External Appearance
[Top View of NetDisk Wireless]
1-3-1. Status LED Descriptions
LED Status NetDisk Wireless
PWR
Wireless
WAN / LAN
1,2,3
Red LED Power is ON
No Light Power is unavailable or OFF
Orange LED Wireless Signal is available
Orange LED Flashing Wireless Activity
No Light
Left green LED
Right Green LED
Wireless Signal is not working
Connected at 100Mbps
Connected at 10 Mbps
Disk Activity
XIMETA, Inc 8 www.XIMETA.com
Orange LED Flashing NetDisk is being accessed
No Light NetDisk is idle

NetDisk™ Wireless User Manual Network Direct Attached Storage / NDAS™
1-3-2. Back Panel of NetDisk Wireless
The Back Panel
The Broadband Router's ports, where the cables are connected, are located on the back panel.
Power Switch : Powers NetDisk Wireless On or Off
Antennae : Transmits and receives data
DC IN : Connects the power adapter, supplied with your NetDisk Wireless.
WAN Port : Connects DSL or Cable Modem.
LAN Port (1, 2, 3) : 3 10/100 Mbps switch ports connect NetDisk Wireless to your networked
PCs and other Ethernet network devices.
Reset : Resets NetDisk Wireless factory defaults
Important: Resetting the Broadband Router will erase all your settings (WEP
Encryption, Wireless and LAN settings, etc.) and replace them with factory
defaults. Do not reset the Broadband Router if you want to retain these settings.
XIMETA, Inc 9 www.XIMETA.com

NetDisk™ Wireless User Manual Network Direct Attached Storage / NDAS™
Chapter 2. Installation of NetDisk Wireless:
Wireless Access Point / Router Setup
2-1. Check materials and requirements before installation
2-1-1. Check the packing materials
♦ NetDisk Wireless: One Unit
♦ NetDisk Wireless Antenna Kit: Four pieces
♦ Power Adapter: Two Pieces
♦ CAT-5 UTP Fast Ethernet Cable: One Piece
♦ Quick Installation Guide
♦ Automatic Installation CD (Automatic Installation Program of NetDisk
Wireless, Manual, and Acrobat Reader)
If any packing materials are missing, please contact the local distributor / retailer where you
purchased NetDisk Wireless.
2-1-2. System Requirements
Windows® 2000 / XP
? 450 MHz Pentium® III or higher
? 128 MB RAM
? CD-ROM drive for installation
? Wireless NIC (Network Interface Card) 802.11b, 802.11g
2-2. DSL / Cable Connection between NetDisk Wireless and Equipment
2-2-1. Connecting NetDisk Wireless and DSL / Cable Modem
In preparation, turn off and unplug your cable or DSL modem.
1. Decide on a location for your NetDisk Wireless. The best place is usually
at the center of your wireless network, detectable to all your mobile
stations.
2. Connect a standard Ethernet network cable from your DSL or Cable
Broadband modem to the WAN port on the back panel of NetDisk
Wireless.
3. Connect at least one PC to one of the numbered LAN ports (1,2,3) on
the back panel, with a standard Ethernet network cable.
4. Connect the AC Power Adapter to the DC IN Socket on the back panel
and the other end into an electrical outlet.
XIMETA, Inc 10 www.XIMETA.com
NetDisk™ Wireless User Manual Network Direct Attached Storage / NDAS™
2-2-2. Checking the Network Connection
The NetDisk Wireless has been designed to be functional right out of the box with the default
settings. The default settings require that your networked PCs are configured to automatically
assign IP.
♦ For details on how to configure your PC for dynamic IP see 3-1. Configuring
Networked PC.
♦ To change NetDisk Wireless default router settings see 3-7. Routing.
4. Turn On your cable / DSL modem.
5. Turn On NetDisk Wireless.
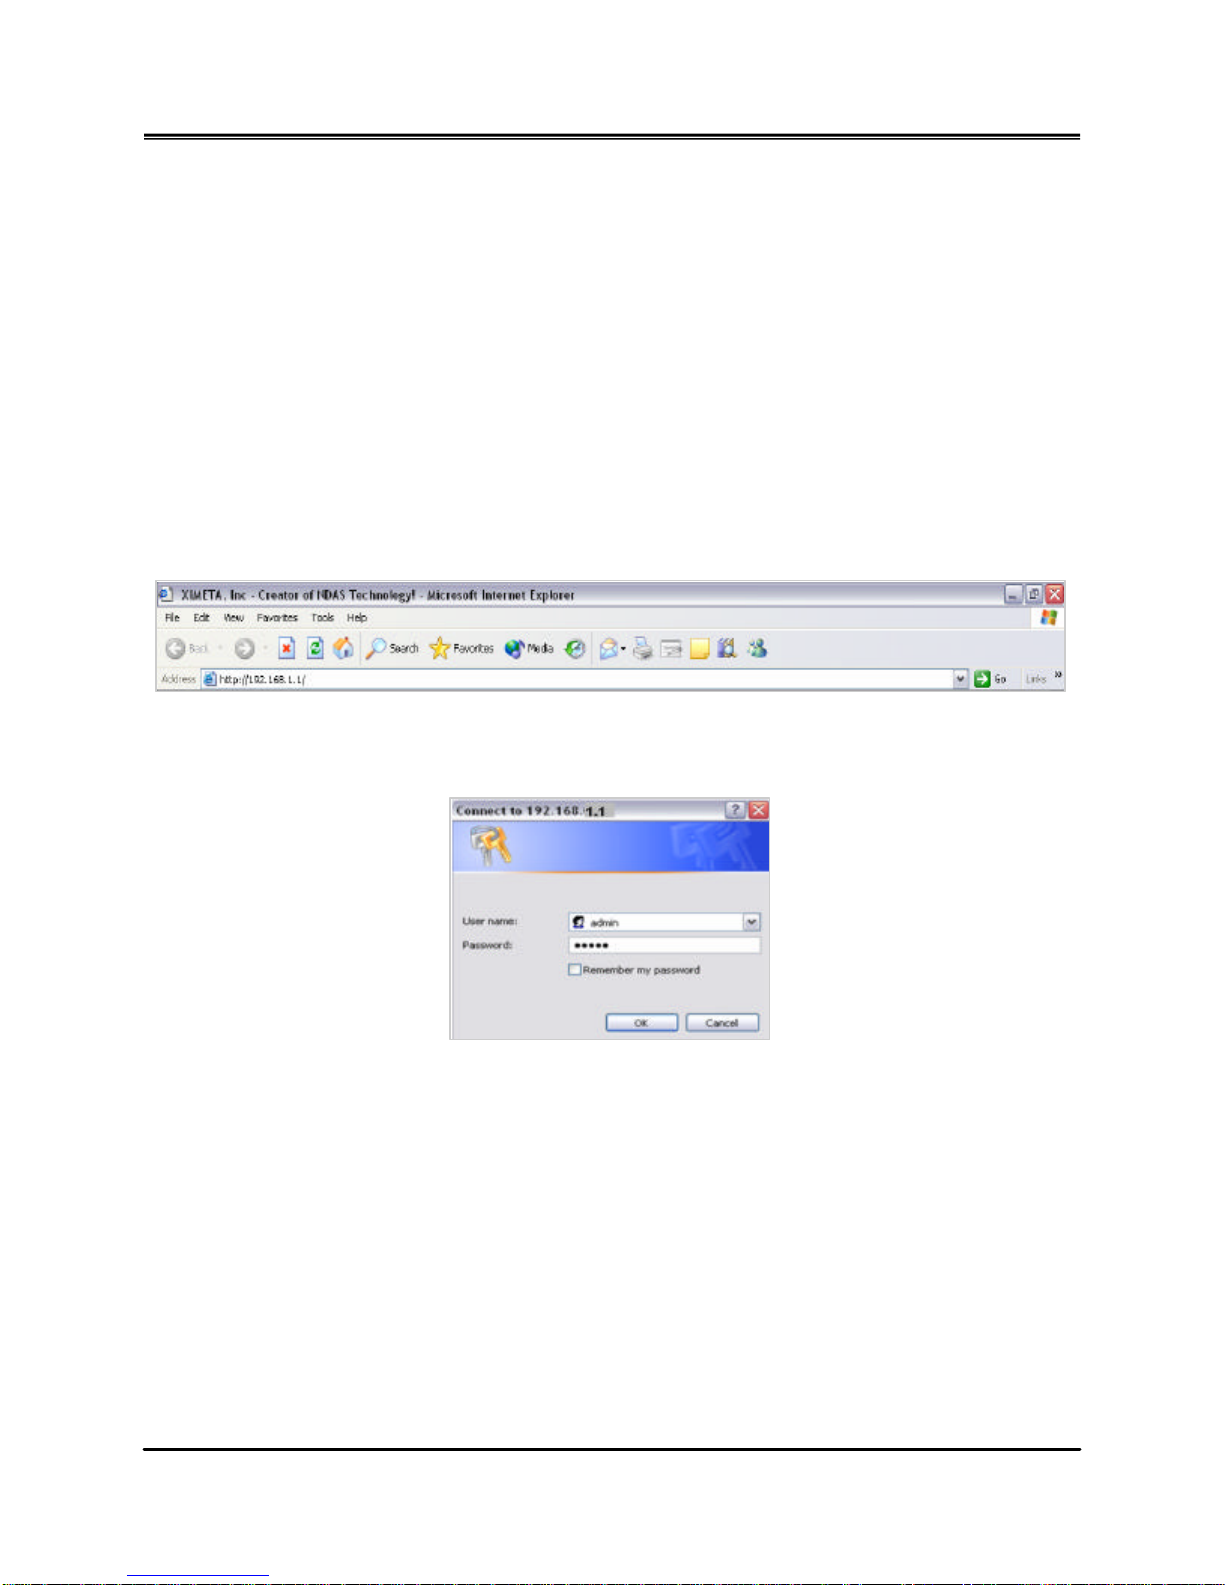
6. Open your web browser and Type 192.168.1.1 in the
address box of the browser and press Enter.
[Figure 2-1. Opening your web browser]
[Figure 2-2. Type admin in User Name Box and admin in Password Box]
4. Enter admin in the User Name Box and admin in the
Password Box. By Default, the User Name and
Password are both admin. (You can change this later.)
XIMETA, Inc 11 www.XIMETA.com
NetDisk™ Wireless User Manual Network Direct Attached Storage / NDAS™
2-3. (LAN) Network Setup of Internal PCs to NetDisk Wireless
2-3-1. Connecting from Wireless PCs
With Windows XP and a wireless ready PC, your PC should automatically connect to the
NetDisk Wireless network. If it does not, follow the steps below.
Windows 2000 and XP
Enable wireless on your PC
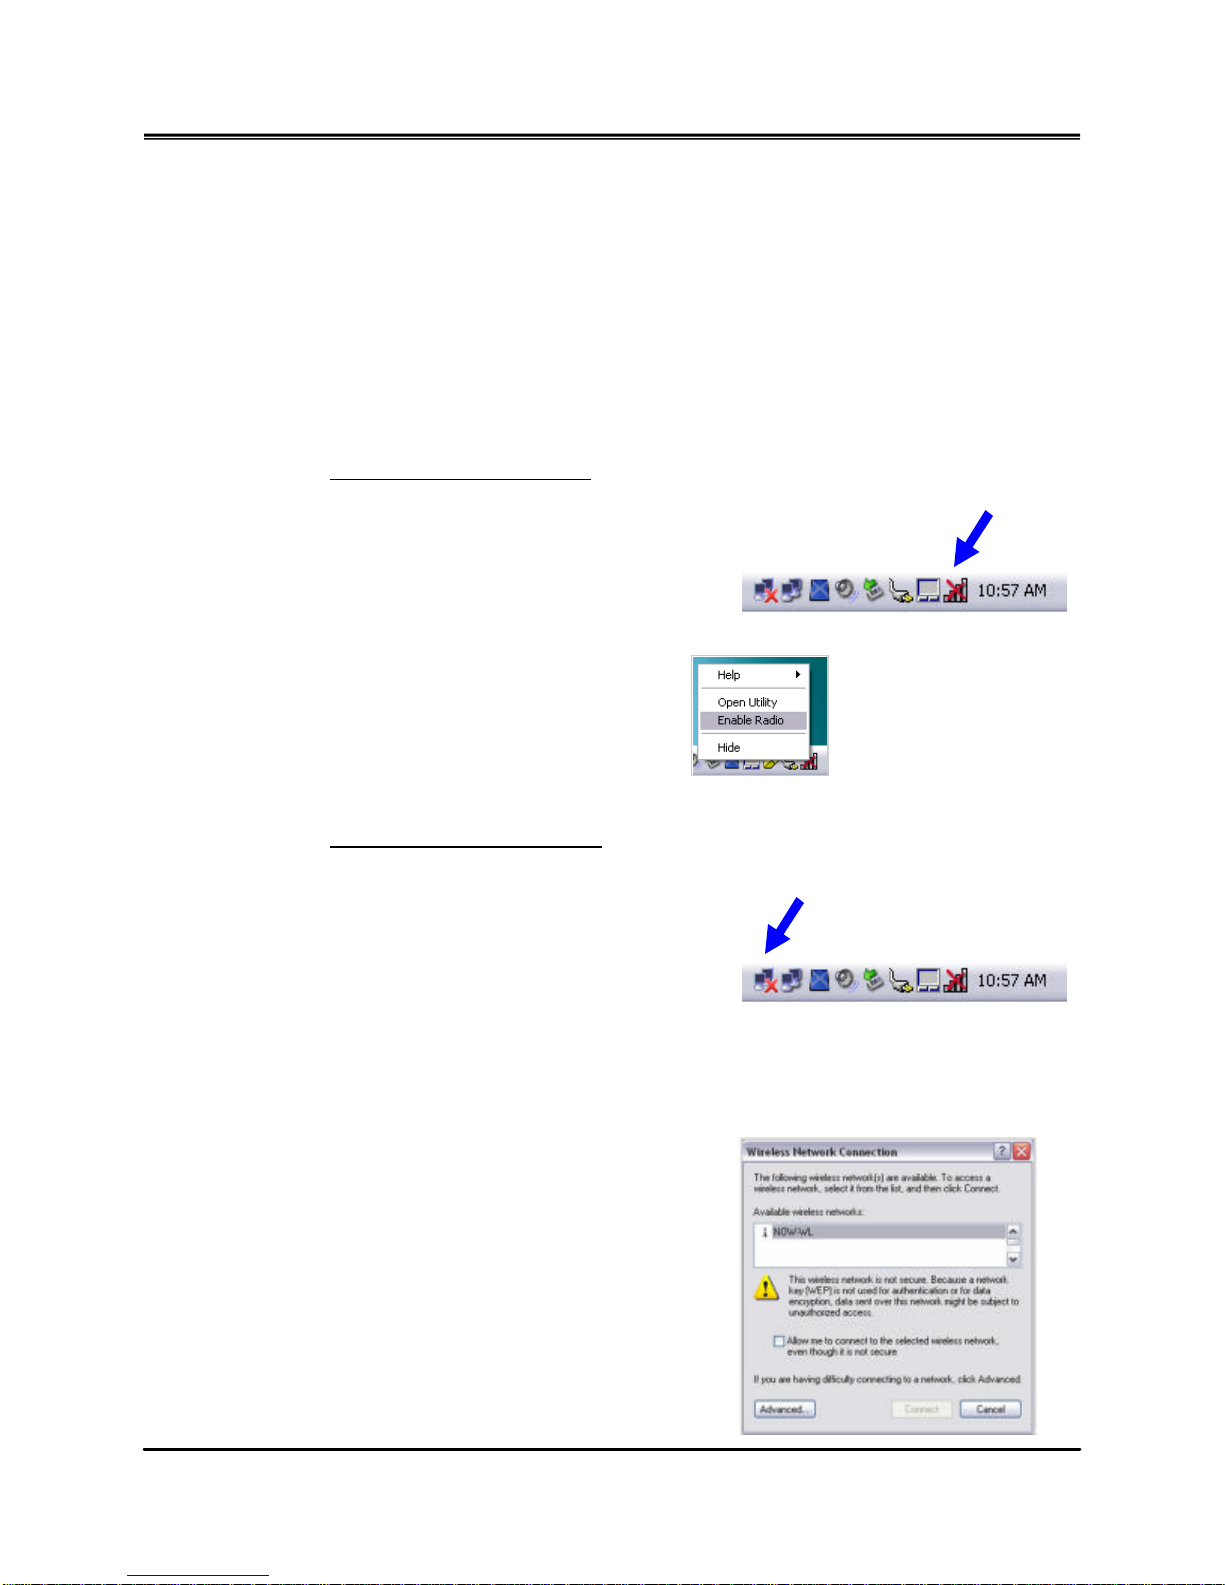
1. Right -Click the radio icon on your task bar.
2. Select Enable Radio
Connect to NetDisk Wireless
1. Right -Click the Wireless Network Connection icon on your task bar.
2. Select View Available Wireless Networks
3. Select NOW-WL or the SSID you have assigned to the NetDisk Wireless
and Click Connect.
NOTE: If your PCs are not set up for Dynamic IP
assignment, you need to set each PC’s network
settings to obtain an IP (or TCP/IP) address
automatically. See 3-1. Configuring Networked PC
for more information.
XIMETA, Inc 12 www.XIMETA.com

NetDisk™ Wireless User Manual Network Direct Attached Storage / NDAS™
Chapter 3. Advanced Configuration of
NetDisk Wireless Settings
The NetDisk Wireless has been designed to be functional right out of the box with the default
settings. The default settings require that your networked PCs are configured to automatically
assign IP. You may also manually configure NetDisk Wireless from WEB Manager by following
the steps below.
Accessing WEB Manager:
1. Open your web browser and Type 192.168.1.1 in the Address Box.
2. Click Enter.
3. Enter admin in the User Name Box and admin in the Password Box.
By Default, the User Name and Password are both admin (You can
change this later).
[Figure 3-1. Password prompt for NetDisk Wireless]
4. Click OK. You will see the following figure.
XIMETA, Inc 13 www.XIMETA.com
[Figure 3-2. LAN Setup of NetDisk Wireless]
NetDisk™ Wireless User Manual Network Direct Attached Storage / NDAS™
3-1. Configuring Networked PCs
The instructions in this section will help you set up your computers to communicate with NetDisk
Wireless over the network. If your PCs are not set up for Dynamic IP assignment, you need to set each
PC’s network settings to obtain an IP (or TCP/IP) address automatically.
Preliminary Steps:
1. Right-Click the My Computer icon.
2. Select Properties.
3. Select the General tab.
♦ Make sure that an Ethernet or wireless adapter (also known as network adapter)
has been successfully installed in each PC you will configure.
Configuring Windows 2000 and XP PCs
1. Click Start and Select Settings.
2. Click the Control Panel icon.
3. Double-Click the Network and Dialup Connections icon.
4. Select the Local Area Connection icon for the relevant Ethernet adapter (usually it
is the first Local Area Connection listed). Double-Click the Local Area Connection.
Click the Properties button. (See Figure 3-3)
5. Make sure the box next to Internet Protocol (TCP/IP) is checked and Click the
Properties button. (See Figure 3-4)
6. Select Obtain an IP address automatically. (See Figure 3-5)
7. Click OK.
8. Click OK again to complete the PC configuration.
9. Restart your computer.
XIMETA, Inc 14 www.XIMETA.com
[Figure 3-3. Properties]
 Loading...