

Xhorse CONDOR XC-MINI PLUS User Manual
CONDORCONDOR
Automatic Key Cutting Machine
XC-MINI PLUS
User Manual
V2.0
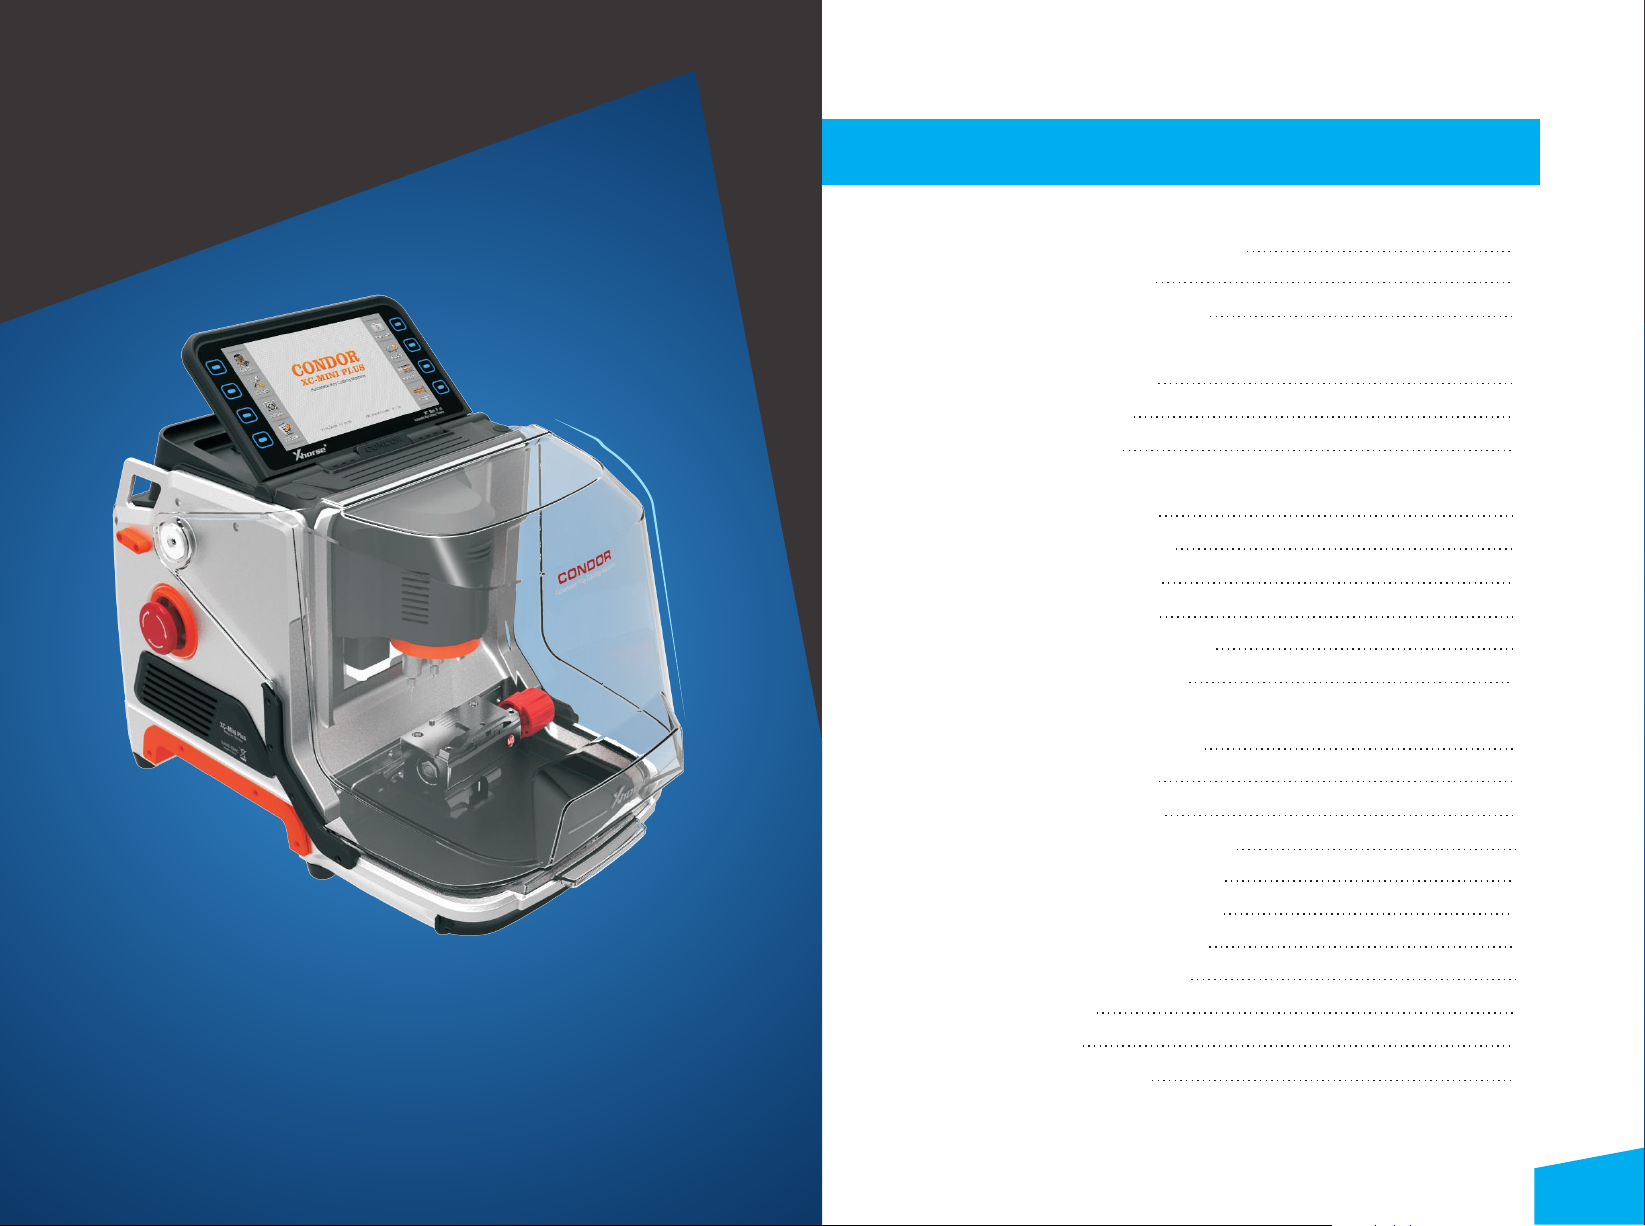
TABLE OF CONTENTS
XC-MINI PLUS
Automatic Key Cutting Machine
1 Safety precautions and warnings
2 Machine information
3 Product packaging checklist
4 Overview
4.1 Structure diagram
4.2 Characteristics
4.3 Specification
5 Installation instruction
5.1 Cutter installation
5.2 Cutter uninstallation
5.3 Clamp installation
5.4 Pictures of clamps
5.5 Clamp M2 sides selection
5.6 Clamp M4 instruction
6 Opera tion instructions
6.1 Height level adjustment
6.2 Clamp calibration
6.3 Cutting calibration
6.4 How to use the key database
6.5 How to use key duplication
6.6 How to use universal type
6.7 How to use cut by bitting
6.8 How to use find bitting
7 Online update
8 Mai ntenanc e
9 After-sale descr iption
02
03
04
06
07
07
08
09
10
11
12
13
14
16
19
21
24
27
31
35
38
40
40
01

Automatic Key Cutting Machine CONDOR XC-MINI PLUS Automatic Key Cutting Machine CONDOR XC-MINI PLUS
1. Safety precautions and warnings 2. Machine information
To avoid injuries to operators and damages to the machine, please read this product user
manual carefully before you start, and follow the safety notes shown below:
Always use the machine under safe environment.
Wear protective goggles that are in line with ANSI standard.
Put down the protective shield when the machine is working.
Do not have clothes, hair, hands and other tools close to the machine when it is working.
DO not leave the machine unattended when it is working.
Do not use a damaged or loose socket.
Unplug the machine when it is not in use for a long time.
Do not put the machine in a place that is damp, greasy and dusty.
Do not put things like tool or containers on the machine.
Put the machine on a flat and firm surface .
Keep the machine dry and clean.
Dear customers, thank you for choosing XC-MINI PLUS automatic key cutting
machine. We are confident that this product will improve your work efficiency with
great convenience. This product user manual provides operating instructions for
you to use the machine correctly and safely. To avoid injuries and financial loss,
please carefully read this manual through before you start to operate the machine.
And we kindly remind you to keep this manual properly for future reference.
The images and colors of the machine shown in this user manual is indicative
1)
only. If there is inconsistency between the images and actual products, the
actual products prevail.
2) Warranty is 3 years if the use of the machine is under normal condition.
3) Within Warranty, free maintenance and repairing is not provided if the machine
becomes dysfunctional due to the following reasons:
Operation without referring to or violating the user manual.
Modifications or repairs to the machine by individuals.
Falling, knocking or wrong voltage.
Force majeure.
Use of the machine in bad condition for long time or put machine into vehicles
or ships caused damage.
Damaged or worn-out plastic case and protective shield due to frequent use.
Unplug the machine under unusual circumstance.
0302

Brush1Cleaning tool
Clamp M1 and link
stopper
1
Cutting clamp
Clamp M2 and
shim
1
Cutting clamp
Clamp M3
Opti onal( )
1
FO21/SX9
key clamp
Clamp M4
Opti onal( )
1
Household key clamp
Power supply
adaptor Optional( )
1
Power supply
Product quality
certificate
1
Factory inspection report and
packing list
User manual
1
Machine
assembly/adjustment/operation
instruction
Name
Sample picture
quantity
Description
Machine
1
Key cutting machine
2.5mm cutter
1
Cutting tool
( . )Ø2 5xØ6x40L
1.5mm cutter
1
Cutting tool
( . )Ø1 5xØ6x40L
Probe
2
Probing tool
( . )Ø1 0xØ6x40L
2mm hexagon bar
wrench
1
Changing probes and cutters,
keys fixation
1.5m Power cord of
China standard
1
connect to power
1.5m Power cord of UK
standard Optional( )
1
connect t o power
1.5m Power cord of US
standard Optional( )
1
connect t o power
1.5m Power cord of EU
standard Optional( )
1
connect t o power
USB cable
1
Tool of connecting machine with
computer
Automatic Key Cutting Machine CONDOR XC-MINI PLUS Automatic Key Cutting Machine CONDOR XC-MINI PLUS
3. Product packaging checklist
CONDOR XC-MINI PLUS should come with accessories listed in the following table. Please
have a check when you get this product and contact your distributor if anything in the table is
missing.
Notes:
Replace cutters regularly to ensure cutting efficiency.
Check the synchronous belt of stepper motor regularly and replace the worn-out ones in
time for a good cutting force and precision.
Please use a 10A fuse .
0504
Automatic Key Cutting Machine CONDOR XC-MINI PLUS Automatic Key Cutting Machine CONDOR XC-MINI PLUS
. Overview
4
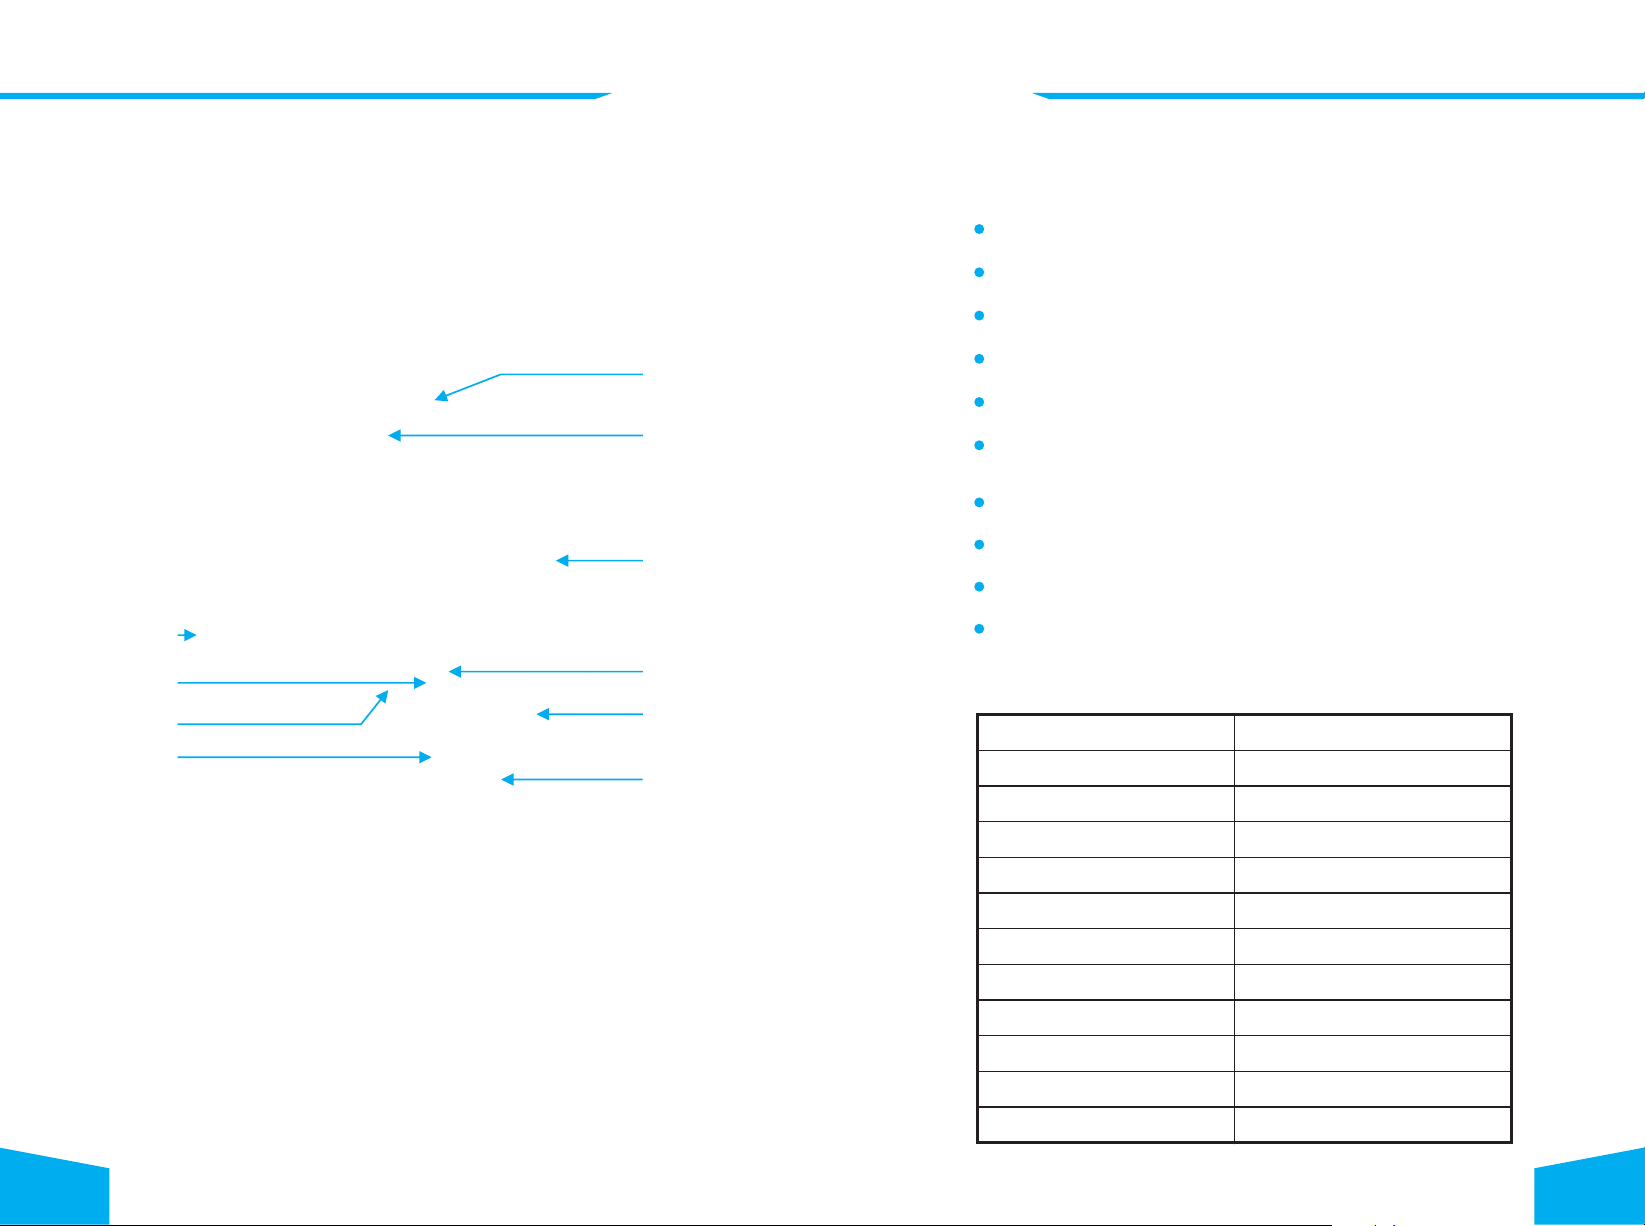
Structure diagram
4.1
Emergency switch
Probe
LED light
Clamp
Operating button
Angle-adjustable 7-inch
capacitive touch screen
Protection shield
Cutter
Key tightening knob
Clamp tightening wrench
4.2 Characteristics
Build-in database
0-90° angle selection 7 inch capacitive touch screen
3-Axis ball screw transmission
Cross rail, high stability
Aluminum structure, larger space for putting flip keys
Strengthened air tightness effectively prevents metal scraps from entering
into the machine
Cutter and probe work in parallel
Support clamps M1(standard equipped) /M2(standar d equipped) /M3(optional)/M4(opt ional)
Support online update
Support Sided/Track/Dimple/Tibbe key
4.3 Specification
Input voltage
Input frequency
Power
90-264 VAC
47-63 Hz
200 W
Package size
Machine size
LED screen resolution
Principal axis Rotation speed
USB port
Working temperature
Humidity
Net weight
Gross weight
515 x 480 x 380 mm
250 x 413 x 300 mm
1024 x 600
9000 rpm
USB 2.0
0-50 C
10-90%
19 Kg
24 Kg
0706
Automatic Key Cutting Machine CONDOR XC-MINI PLUS Automatic Key Cutting Machine CONDOR XC-MINI PLUS
5
. Installation instruction
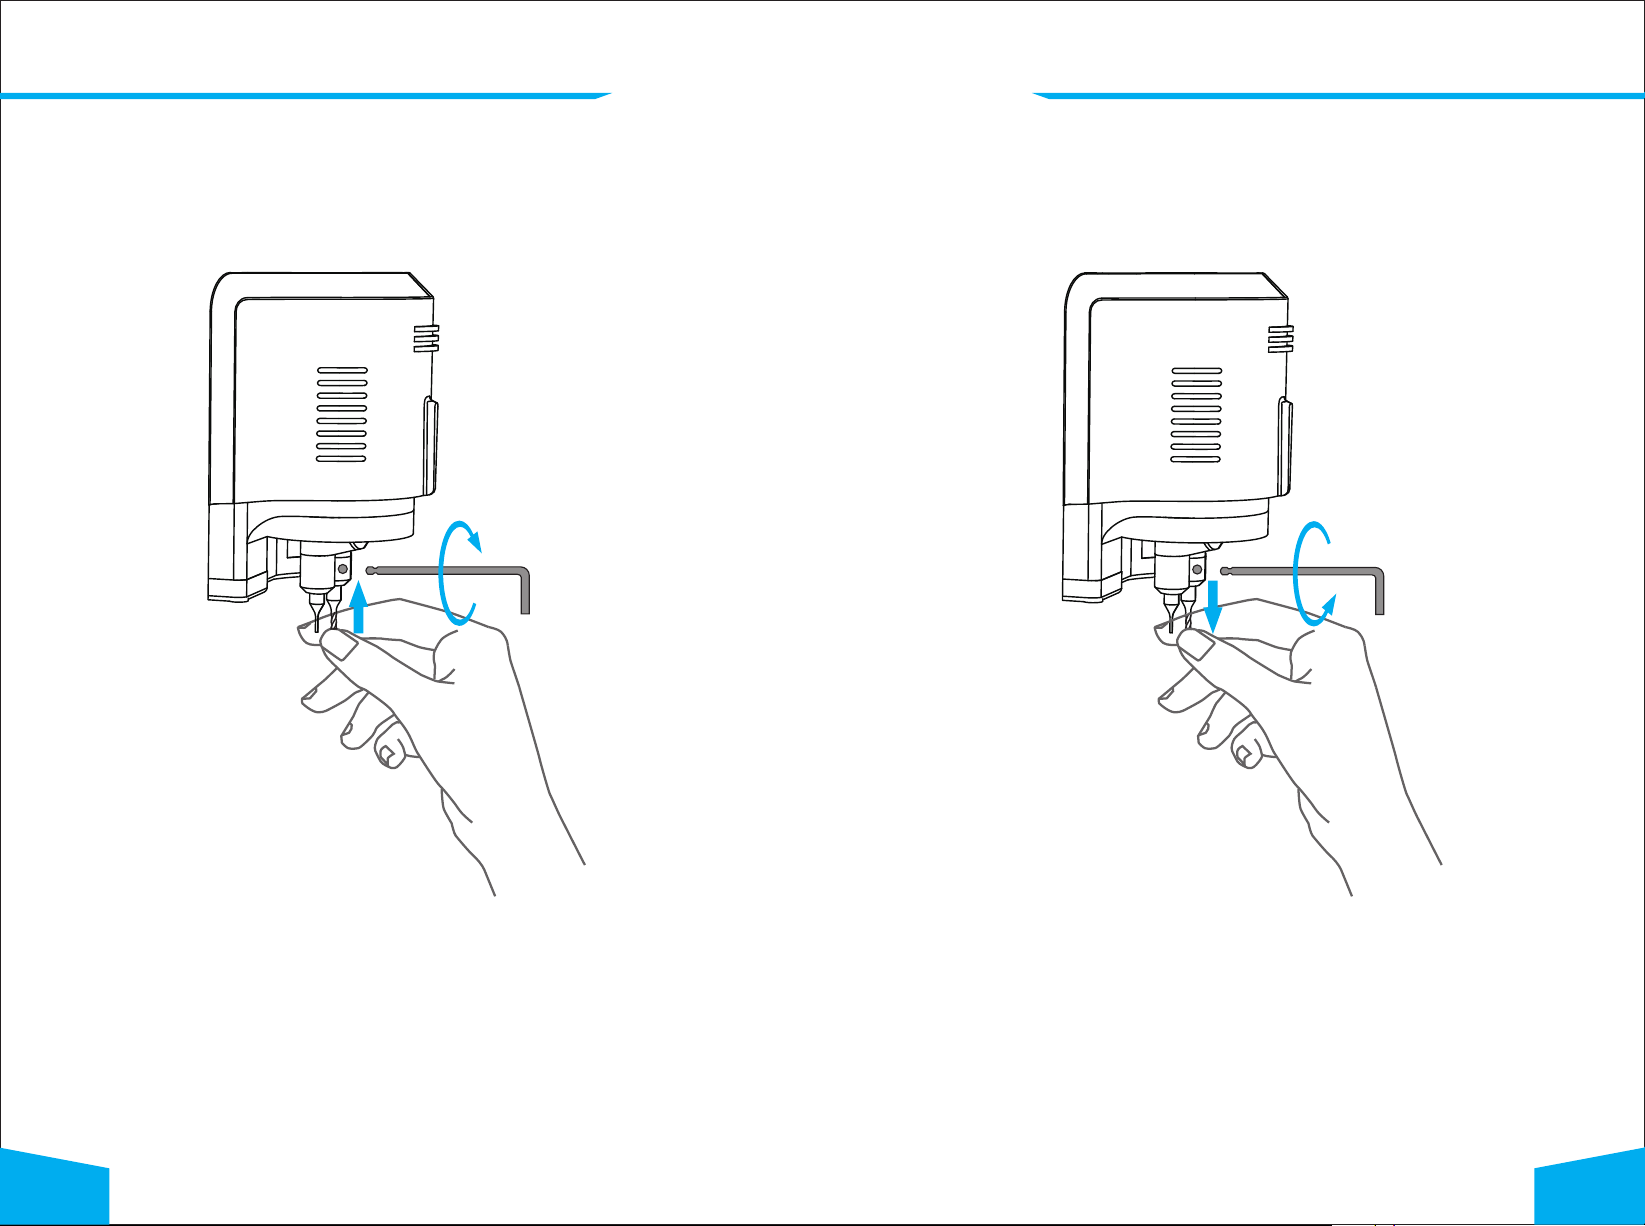
5.1
Cutter installation
5.2 Cutter uninstallation
Installation steps:
1) Put the cutter into the mounting hole and make sure the cutter goes to the limit of top.
2) Use the cutter tightening wrench to clockwise fix the cutter.
Uninstallation steps:
1) Counter-clockwise unscrew the cutter manually.
2) Take the cutter off when it is loose.
0908

Automatic Key Cutting Machine CONDOR XC-MINI PLUS Automatic Key Cutting Machine CONDOR XC-MINI PLUS
5.3 Clamp installation
LOCKING WRENCH
5.4 Pictures of clamps
Clamp M1 Clamp M2
Support type (as picture below)
Standard single/double sided key
Support type (as picture below)
4 Track external
Channel track
2 Track external
Dimple keys
4 Track internal
Installation steps:
1)
Loosening the clamp tightening wrench by turning it counter-clockwise to the left.
2)
Select the correct clamp and slide in the clamp to the clamp holder and push it to the
limit of left.
)
3 After the clamp is put in the clamp platform, turn the clamp tightening wrench clockwise
for fix it.
Clamp M3
Support type (FO21 example)
FO21
Clamp M4
Support type (as picture below)
Support type (SX9 example)
SX9
1110
 Loading...