

Page 1
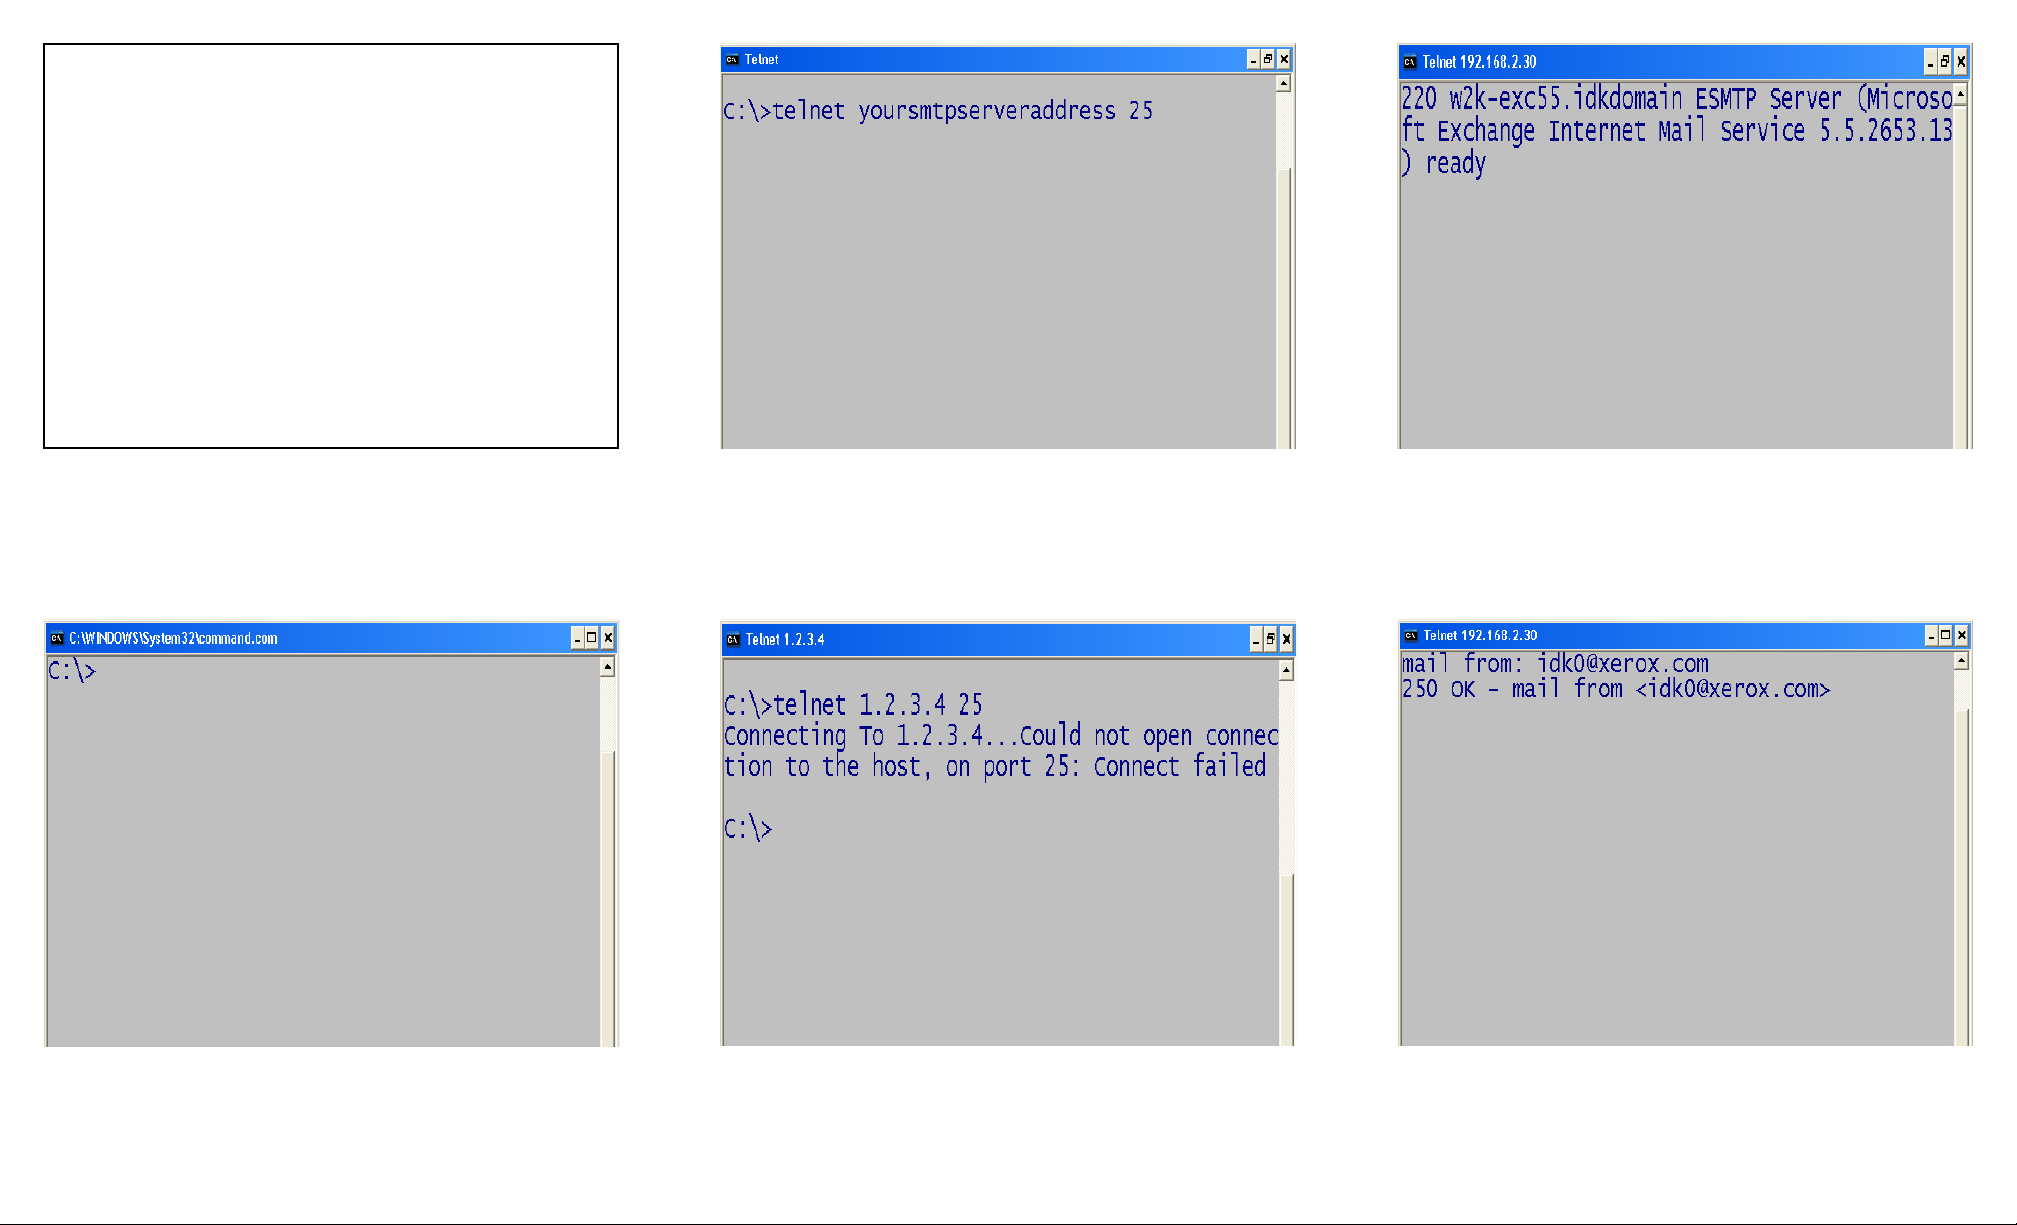
Fig. 2
At the Command prompt on the DOS screen type: “telnet” the IP
address of the SMTP server with port number “25”. Then press
Enter. The entry should display as in this figure.
Fig. 5
Type in “mail from: your e-mail address” and press Enter. The
entry should look something like this figure.
Fig. 1
Open a DOS Command Prompt window.
Note 1: This is a suggested testing procedure that requires
a working knowledge of DOS, and a program called
“Telnet .exe” or “Telnet.com”.
Note 2: If the echo function of your telnet program is not
enabled, you will not see what you type at the DOS
command prompt. Please type slowly and carefully.
Fig. 4
If you received the ready message similar to the one in this figure,
continue to the next step.
Fig. 3
If you received a Connect failed, repeat step Fig. 2 again. If it
continues to fail, please contact your IT Administrator or your Internet
Service Provider to obtain a working SMTP Server Address.
SMTP Server Verification - 1 of 2
Page 2
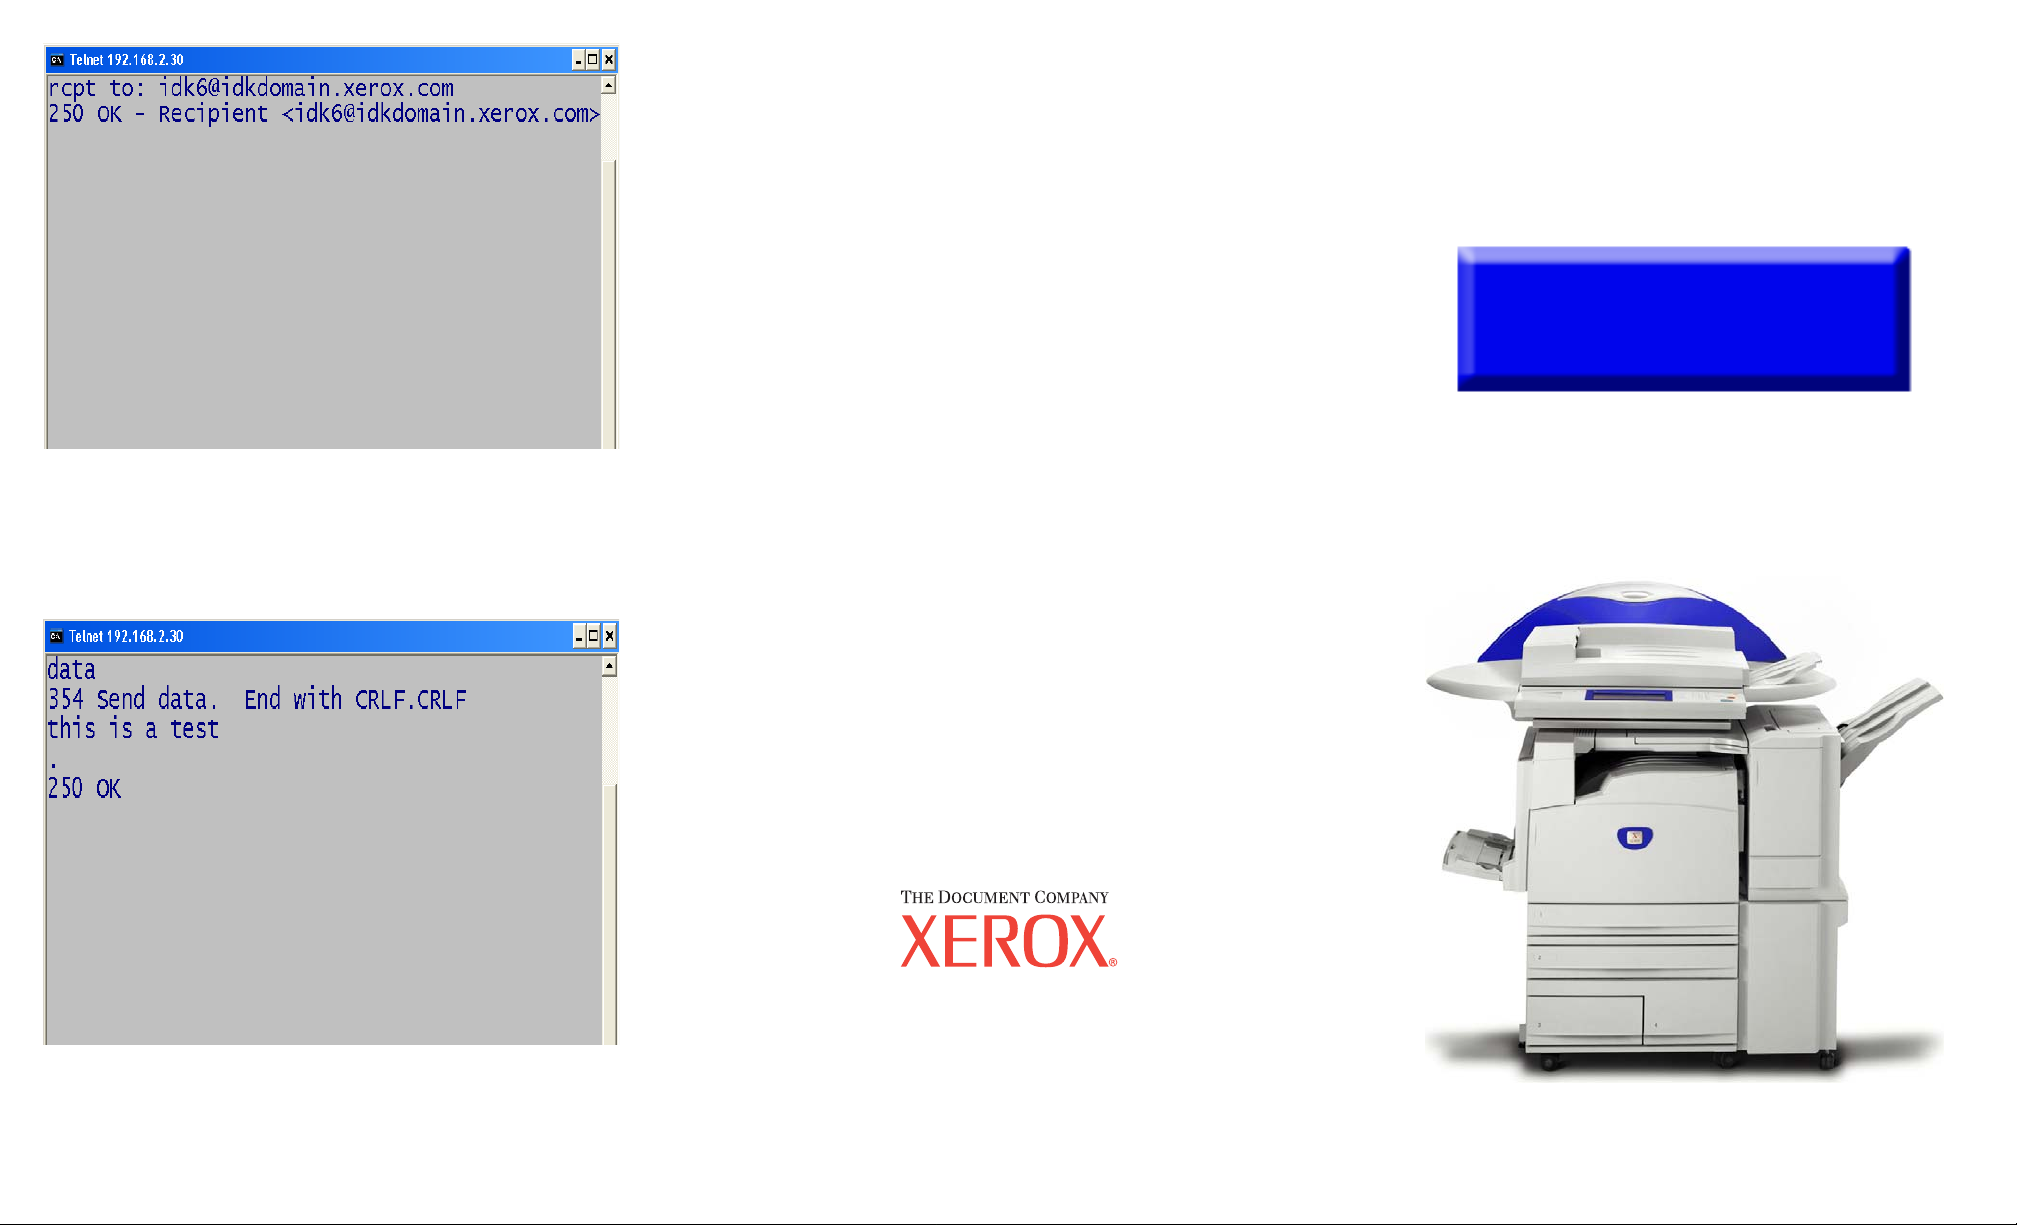
Fig. 6
Type in “rcpt to: your e-mail address” and then press Enter. The
entry should look something like this figure.
Fig. 7
Type “data” and press Enter. To end the e-mail type (.) and press
Enter. It can take a few minutes for the e-mail message to be
delivered to the Inbox of your e-mail account. Once you have received
the e-mail, please continue the setup with the Internet Faxing / iFax
Part 1 of 3 pamphlet.
SMTP Server Verification - 2 of 2
Quick Start Guide
SMTP Server Verification
The Telephone Consumer Protection Act of 1991 makes it unlawful for any person to use a
computer or other electronic device, including FAX machines, to send any message unless such
message clearly contains in a margin at the top or bottom of each transmitted page or on the first page
of the transmission, the date and time it is sent and an identification of the business or other entity, or
other individual sending the message and the telephone number of the sending machine or such
business, other entity, or individual.To enter the telephone number identifying the machine and the
header text information (business name) please refer to "Entering Local Terminal Information"
pamphlet Part 2 of 2. To enter date and time please refer to "Entering Local Terminal Information"
pamphlet Part 1 of 2.
WorkCentre M24
 Loading...