

Xeleum Hercules G2 Installation Manual
READ AND FOLLOW ALL SAFETY
INSTRUCTIONS
SAVE THIS GUIDE FOR FUTURE
REFERENCE
WARNING!
Risk of Electric Shock. Turn power
off before installation or servicing.
Hercules G2 Series
LED Sports Light and High Power
High Bay
Installation Guide
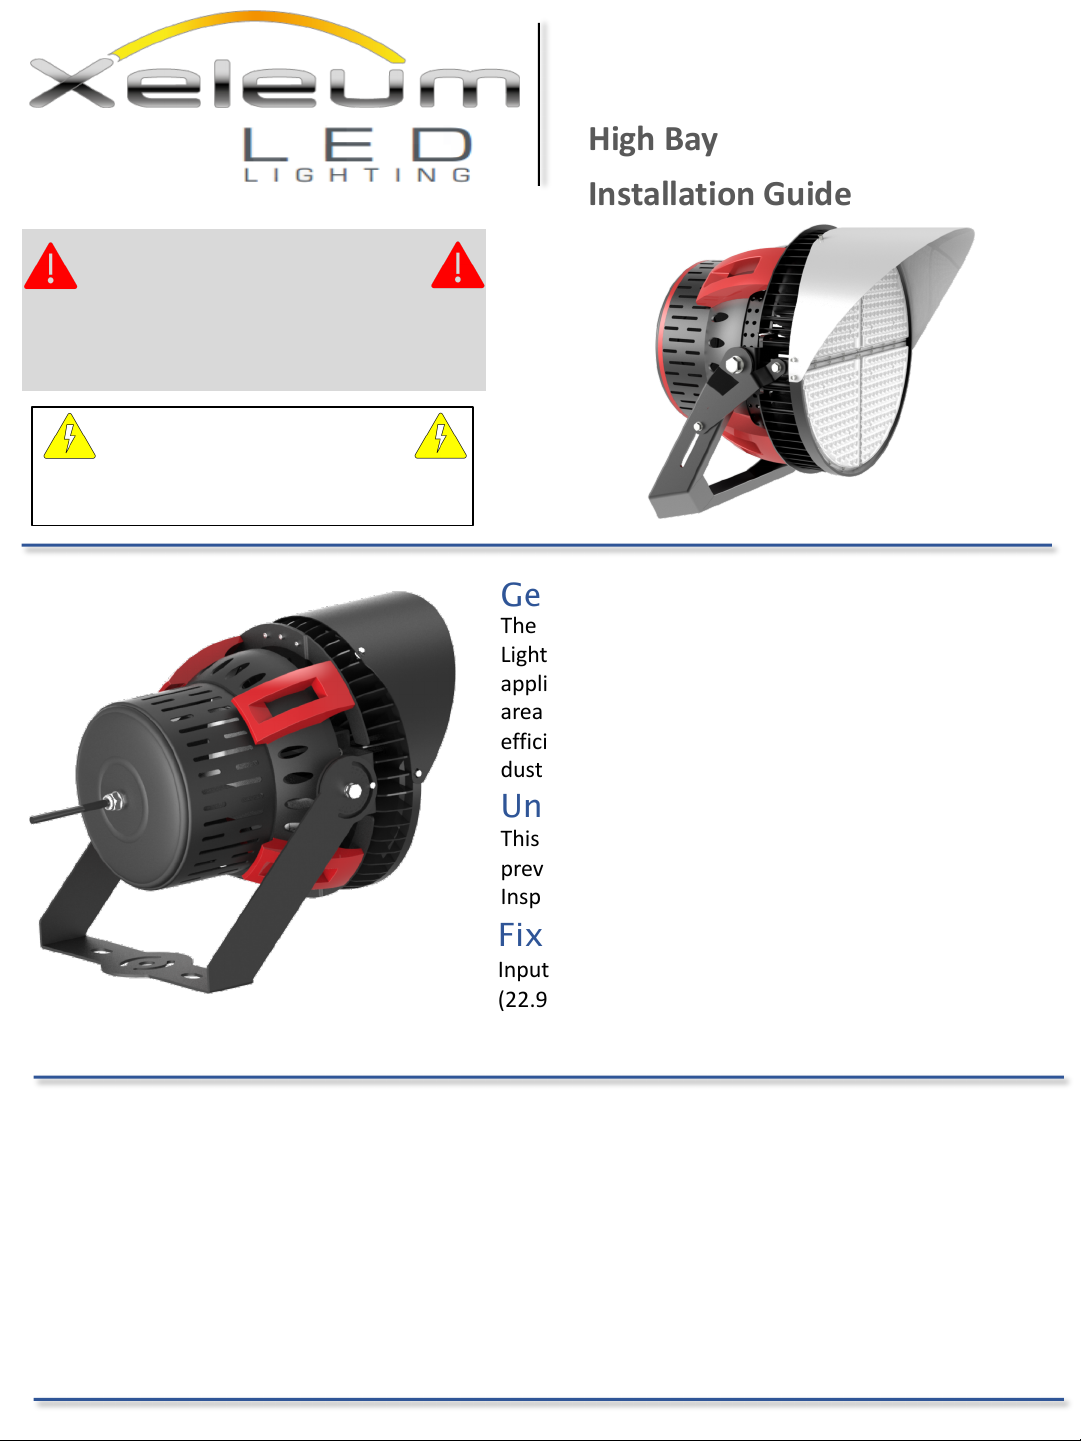
General Product Information
The Hercules G2 is a high-power High Mast or Sports
Lighting LED luminaire. Designed for outdoor
applications and providing superior illumination for wide
areas such as sports fields. The housing is designed for
efficient heat dissipation. Fixture is waterproof,
dustproof, anticorrosive.
Unpacking
This fixture has been packed carefully with the intent to
prevent damage from occurring during shipment.
Inspect the contents to confirm.
Fixture Specifications
Input 120-277VAC and 480VAC. Dimensions max.
(22.9x18.6x18.6)in. Weight: (35, 67, 89)lbs. Packaged.
IP66, UL1598 Certified.
IMPORTANT ADVISORIES AND SAFEGUARDS
1) Suitable for Installation in wet locations (IP66 rated)
2) Follow all standards specified by the NEC for installation. Consult a local licensed
electrician or electrical contractor if you are unsure.
3) When using electrical equipment, basic safety precautions should always be
followed. Ensure the local voltage corresponds to the fixture’s working voltage.
4) Fixture has substantial weight. Use assistance and take care during mounting.
5) Always ensure the fixture is secure when mounted, temporarily or permanently,
at any height above ground.
www.xeleum.com
Page 1 of 10Xeleum Lighting, LLC. 3430 Quantum Blvd. Boynton Beach, FL 33426 * Phone 954 617 8170 * Fax 954 571 9777 * www.xeleum.com
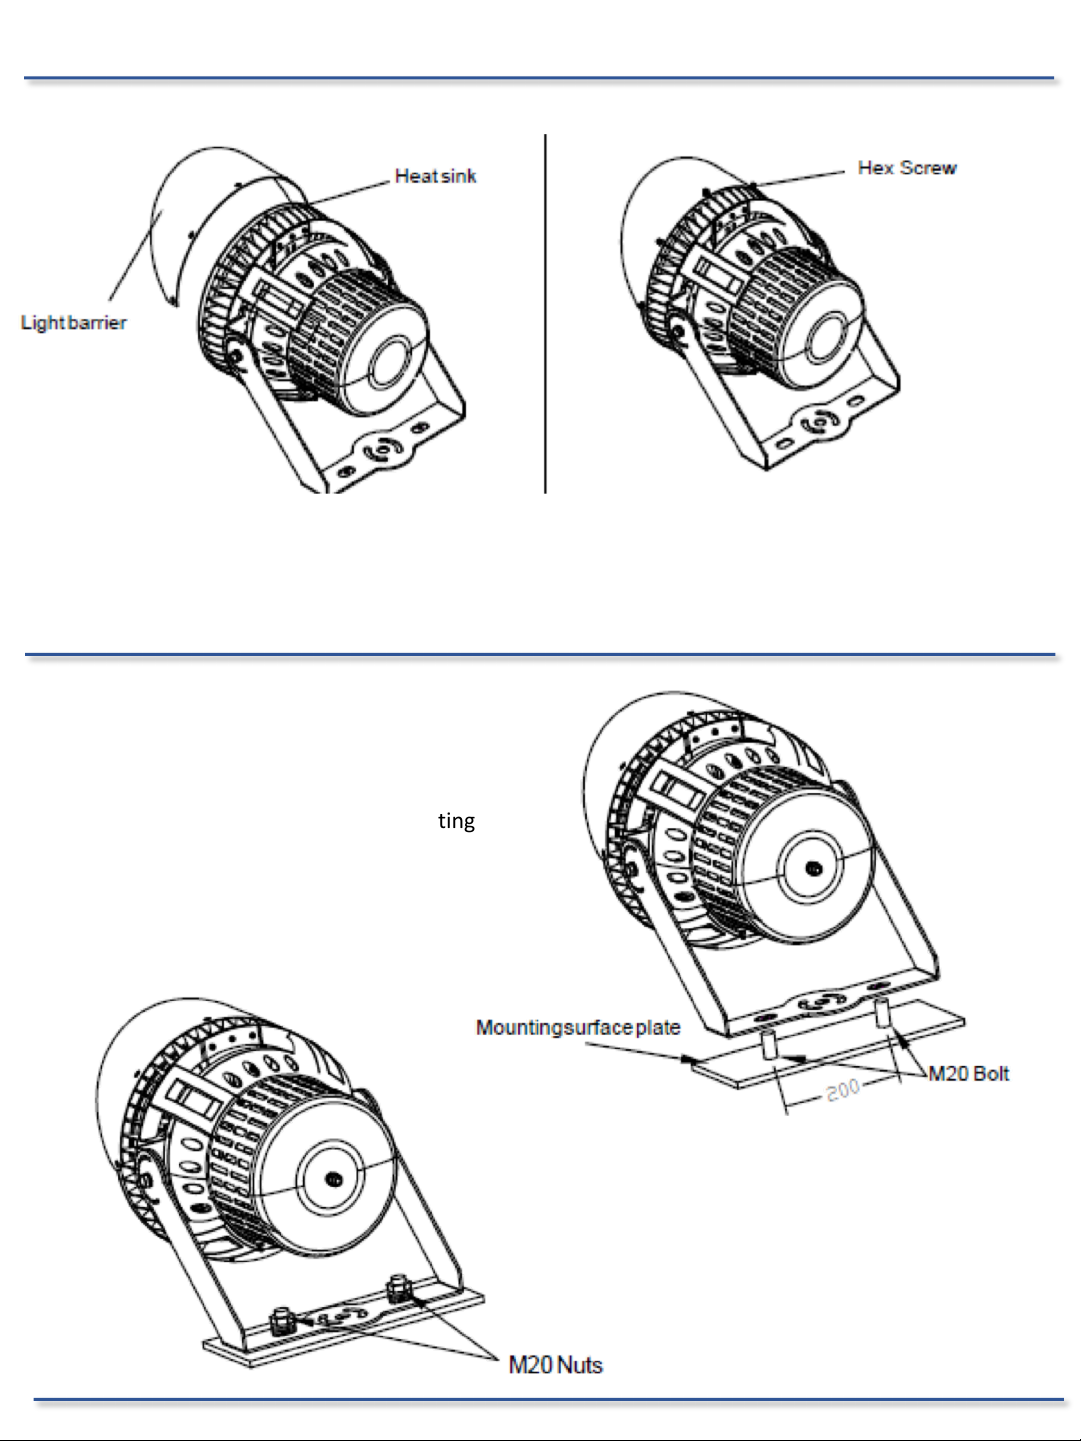
Installation Steps
Light Barrier Instructions
Step 1
Put the light barrier on the lamp
body
Step 2
For 500W: Use 5pcs of M5*12mm Hex Screw to secure the
light barrier to the lamp body.
For 750W, 1000W, or 1250W: Use 6pcs of the screw
Bracket Mounting Instructions
Step 1
Fix the provided M20 bolt at the mounting
surface plate
Step 2
Fix the bracket to the M20 bolt as shown.
Step 3
Place the plain washer and the lock washer
over the M20 bolt as shown.
Step 4
Fasten the nut, and fix the light onto the
mounting surface.
Xeleum Lighting, LLC www.xeleum.com PL?????? Page 2
 Loading...