

XAC Automation T103WIFIT User Manual

ALL IN ONE PAYMENT TERMINAL
INSTALLATION GUIDE
MODEL:
xAPT-103, xCE_T103
xAPT-103WiFi, xCE_T103WiFi
xAPT-103LAN, xCE_T103LAN
1. BEFORE STARTING
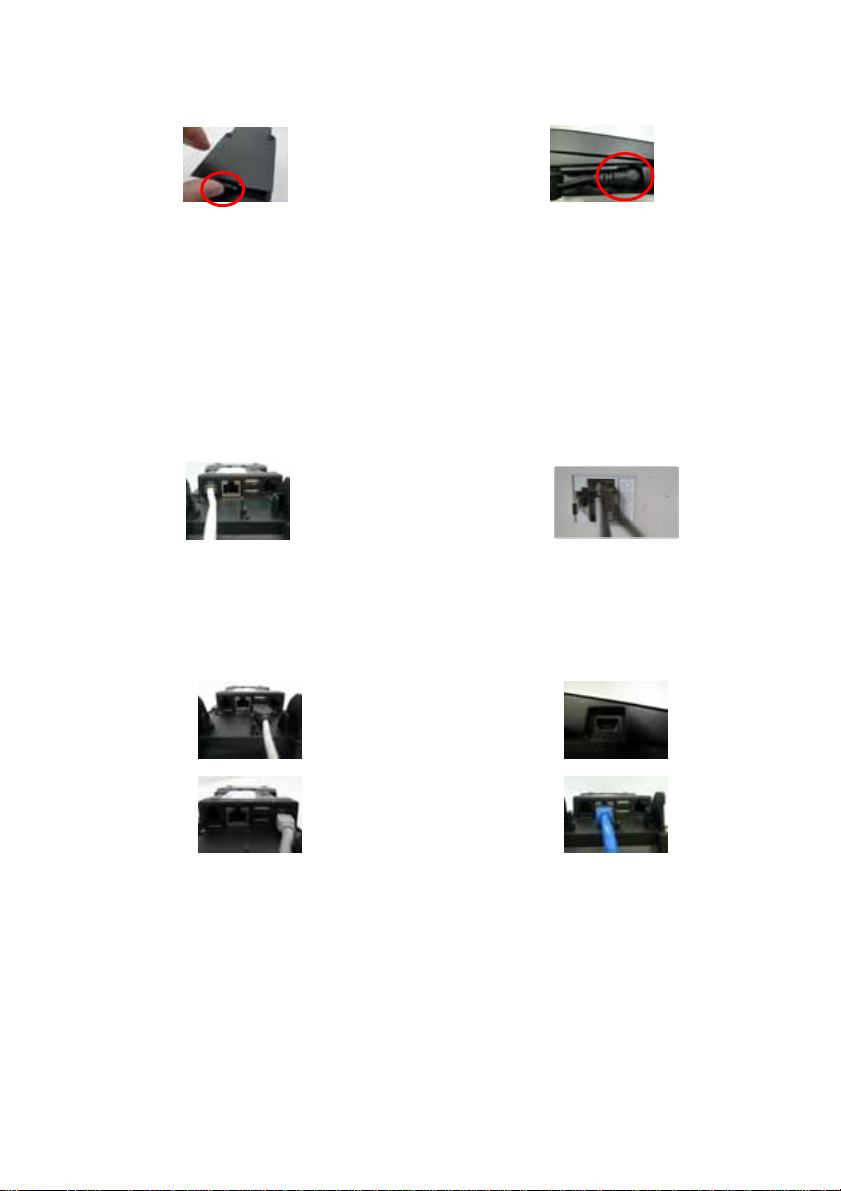
Open the gate behind the device (Figure 1), and find the power input on the right side of the terminal. Connect the
plug from the power adapter into the power input (Figure 2). Plug the power adapter into a 120-volt electrical outlet
or into a surge suppressor (recommended) after the power cord is connected to the power adapter.
Figure 1 Figure 2
Operating Temperature: 0 °C to 40 °C
Modem Speed: V.22bis 2400bps/ V.32bis 14400bps
RTC battery spec. : 3V, CR2032
Adaptor: Delta Electronics Inc,ADP-36PH B, I/P: 100-240Vac,50-60Hz, 1A,O/P: 12Vdc,3.0A, LPS.
* Power Adapter: DC 12V, 3A(Output Rating)
(Use only the XAC Automation Corporation provided AC adapter approved for use with this device. Use
Caution: The cover (Figure 5) shall be provided with a means to keep it closed during normal operation.
Caution: Risk of explosion if the battery is replaced by an incorrect type. Please dispose of used battery according to the instructions.
Warning: A shielded-type power cord is required in order to meet FCC emission limits and also to prevent interference to the nearby
radio and television reception. It is essential that only the supplied power cord be used.
Connect one end of the phone cord into one of the jacks on the back of the terminal (Figure 3). Plug the other end of
the cord into a modular wall jack (Figure 4). Use only a jack for an analog line like a fax line or a standard telephone.
of another AC adapter may cause a fire or expl osion )
(Optional) This terminal supports three USB ports. Two USB host ports locate on the back of the terminal (Figure 5). One USB device
port locates on the left side of the terminal (Figure 6). If the terminal uses a peripheral device with USB connector, plug it into the USB
host port.
(Optional) This terminal supports one RS-232 ports of RJ-12 offset keyed connector. If the terminal uses a peripheral device with this
type of connector and interface, plug it into the RS-232 port on the back of the terminal (Figure 7).
(Optional) If the terminal needs communication over Ethernet, plug cable into the RJ-45 port on the back of the terminal (Figure 8).
Figure 3 Figure 4
Figure 5 Figure 6
Figure 7 Figure 8
2. POWER ON THE TERMINAL
Plug the power cord into the power jack and plug the power adapter into a 120-volt electrical outlet or into a surge
suppressor (recommended) after the power cord is connected to the power adapter. T103 would start to boot
automatically.
3. LOADING THE PAPER
Gently pop the printer cover’s latch to open the cover (Figure 9); then lift the cover. Load a roll of thermal paper
(Appleton 1012 recommended) into the printer (Figure10). Load it so that the print-side of the paper will feed out
facing the operator. Close the cover by pressing down evenly on both side tabs, or by pressing on the center of the
printer cover. Use the serrated bar to tear off any excess paper.
 Loading...