

Page 1
Before using this product, please read the guide carefully to
avoid any damage to the product.
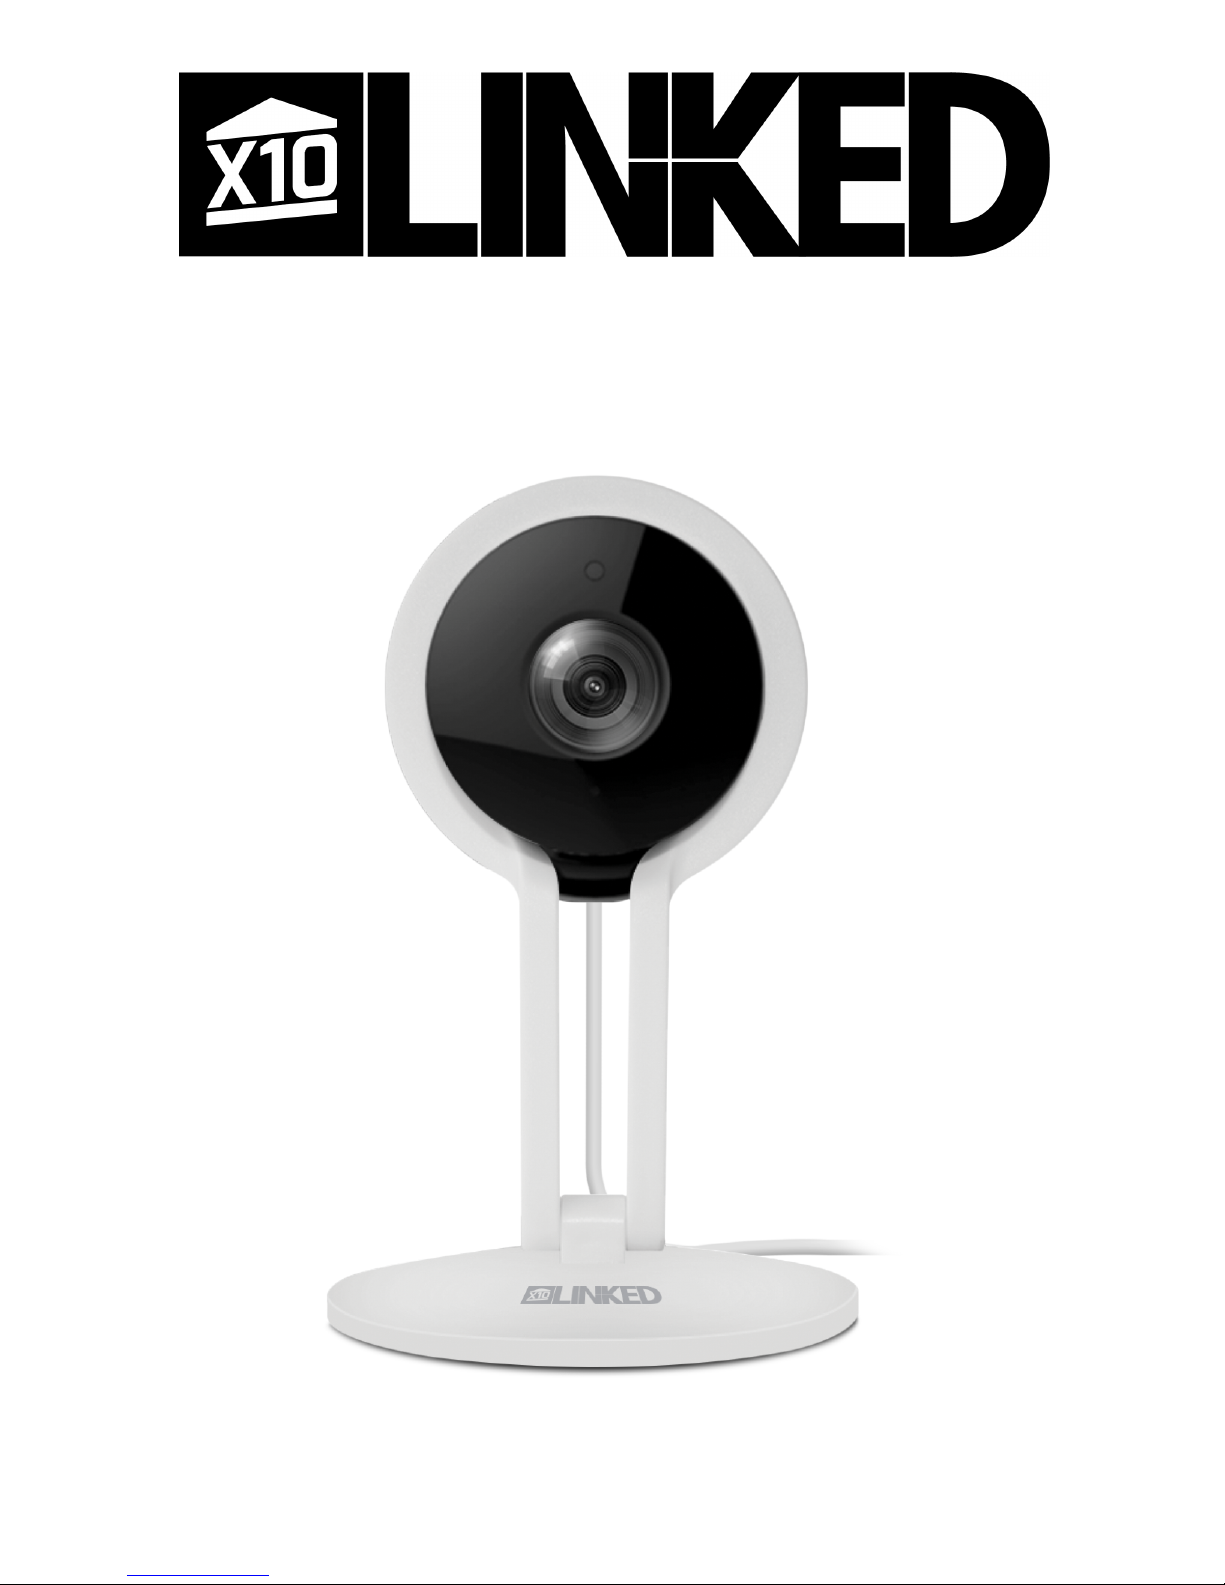
User Guide LC4
Page 2
Before using this product, please read the guide carefully to avoid
any damages to the product, do not misconfiguration or misuse.
User Manual
IP Camera
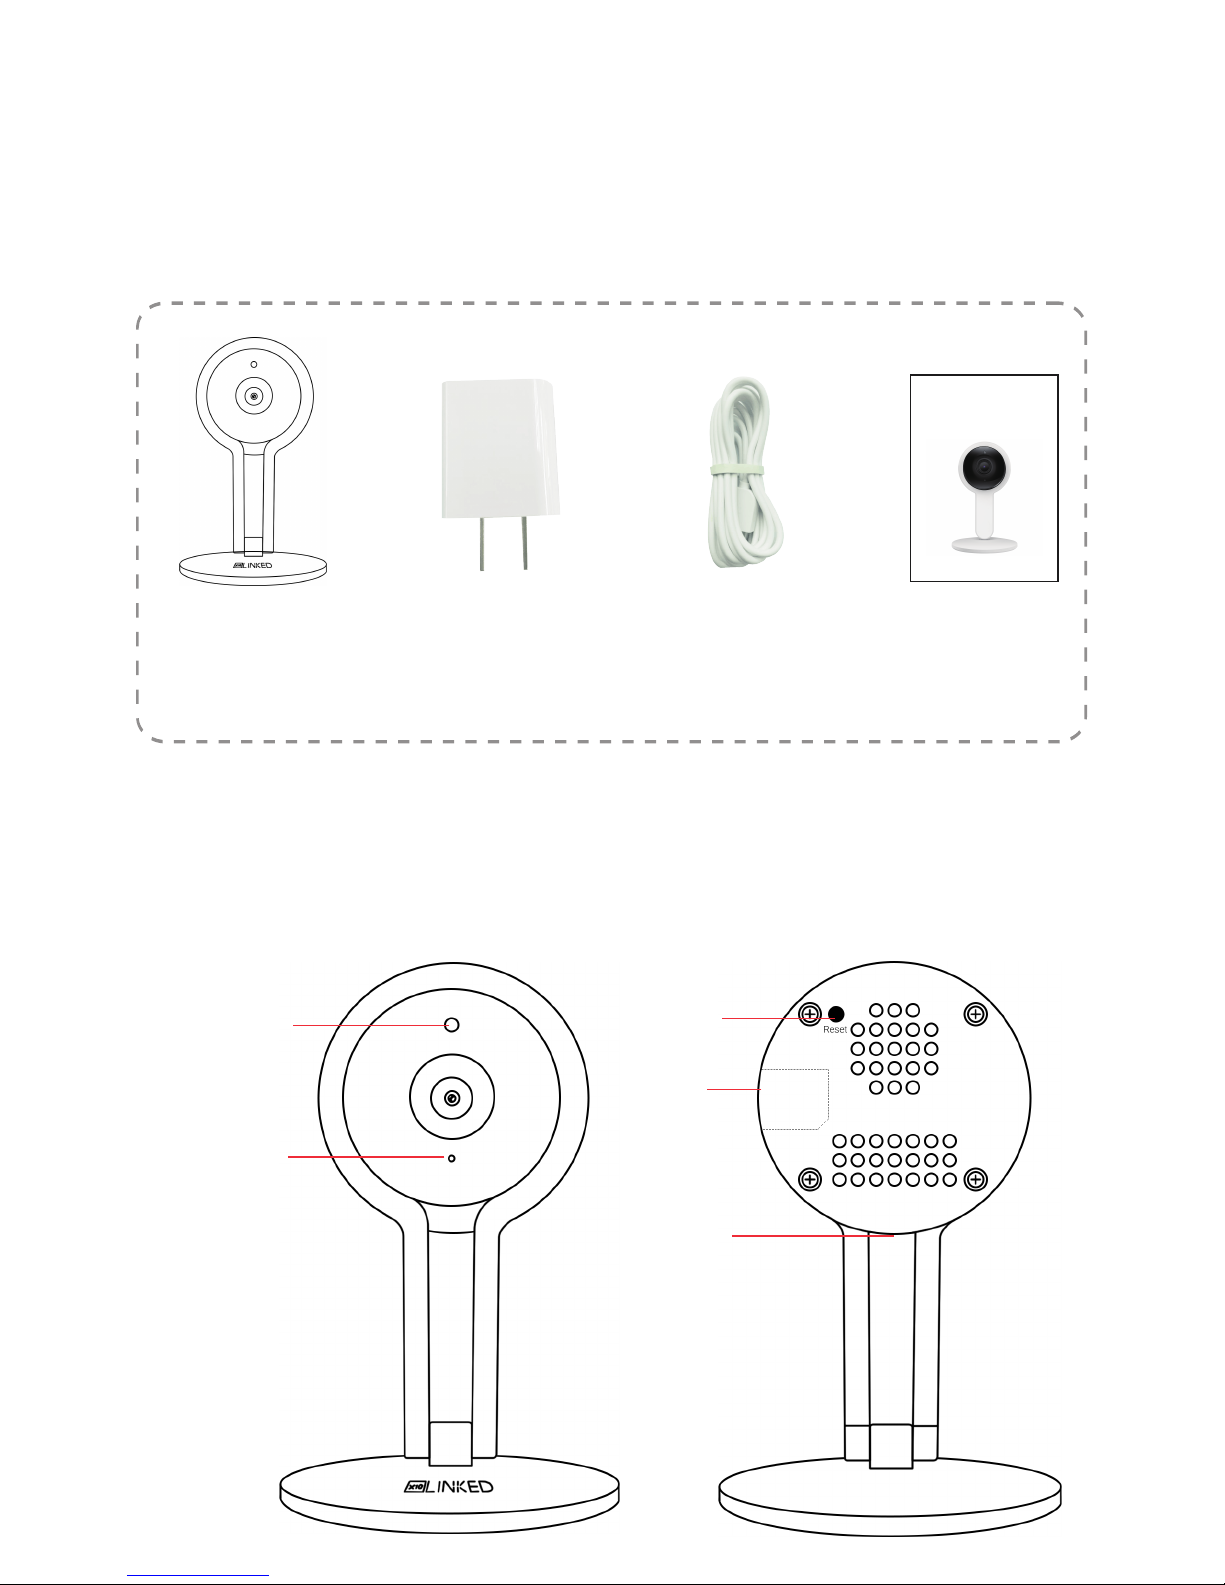
1.1 Packing list
Camera
USB cable User manual
*User manual is a download
1.2 Product outlook
Adapter
-2-
1. Product Description
Infrared night
vision
LED Indicator
RESET
Micro USB
Power Input
SD card
Page 3
2. Installation
2.1 App installation
For iPhone users:
Open the App Store and search for
“X10 Linked” Download and install
the linked app onto your iPhone.
For Android phone users:
Open the Google Play Store and search
for “X10 Linked” Download and install
the Linked app onto your Android phone.
2.2 Device Hardware installation
Connect the power supply to the camera device, then wait for the
indicator light to flash.
Different LED colors correspond to different camera statuses:
Blue
Slow blue flash
Fast blue flash
Solid blue
System start up
Syncing mode
Connecting to Wi-Fi
Camera working properly
2.3 User Account Registration
1. After opening the app for the first time, register your account
by clicking ‘sign up’ and enter the desired username and
password.
a. On Android devices, this username will be your email address.
On Apple devices, use something you can easily remember, like an
email address or a phone number.
-3-
Page 4

b. Your login information will be saved the next time you open the app;
However, it is recommended that you write your login information
down.
c. On Android devices, you will be required to verify your registration
by sending a special code to your email address. After you hit "send
code" button, you will have 1 minute to enter that code.
2.4 Camera Device and Phone Synchronization
Click the top-left “+” button, click on ‘connect to my camera’ and then
“Next”.
Step 1: Check to see if the front LED light is flashing: After powering
on the camera, the LED light should be flashing blue, click on ‘Next’
and proceed to Step 2.
Step 2: Connect to your network:
a. Find your wireless network in the first field. You can
select ‘Other’ if you do not see your wireless network.
b. Enter your Wi-Fi password. If your wireless network does not have a
password, click on the ‘No Wi-Fi’ password box. Then click ‘Next'.
c. Follow the instructions on the screen and move your phone speaker
close to the camera’s microphone. Before doing so, make sure you are
in a quiet environment without any noise interference and make sure
your phone is not on silent. Then click ‘send sound wave’.
d. You will hear a scrambled sound being played from your phone.
Keep your phone still and wait for the duration of the transmission,
before you move your phone away. Afterwards, the app will indicate that
the binding was successful and will redirect you to the camera view
interface automatically.
e. If the App does not indicate it was successful after 2 minutes or so.
something likely went wrong. Hit ‘Send sound wave’ or click on the
hyperlink and follow the instructions.
-4-
Page 5

-5-
3. App functions
3.1 Live video
After syncing successfully, click the IP Camera interface to view live
video. Smooth, SD and HD video definition are available.
3.2 Video Recording
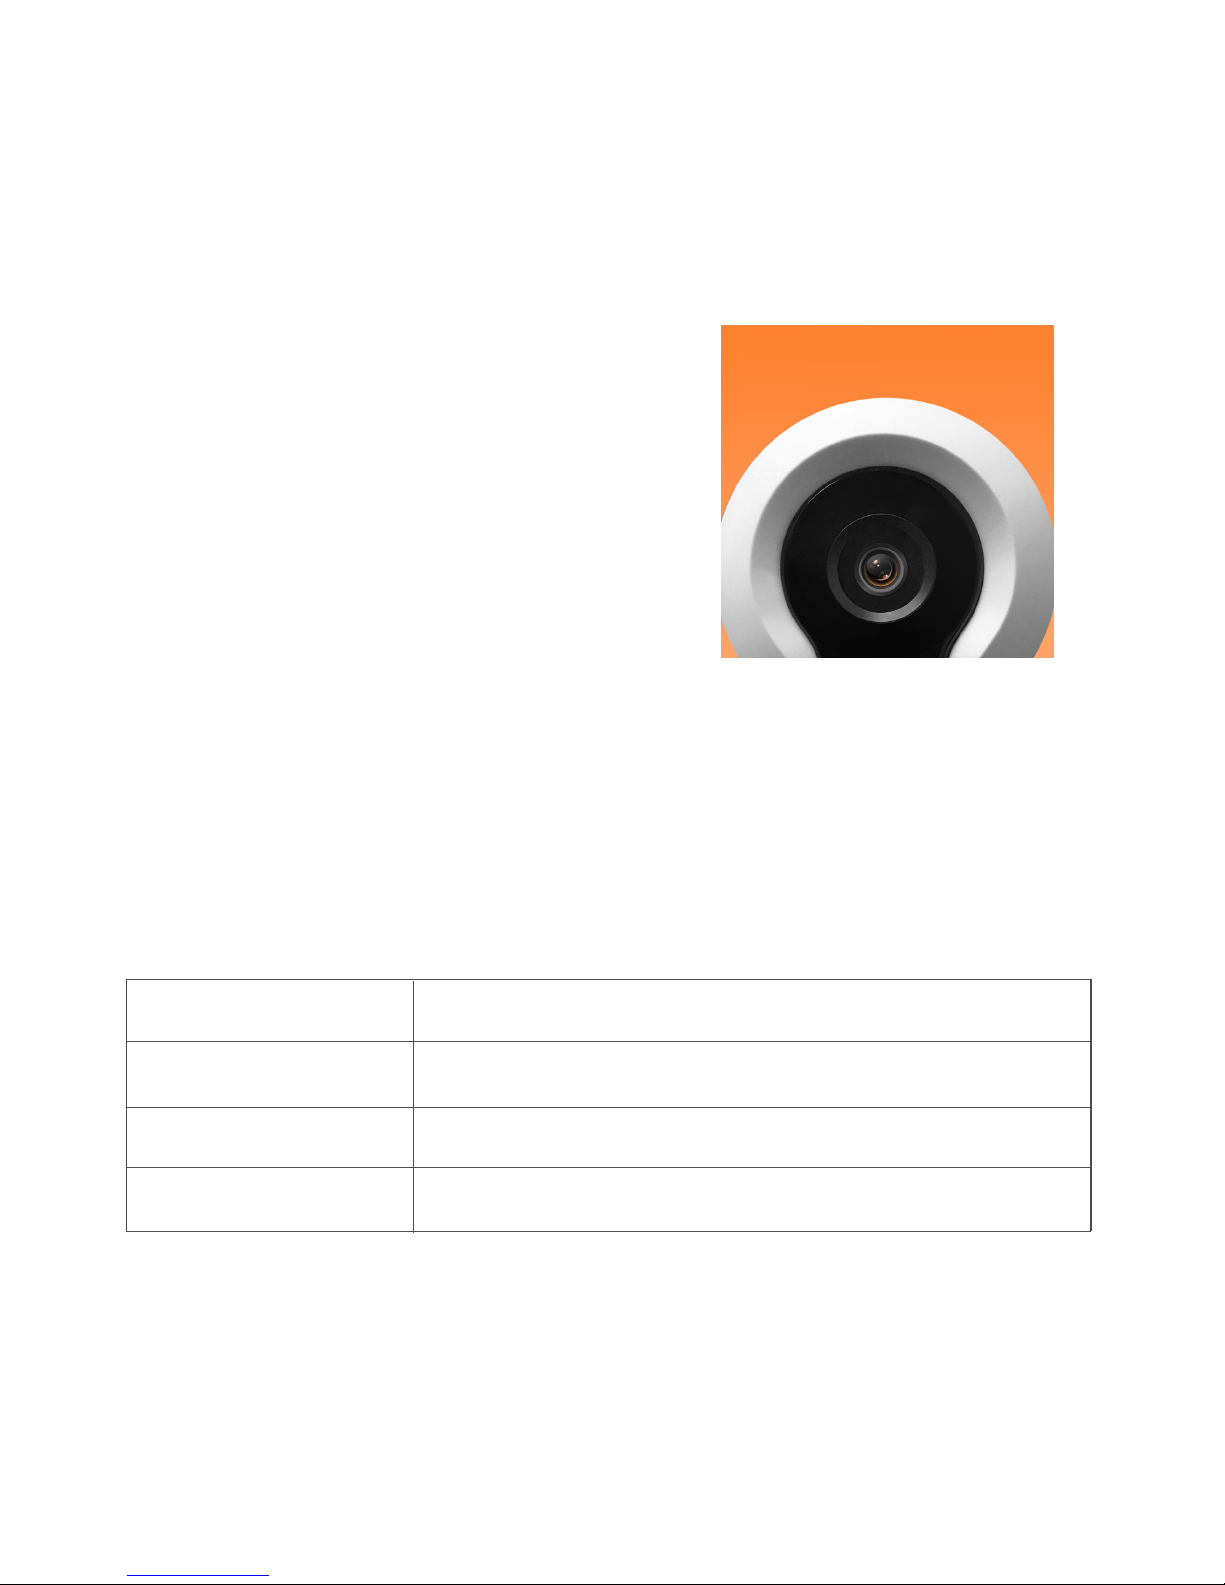
3.2.1 Users can record video on live video
interface or on playback video interface, by
pressing the red video recording icon on the
left. Refer to photo below. The recorded
video will be stored in the album on the
homepage of app.
Page 6

3.2.2 Playback: Click “Playback” icon and choose the time to replay
the video recorded by the camera.
Select the date and time you wish to
playback. You can fast forward or
backward by swiping on the time bar.
Tap on the camera icon to take a
screen shot while replaying the video.
Refer to photo (right).
3.3 More Functions
In “Settings” you will find: two-way talk, night vision, infrared alarm,
snapshot sharing, viewing lock functions on the app.
4. Warning
● When using the camera, please avoid rain, fire and lightning. The
camera’s working humidity range is: 20%-50% indoor, 20%-70%
outdoor. Working temperature range is: -10°-50℃ (14°-122°F)
indoor; -20°-55℃ (-4°-131°F) outdoor.
● The IP Camera is designed to ensure the security and
confidentiality of its users, but cannot completely guarantee the
threat of being compromised, due to various setup circumstances.
We highly advise that you only use the camera on a trusted
password protected Wi-Fi network. This camera is recommended
for general purpose monitoring only. The user acknowledges the
risk of using the device otherwise.
-6-
Page 7

☆ User can only bind when the camera device is in the Binding mode
(i.e. LED is blue and flashes once a second). Otherwise, you cannot
bind a camera device when outside of the Binding mode.
☆ Make sure the environment around the camera is quiet when
transmitting the “sound wave” and the outer speaker of your phone is
close to the microphone in front of the camera.
☆ If shown warning “WIFI does not exists”, please make sure your WiFi network name is correct.
☆ If shown warning “WIFI connection fail”, please make sure your WiFi password correct.
☆ If shown warning “Network abnormal please check router
configuration”, please make sure your router is connected to Internet.
☆ Check the compatibility of the camera device with your router.
Supports 802.11 b/n/g.
☆ Check whether the name and password of WIFI has been changed.
2) Cannot connect to Internet?
☆ Check if there is a micro-SD card (must be 64GB or less)
☆ Insert a micro-SD card, you can replay video after 10 minutes.
3) Video quality is not clear?
Switch between “SD” and “HD” or clean the lens of the camera.
4) Cannot replay video?
5) If the Wi-Fi is hidden, why can't I find any
network or camera device?
Our camera device can only connect to non-hidden Wi-Fi networks.
6) How to restore Factory Settings?
While the camera device is on, use a small object to hold down the reset
button located on the back of the unit for 3-5 seconds. The voice prompt
will indicate that the system is resetting.
During this time, do not unplug the camera device.
5.FAQ
1)
Cannot bind camera device?
-7-
Page 8

7) Sound is not coming from app on phone?
Please make sure your phone is not on silent and the volume is
turned up.
OTHER NOTES:
● To refresh your camera list, pull-down on the screen while viewing
the camera list.
● After binding the device and phone successfully, if the camera
device does not appear on the homepage, refresh the camera list
interface. If the device is still not showing, log out of your account,
then login again.
● The camera supports up to 64GB micro-SD card, and can store
videos up to 40 days.
● There is approximately a 10-minute delay after a micro SD card
has been inserted before the camera writes to the SD card and you
can replay videos.
● When testing the alarm function, after setting the alarm, please
exit the app to receive the notification when the camera is triggered
by motion.
● You can bind up to maximum of 15 user accounts to each camera
(if the account administrator shares access).
● The first account bound to the camera is defaulted as the
administrator account.
● When syncing the camera device and phone, do not leave the
binding page, please wait for the camera to finish automatically.
-8-
 Loading...