

wysLink WWC500 User Manual
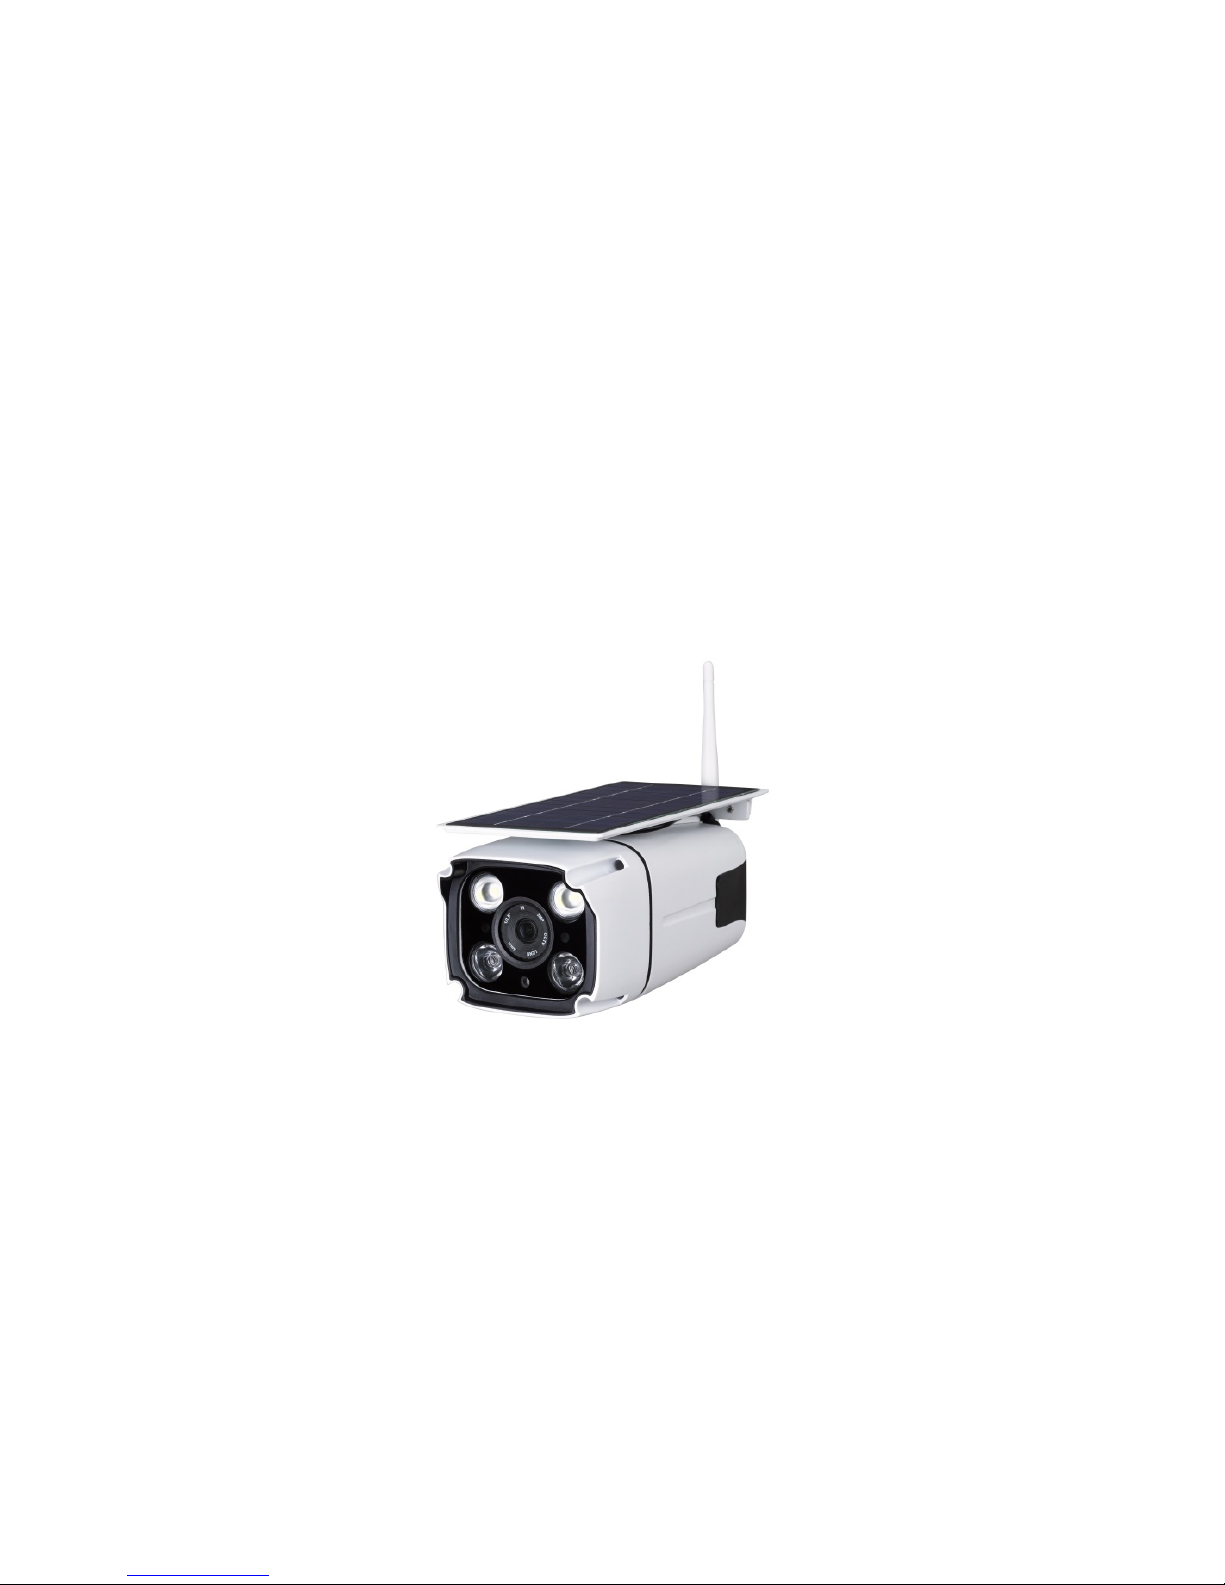
Solar powered Wi-Fi Camera
WWC500
User Manual
1. Introduction
1.1 Features
1. Use of solar power, and lithium batteries, which keep camera working all the time, when installed at
outdoor.
2. Microwave Motion Sensor, by which, the camera start to shoot video within 1 second when detect the
human or other object moving in covered range, and spontaneously send push notification to mobile APP;
3. Wake up from mobile app.
4. Supported 2.4GHz WIFI connection;
5. Manually switch night working mode, white-light source or infrared light source;
5. Automatically switch day / night mode, get clear video image at both modes.
7. Inductive Street light. The white lights will set on when there’s people detected within covered range
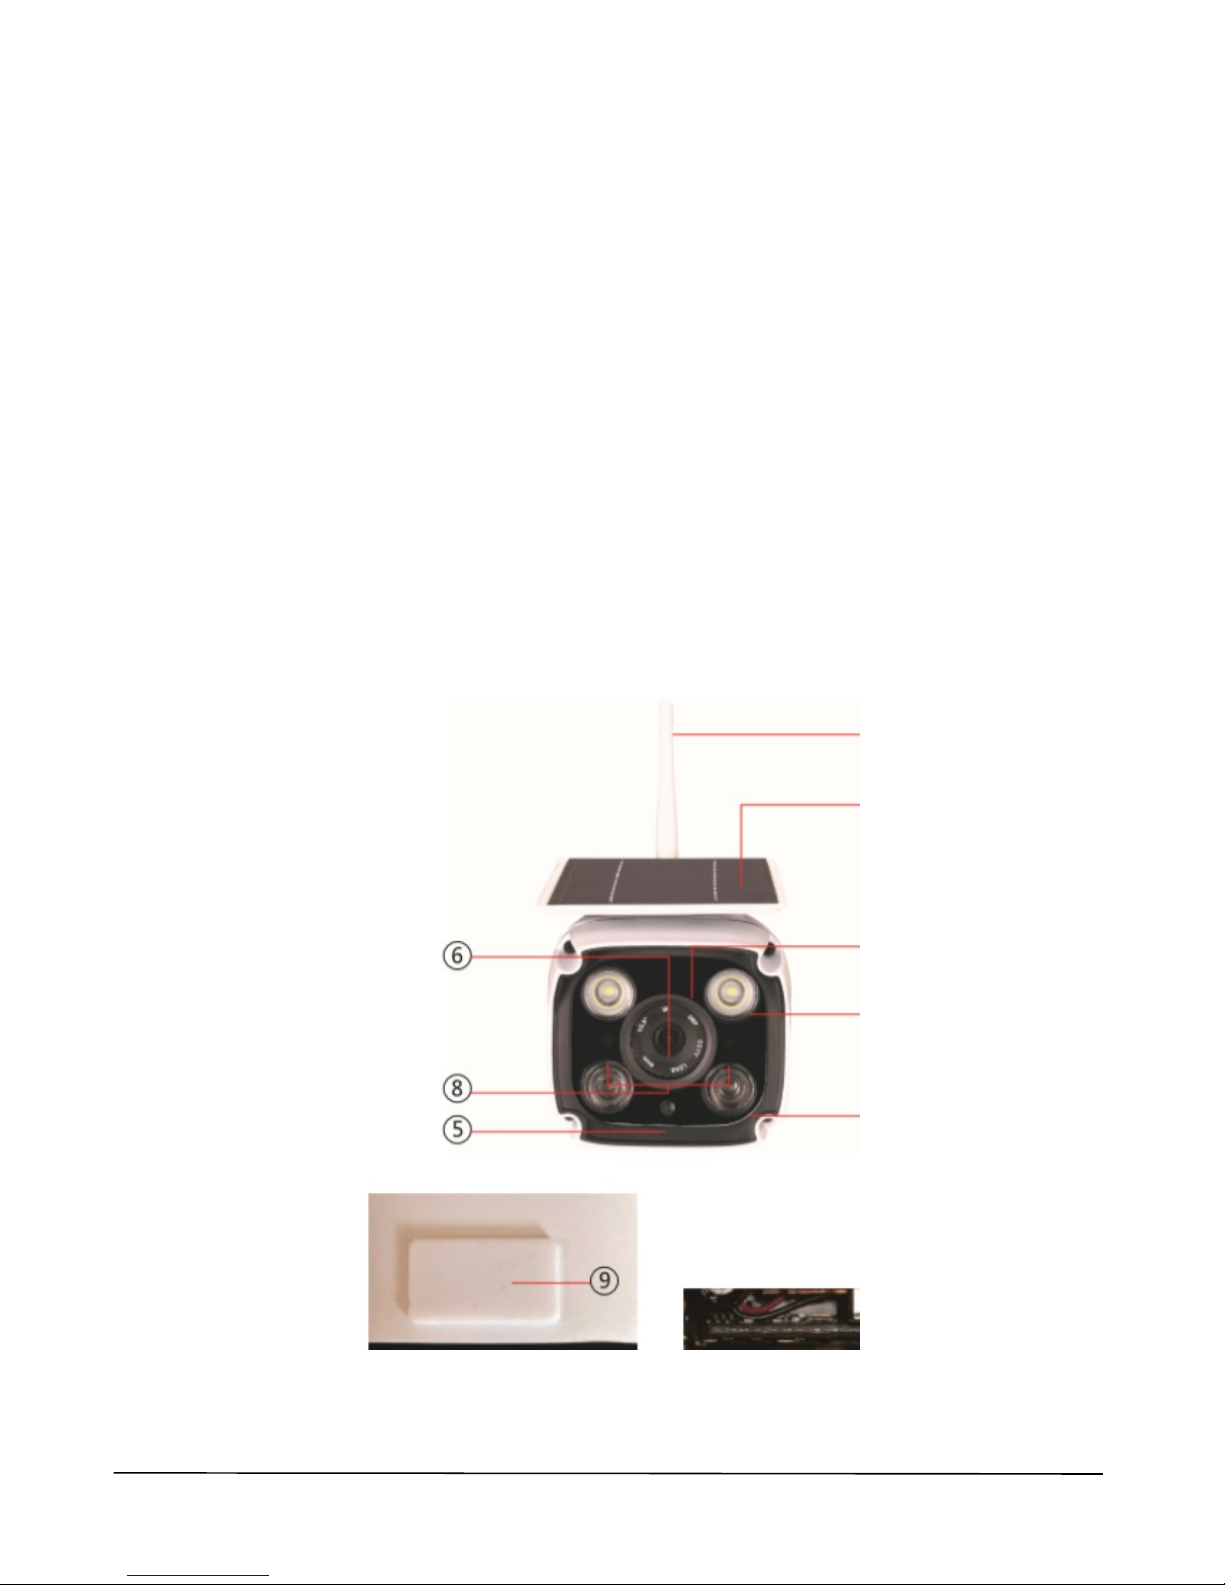
1.2 Appearance
Solar Powered Wi-Fi Camera WWC500 User Manual V1.00 1

1. Solar panel: Charge the lithium batteries in the unit; Please try best to install it in places under direct
sunlight, or use attached extender cable to install solar panel separately.
2. WIFI antenna: connect to WIFI router in WIFI mode, or Connect the mobile phone directly in AP hotspot
mode.
3. White-light source: two white lights at front . Automatically switch on at night when detect moving object in
covered area.
4. Infrared light: two infrared lights under lens at front. Automatically switch on during night time.
5. Light sensor: Sense the illumination, and judge as night time when less than 2Lus;
6. Lens: capture image video;
7. Microwave Motion sensor: When a person or a moving object is moving in front of the device, a trigger
signal will be generated and sent to the main unit;
8. Indicator Light:
White Light On: solar panel is charging the battery.
Green Light On: Sensed moving object
Red light flashes slowly: AP hot spot working and the system is waiting for configuration, or work as AP
mode.
Blue light flashes slowly: Working normally
Alternate flashing of red and blue: unconnected WIFI
9. Card slot waterproof cover: Please be sure to cover it properly.
10 Waterproof microphone
11. Power Switch: Power on camera at white light mode or infrared light mode;
12. Reset: Pressing and holding this button for 5 seconds, set camera to the factory setting (red light flashes);
13. TF card slot: 8G/16G/32G/64G are supported (Please format at FAT32 first before inserting);
14. USB port: For device updating.
1.3 . Specifications
Model/Name : Solar Powered Wi-Fi Camera
Model : WWC500-D2A-WD
Effective pixels : 2.0 megapixel
Solar Powered Wi-Fi Camera WWC500 User Manual V1.00 2

Resolution : 1920*1080
WIFI protocol: 2.4GHz, IEEE 802.11 b/g/n
Motion detection range : 0-10m/120 º
View angle : 78 º ( horizontal )
Working temperature: -20℃to 60℃
Working humidity: 0%-90%RH
Way of wake-up: HMD motion trigger / Remote APP wakeup by mobile phone
Power consumption : Daytime≤2W nighttime≤4W
Stand-by power consumption : 3mW
Solar panel wattage : 2.2W
waterproof grade: IP66
2. Installation, Settings
2.1 Set Camera Wi-Fi and add to App
1. Power on the camera
Open white rub cover at camera bottom, If use SD card, insert it before power on.
Slide the power switch to one side
Left side: Power on with infrared light mode.
Right side: Power on with white light mode.
Solar Powered Wi-Fi Camera WWC500 User Manual V1.00 3
 Loading...