

Page 1
R
INSTALLATION AND OPERATING INSTRUCTIONS
Mobile Cantilever Open Tray
& Silverware Dispensers
Models: CTR-1014, -1418, -1620, 1020, 1622, 1822, 2020
IMPORTANT FOR FUTURE REFERENCE
Please complete this information and retain this manual for the life of the equipment. For
WarrantyServiceand/or Parts,this information isrequired.
ModelNumber SerialNumber DatePurchased
CONTENTS
General Information
Maintenance
Adjustments
Service Information
Dimensions
Parts List
Hardware List
Exploded View
Warranty
WARNING:
damage, injury or death. Read and understand these instructions thoroughly before
!
positioning,installing, maintaining orservicing thisequipment.
Improper installation, operation, service or maintenance can cause property
P/N 88839-00 9/05
APW WYOTT Foodservice Equipment Company
P.O. Box 1829
Cheyenne, WY 82003
+1(307) 634-5801 Phone +1(800) 752-0863 TollFree
+1(307) 637-8071 Fax www.apwwyott.com
2
2
3
4
5
6
7
7
8
!
1
Page 2
GENERAL INFORMATION
THIS MANUAL SHOULD BE RETAINED FOR FUTURE REFERENCE
CAUTION:
positioned so the general public can use the equipment, make sure that cautions, warnings, and
operating instructions are clearly posted near each unit so that anyone using the equipment will
!
useit correctly andnotinjure themselves or harmtheequipment.
WARNING:
!
andfrequencylisted on thedataplate.Connect only to1or 3 phaseas listed on thedataplate.
WARNING:
injury or death. Read and understand these instructions thoroughly before positioning, installing,
!
maintainingorservicingthis equipment.
WARNING:
!
nationalelectricalcode and/or other localelectricalcodes.
WARNING:
!
powerplug, indicating that youareworkingon the circuit.
These models are designed, built, and sold for commercial use. If these models are
!
Checkthe data plateonthis unitbeforeinstallation.Connectthe unit onlyto the voltage
!
Improper installation, operation, service or maintenance can cause property damage,
!
Electrical and grounding connections must comply with the applicable portions of the
!
Disconnect device from electrical power supply and place a Tag Out-Lockout on the
!
MAINTENANCE
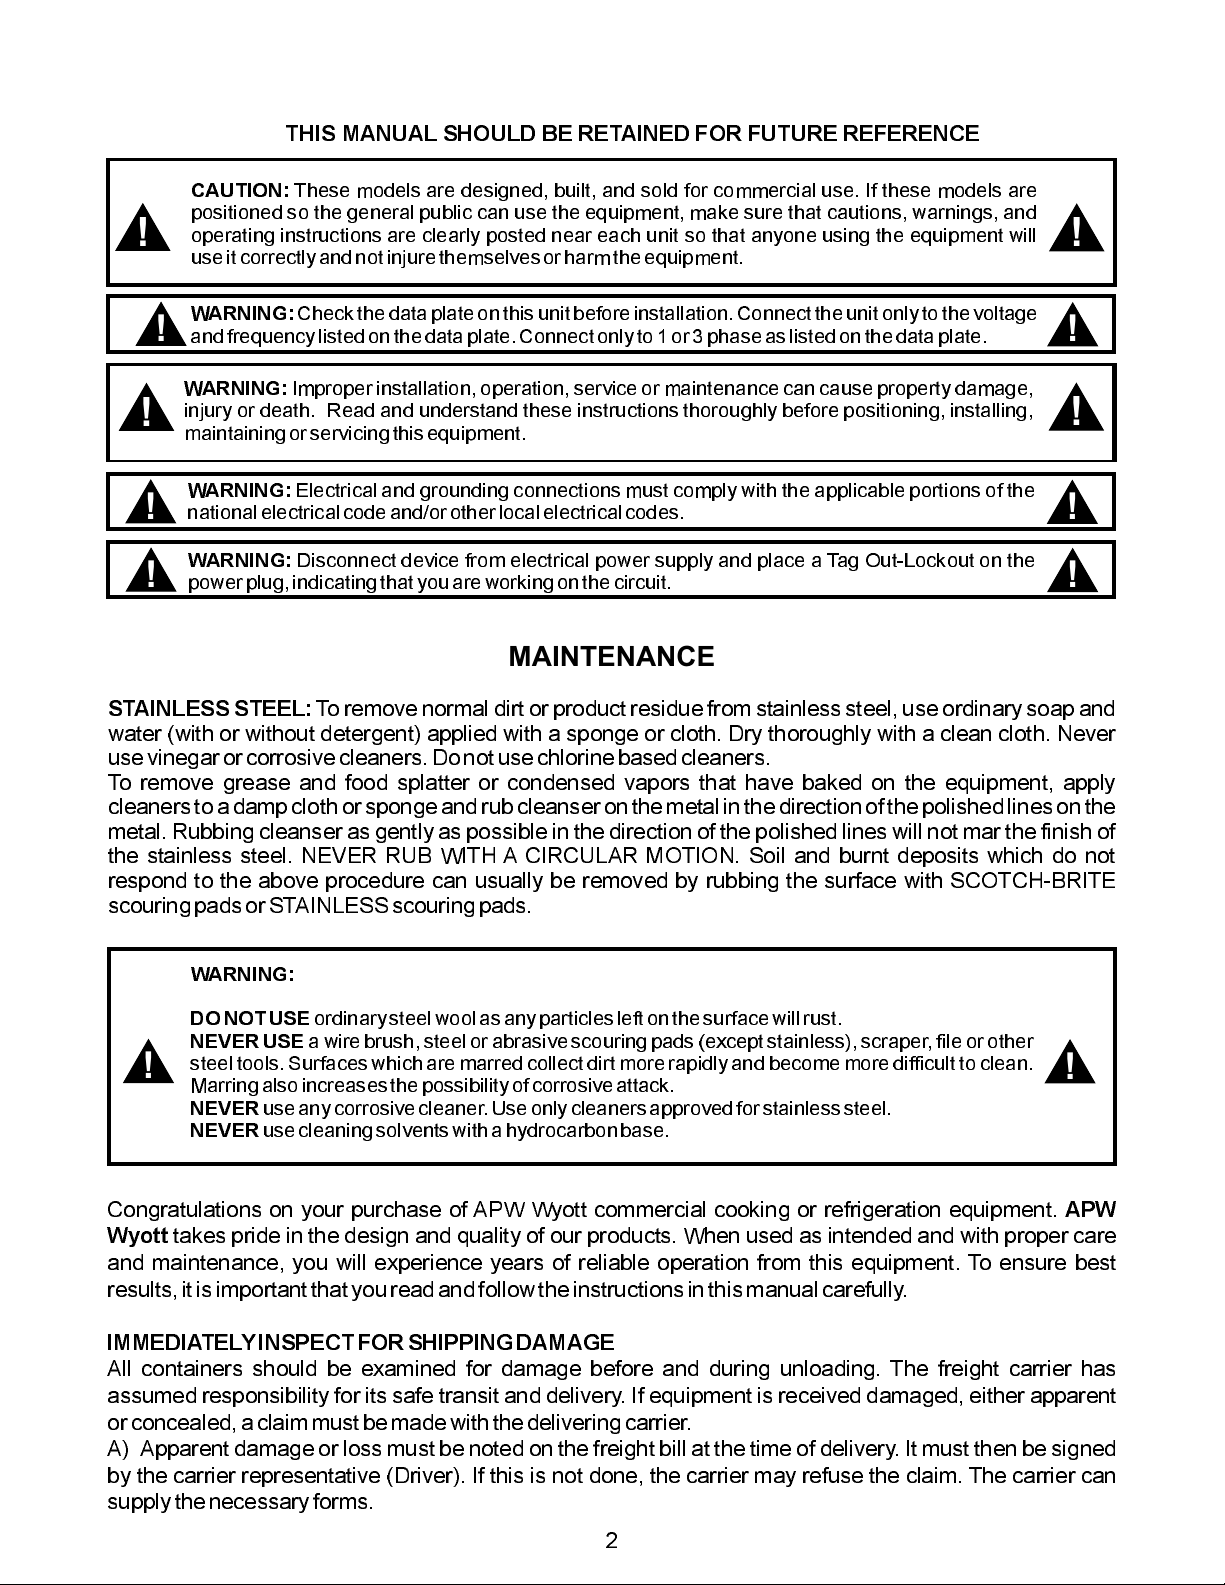
STAINLESS STEEL:
water (with or without detergent) applied with a sponge or cloth. Dry thoroughly with a clean cloth. Never
usevinegar orcorrosive cleaners.Do not use chlorine basedcleaners.
To remove grease and food splatter or condensed vapors that have baked on the equipment, apply
cleanersto adamp clothor spongeand rubcleanser onthe metalin thedirection of the polished lineson the
metal. Rubbing cleanser as gently as possible in the direction of the polished lines will not mar the finish of
the stainless steel. NEVER RUB WITH A CIRCULAR MOTION. Soil and burnt deposits which do not
respond to the above procedure can usually be removed by rubbing the surface with SCOTCH-BRITE
scouringpads orSTAINLESS scouringpads.
To removenormal dirt or product residue from stainless steel, use ordinary soap and
WARNING:
DONOT USE
NEVER USE
steel tools. Surfaces which are marred collectdirt morerapidly andbecome moredifficult to clean.
!
Marringalso increases the possibilityofcorrosiveattack.
NEVER
NEVER
Congratulations on your purchase of APW Wyott commercial cooking or refrigeration equipment.
Wyott
and maintenance, you will experience years of reliable operation from this equipment. To ensure best
results,it isimportant that youread andfollow theinstructions in this manual carefully.
IMMEDIATELYINSPECT FORSHIPPINGDAMAGE
All containers should be examined for damage before and during unloading. The freight carrier has
assumed responsibility for its safe transit and delivery. If equipment is received damaged, either apparent
or concealed, aclaim mustbe madewith the deliveringcarrier.
A) Apparent damage or loss must be noted on the freight bill at the time of delivery. It must then be signed
by the carrier representative (Driver). If this is not done, the carrier may refuse the claim. The carrier can
supplythe necessaryforms.
takes pride in the design and quality of our products. When used as intended and with proper care
ordinarysteelwool as anyparticleslefton the surfacewillrust.
a wirebrush, steelor abrasivescouring pads (exceptstainless), scraper, file or other
!
useany corrosive cleaner.Use only cleanersapprovedforstainlesssteel.
usecleaning solventswith a hydrocarbonbase.
APW
2
Page 3

B) For concealed damage or loss if not apparent until after equipment is uncrated, a request for inspection
must be made to the carrier within 15 days. The carrier should arrange an inspection. Be certain to hold all
contentsand packagingmaterial.
Installationand start-up shouldbe performed by a qualified installerwho thoroughly read,understands and
followsthese instructions.
If you have questions concerning the installation, operation, maintenance or service of this product, write
Technical Service Department APW/Wyott Foodservice Equipment Company, P.O. Box 1829, Cheyenne,
WY82003.
NOTICE:
experienced in and knowledgeable with the operation of this equipment. Contact the
!
Authorized Service Agency for reliable service, dependable advise or other assistance
andfor genuinefactory parts.
Warrantywillbe voidand themanufacturer isrelieved of all liability if:
(A) Servicework isperformed byother thananAPW/WYOTTAuthorizedServiceAgency.
(B) Otherthan GenuineAPW/WYOTTreplacementpartsare installed.
A current listing of all authorized APW/WYOTT authorized parts/service distributors is included with this
product manual at the time of shipment. In the absence of this list you can call the APW/WYOTT 24-hour
Service Hot Line which gives access to the nearestAuthorizedAPW/WYOTT parts/service distributor. Call
1-800-733-2203.
Service work should be performed only by a qualified technician who is
!
or...
ADJUSTMENTS
AdjustmentInstructions forMobile Cantilever OpenTrayand SilverwareDispensers
The tray dispenser is shipped with ten extension springs. The top of each spring is connected to the upper
channel and the bottom of each spring is connected to the carriage. To adjust for different load weights,
eitherconnect ordisconnect thebottom of springsfrom thecarriage.
NOTE:
aspossible beforeadjusting thesprings.
When the load being dispensed is not heavy enough to lower the tray assembly, disconnect the bottom of
some of the springs until the weight necessary to lower the tray assembly is reached. Follow steps 1
through4 belowto makethat adjustment.
NOTE:
NOTE:
Make certain the tray dispenser is empty of any trays and the tray assembly is positioned as far up
Thisunit's springshave arating of1 lb.(16 ounces)perinch perspring.
1. Removethe removablepanel by liftingit straightup andthen pulling it away fromthe unit.
2. Disconnectone ortwo springsfrom the bottom hanger,which isthe carriage.
NOTE:
remainingsprings.
3. If the loadis stillnot heavyenough tolower thetray assembly,continue step 2
untilthe propernumber ofsprings forthe load is attained.
Reconnectthe springswhen theload is heavierand requiresmore support.
Disconnect every other two springs so even balance is maintained among the
3
Page 4

SERVICE INFORMATION
Should this unitrequire service, use only genuineAPW Wyottreplacement parts. Use of parts not supplied
bythe manufacturerwill voidthe warranty.
To find items youwant toorder fromthe PartsList,proceed asfollows:
1. Referto theExploded Viewto identify thepart neededand its corresponding
itemnumber.
2. Usingthe PartsList, determinethedescription andthe partnumberof thepart.
The distributor has a price list of parts and can provide parts pricing. When placing a parts order, be
prepared to provide the unit's model number and serial number in addition to the part description and part
number. Foradditional informationonservice prparts,call 1-307-634-5801.
4
Page 5

DIMENSIONS (IN INCHES) - CANTILEVER TRAY DISPENSERS
Model Number W W1 L L1
CTR-1014 16 15/16 14 ½ 20 1/8 10 ½
CTR-1418 16 15/16 14 ½ 28 1/8 18 ½
CTR-1620 16 15/16 16 ¾ 30 3/8 20 ¾
CTR-1020 20 15/16 20 ½ 20 1/8 10 ½
CTR-1622 16 15/16 16 ¾ 32 1/8 22 ½
CTR-1822 20 15/16 18 ½ 32 1/8 22 ½
CTR-2020 20 15/16 20 ½ 30 1/8 20 ½
2½”
1
L
32 3/4”
W
36”
1
3 1/4”
L
W
5 27/32”
5
Page 6

PARTS LIST - CANTILEVER TRAY DISPENSERS
The following items are common to all models unless otherwise noted.
ITEM QTY DESCRIPTION PART NUMBER
1 1 Top Panel SeeBelow
2 1 UpperChannel SeeBelow
3 1 TrayAssembly SeeBelow
4 1 LowerBracket 202827
5 2 Caster 202729
6 2 Caster(with brake) 202730
7 1 Baseand Upright(includes casters) SeeBelow
8 2 CarriageGuide 202896
9 1 Carriage 202750
10 1 HandleBackup SeeBelow
11 I Handle SeeBelow
12 4 Roller 86016
13 10 ExtensionSprings 89418
14 4 RubberBumper 21175
The following items differ depending on the model.
Model Part Top Upper Tray
Number Number Panel Channel Assembly
CTR-1014 200377 203319 202830 202756
CTR-1418 200378 203319 202830 202757
CTR-1620 200380 203319 202830 202759
CTR-I020 202381 203320 202831 202761
CTR-1622 200383 203319 202830 202760
CTR-1822 200384 203320 202831 202763
CTR-2020 200382 200320 202831 202762
Model Base & Handle
Number Upright Backup Handle
CTR-1014 203266 203323 203321
CTR-1418 203267 203323 203321
CTR-1620 203269 203323 203321
CTR-1020 203271 203324 203322
CTR-1622 203270 203323 203321
CTR-1822 203273 203323 203322
6
Page 7

HARDWARE LIST - CANTILEVER TRAY DISPENSERS
ITEM QTY DESCRIPTION PART NUMBER
A 2 Truss Head Screw, #10-32 x 1/2, slotted, SS 81759
B 12 Pan Head Screw, #8 x 1, Type B, Sht Md, Slotted, ZN PLT 81440
C 2 Socket Head Cap Screw, 5/16-18 x 5, ZNPLT 82262
D 4 Round Head Machine Screw, 5/16-18 x 11/2, Slotted PLT 82307
E 2 Hex Head Bolt, 3/8-16 x 3/4, ZN PL T 82447
F 4 Hex Head Machine Bolt, 1/2-13 x 2 1/4 82653
G 2 Cotter Pin, 1/8 x 1/2, ZN PL T 83151
H 4 Hex Nut, 5/16-18, ZN PLT 84350
J 6 Hex Nut, 3/8-16, ZN PLT 84425
K 4 Hex Nut, 1/2-13 84521
L 4 Lock Washer, 5/16, Split, ZN PLT 85095
M 4 Lock Washer, 3/8, Internal Tooth, ZN PLT 85105
N 4 Lock Washer, 1/2, Split, ZN PLT 85120
P 2 Lock Washer, 3/8, Split, ZN PLT 85127
Q 12 Flat Washer, 1 1/4 aD x 1/2 ill x 1/8, ZN PLT 85157
R 4 Machined Bolt (special) 202938
11
9
12
C
7
10
EXPLODED VIEW
H
L
Q
F
K
N
D
A
1
G
2
3
13
12
M
8
J
R
6
B
4
14
5
P
J
E
7
Page 8

APW WYOTT EQUIPMENT LIMITED WARRANTY
APW Wyott Foodservice Equipment Company warrants it'sequipment against defects in materials and workmanship, subject to the
following conditions:
This warranty applies to the original owneronlyandisnotassignable.
Should any product fail tofunction in its intended manner under normal use within the limits defined in this warranty,at the option of
APW Wyott such product will be repaired or replaced by APW Wyott or its Authorized Service Agency. APW Wyott will only be
responsible for charges incurred or service performed by its Authorized Service Agencies. The use of other than APW Wyott
Authorized Service Agencies will void this warranty andAPWWyottwill not beresponsible for such work orany charges associated
with same. The closestAPWWyottAuthorized ServiceAgent must be used.
This warranty covers products shipped into the 48 contiguous United States,Hawaii, metropolitan areas of Alaska and Canada. There
will be no labor coverage for equipment locatedonanyislandnotconnected by roadway to the mainland.
Warranty coverage on products used outside the 48 contiguous United States, Hawaii, and metropolitan areas of Alaska and Canada
may vary.ContacttheinternationalAPWWyott distributor, dealer, or service agency for details.
TimePeriod
One year for parts and one year for labor,effective from the date of purchase by the original owner. The Authorized Service Agency
may, at their option, require proof of purchase. Parts replaced under this warranty are warranted for the un-expired portion of the
original product warranty only.
Exceptions
Inallcases, parts covered by extended warranty willbeshipped FOB the factory after the first year.
Portable Carry In Products
Equipment weighing over 70 pounds or permanently installed will be serviced on-site as per the terms of this warranty. Equipment
weighing 70 pounds or under, and which is not permanently installed, i.e. with cord and plug, is considered portable and is subject to
the following warranty handling limitations. If portable equipment fails to operate in its intended manner on the first day of
connection, or use, atAPWWyott'soptionoritsAuthorized ServiceAgency, it will be serviced on site or replaced.
From day two through the conclusion of this warranty period, portable units must be taken to or sent prepaid to the APW Wyott
Authorized Service Agency for in-warranty repairs. Nomileageortravelcharges are allowed on portable units after the firstdayofuse.
If the customer wants on-site service, they may receive same by paying the travel and mileage charges. Exceptions to this rule: (1)
countertop warmers andcookers, which are covered underthe Enhanced Warranty Program, and (2) toastersor rollergrills which have
instore service.
Exclusions
The following conditions are not covered bywarranty:
If the equipment has been changed, altered, modified or repaired by other than an Authorized Service Agency during or after the
warranty period, thenthe manufacturer shallnot be liable forany damages to anyperson or to any property,whichmay result from the
use of the equipment thereafter.
This warranty does not cover services performed at overtime or premium labor rates. Should service be required at times which
normally involve overtime orpremiumlabor rates, the owner shall be charged forthedifferencebetween normal service rates and such
premium rates.APWWyott does not assume anyliabilityforextended delays in replacing or repairing anyitemsbeyonditscontrol.
Inallcases, the use of other thanAPWWyottAuthorized OEM ReplacementParts will void this warranty.
This equipment is intended for commercial useonly.Warranty is void if equipment is installed in other thancommercial application.
WaterQualityRequirements
Water supply intended for a unit that has in excess of 3.0 grains of hardness per gallon (GPG) must be treated or softened before
being used. Water containing over 3.0 GPG will decrease the efficiency and reduce the operation life of the unit.
Note: Product failure caused by liming or sediment buildup is not covered under warranty.
THE FOREGOING WARRANTY IS IN LIEU OFANYAND ALL OTHER WARRANTIES EXPRESSED OR IMPLIED
INCLUDING ANY IMPLIED WARRANTY OF MERCHANTABILITY OR FITNESS FOR PARTICULAR PURPOSES
AND CONSTITUTES THE ENTIRE LIABILITY OFAPW WYOTT. IN NO EVENT DOES THE LIMITED WARRANTY
EXTEND BEYOND THE TERMS STATEDHEREIN.
*Gas/Electric Cookline:
component parts, except switches andthermostats. (2 additional years on parts only. No labor on second or third year.)
*BroilerBriquettes,
*Heat Strips:
*GlassWindows, Doors, Seals, Rubber Seals, Light Bulbs:
*Equipment failure relating to improper installation, improper utility connection or supply and problems due to
ventilation.
*Equipment that has not been properly maintained, calibration of controls, adjustments, damage from improper cleaning
and water damage to controls.
*Equipment that has not been used in an appropriate manner, or has been subject to misuse or misapplication, neglect,
abuse, accident, alteration, negligence, damageduring transit, delivery or installation, fire,flood,riotoractofgod.
*Equipment that has the model number orserialnumberremoved or altered.
Models FD, FDL, FDD, FDDL. Two (2)Year Warrantyonelementonly. No labor second year.
Models GCB, GCRB, GF, GGM, GGT, CHP-H, EF, EG, EHP. Three (3) Year Warranty on all
RockGrates,CookingGrates,BurnerShields,Fireboxes:
90Day Material Only. No Labor.
90DayMaterialOnly.NoLabor.
9/05
8
 Loading...