

Wyott CDO-18 Installation Manual
INSTALLATION
AND
OPERATING
INSTRUCTIONS
DESIGNED SMART. BUILT SOLID.
®
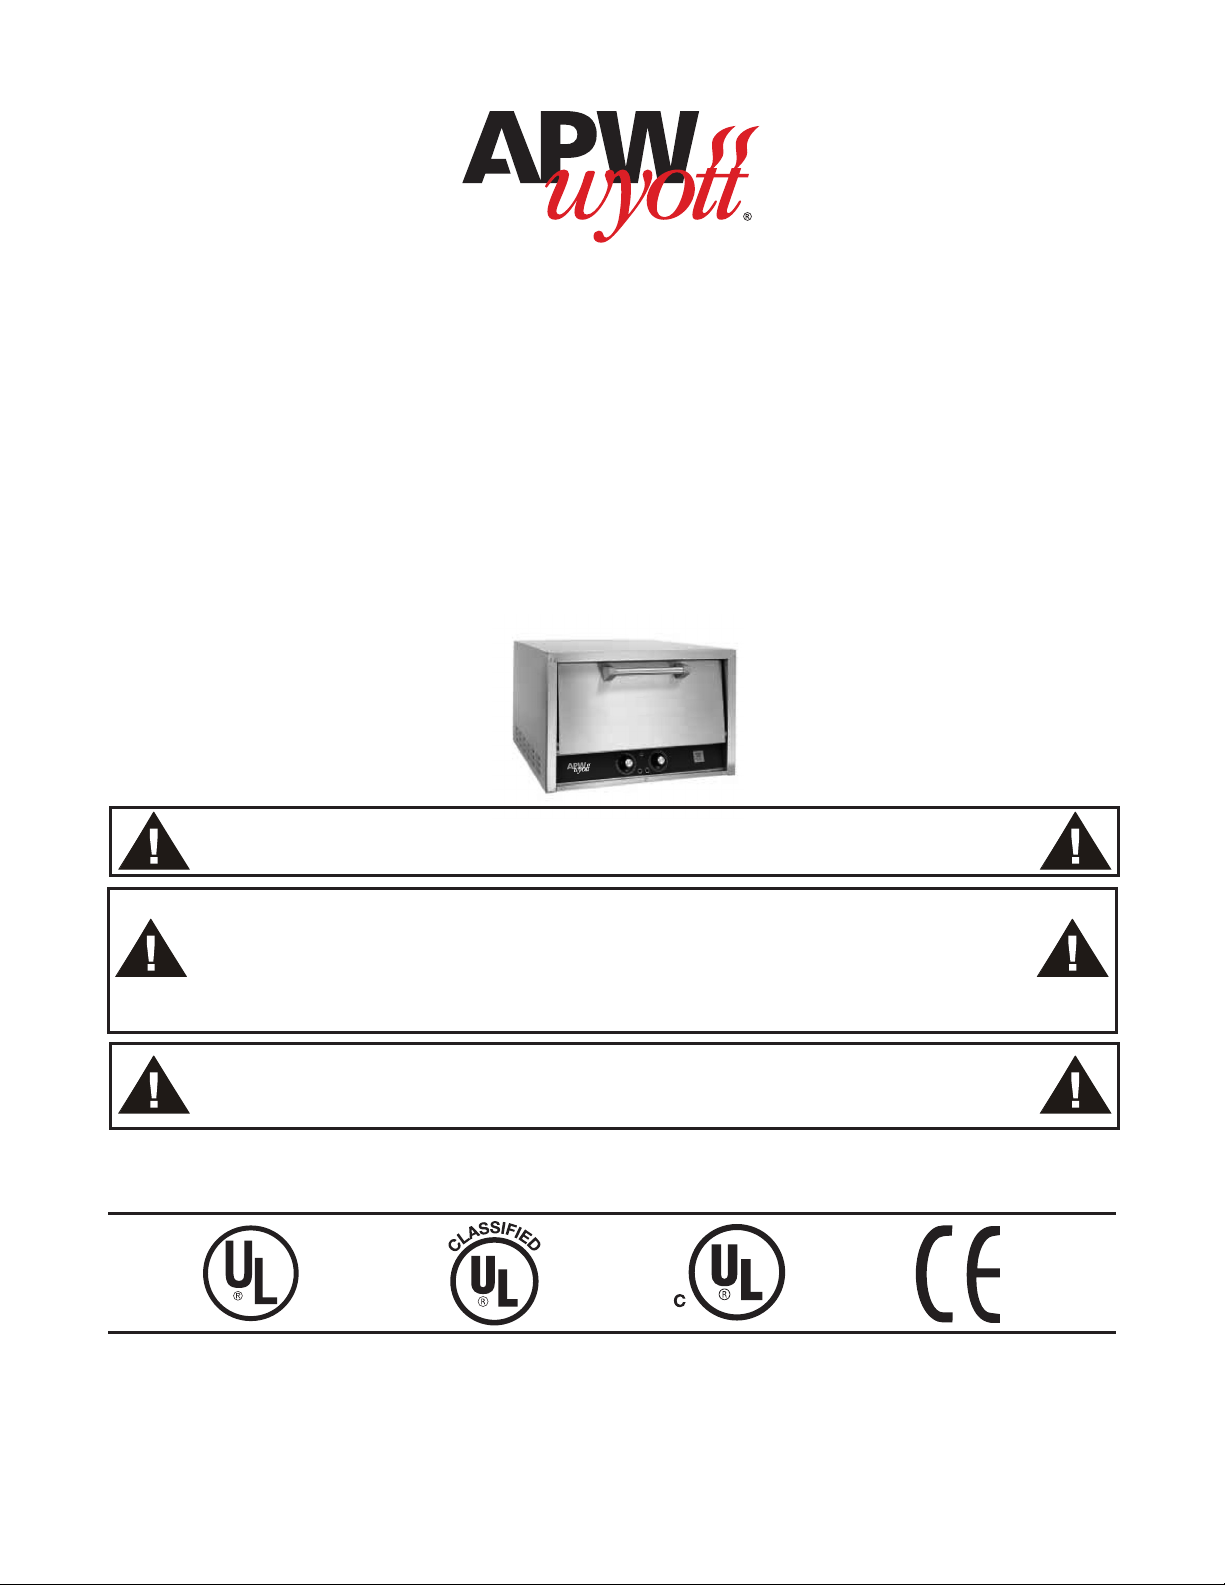
Countertop Deck Oven
Model: CDO-18
INTENDED FOR OTHER THAN HOUSEHOLD USE
FOR YOUR SAFETY: Do not store or use gasoline or other flammable vapors and
liquids in the vicinity of this or any other appliance.
WARNING: Improper installation, operation, service or maintenance can cause
property damage, injury or death. Read and understand these instructions
thoroughly before positioning, installing, maintaining or servicing this equipment.
Initial heating of oven may generate smoke or fumes and must be done in a well
ventilated area. Overexposure to smoke or fumes may cause nausea or dizziness.
NOTE: Only Pizza or Bread can have direct contact with ceramic decks. All other
food products must be placed in a pan or container to avoid direct contact with
ceramic decks.
This equipment has been engineered to provide you with year-round dependable service when used
according to the instructions in this manual and standard commercial kitchen practices.
P/N U1469A 03/16
APW WYOTT Food Service Equipment Company
1307 N. Watters Road, Suite 180 • Allen, TX 75013
972.908.6100 Phone +1.800.527.2100
214.565.0976 Fax www.apwwyott.com
1

TABLE OF CONTENTS
SECTION ITEM PAGE
1 Installation Instructions ........2
2 Operating Instructions.........3
SECTION ITEM PAGE
4 Exploded View & Parts Lists ...7
5 Warranty ...................9
3 Wiring Diagrams .............6
1. INSTALLATION INSTRUCTIONS
Minimum Clearance for Installation
From combustible or non-combustible construction:
Right side, Left side and Back: 3” (76mm)
Location
Due to the heat a counter-top oven may produce, it must be placed on a non-combustible surface. Do
not store combustible materials on top of any oven.
Electrical Connections
Suitable means, which will disconnect all ungrounded conductors of the circuit simultaneously, must
be provided by the installer.
Make sure electrical supply corresponds with that specified on the rating plate located in the rear of
the oven.
When installed, the unit must be connected by an earthing cable to all other units within the complete
installation and thence to an independent earth connection.
Use copper conductors only, rated at 90° C.
If a line cord is used for the installation of the unit in Europe, it should be a minimum of H07RN-F type
conforming to EN60 335-1 and/or local codes.
Use minimum conductor size as below:
• For model CDO18 :
– 14 Gauge (1.5mm) for 220-240V, single phase supply.
Requirements For Installation
For shipping purposes the optional 4” (100mm) legs are not mounted. For mounting legs, follow steps
a through g.
a. Remove the outer shipping carton and paper and place the oven on the floor or other flat surface.
b. Remove legs, baking decks and any other materials from inside the unit.
c. With sufficient help, tilt the unit back far enough to mount the two front legs and tighten with an
adjustable wrench.
d. After the front legs are tight, lift rear of unit approximately 5” (125mm) off the surface and block in
position using wood or some other solid material. Now mount the two rear legs and tighten.
e. Using the proper lifting equipment, move the unit to its final location.
f. Adjust the bottom portion of legs to make level.
g. Slide baking decks into each shelf. (see diagram in installation section)
2
Initial Start Up
After the electrical connections have been made, the oven will need approximately 2 to 3 hours
to burn off. Initial heating of the oven may generate smoke or fumes and must be done in a well
ventilated area.
CAUTION: Over-exposure to smoke or fumes may cause nausea and dizziness.
For initial heating of the new oven, follow the steps below:
• Place the oven in a well ventilated area.
• Open the oven doors and remove any instructions or samples shipped within the unit. Make sure
the oven cavity is empty and the baking decks are properly installed.
• With the oven doors open, turn the temperature knobs to 400° F (205° C) for one hour.
• Close the oven door. Increase the temperature to 500° F (260° C) for at least 1-1/2 hours.
This procedure will dry out the insulation and deck material and will help to insure optimum baking
results thereafter.
2. OPERATING INSTRUCTIONS
NOTE: Only Pizza or Bread can have direct contact with ceramic decks. All other
food products must be placed in a pan or container to avoid direct contact with
ceramic decks.
General Baking (Model: CDO18)
Preheat the oven by setting the thermostat to the desired temperature. When the thermostat light goes
out and has cycled three times, the oven is ready for use.
These ovens have been designed to bake both fresh and frozen products. Frozen fruit pies should be
taken directly from the freezer and placed into the oven. Cooking time will vary with the size of the pie,
but under normal conditions a frozen pie should bake approximately in the same time as a fresh pie.
These ovens work well for toasting, melting cheese, baking frozen entrees, roasting small meat items, etc.
The temperature range for pizza baking is usually between 500° F (260° C) and 575° F (300° C)
depending on the individual product.
Allow the pizza to bake until the cheese bubbles and the bottoms are evenly brown. (Rotate if necessary)
Do not keep the oven door open too long when loading since heat will escape, resulting in slower baking.
When production requirements are low, keep the temperature low to prevent the bottoms from burning.
As demand increases, temperature should be raised for faster recovery.
Fresh dough generally requires a slightly lower baking temperature and longer bake time than
defrosted pre-baked crusts.
3
 Loading...