

WWAlarm WGO2001 Quick Start Manual
Add-On Device Quick Start Guide
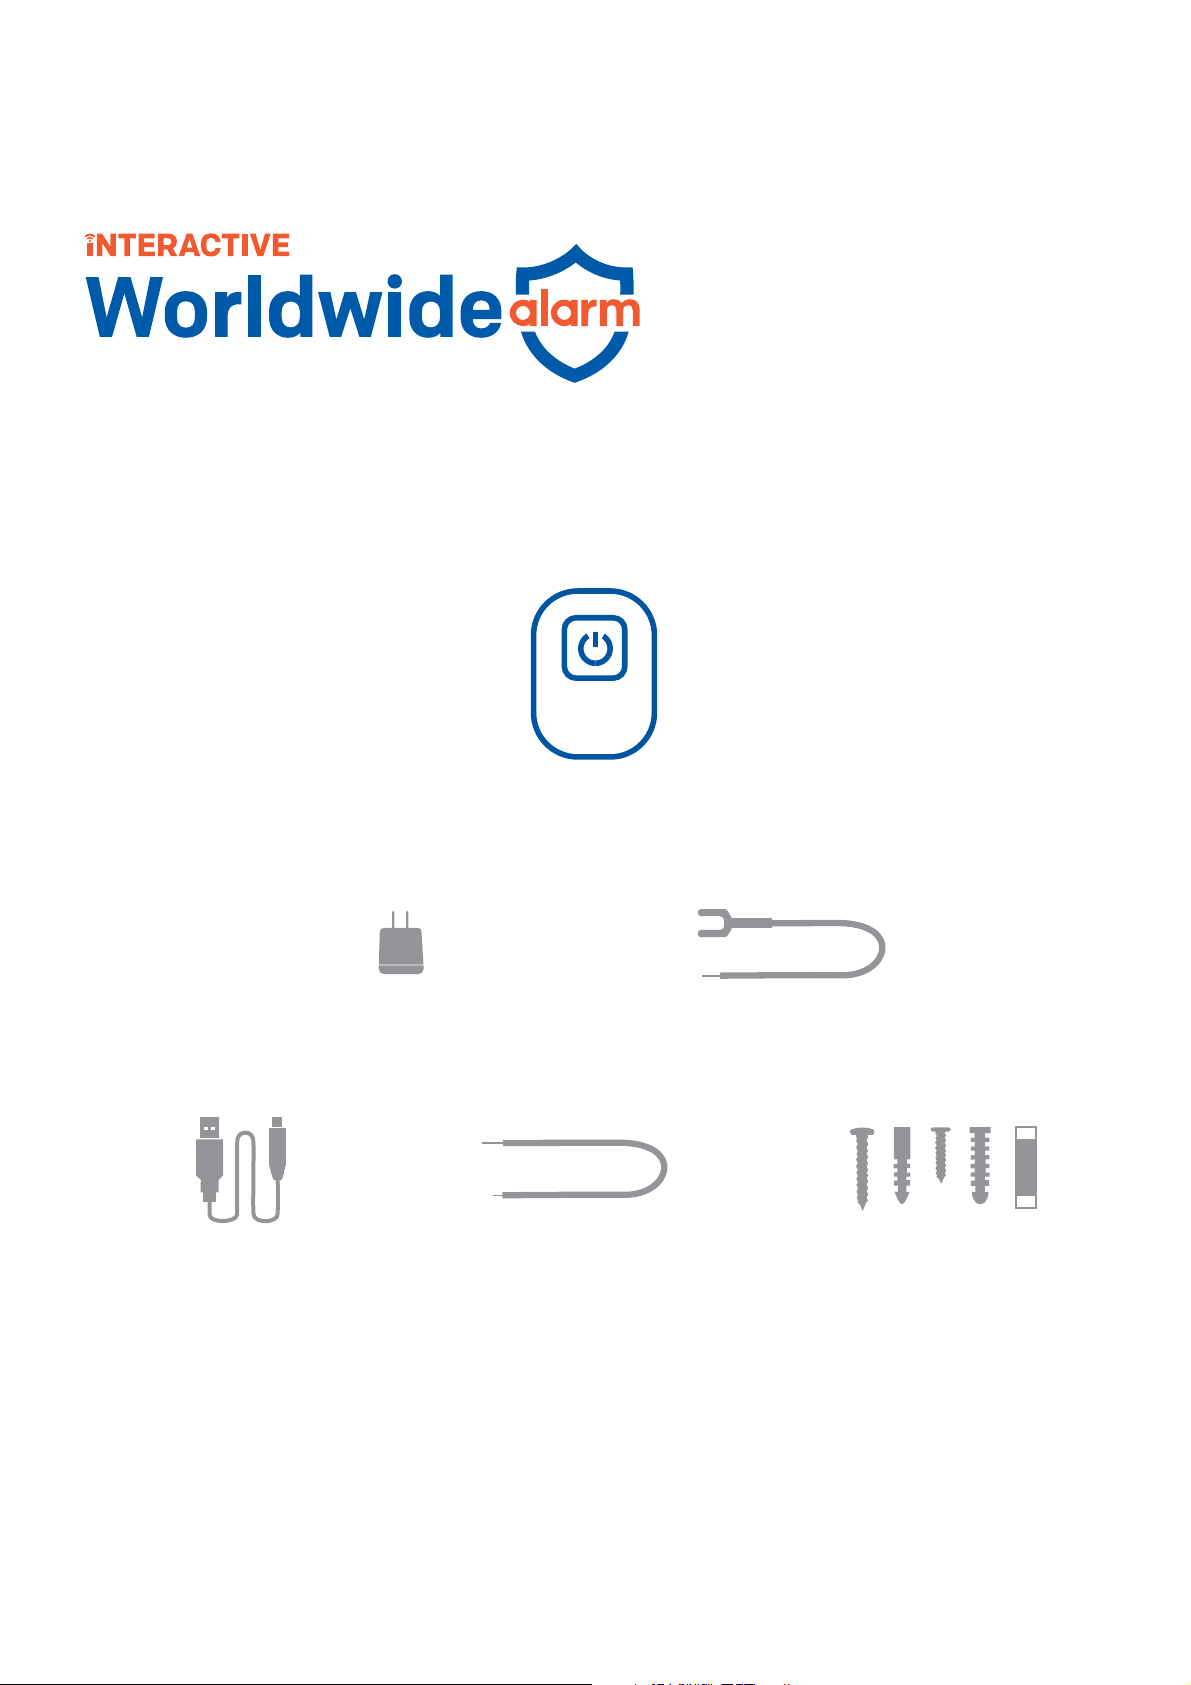
What’s inside:
Garage Door
Control Button
Add-on Device
Quickstart Guide
Model No. WGO2001
1x Power adapters
1x Power cables
What you’ll need:
1x Garage door control button
2x U-fork wires
2x 18-gauge wires
Mounting accessories
and double-sided tape
• Phillips screwdriver • Existing powered garage door opener
All WWAlarm add-on devices have to work with WWAlarm systems
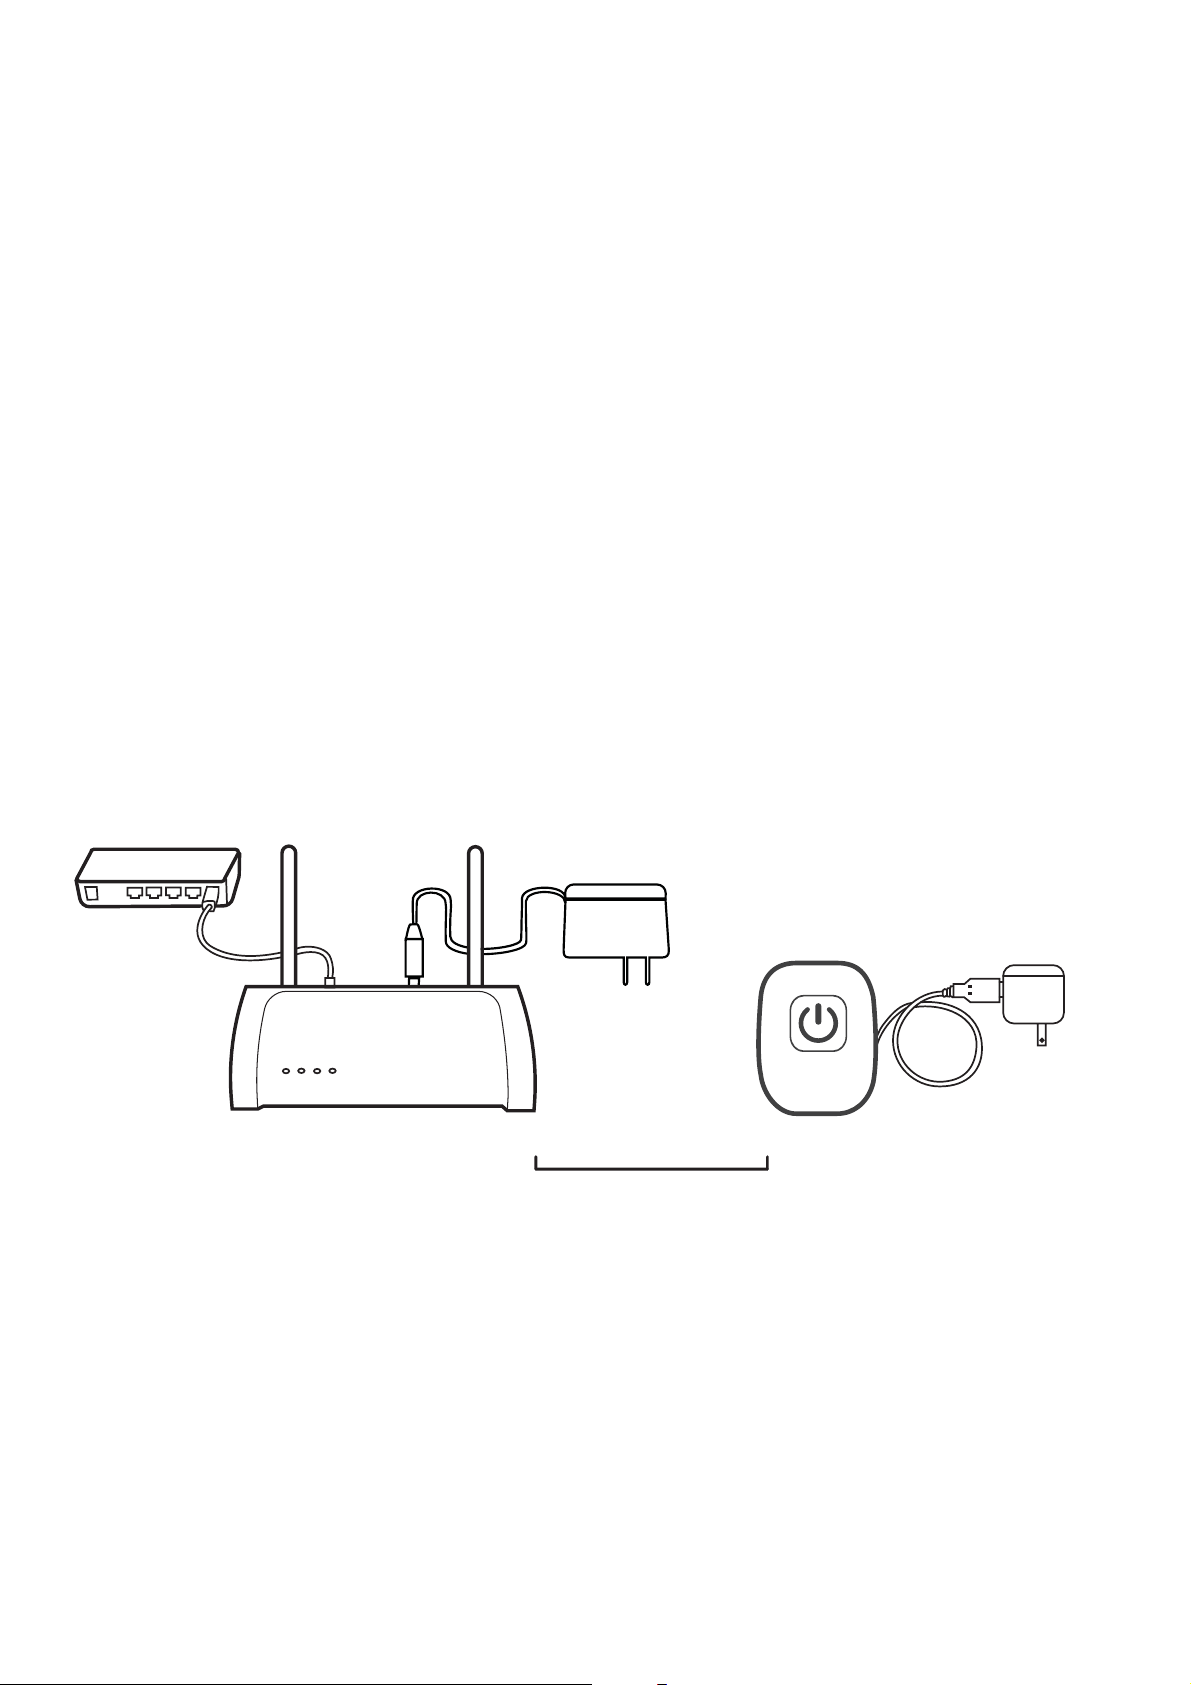
Step 1: Assemble your device and accessories
1. Unpack your device and accessories.
2. Pair the Garage door control button with the
Security Shuttle within 1-10 feet to make sure the
connection is working well.
3. Connect the included power adapter to the
Garage door control button and plug it in.
1-10 ft
1
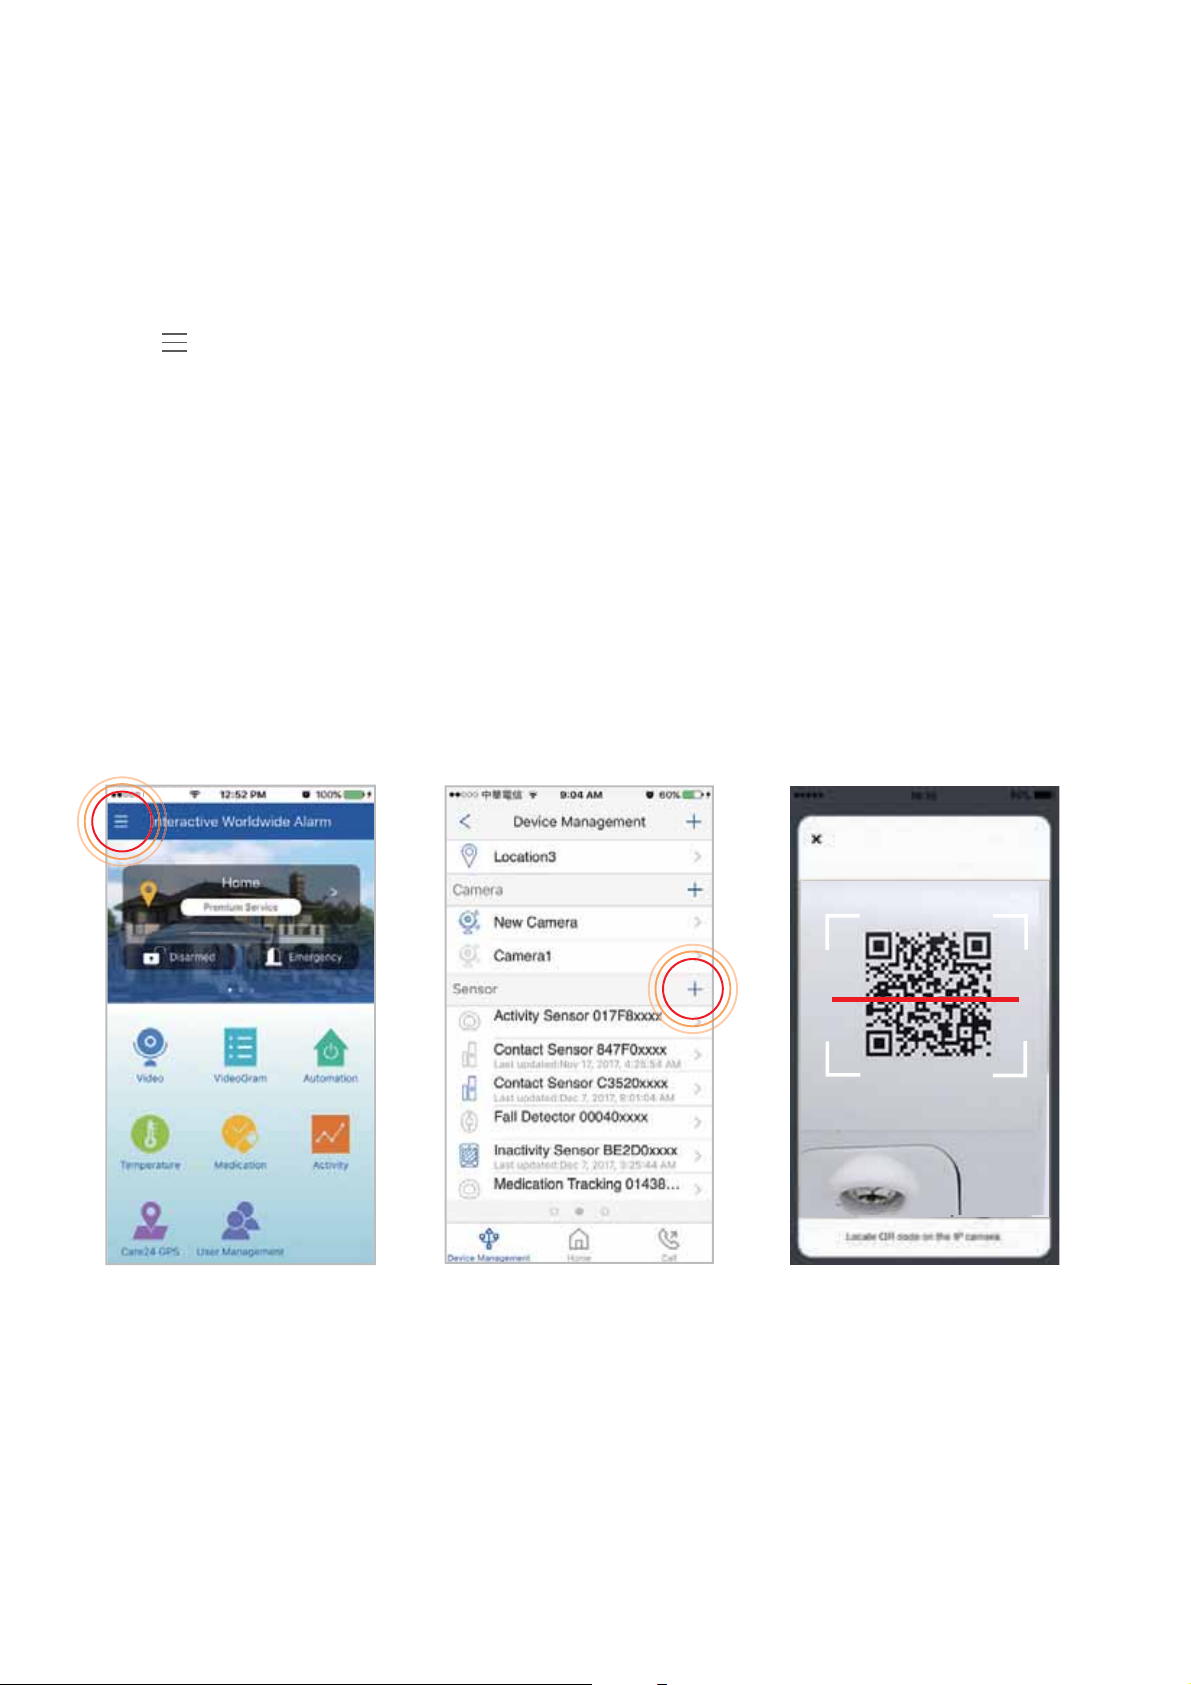
Step 2: Add a device
1 . Open the WWAlarm app, tap on the the menu button
" " and select “Device Management”.
2. Press the add button ‘+’ next to Sensor List.
3. Follow the app instructions to scan the QR code
located on the device.
4. When the activation is completed, the LED status
light will become solid green.
Note: If the scan is incomplete, you will be asked to enter the serial
number (SN) of the device.
2
 Loading...