

Wurth Online World iQ 150 Generation 21 User Manual

User manual
iQ 150 – Generation 21
Scieneo.amplio 2
2153-ENG / V-1.1-29/04/13


1
All Rights Reserved.
The information in this document is subject to change without prior notice
in order to improve reliability, design and function and does not represent
a commitment on the part of the manufacturer.
In no event will the manufacturer be liable for direct, indirect, special,
incidental, or consequential damages arising out of the use or inability to
use the product or documentation, even if advised of the possibility of such
damages.
This document contains proprietary information protected by copyright. All
rights are reserved. No part of this manual may be reproduced by any
mechanical, electronic, or other means in any form without prior written
permission of the manufacturer.
Limitation of Liability
While reasonable efforts have been made to ensure the accuracy of this
manual, the manufacturer and distributor assume no liability resulting from
errors or omissions in this manual, or from the use of the information
contained herein.
Copyright 2012

2
Content
1 For Your Safety ................................................................................................. 3
1.1 Caring for Your iQ150 ..................................................................................... 4
1.2 Regulatory Information ..................................................................................... 5
1.3 Information on the Power Cord ......................................................................... 6
1.4 Battery Pack Safety ........................................................................................... 6
1.5 Lithium Battery Warning / Bridge Battery Warning ............................................... 7
1.6 Heat Related Safety Notice ................................................................................ 7
1.7 Headset and Earphone Volume Level Notice ....................................................... 8
1.8 Cleaning the Keyboard ..................................................................................... 8
1.9 Travel Notice.................................................................................................... 8
2 Touring the WOW! 150 ..................................................................................... 9
2.1 Front ............................................................................................................... 9
2.2 Left view ........................................................................................................ 10
2.3 Right view ...................................................................................................... 11
2.4 Back .............................................................................................................. 12
2.5 Base .............................................................................................................. 13
3 Getting Started ............................................................................................... 14
3.1 Installing the Battery ....................................................................................... 14
3.2 Removing the Battery Pack .............................................................................. 15
3.3 Operating on Battery Power ............................................................................ 15
3.4 Battery Low-Power Warning ............................................................................. 15
3.5 Connecting the AC Adapter............................................................................. 16
3.6 Charging the Battery and Charging Time ......................................................... 16
3.7 Opening the LCD Panel .................................................................................. 17
3.8 Turning On Your Computer ............................................................................ 18
3.9 Switching the Power Off .................................................................................. 18
3.10 Conserving the Battery Power ..................................................................... 19
3.11 LED Status Indicators ................................................................................. 20
4 Using the WOW! 150 ...................................................................................... 21
4.1 Using the Keyboard ........................................................................................ 21
4.2 Using the Touch Pad ....................................................................................... 22
4.3 Using the Touch Screen .................................................................................. 23
4.4 Quick Controller ............................................................................................ 24
4.5 Rotating the Display Panel ............................................................................... 25
4.6 Using the Display Panel as a Writing Pad ......................................................... 27
4.7 Using the Built-in Rotating Camera .................................................................. 28
4.8 Sharing the Same Audio Source ....................................................................... 29
5 Network Communication ................................................................................. 30
5.1 Establishing a Wireless Connection .................................................................. 30
5.2 Pairing with a Bluetooth Device ........................................................................ 30
5.3 Establishing a Bluetooth Pairing ....................................................................... 30
6 Troubleshooting .............................................................................................. 31
6.1 System recovery .............................................................................................. 31
7 Specifications ................................................................................................. 34
8 FAQ .............................................................................................................. 35
8.1 Serialnumber ................................................................................................. 35
8.2 Activation code for Windows ........................................................................... 35
9 Contacts ........................................................................................................ 36
3
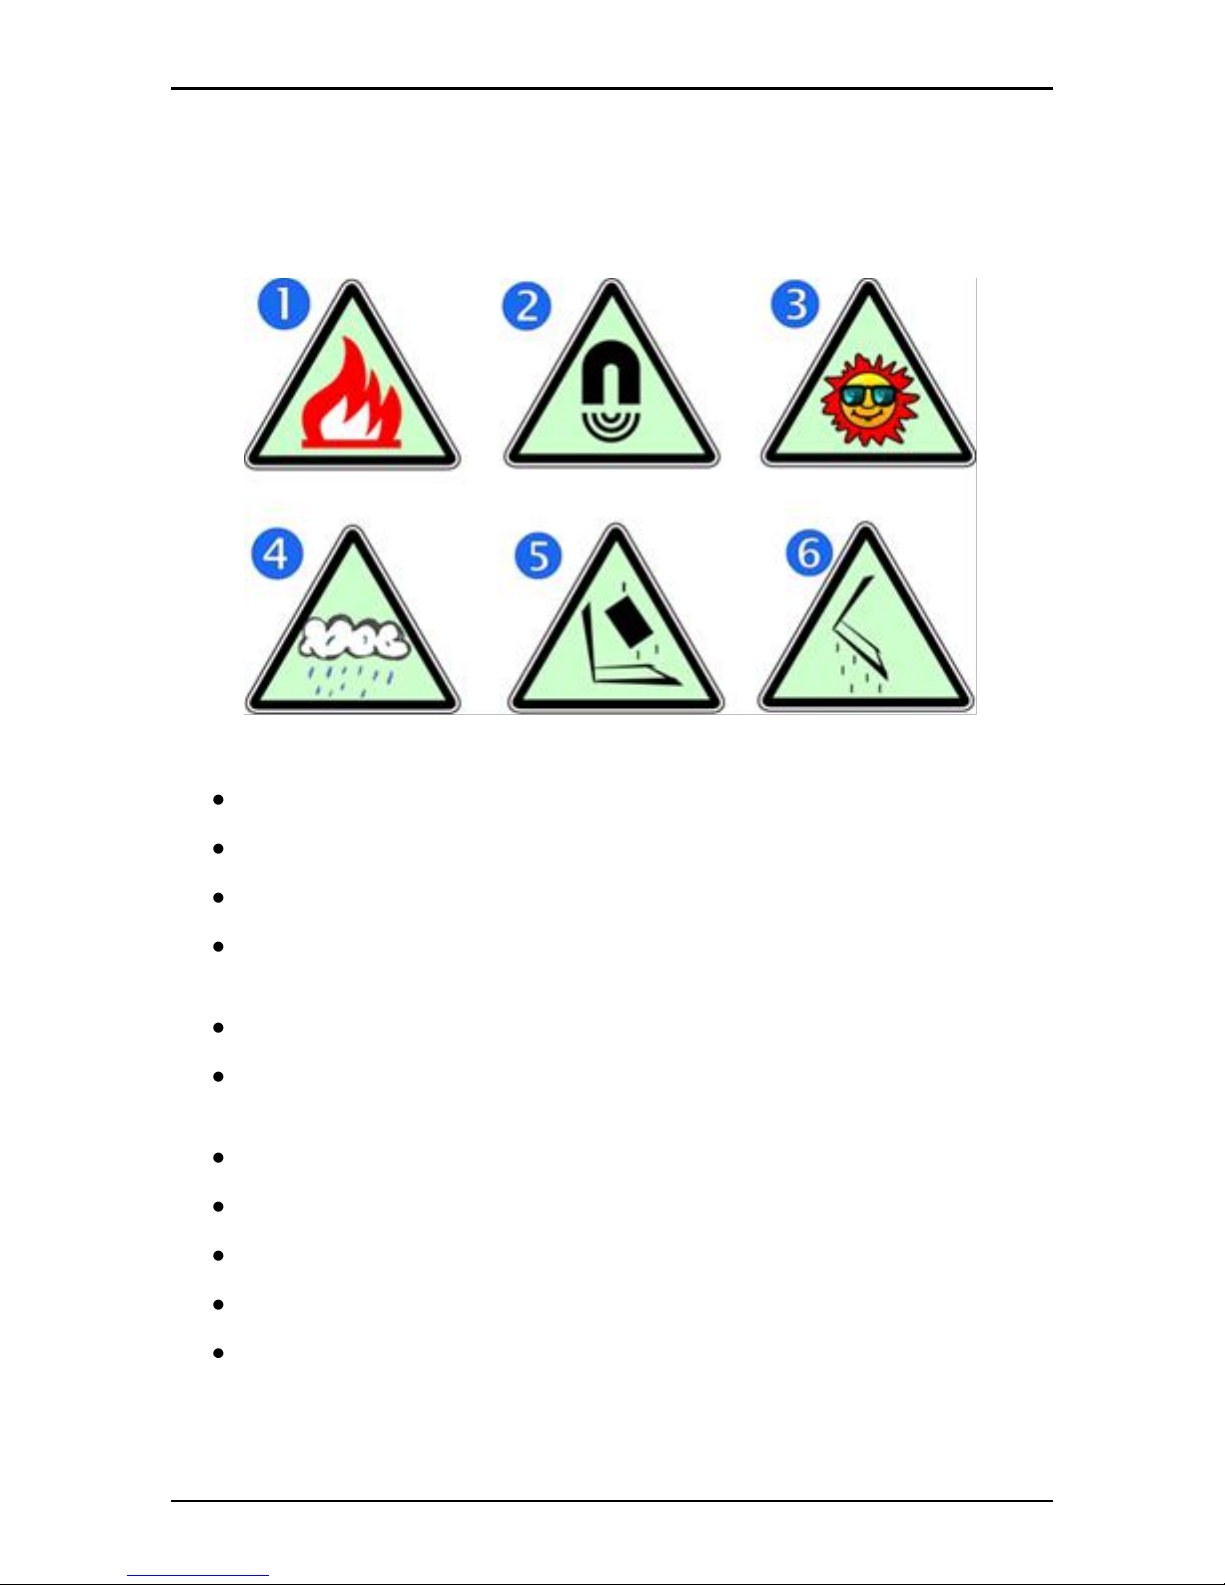
1 For Your Safety
Before using the IQ150, make sure that you understand the following
precautions:
Do not drop, crush, or step on the iQ150.
Do not place objects or apply heavy pressure on the iQ150.
Do not place on uneven or unstable work surfaces.
Do not block the openings provided for ventilation, as overheating
may occur.
Do not use or store the iQ150 in extreme weather conditions.
Do not expose to sudden changes in temperature or humidity: keep
the iQ150 away from heating and A/C vents.
Do not expose to magnetic fields.
Do not expose to direct sunlight.
Do not place near fire or other sources of heat.
Do not expose to rain or moisture.
Do not leave the iQ150 turned on or plugged in when enclosed in
a non-ventilated container, such as a backpack, as overheating
may occur

4
1.1 Caring for Your iQ150
To avoid electrical shock or damage to the unit…
Disconnect power from the computer by unplugging the power cord
from the AC outlet (not by unplugging the power cord from the
computer).
Be sure not to clean the computer when it is plugged into a wall
socket.
When cleaning the unit, clean only with a damp soft cloth. Do not
pour liquid onto the unit.
Do not clean while the computer is “on” or plugged into a wall
socket.
Caution students to avoid using this device under wet conditions
and also to protect the unit when carrying under this condition.
Be sure the touch pad does not come into contact with dirt, liquids,
or grease.
Power connection must be removed before installing signal cables,
whenever it is functionally and legally allowed.
Power cords must be reconnected only after all signal
interconnections have been completed.

5
1.2 Regulatory Information
Product: scieneo.amplio 2 (iQ150)
Model No.: EC10IS2
Applicant: Elitegroup Computer Systems Co., LTD
European Notice
Products with the CE Marking comply with both the EMC Directive
(2004/108/EC) and the Low Voltage Directive (2006/95/EC) and R&TTE
Directive (1999/5/EC) issued by the Commission of the European
Community.
Compliance with these directives implies conformity to the following
European Norms:
EN55022: 2006, CLASS B
EN61000-3-2: 2006, CLASS D
EN61000-3-3: 1995+A1: 2001+A2: 2005
EN55024: 1998+A1: 2001+A2: 2003
IEC61000-4-2: 2001 ED. 1.2
IEC61000-4-3: 2006 ED. 3.0
IEC61000-4-4: 2004 ED. 2.0
IEC61000-4-5: 2005 ED. 2.0
IEC61000-4-6: 2006 ED. 2.2
IEC61000-4-8: 2001 ED. 1.1
IEC61000-4-11: 2004 ED. 2.0
EN 300 328-2, EN 300 328-1, EN 301 489-1, EN 301 489-17 (ETSI 300
328, ETSI 301 489) Electro-magnetic Compatibility and Radio Spectrum
Matter.
EN60950 (IEC60950) I.T.E. Product Safety

6
1.3 Information on the Power Cord
To
reduce the risk of electric shock or damage to the equipment:
Plug the power cord into an AC outlet that is easily accessible at all
times.
Disconnect power from the computer by unplugging the power cord
from the AC outlet (not by unplugging the power cord from the
computer).
If provided with a 3-pin attachment plug on the power cord, plug
the cord into a grounded (earthed) 3-pin outlet. Do not disable the
power cord grounding pin, for example, by attaching a 2-pin
adapter. The grounding pin is an important safety feature.
Only the AC adapter provided with the computer should be used
with the computer
1.4 Battery Pack Safety
Keep the battery away from children.
The battery pack is intended to use only with this iQ150.
To reduce potential safety issues, only the battery provided with the
computer, a replacement battery provided by the supplier, or a
compatible battery purchased as an accessory from the supplier
should be used with the computer.
To reduce the risk of fire or burns, do not disassemble, crush, or
puncture a battery; short the external contacts on a battery; or
dispose of a battery in fire or water.
Do not expose a battery to temperatures above 60ºC (140ºF).
Handle a damaged or leaking battery with extreme care. If you
come in contact with the electrolyte, wash the exposed area with
soap and water. If it contacts the eye, flush the eye with water for 15
minutes and seek medical attention.
Do not charge the battery pack if the ambient temperature exceeds
45°C (113°F).
Do not expose the battery pack to low storage temperatures (below
0°C, 32°F).
To obtain a replacement battery, contact your local dealer.

7
When discarding a battery pack, contact your local waste disposal
provider regarding local restrictions on the disposal or recycling of
batteries.
Use only supplied AC Adapter for charging
.
CAUTION!
Danger of explosion if battery is incorrectly replaced. Only qualified
service technicians should replace and discard the battery pack.
Replace only with same or equivalent type recommended by the
manufacturer. Discard used batteries according to the manufacturer’s
instructions or local laws.
1.5 Lithium Battery Warning / Bridge Battery Warning
This iQ150 contains a lithium battery to power the clock and calendar
circuitry.
1.6 Heat Related Safety Notice
The iQ150 and the AC adapter comply with the user-accessible surface
temperature limits defined by the International Standard for Safety of
Information Technology Equipment (IEC 60950).
To reduce the possibility of heat-related injuries or of overheating the
computer:
Do not place the computer directly on your lap or obstruct the
computer air vents.
Use the computer only on a hard, flat surface. Do not allow another
hard surface, such as an adjoining optional printer, or a soft
surface, such as pillows or rugs or clothing, to block airflow.
Do not allow the AC adapter to contact the skin or a soft surface,
such as pillows or rugs or clothing, during operation.

8
1.7 Headset and Earphone Volume Level Notice
Listening to music at high volume levels and for extended durations
can damage one's hearing. To reduce the risk of hearing damage,
lower the volume to a safe, comfortable level and reduce the
amount of time listening at high levels.
For your own safety, before using headsets or earphones, always
reset the volume. Some headphones are louder than other
headphones, even if the volume control setting is the same.
Changing the default audio or equalizer settings might lead to
higher volume and should only be done with caution.
1.8 Cleaning the Keyboard
To reduce the risk of electric shock or damage to internal components:
Do not use a vacuum cleaner attachment to clean the keyboard. A
vacuum cleaner can deposit household debris on the keyboard
surface.
Clean the keyboard regularly to prevent keys from sticking and to
remove dust, lint, and particles that can become trapped beneath
the keys. A can of compressed air with a straw extension can be
used to blow air around and under the keys to loosen and remove
debris.
1.9 Travel Notice
WARNING
To reduce the risk of electric shock, fire, or damage to the equipment,
do not attempt to power the computer with a voltage converter kit sold
for appliances.

9
2 Touring the WOW! 150
2.1 Front
1.
Built-in rotating camera
Use the Built-in rotating camera for video conferencing.
2.
Microphone
The microphone is used when you are having an
audio/video conference with the other party.
3.
LCD display
Contents of the current system operation are displayed
here.
4.
Camera button
When the camera software is running, press this button to
view the software in full-screen mode. When the camera
software is not running, press this button to start the
software and capture images/videos.
5.
Home button
Press once to bring back the desktop screen. Press this
button twice to launch the quick controller display panel
when the computer is turned to tablet mode.
7.
LED status indicators
The operation status of your iQ150 is displayed here. See
“LED Status Indicators”.
8.
Keyboard
Use the keyboard to enter data.
1 2 3 4 5 7 8 9 10
11
12
10
9.
Touch pad
Use the touch pad and two buttons as a mouse. See
“Using The Touch Pad”.
10.
Touchpad Buttons
Works like the two buttons on an ordinary mouse.
11.
Scrolling switch
Use the scrolling switch when the system is in tablet mode.
Scroll from left to right: for scrolling up function
Scroll from right to left: for scrolling down function.
12.
Power button
Press this button to turn your iQ150 on and off. See
“Switching the Power On”.
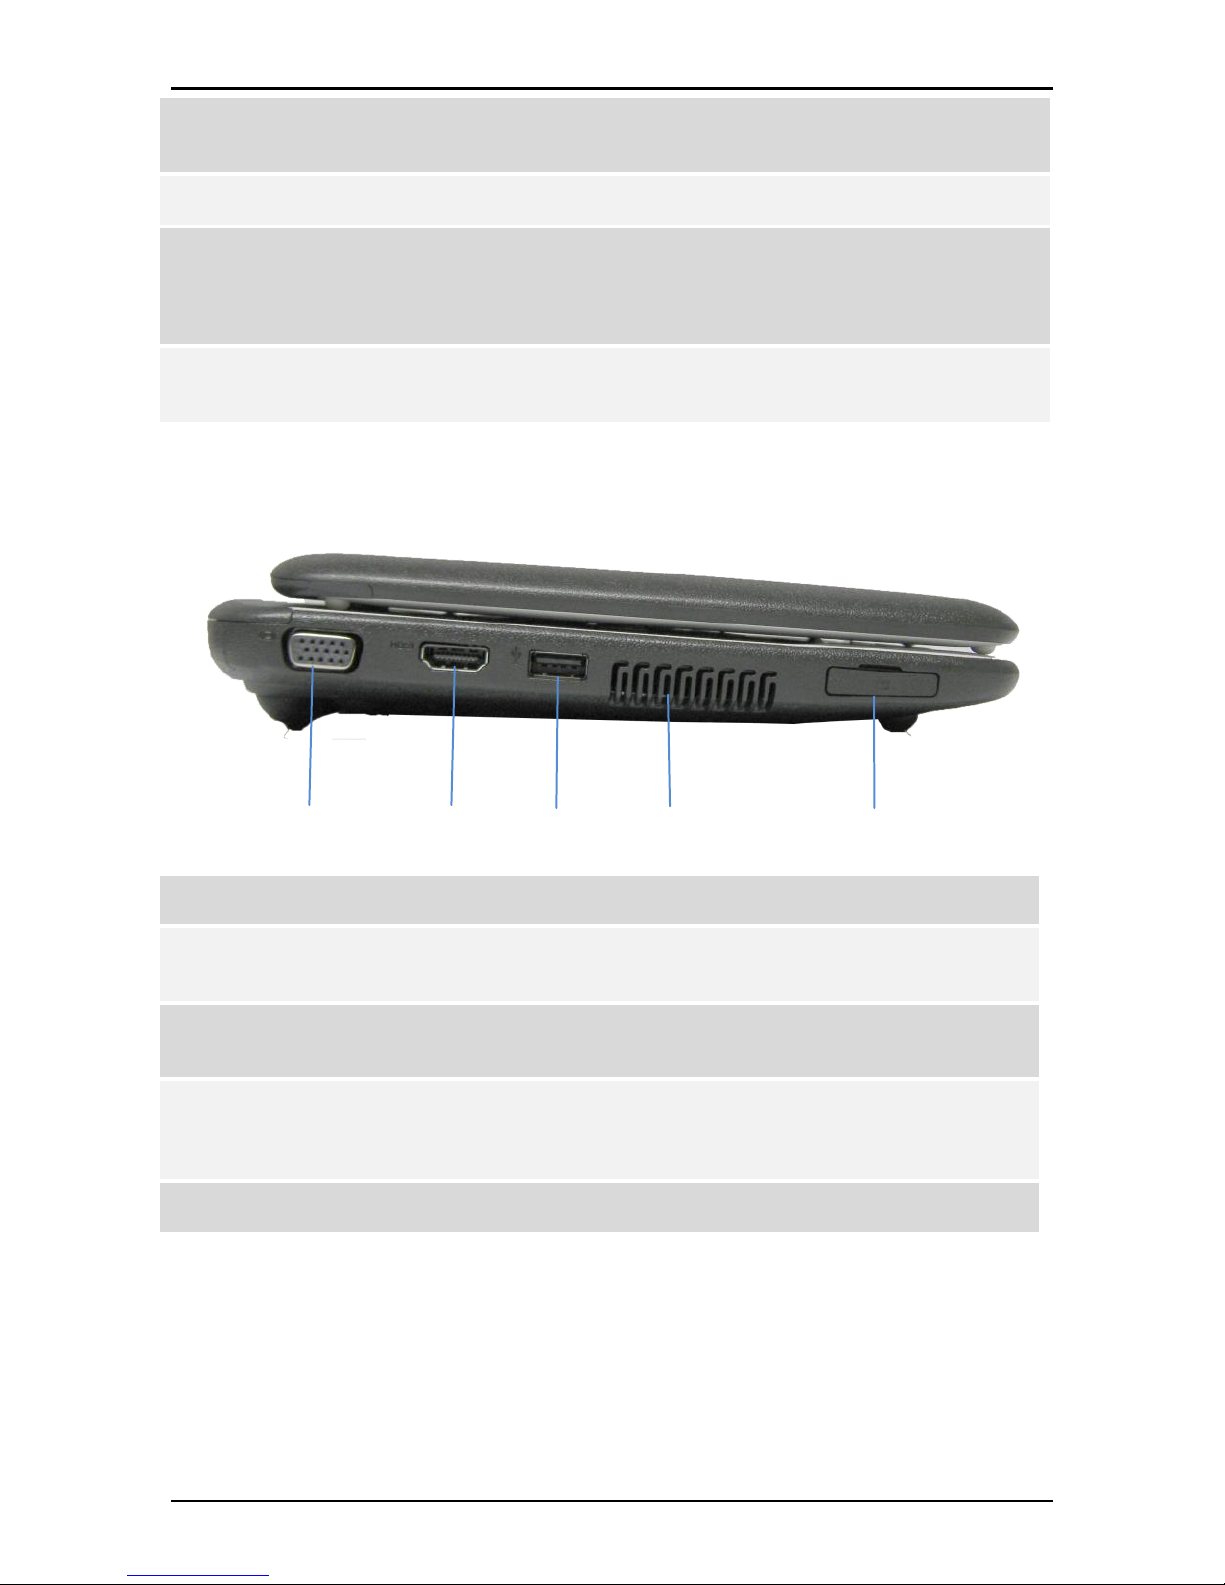
2.2 Left view
1.
External monitor port
Use this port to connect to an external monitor.
2.
HDMI Port
Compact audio/video interface for transmitting
uncompressed digital data.
3.
USB 2.0 port
Use this port to connect Universal Serial Bus devices. The
iQ150 supports v.2.0 of the USB standard.
4.
Ventilation Opening
The ventilation opening allows the computer to cool off and
prevent overheating. Do not block this opening when the
computer is turned on.
5.
2 in 1 Card Reader
Supports SDHC / MMC memory card.
1 2345
 Loading...