

Wulian WL-ZAVMDPB-C41112-01, WL-ZAVMDPW-C41112-01, WL-ZAVMDPU-C41112-01, WL-ZAVMDPW-C41112-02, WL-ZAVMDPW-C41112-03 Camera User Manual
...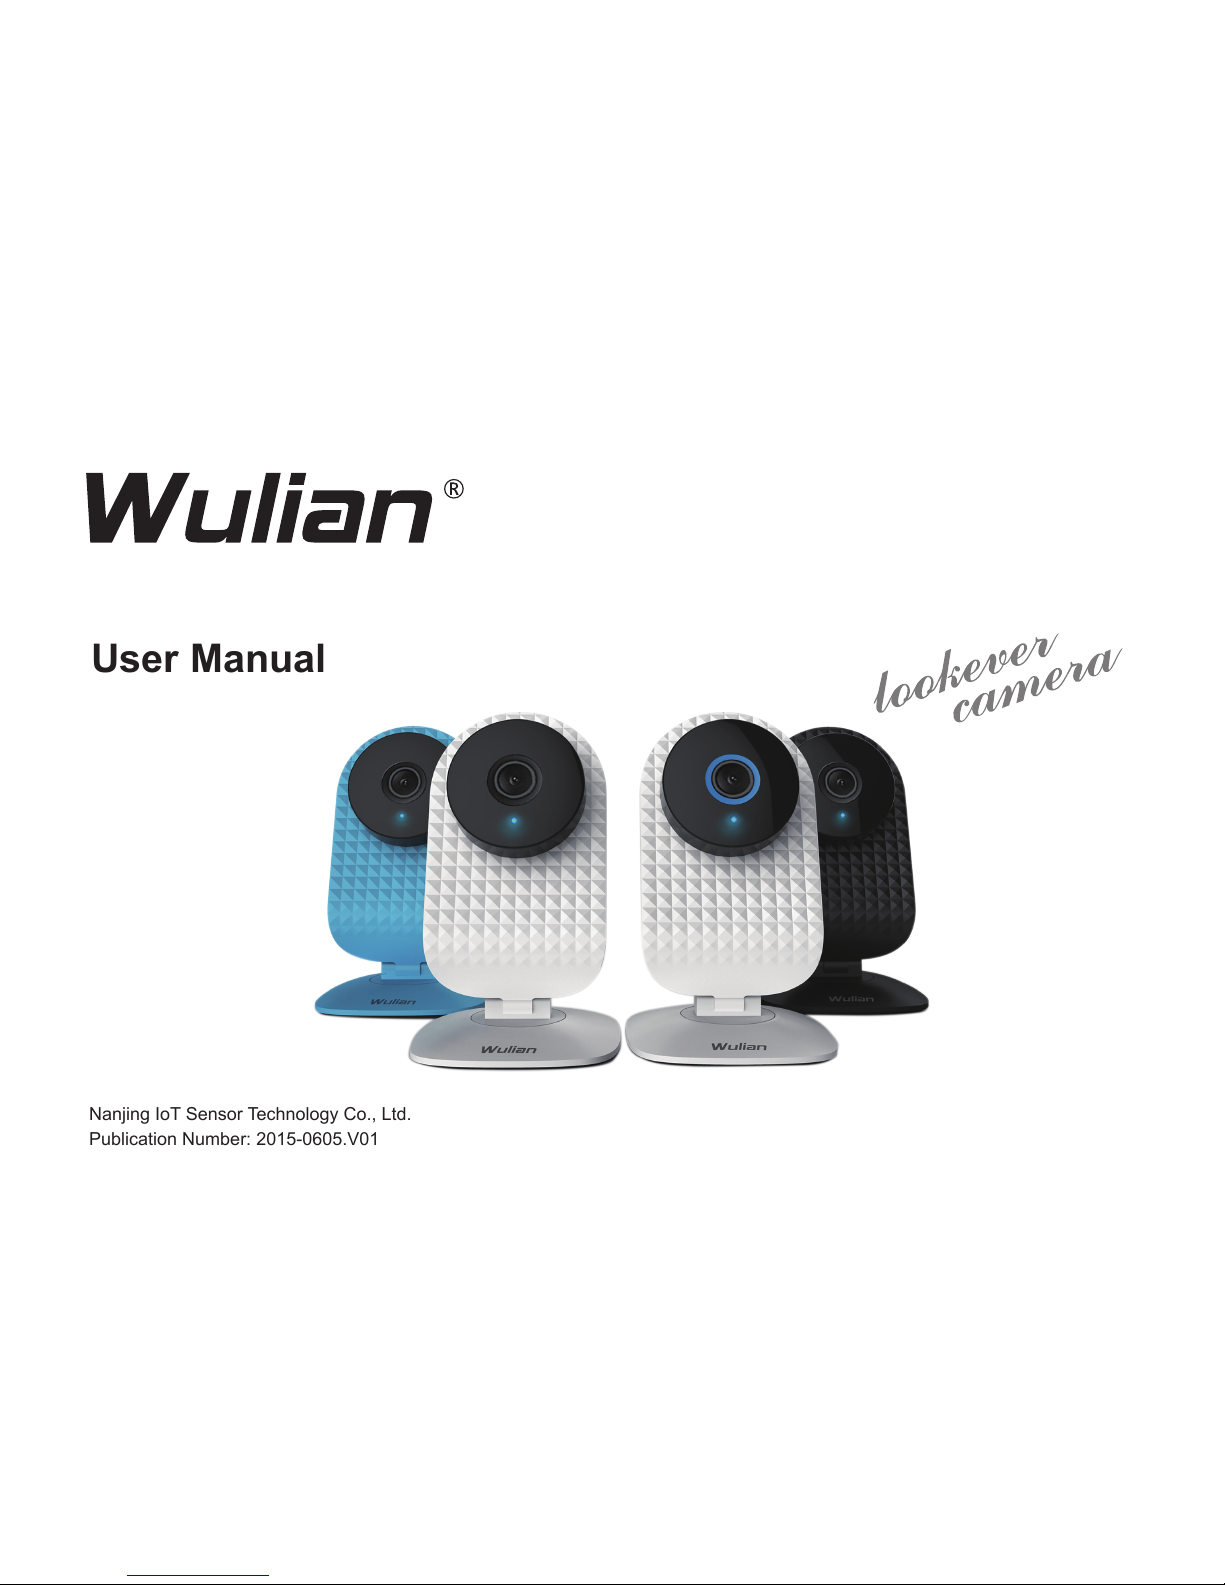
User Manual
Smart Lookever Camera (720P)
Nanjing IoT Sensor Technology Co., Ltd.
Publication Number: 2015-0605.V01
The company passed the ISO9001: 2008 quality
management system standard

Welcome to use Wulian Wireless Smart Lookever Camera (720P) User Manual
● is the registered trademark of Nanjing IOT Sensor Technology Co., Ltd. All the other
trademarks and registered trademarks mentioned in this manual are trademarks or registered trademarks of
their respective owners.
●Please read this manual carefully for the proper use of this product.
●Wulian Smart Lookever Camera Series (720P) (hereinafter referred to as “this product”) are smart home
audio and vedio products produced by Nanjing IoT Sensor Technology Co., Ltd. (hereinafter referred to as
“Wulian”). This product shall be used with smart home APP as well as the supplied accessories. Wulian is
not responsible for any loss due to improper installation and usage of this product.
●Please check the Wulian website periodically for manual and APP update availability and the relevance.
●Without the written permission of Wulian, any individuals and enterprises shall not copy all or part of the
contents of this manual, must not use our registered trademark. Behavior of the illegal use of our
trademarks, we will actor and corporate legal liability shall be pursued in accordance with the law.
●For more information about smart home products, please visit:www.wulian.cc.
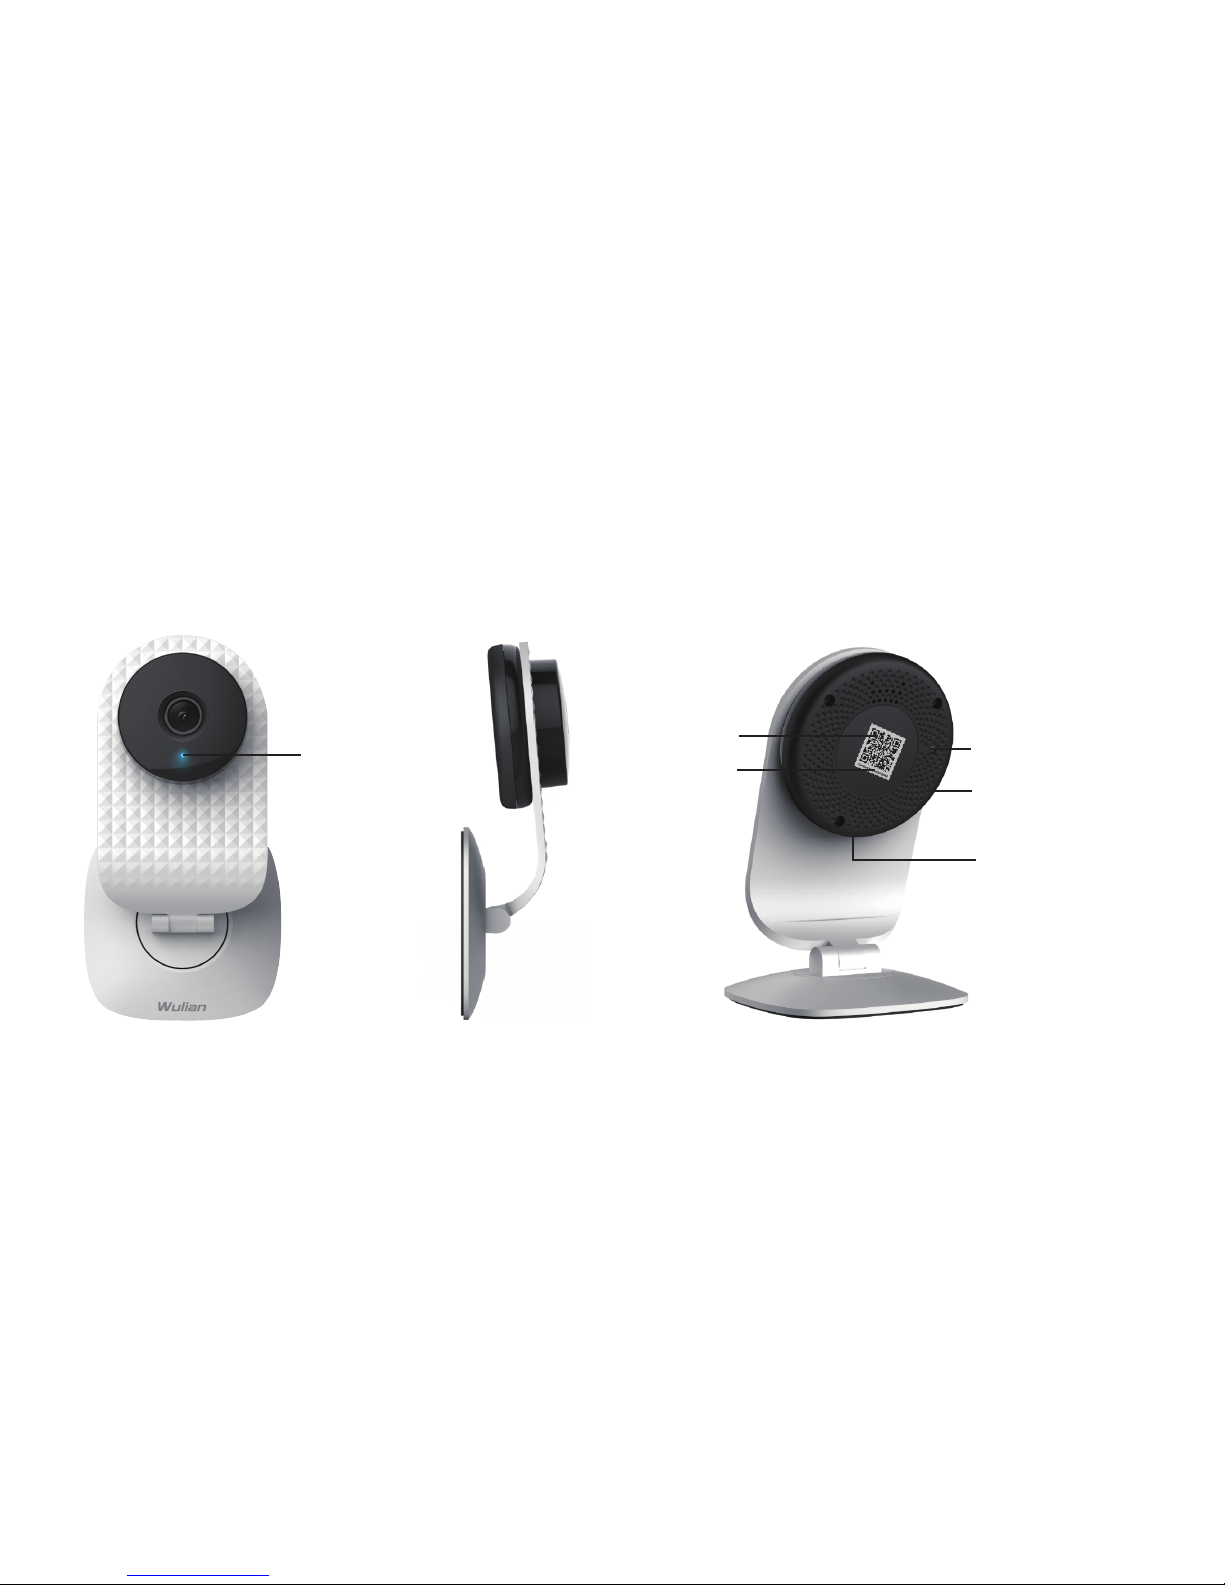
Front Side
Side
Reverse Side
Indicator Light
SET Key
SD Card Slot
USB Interface
QR Code
Device ID
1
1.Wulian Smart Lookever Camera Series (720P)
Product Display (e.g. white camera)

Installation Guide
Option A: Place it on any fixed flat surface
Option B: Ceiling/Wall Mounted
Remove the base
Expand Plug
Self-tapping Screw
Remove the base
(attached with magnets)
Attach the camera to the base
2
Mount expansion pipe in predesigned
position and fix the base with self-tapping
screw
Attentions
Keep away from video
cable, audio cable,
USB cable or power
cable.
Place this product in
fixed flat surface.
Make sure accessories are matched for
adapters.
Keep away from
strong electromagnetic fields.
Avoid direct sun.
Keep the camera away
from oil, vapor, steam,
moisture, dust, etc.
Wiping the lens
with harsh cleaner
or organic solvent
is forbidden.
Disassembling or
modification of this
product or its accessories is forbidden
+
3
 Loading...